Configure channel providers in Dynamics 365 Channel Integration Framework 2.0
Dynamics 365 Channel Integration Framework 2.0 is intended for multisession applications such as Omnichannel for Customer Service and Customer Service workspace. You can configure channel providers for multisession applications either using Customer Service admin center or Power Apps.
More information:
Configure a third-party channel provider
Go to the Customer Service admin center, and perform the following steps
In the site map, select Workspaces in Agent experience. The Workspaces page opens.
Select Manage for Third party voice channel provider.
Select a provider from the Active Channel Providers list and select Edit, or select New to add a new channel provider.
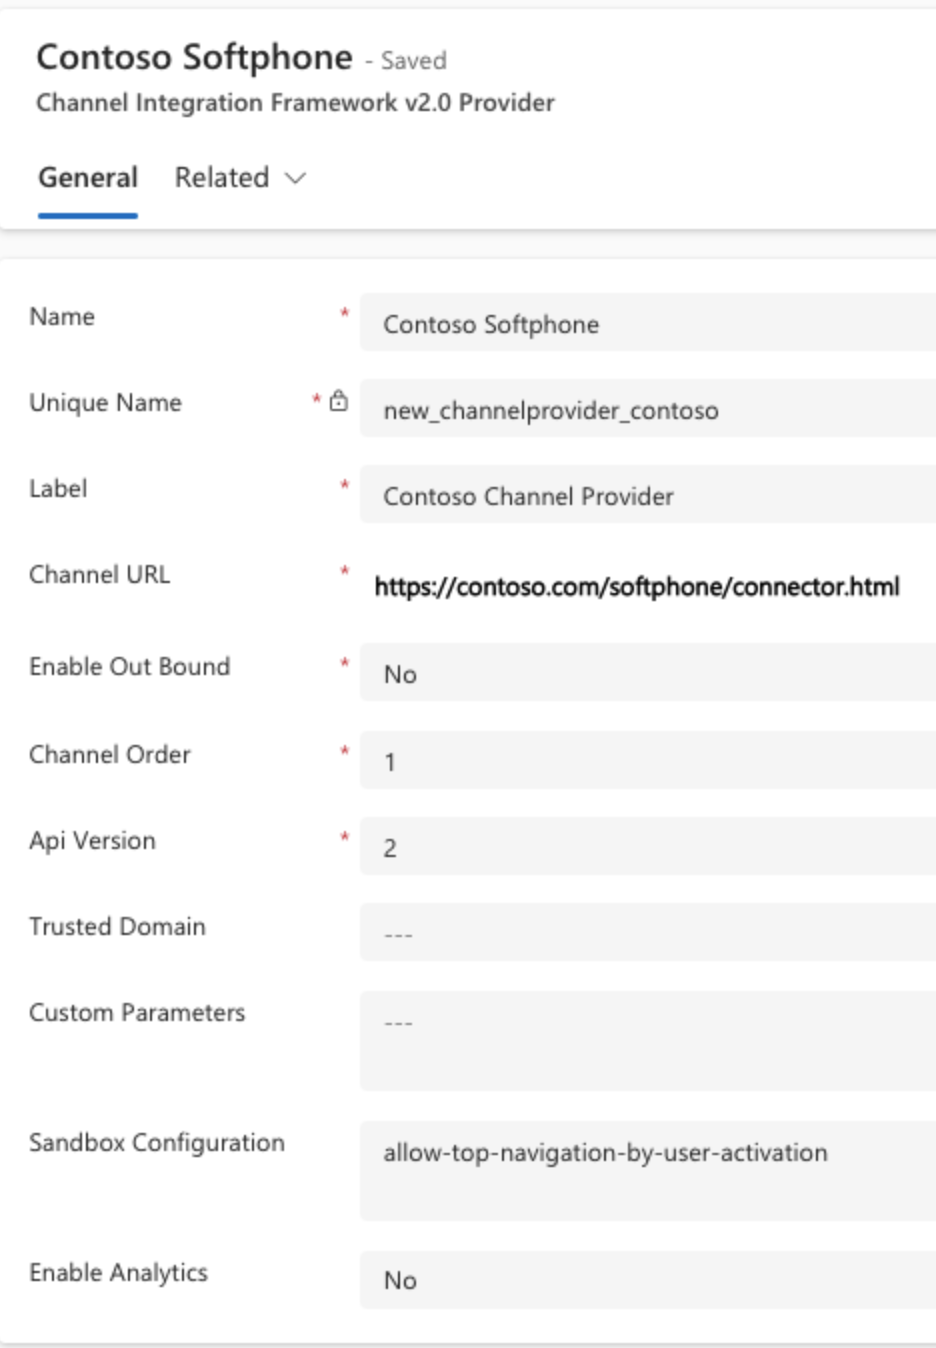
Enter or update the following details:
| Field | Description |
|---|---|
| Name | Name of the channel provider. |
| Unique Name | A unique identifier in the <prefix>_<name> format. IMPORTANT: The following are required for the unique name:
|
| Label | The label is displayed as the title on the widget. |
| Channel URL | The URL of the provider to host in the widget. See the JavaScript APIs on how to develop communication widget with Dynamics 365 Channel Integration Framework. If the URL isn't in the specified format, the application displays a warning. Select Restore to reset the URL to the expected value. |
| Enable Outbound Communication | Selecting a phone number in the Dynamics 365 Unified Interface page, the widget initiates the call or outbound communication. |
| Channel Order | The order of precedence of the channel providers. That is, the priority to display the channel for the agents and Unified Interface apps. |
| Api Version | The version of the Channel Integration Framework APIs. |
| Trusted Domain | An additional domain if the initial landing URL and the final domain from which the communication widget is hosted are different. Add the domain (URL) to access the Channel Integration Framework APIs. |
| Custom Parameters | This takes a text blob as input and Microsoft.CIFramework.getEnvironment will return this as value of key customParams. |
| Sandbox Configuration | Channel URL loads as an iFrame webresource in the sandbox mode. Use this field to configure the list of sandbox attributes for the Channel URL. You can add multiple attributes separated by commas. |
| Enable Analytics | Select Yes if you'd like to enable analytics for your channel provider. |
Note
- Sandbox attributes such as allow-forms, allow-popups, allow-scripts, allow-same-origin, allow-modals, allow-downloads are configured by default.
- The Restore button is available only for forms with the Unique Name set to msdyn_omnichannel.
- The
Api Versionfield is set to2when you navigate from the agent experience profile.
- Select Save & Close.
Deactivate or delete a channel provider
In the site map of Customer Service admin center, select Workspaces in Agent experience. The Workspaces page opens.
Select Manage for Third party voice channel provider.
Select a provider from the Active Channel Providers list, and do one of the following:
- To deactivate the channel provider, select Deactivate. In the Confirm Deactivation dialog, select Yes. You can reactivate the channel later by selecting Activate.
- To delete the channel provider, select Delete. In the Confirm Deletion dialog, select Yes if you're sure you want to delete the channel provider. Note that you can't reactivate the channel provider after it's deleted.
Related information
Overview of agent experience
Enable outbound communication (ClickToAct)
Microsoft.CIFramework.getEnvironment
