Work with cases
Track your cases efficiently and act on them quickly in the Customer Service workspace application.
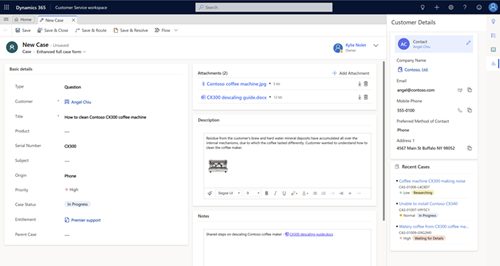
Creating and managing a case can’t be any simpler. With the intuitive case form, you can do all your important tasks and actions without navigating to different parts of the application.
You can capture important information about customers, interactions you’ve had with them, and all related records of the current case in once single place.
Watch this video to learn more about case management in the Customer Service Hub:
Prerequisites
Make sure that you have the Customer Service Manager or Customer Service Representative role, or equivalent permissions.
Create a case
In Customer Service workspace, go to the Customer Service Agent Dashboard. If you are using Customer Service Hub, in the site map, go to Service > Cases.
- The My Active Cases view is displayed. You can switch between the different case views by selecting the current view.
- Select Show Chart on the command bar to see the chart view.
- Select Open Dashboards on the command bar to directly open the entity dashboard. To switch back to views, select Open Views.
If you select a case record from the case view, you see these additional options on the command bar:
On the command bar, select New Case. Alternatively, you can quickly create a new case by selecting
 in the nav bar and selecting Case. This opens a vertical flyout towards the right side of the screen.
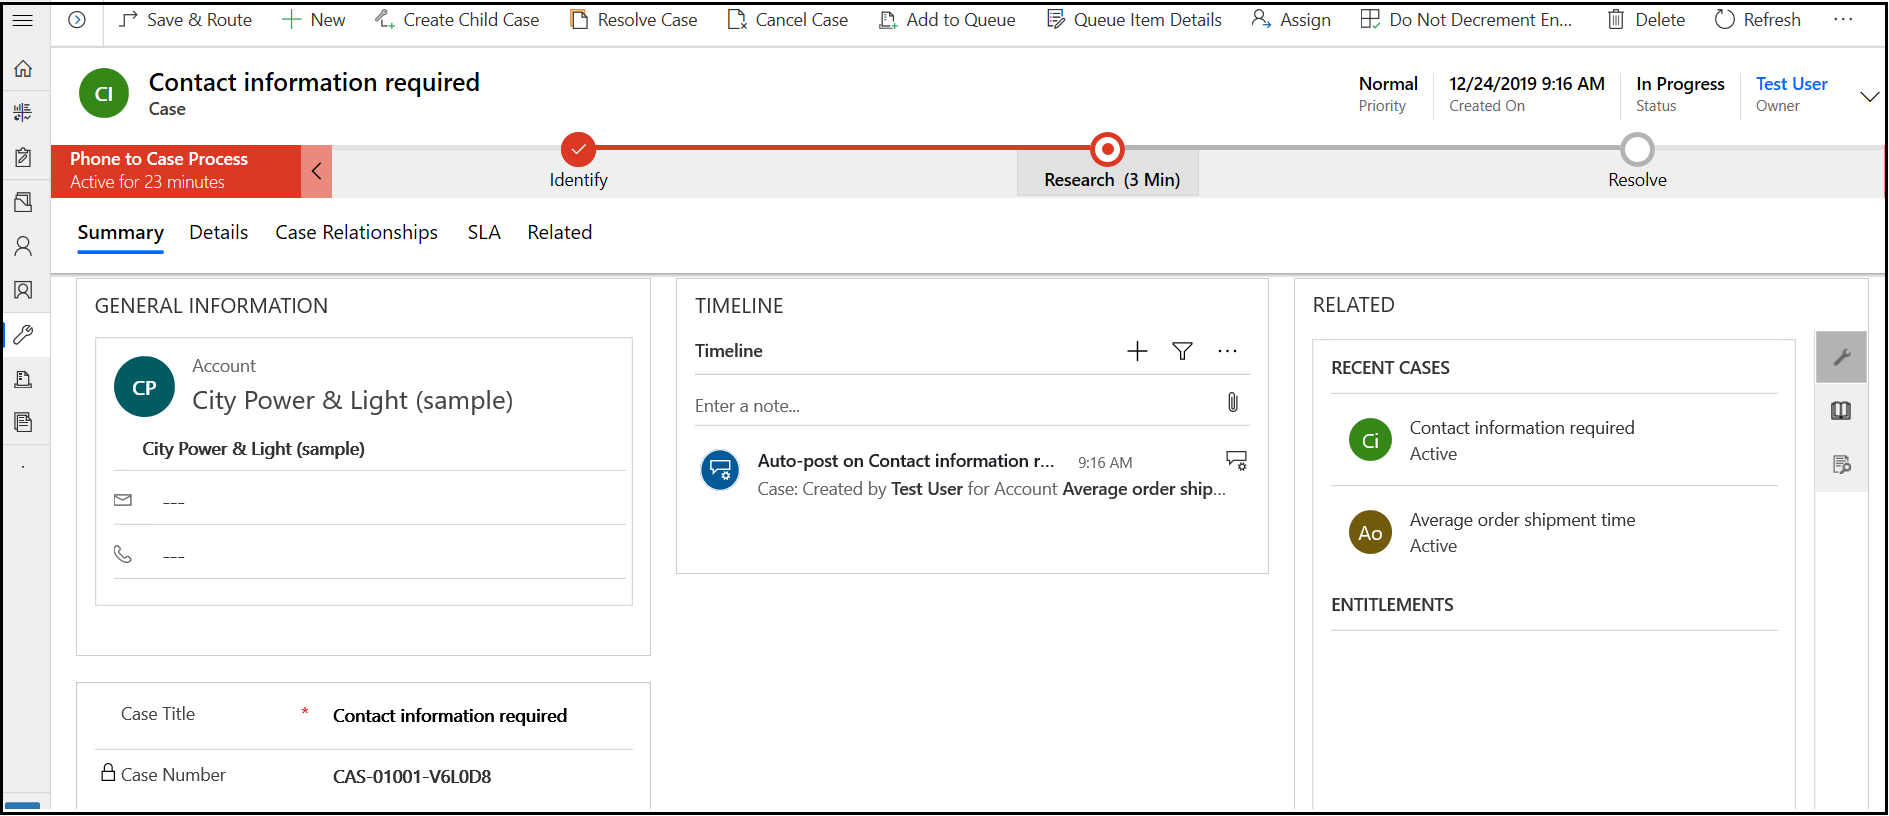
View and update the Priority, Status, and Owner of the case. The Created On date is picked up as soon as you save the case.
Go to Summary and in the Case Title field, type a descriptive title to identify the case.
In the Subject field, select a subject. When you associate cases with subjects, you can search for cases with similar issues and find related articles. If you don't see the subject that you want in the list, ask your administrator to add it.
Find the customer:
Select the Customer lookup button. By default, this field shows all customer records, accounts, and contact records. Or, type a few letters and select Enter to search for records that contain the letters. After you select an existing customer, the General Information section will show the contact card for the customer, along with recent cases in the Related section.
If a customer record doesn’t exist, you can a add new customer record using the entity tab.
In the Origin field, select the channel through which this case was initiated.
In the Product field, select the product this case is for. You can’t select a product family, a draft product, or a draft product bundle.
To see what kind of support you should provide the customer, select the Entitlements lookup button and select an active entitlement. The Entitlements section in the case record lists all the active entitlements for the customer.
Important
If an SLA is associated with an entitlement and the same entitlement is applied to a case, then the associated SLA becomes applicable for the case.
Note
- When a case is created and an entitlement is applied to it (or when the case gets resolved), the entitlement terms from the associated entitlement are decremented. However, if you don’t want the entitlement terms to be decremented for a case, on the command bar select Do not decrement entitlement terms.
- When you update the Customer field, the value of the Entitlements field will be cleared.
Select in the Description field to enter to add a detailed description about the case.
Navigate to other tabs to provide or view more information about the case.
The Details tab tracks Case Details, Additional Details, Social Details, Description, and Applicable SLA of the case.
The Case Relationships tab shows a Merged Cases and Child Cases list. You can add an existing child case to the current case from the Child Cases list. If you want to create a new child case for the current case, select Create Child Case on the command bar.
The Case Relationships tab also shows a list of knowledge articles associated with the case, in the Associated Knowledge Records sub-grid.
The SLA tab shows the related SLA KPI instance records for each SLA KPI that’s tracked for the case.
Note
By default, a timer for enhanced SLA is already added to your case form. If an enhanced SLA applies to the case you're working on, you will see a timer that shows the countdown to meet the SLA KPIs.
The Related tab shows the common associated entities like Knowledge Base Records, Activities, Connections, and Work Orders.
Select on any one of the common associated entities and they open in a new tab, aligned horizontally.
When you’re done, select Save.
- After you save the case, the Timeline section appears and displays the post about case creation.
- The Business Process flow bar appears and displays the process stages to guide your case towards completion. For more information, see Business processes.
- On the command bar:
- Select Save and Route to route the case by applying routing rules
- Select Create Child Case to create a child case
- Select ... on the command bar to explore more options for the case.

Note
If you have previously installed any portal solution, to create a case in the Customer Service Hub or to use the Merge cases command, you must turn off the Read-only in mobile option for the Case entity. More information: Turn off Read-only in mobile option.
Related information
Learn the basics of the Customer Service Hub
Use the Main form and its components
Use Copilot to resolve cases faster
