Create a simple card (preview)
In this article, you create a card that asks the user to enter their name, and then shows the name in the title of the card. You use the card designer, variables, and Power Fx.
Prerequisites
A Power Apps account
Create a card
Sign in to Power Apps and select your environment.
From the navigation menu, select ...More > Cards.
Select + Create a card.
Under Card name, type HelloWorldCard, and then select Create.
Ask for text input
Select the text Add and remove element to customize your new card., and then select the Remove icon (X) to delete it.

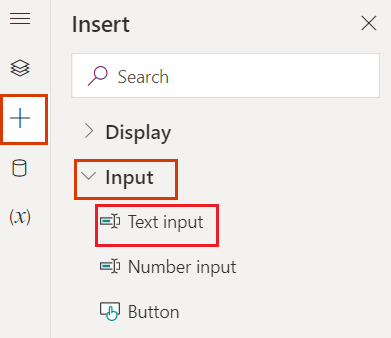
From the navigation menu, select + Insert.
In the tool pane, select Input to expand the category, and then select Text input.
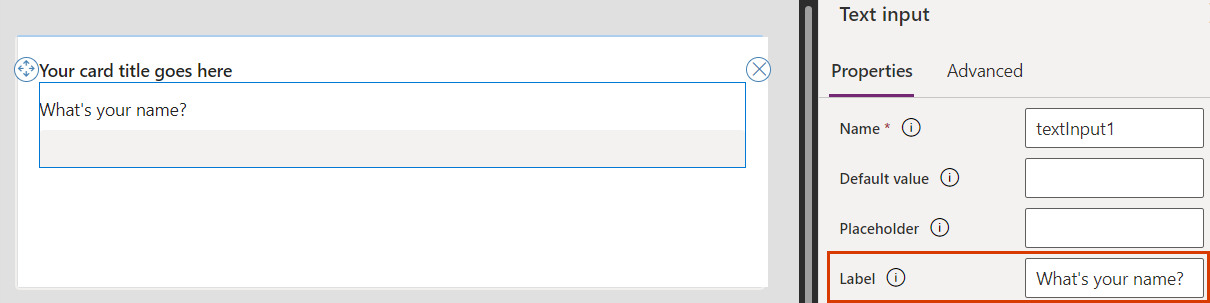
In the text input properties pane, set Label to What's your name?.

Assign variables
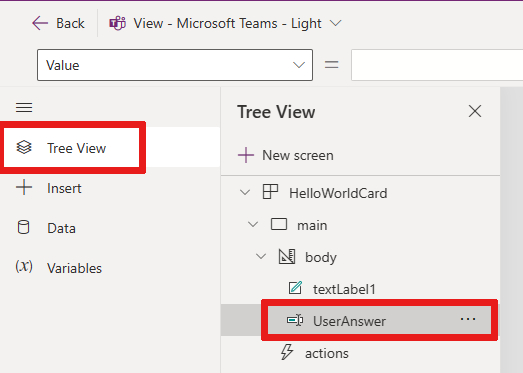
From the navigation menu, select Tree View and change the textInput1 name to UserAnswer.
We give the text input control the name of a variable that is associated with the user's input. Any input control name can be used as a variable, for example a text input, button, or text label.
Tip
Give your variables descriptive and unique names to make them easier to use in Power Fx expressions.
We need another variable to add the user's input to the card title, so let's create one now.
From the navigation menu, select Variables.
Select + New variable.
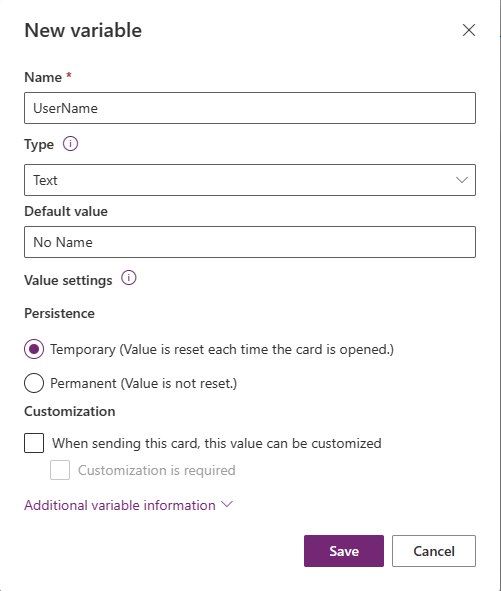
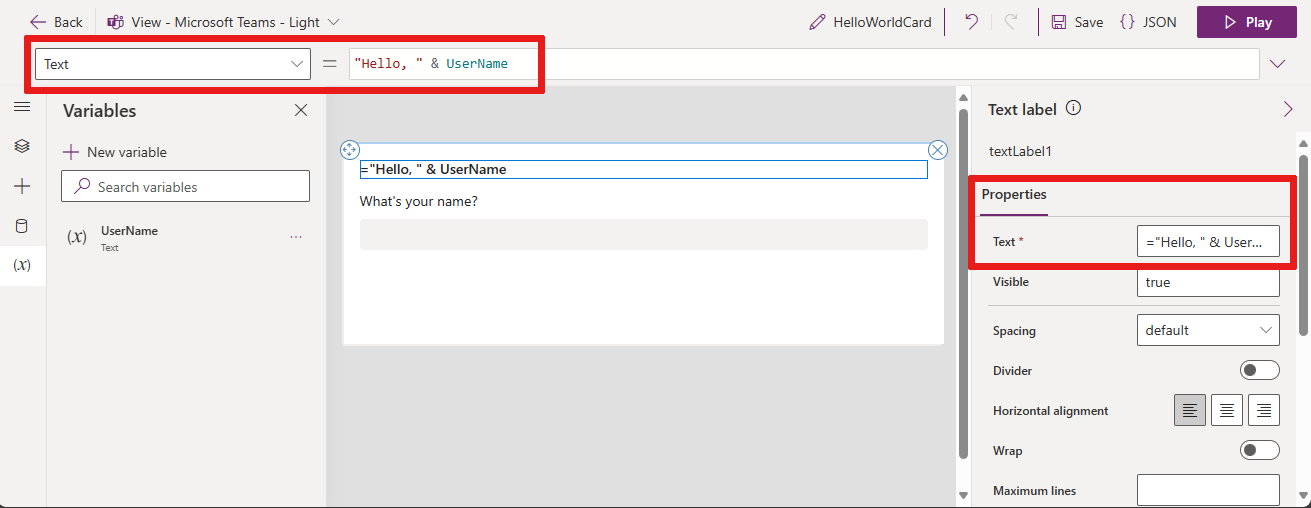
In the New variable window, enter UserName under Name and enter No Name under Default value. Leave the other values as they are.
Select Save.
In your canvas, select the card title, which is a text label control. In the control's properties pane, set Text to ="Hello " & UserName.
This expression changes the card title to the string "Hello " followed by the value of the variable you created. You can enter the expression in the formula bar or the properties pane.

Add a Power Fx button
From the navigation menu, select + Insert.
In the tool pane, select Input to expand the category, and then select Button.
In the button properties pane, set Title to Say Hello.
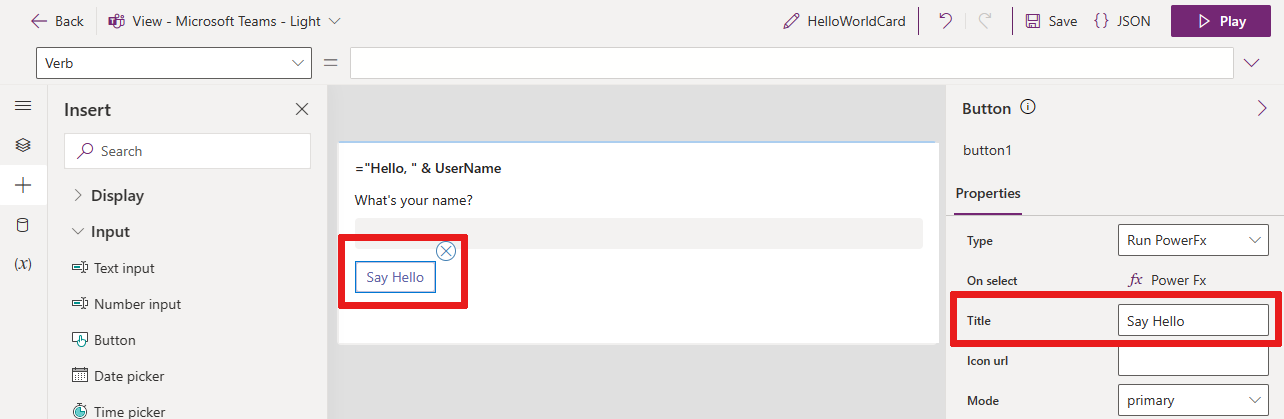
In the properties pane next to On select, select PowerFx to place your cursor in the formula bar.
Type the following Power Fx expression in the formula bar: Set(UserName, UserAnswer)
This Set() function expression assigns the value of the user's input,
UserAnswer, to theUserNamevariable of the text label (the card title), when the button is selected. Another way to read the expression is Set the value of the variable UserName equal to the value of UserAnswer. Since the expression is bound to the button's On select property, also called Verb next to the formula bar, it runs when the user selects the button.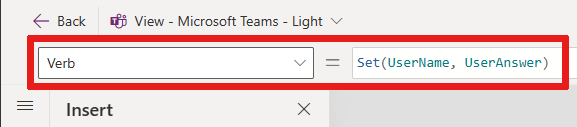
Test the card
You should always save your changes before you play a card. Select Save, and then select Play.
Test your card a few times with different inputs. Make sure your input replaces the default value "No Name" in the card title each time.
Next steps
Learn how to make a slightly more complex card in the simple shopping list tutorial.
Feedback
Coming soon: Throughout 2024 we will be phasing out GitHub Issues as the feedback mechanism for content and replacing it with a new feedback system. For more information see: https://aka.ms/ContentUserFeedback.
Submit and view feedback for