App navigation in model-driven apps
In a model-driven app, there are the three main app runtime navigation components.
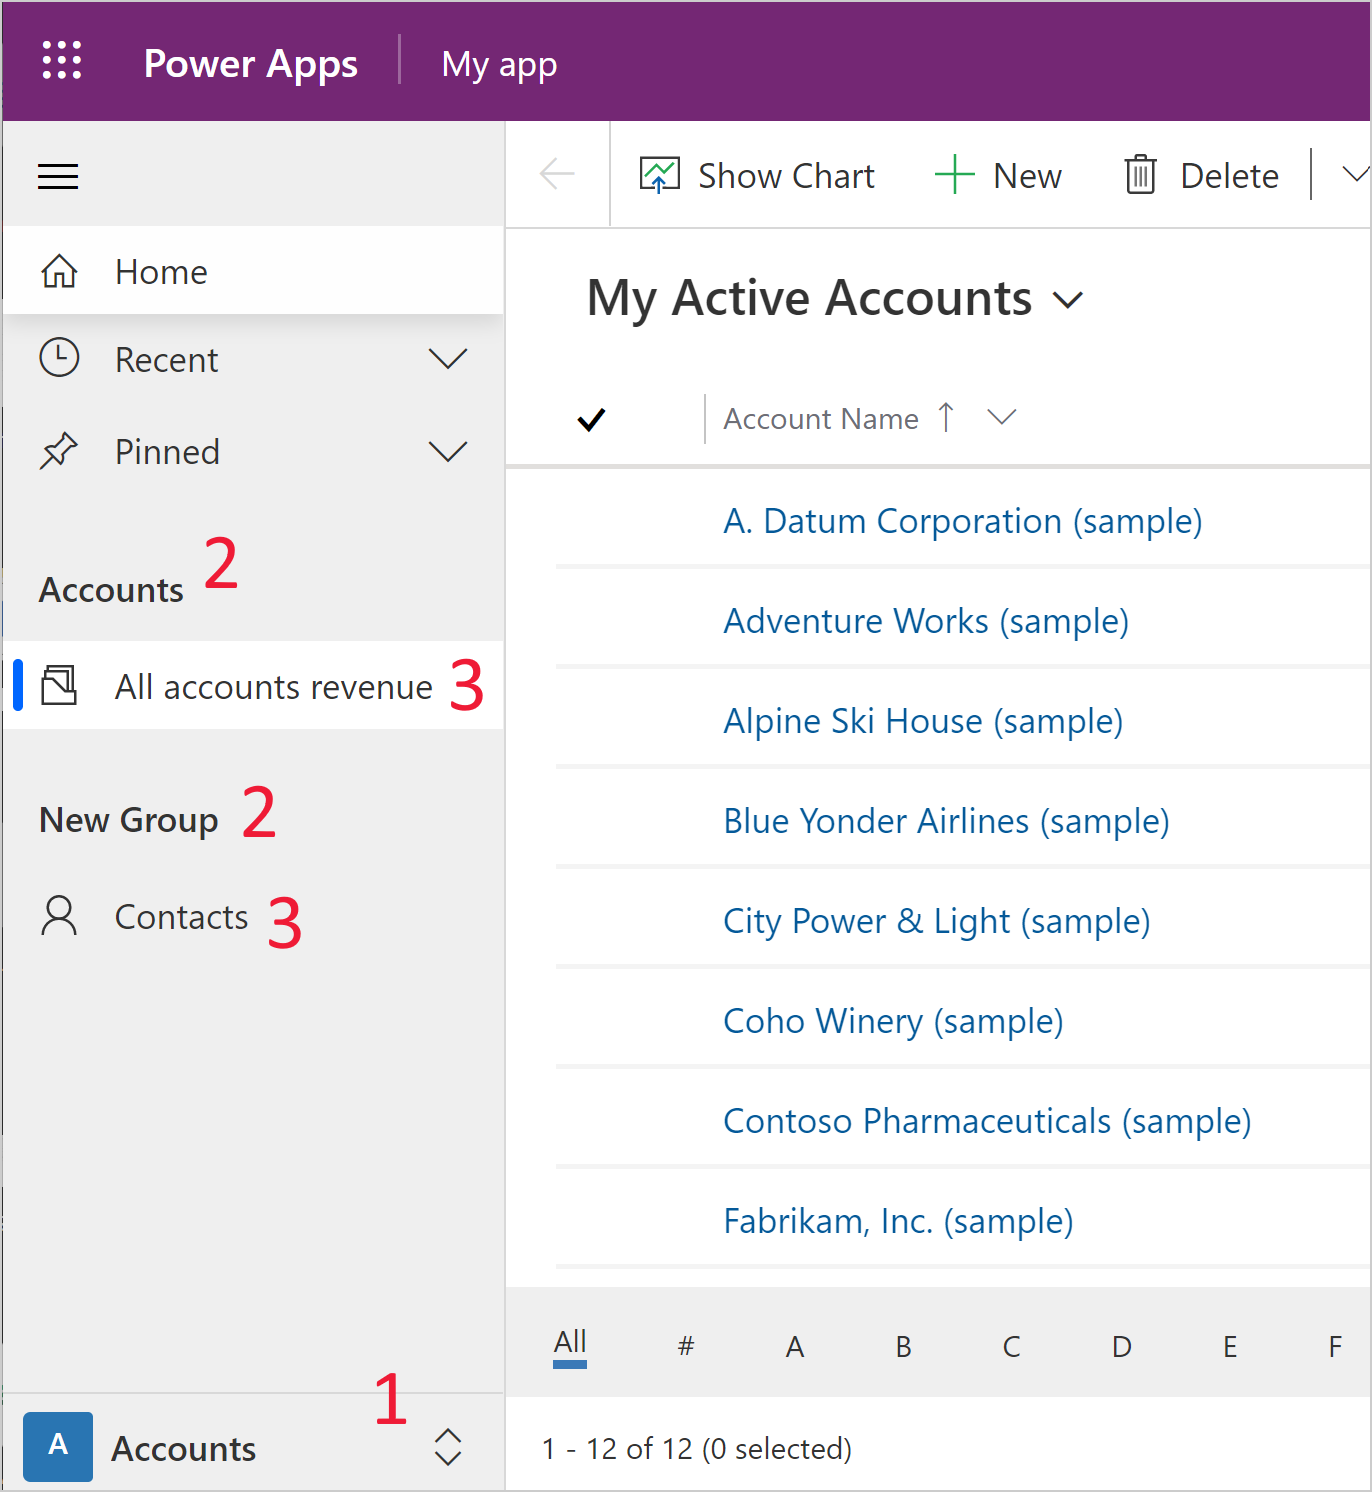
Areas - For apps with more than one area, a switch control is displayed in the lower left navigation pane. In the screenshot below, the current area is named Accounts.
Groups - Group names appear as a navigation element in an app with the subarea names within the group listed beneath it. In the screenshot below, one group is named Accounts and one is named New Group.
Pages - Pages appear under the group that they're configured within in the app designer. In the screenshot below, one page is named All accounts revenue and another page is named Contacts.
Create an area
By default, the ability to create additional areas is disabled. Areas are enabled by default for apps with existing multiple areas.
Enable areas
- On the command bar select Settings.
- Select Navigation on the left pane, and then select Enable Areas.
- Close the Settings dialog.
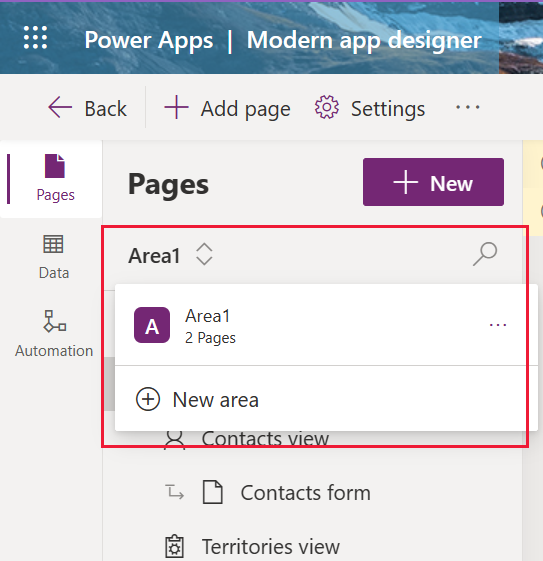
Add a new area
On the left navigation pane, select Pages.
Select the area switcher under Pages, and then select New area. If the area switcher is missing, you need to enable areas.
Complete the properties pane for the area:
- Title: Enter a title used to describe the area.
- Icon: Optionally set an icon for the area. More information: Create or edit model-driven app web resources to extend an app
- ID: The system generates an identifier for the area. Accept the system generated ID or enter a new one.
To save your app navigation changes select Save.
To publish the changes and make them available to other users, select Publish.
Create a group
To create a new group, complete the following steps:
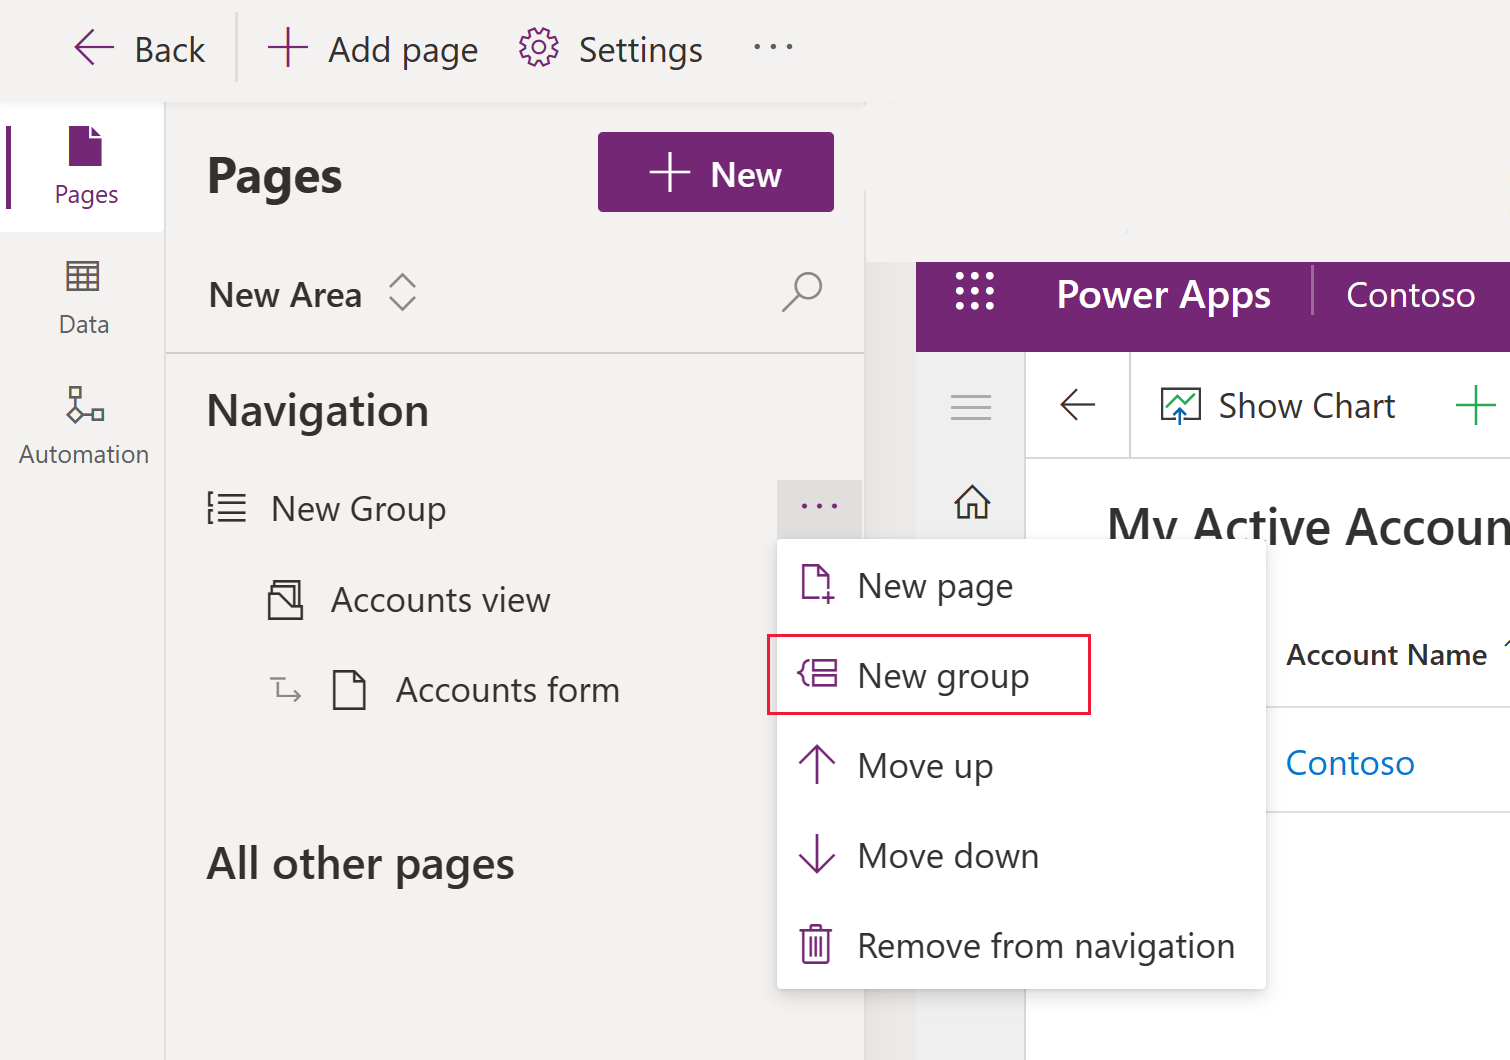
On the left navigation pane, select Pages.
Select ... next to Navigation.
Select New group.
Complete the properties pane for the group:
- Title: Enter a title used to describe the group.
- ID: The system generates an identifier for the group. Accept the system generated ID or enter a new one.
- Advanced Settings:
- Localized titles: Add localized titles for the group title. More information: Translate localizable text for model-driven apps
- Localized descriptions: Add localized descriptions for the group description. More information: Translate localizable text for model-driven apps
To save your app navigation changes select Save.
To publish the changes and make them available to other users, select Publish.
Create a page
Pages were formerly called subareas in the app designer. To create a new page, complete the following steps:
- On the command bar, select Add page.
- Select the content type you want.
- Dataverse table. Select an existing table or create a new one. More information: Create a custom table
- Dashboard. Select a dashboard. More information: Create or edit model-driven app dashboards
- URL. Add a URL, such as a website address. More information: Add a URL to an app
- Custom page. Add a custom page, such as a canvas app page. More information: Overview of custom pages for model-driven apps
- Complete the choices that are on you screen to create the page, and then select Add.
- To save your app navigation changes select Save.
- To publish the changes and make them available to other users, select Publish.
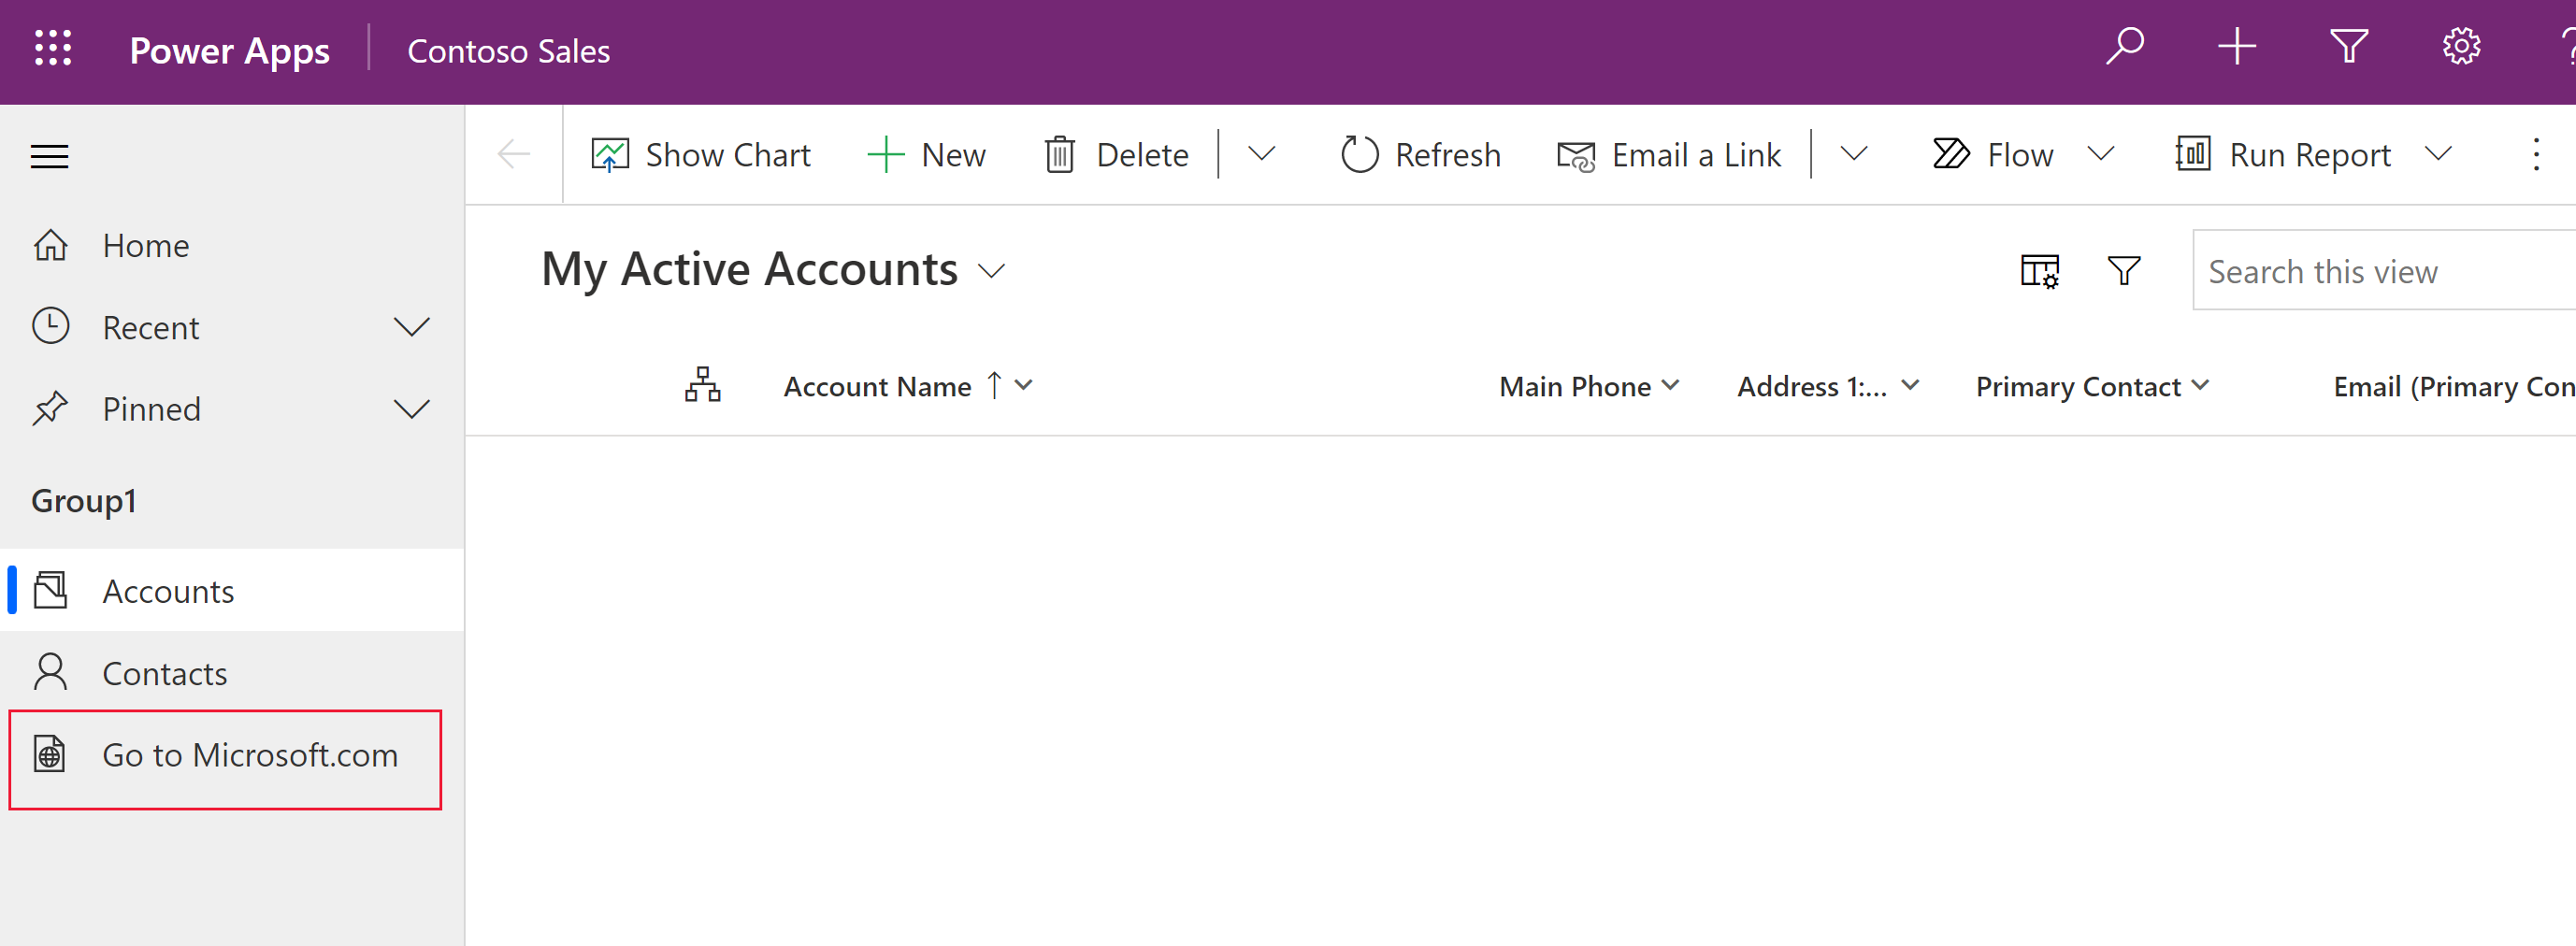
Add a URL to an app
A URL is a type of page in the app navigation. When the user selects the page, the URL opens in a new tab in the web browser.
In the model-driven app designer, select Add page on the command bar.
On the New page screen, select URL, and then select Next.
In the properties pane for the URL, enter the following information, and then select Add:
URL: Enter the full URL, such as https://www.microsoft.com.
Title: Enter a title for the URL component.
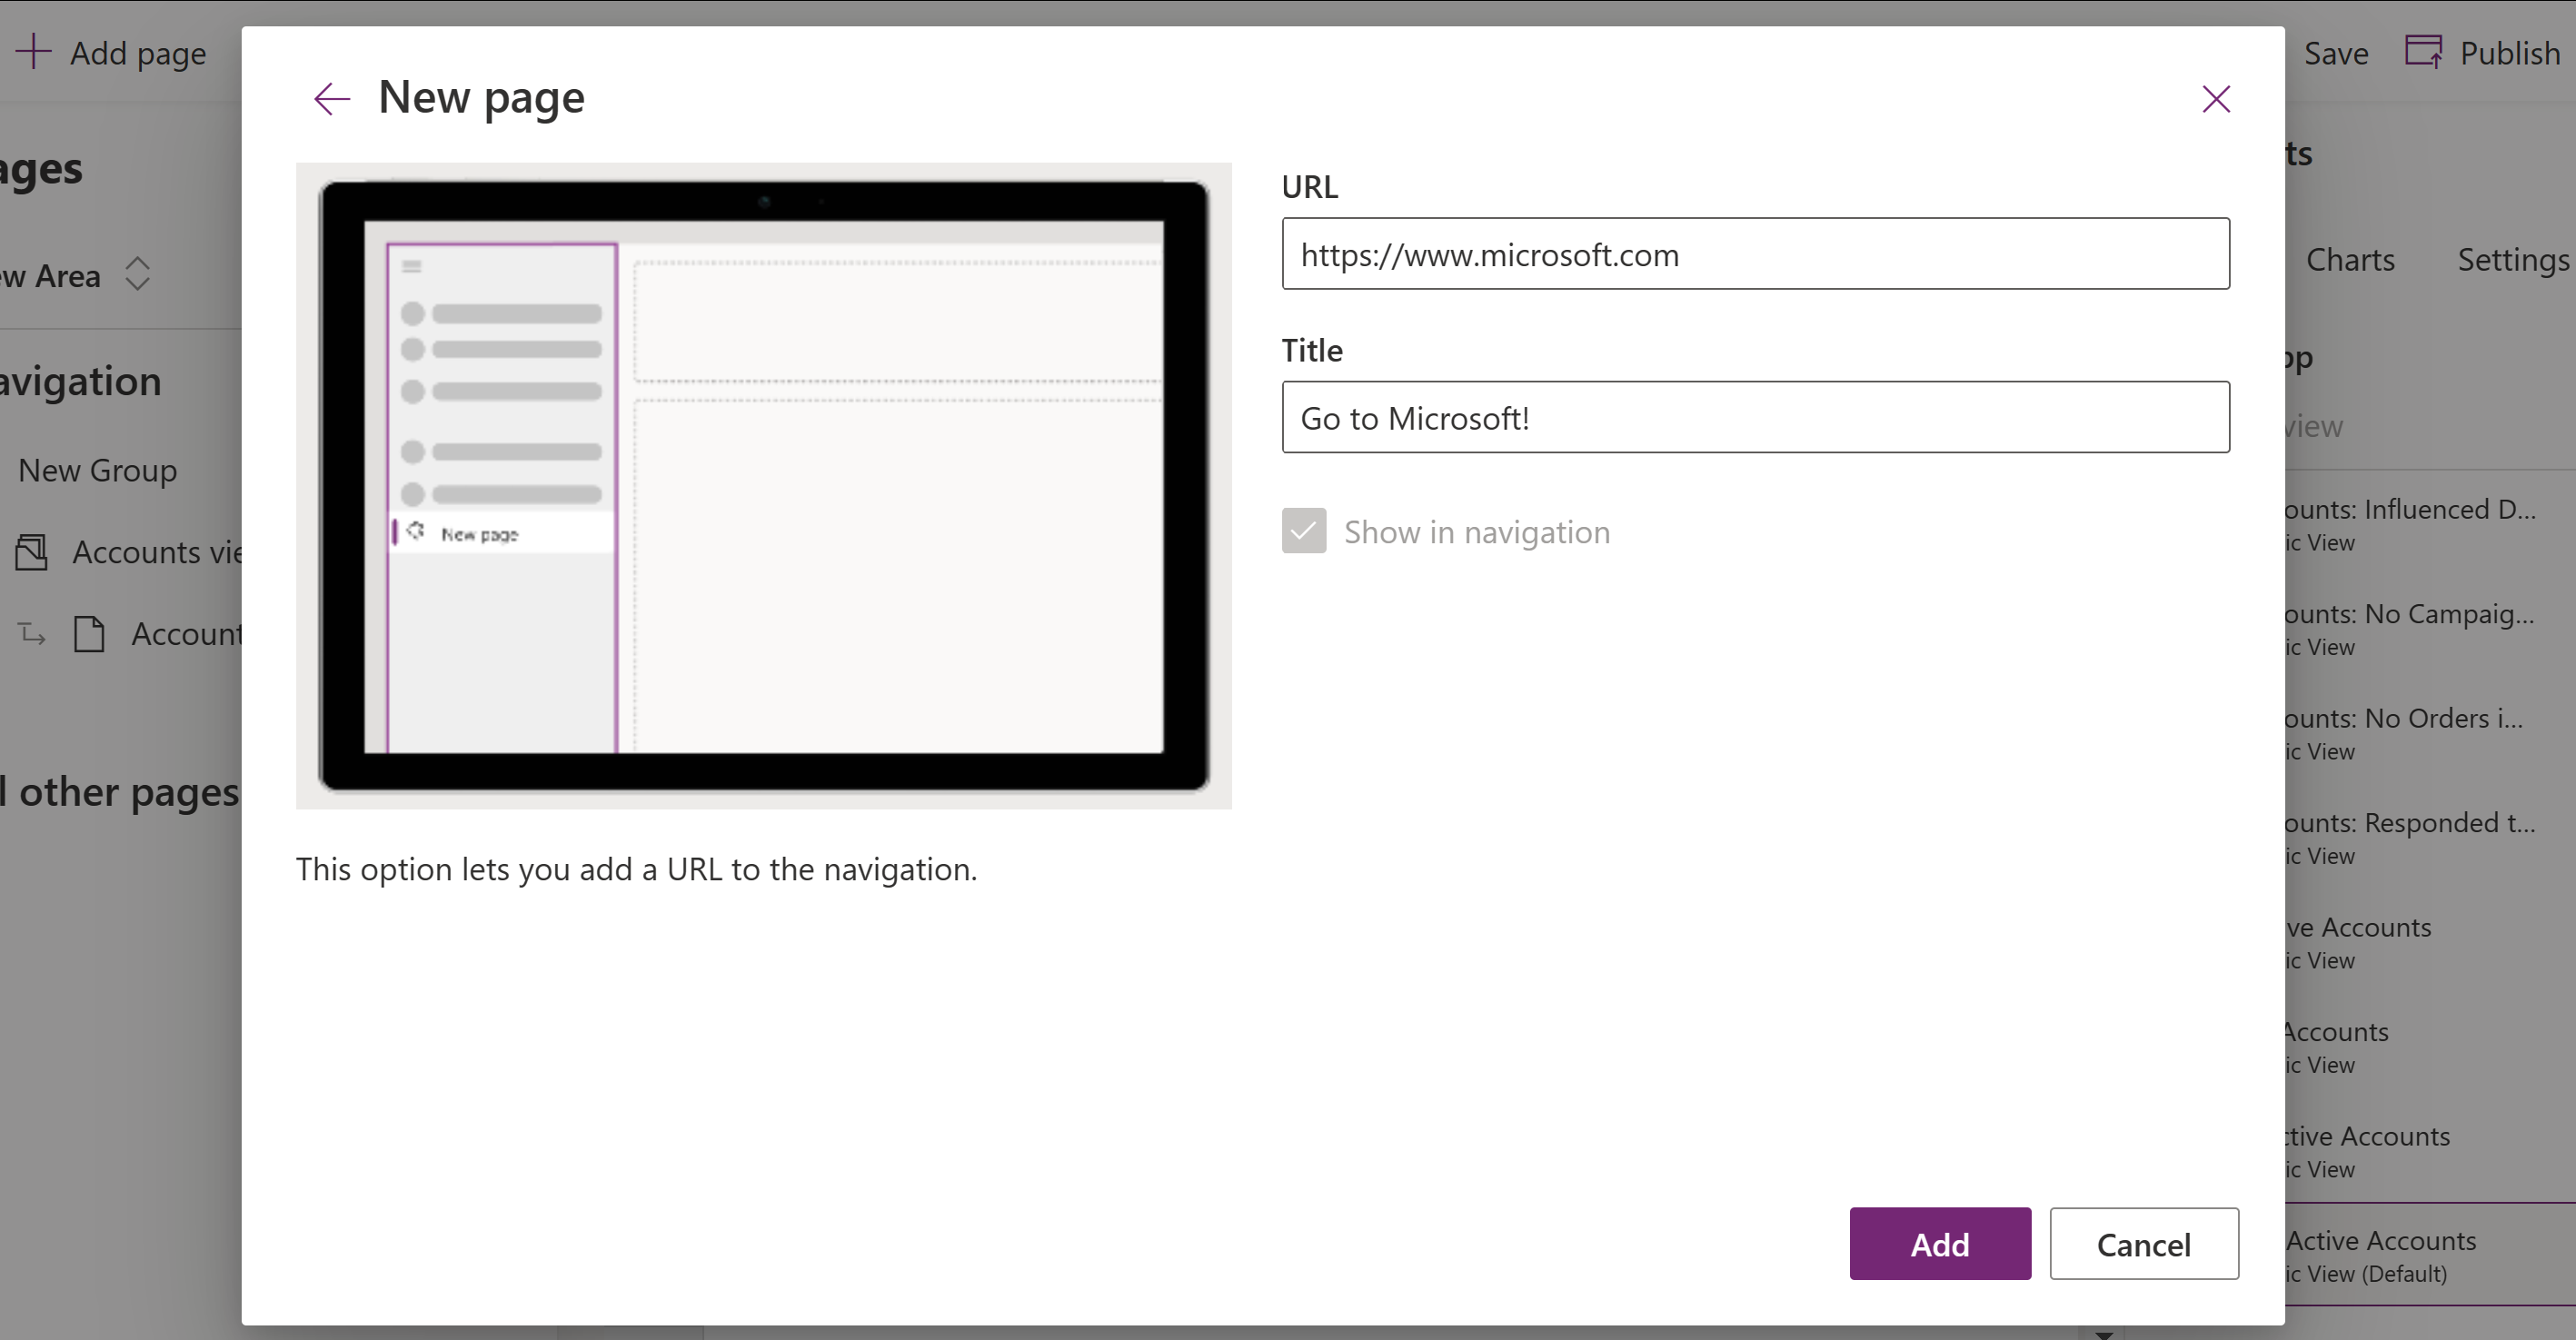
To save your app navigation changes select Save.
To publish the changes and make them available to other users, select Publish.
Remove a group or page
- On the left navigation pane, select Pages.
- Select the group or page you want, select the ellipses (...) and then select Remove from navigation.
Remove an area
- On the left navigation pane, select Pages.
- Select the area switcher under Pages, select ... next to the area you want to remove, and then select Remove from navigation.