Choose and configure columns in model-driven app views
Along with the filter criteria, the columns visible in a Power Apps view are very important to the value provided by the view. In this topic, you create or edit views by performing the following tasks:
Important
The latest version of the view designer is currently in preview. Some features like enabling or disabling presence for a column and adding a find column are not yet supported. To accomplish these tasks, open the view in the classic view designer.
Opening the view editor
Sign in to Power Apps.
Select Tables, and then select the table that you want. If the item isn’t in the side panel pane, select …More and then select the item you want.
Select the Views area. You can also navigate to the table and views via solutions as shown below.
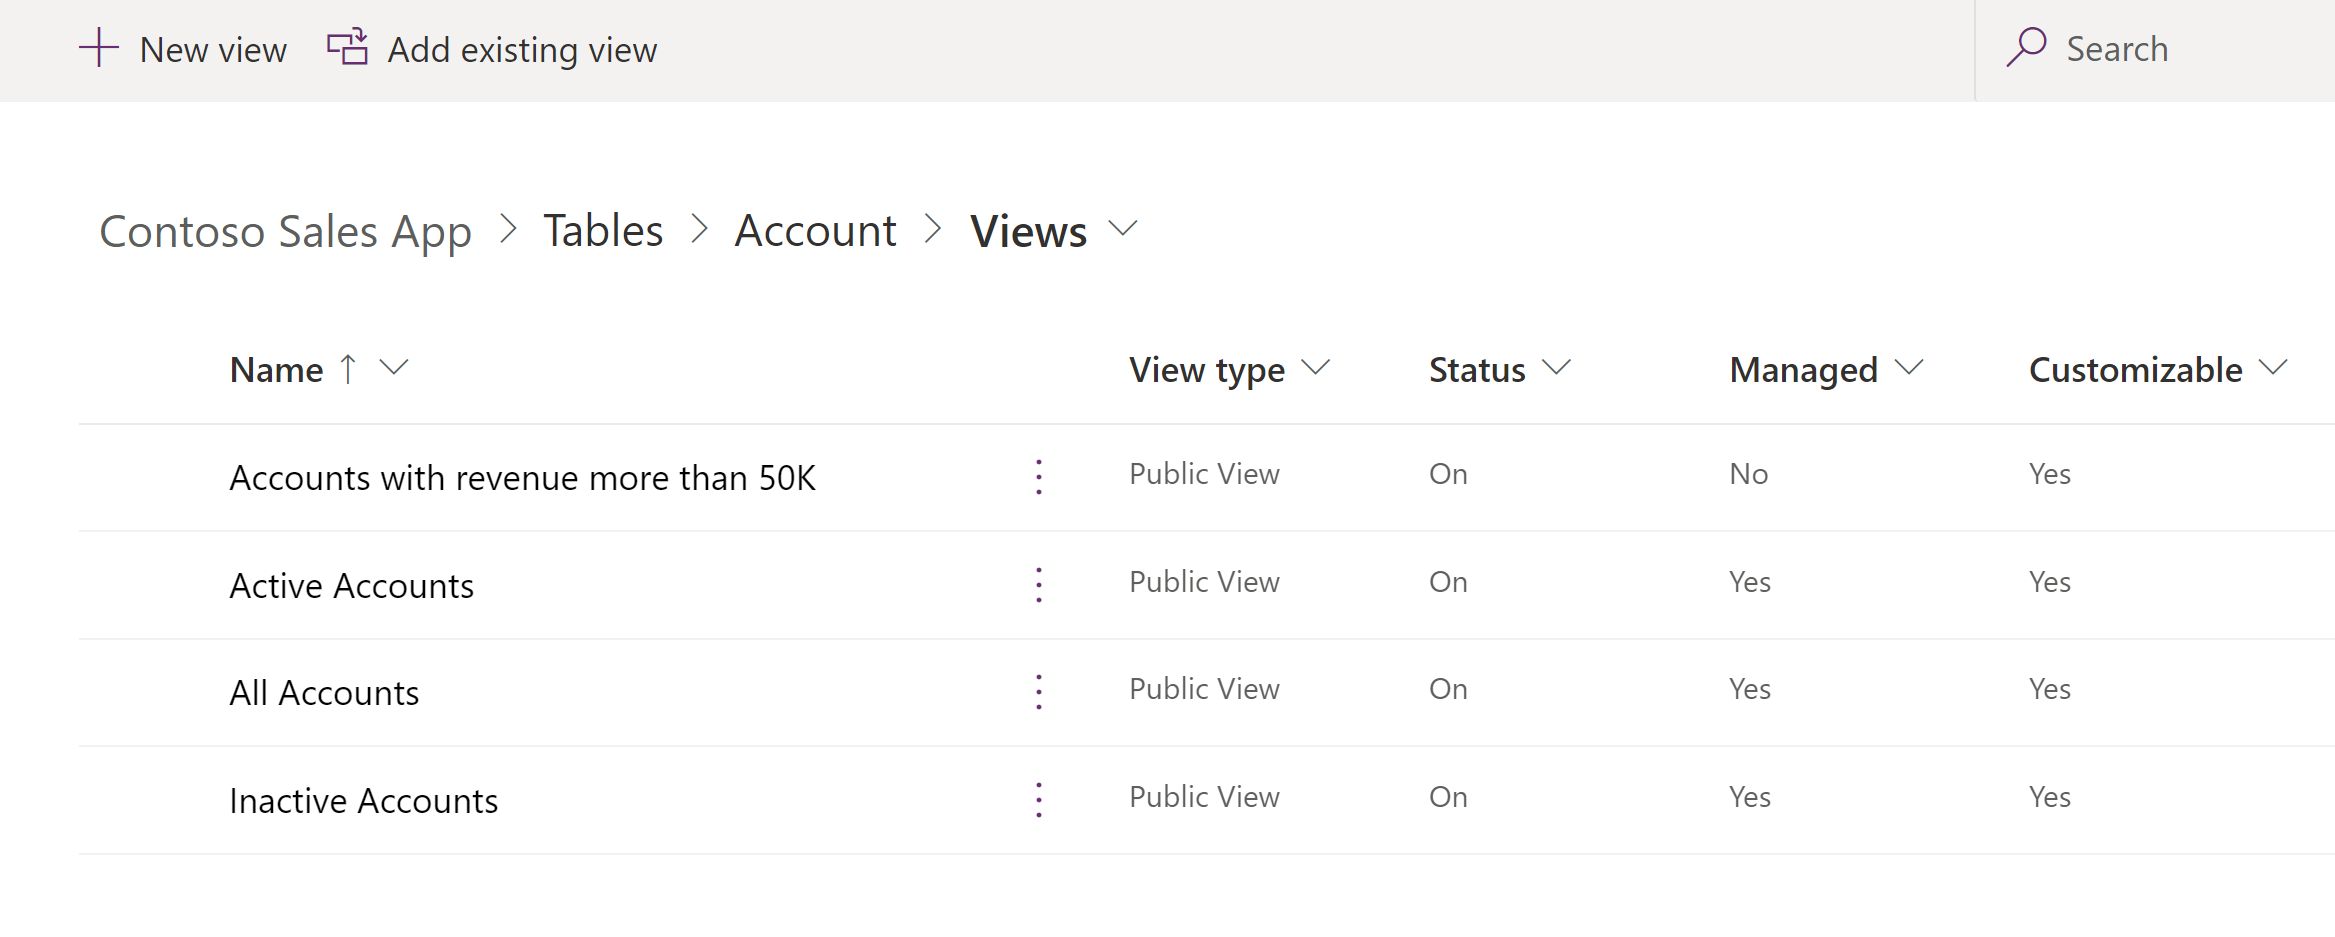
Select an existing view to open it or on the toolbar select New view.
Adding columns
You can include columns from the current table or any of the related tables that have a 1:N table relationship with the current table.
For example, perhaps you want to display the owner of a user-owned table in a column. You can choose the Owner column of the current table to display the name of the owner. This will appear as a link to open the User row for the person who is the owner.
If you want to display the phone number for the owner of the row, you must select Owning User (User) from the Row type drop-down and then select the Main Phone column.
Tip
Only include the specific columns you need for the view. A larger numbers of columns in a view can cause degradation of grid performance.
Add columns to views
While creating and editing views, ensure that the Table columns panel is open. If it is not, select View column on the toolbar.
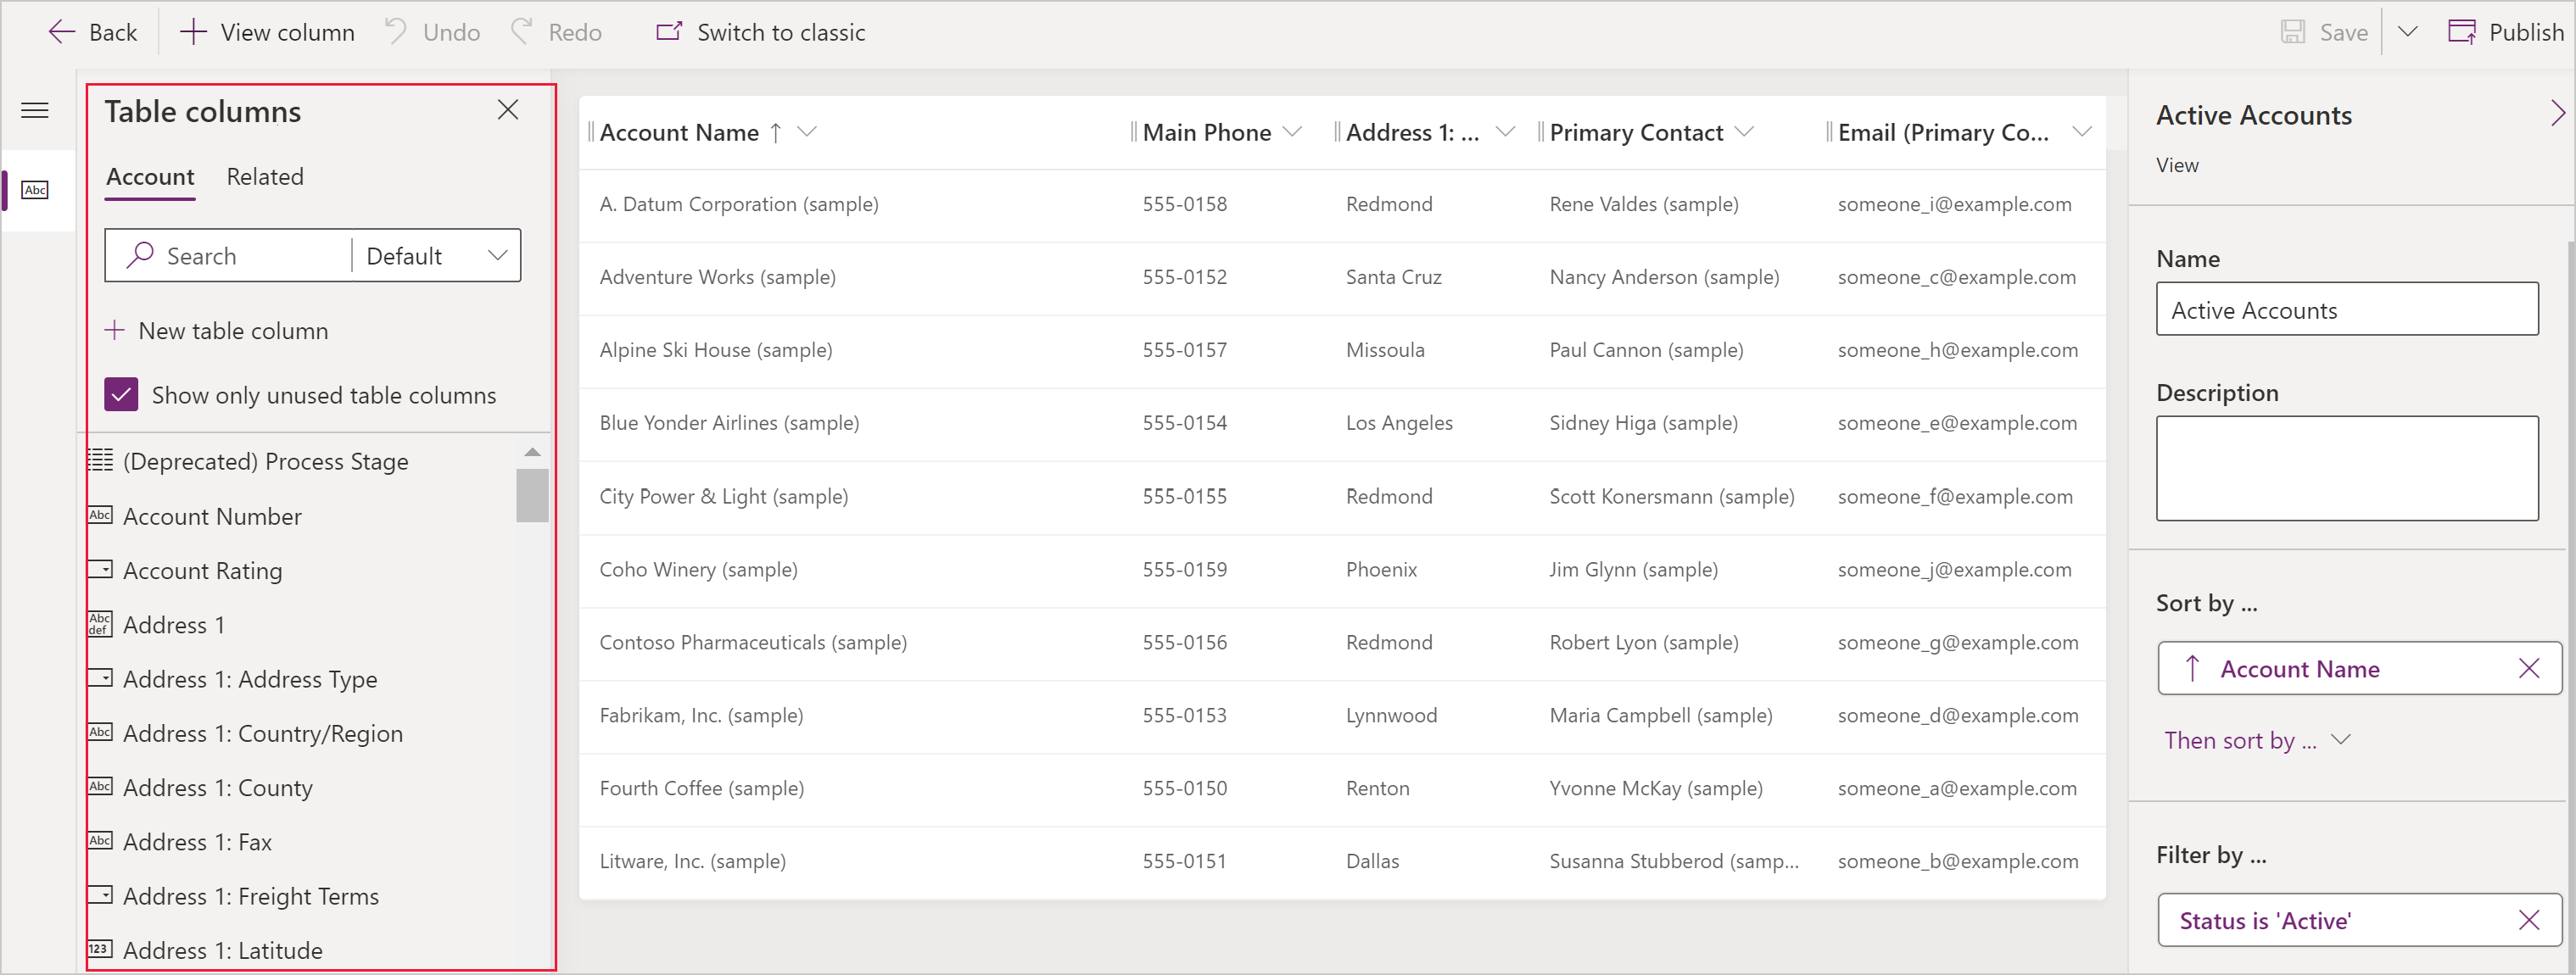
Select the columns you want to add to the view designer. This adds the column as a column on the right-hand of the view.
Select the Related tab to see related tables and their corresponding columns.
As you add columns, you will increase the width of the view. If the width of the view exceeds the space available to show it in the page, horizontal scrollbars will allow people to scroll and see the hidden columns.
Tip
If your view filters on data for a certain column so that only rows with a certain value are shown, don’t include that column in the view. For example, if you are only showing active rows, don’t include the status column in the view. Instead, name the view to indicate that all the rows shown in the view are active.
Note
When you add columns to Lookup views for updated tables, only the first three columns will be displayed.
Removing columns
Select the header of the column you want to remove.
In the dropdown, select Remove.
Changing column widths
Hover over the area between columns in the view.
A line appears and your cursor becomes a double sided arrow.
Drag the column to the appropriate width.
Moving a column
Click and drag the column header to the correct position.
Tip
You can also select the header of the column you want to move and from the dropdown select Move Right or Move Left.
Next steps
Feedback
Coming soon: Throughout 2024 we will be phasing out GitHub Issues as the feedback mechanism for content and replacing it with a new feedback system. For more information see: https://aka.ms/ContentUserFeedback.
Submit and view feedback for