Configure web part icon
Selecting an icon that illustrates the purpose of your SharePoint client-side web part makes it easier for users to find your web part among all other web parts available in the toolbox or when creating single part app pages.
Preconfigure web parts
A web part icon is defined in the web part manifest as part of preconfigured entries. If you have a multipurpose web part that can be configured to meet different needs, each configuration can have a different icon indicating its purpose.
Using a representative icon helps users find the web part they're looking for. For more information about preconfiguring your web parts, see Simplify adding web parts with preconfigured entries.
In the web part manifest you can configure the web part icon displayed in the toolbox and a preview image displayed when creating single part app pages.
Specify toolbox icon
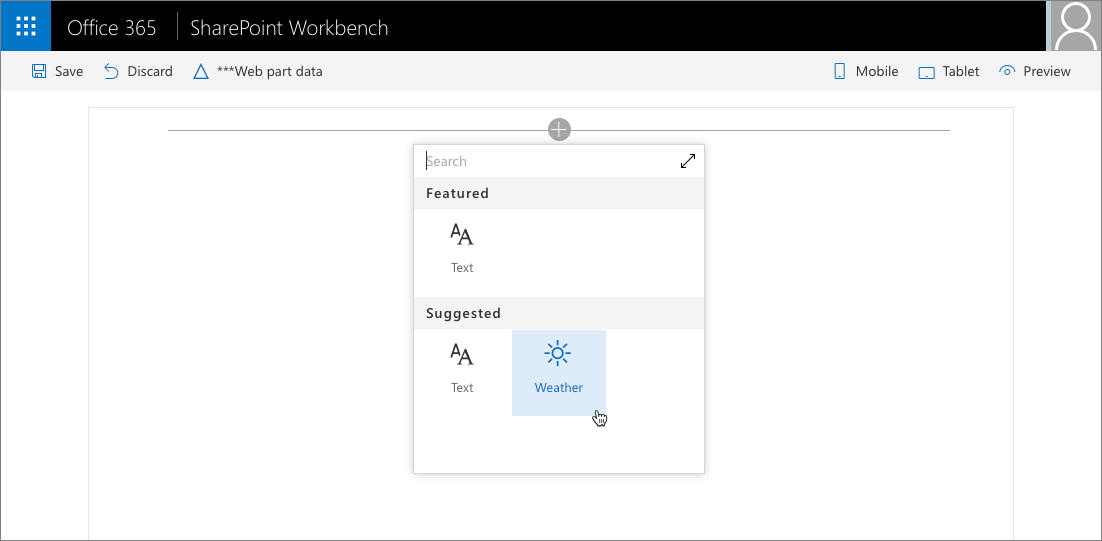
Toolbox icon is displayed when in the web part toolbox, when users choose to add a web part to the page.

SharePoint Framework offers you a number of ways to define the toolbox icon for your web part.
Use Fluent UI icon font
One way to define the icon for your web part is by using the officeFabricIconFontName property. This property allows you to choose one of the icons offered as a part of Fluent UI.
For a list of available Fluent UI icons, see Icons.
To use a specific icon
On the Fluent UI icons overview page, copy its name, and paste it as the value of the
officeFabricIconFontNameproperty in the manifest of your web part.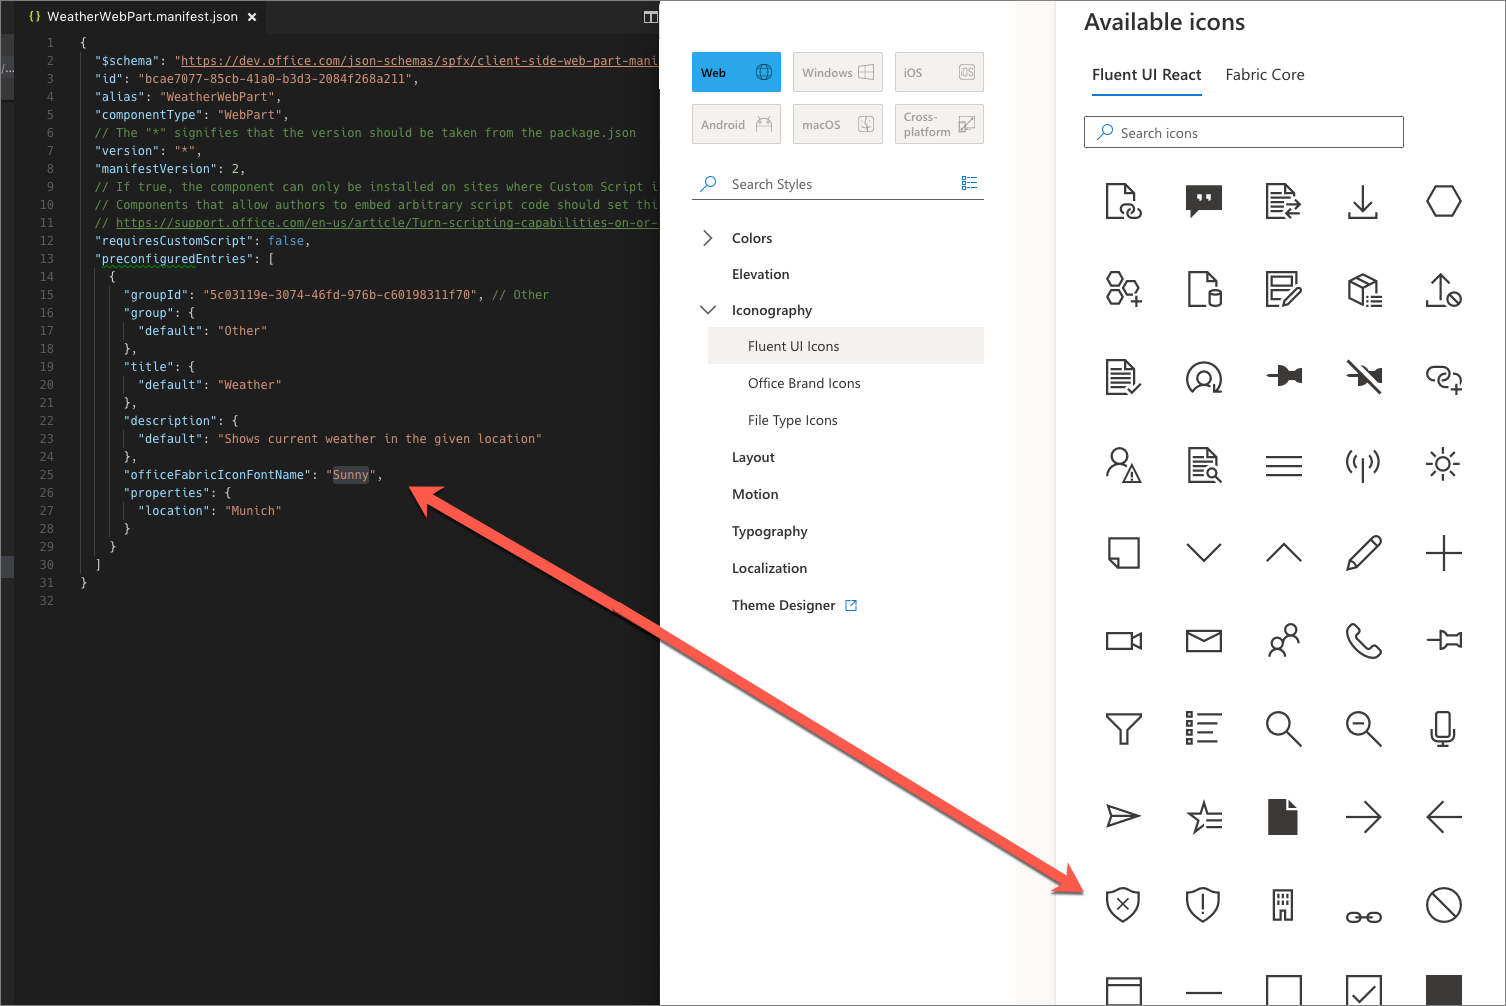
{
  "$schema": "https://developer.microsoft.com/json-schemas/spfx/client-side-web-part-manifest.schema.json",
  "id": "bcae7077-85cb-41a0-b3d3-2084f268a211",
  "alias": "WeatherWebPart",
  "componentType": "WebPart",

  "version": "*",
  "manifestVersion": 2,

  "requiresCustomScript": false,
  "preconfiguredEntries": [
    {
      "groupId": "5c03119e-3074-46fd-976b-c60198311f70", // Advanced
      "group": {
        "default": "Advanced"
      },
      "title": {
        "default": "Weather"
      },
      "description": {
        "default": "Shows current weather in the given location"
      },
      "officeFabricIconFontName": "Sunny",
      "properties": {
        "location": "Munich"
      }
    }
  ]
}
When adding your web part to the page, the selected icon is displayed in the toolbox.
The benefit of this approach is that you don't need to deploy the icon image file along with your web part assets. Additionally, on computers using different DPI or other accessibility settings, the icon automatically adapts to these settings without losing quality.
Use an external icon image
Although Fluent UI offers many images, when building web parts you might want to use something specific to your organization to clearly separate your web parts from other first and third-party web parts visible in the toolbox.
In addition to using Fluent UI icons, the SharePoint Framework also allows you to use images.
To use an image as a web part icon
Specify the image's absolute URL in the
iconImageUrlproperty in the web part manifest.{ "$schema": "https://developer.microsoft.com/json-schemas/spfx/client-side-web-part-manifest.schema.json", "id": "bcae7077-85cb-41a0-b3d3-2084f268a211", "alias": "WeatherWebPart", "componentType": "WebPart", "version": "*", "manifestVersion": 2, "requiresCustomScript": false, "preconfiguredEntries": [ { "groupId": "5c03119e-3074-46fd-976b-c60198311f70", // Advanced "group": { "default": "Advanced" }, "title": { "default": "Weather" }, "description": { "default": "Shows current weather in the given location" }, "iconImageUrl": "https://assets.contoso.com/weather.png", "properties": { "location": "Munich" } } ] }The web part icon image displayed in the toolbox is 40x28px. If your image is bigger, it's sized proportionally to match these dimensions.
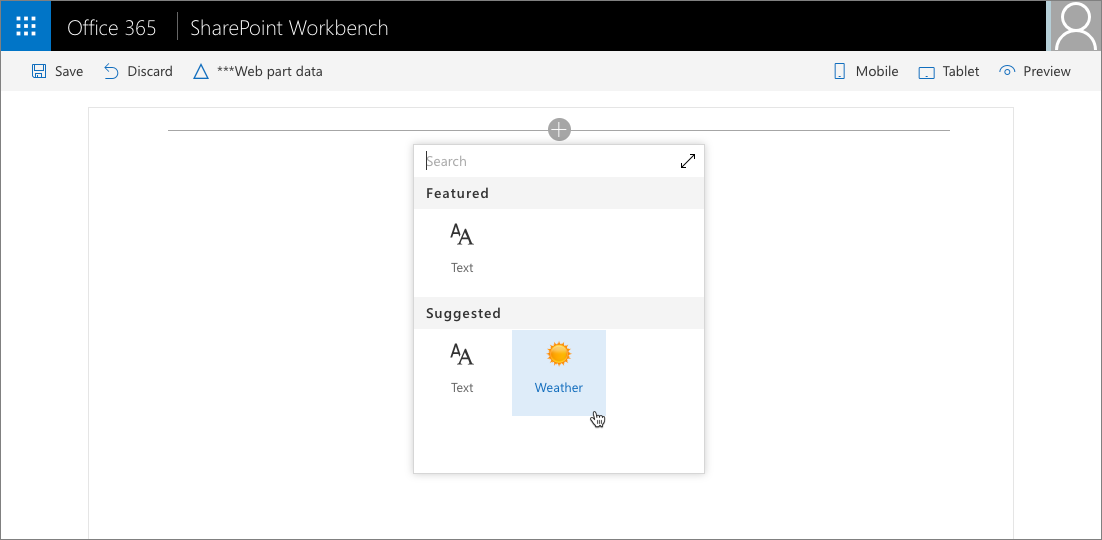
While using custom images gives you more flexibility to choose an icon for your web part, it requires you to deploy them along with your other web part assets. Additionally, your image might lose quality when displayed in higher DPI or specific accessibility settings. To avoid quality loss, you can use vector-based SVG images, which are also supported by the SharePoint Framework.
Use a base64-encoded image
When using a custom image, rather than specifying an absolute URL to the image file hosted together with other web part assets, you can have your image base64-encoded and use the base64 string instead of the URL.
A number of services are available online that you can use to base64-encode your image; for more information, see Convert your images to Base64.
To use a base64-encoded image
Encode the image.
Copy the base64 string and use it as the value for the
iconImageUrlproperty in the web part manifest.{ "$schema": "https://developer.microsoft.com/json-schemas/spfx/client-side-web-part-manifest.schema.json", "id": "bcae7077-85cb-41a0-b3d3-2084f268a211", "alias": "WeatherWebPart", "componentType": "WebPart", "version": "*", "manifestVersion": 2, "requiresCustomScript": false, "preconfiguredEntries": [ { "groupId": "5c03119e-3074-46fd-976b-c60198311f70", // Advanced "group": { "default": "Advanced" }, "title": { "default": "Weather" }, "description": { "default": "Shows current weather in the given location" }, "iconImageUrl": "data:image/svg+xml;base64,PD94bWwgdmVyc2lvbj0iMS4wIiBlbmNvZGluZz0iVVRGLTgiPz4KPHN2ZyB3aWR0aD0iMTAyMiIgaGVpZ2h0PSI5NzgiIHhtbG5zPSJodHRwOi8vd3d3LnczLm9yZy8yMDAwL3N2ZyIgeG1sbnM6c3ZnPSJodHRwOi8vd3d3LnczLm9yZy8yMDAwL3N2ZyI+CiA8Zz4KICA8dGl0bGU+TGF5ZXIgMTwvdGl...", "properties": { "location": "Munich" } } ] }
Base64 encoding works for both bitmap images, such as PNG, and vector SVG images. The benefit of using base64-encoded images is that you don't need to deploy the web part icon image separately.

Additional considerations
Each web part must have an icon. If you specify the web part icon by using both the officeFabricIconFontName and the iconImageUrl properties, the icon specified in the officeFabricIconFontName is used.
If you choose not to use a Fluent UI icon, you have to specify a URL in the iconImageUrl property.
Set the single part app page preview image
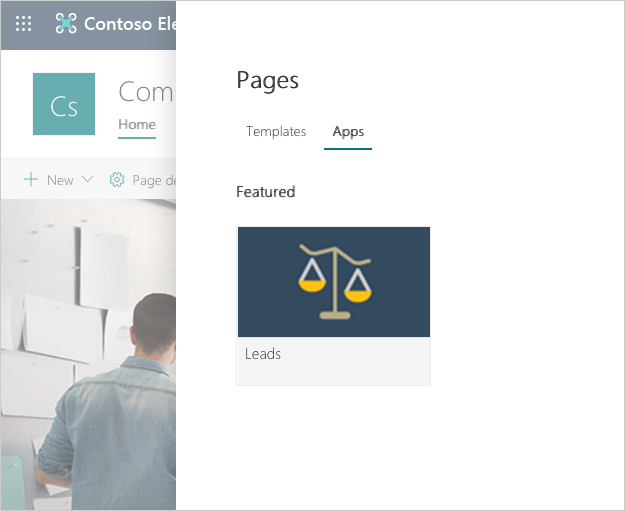
Starting from SharePoint Framework v1.11 you can specify the preview image for your web part that's displayed when users create a single part app page.
Caution
At this moment, the single part app page image can be set only to an image URL. Using base64-encoded images is currently not supported.
To set the single part app page preview image
Specify the image's absolute URL in the fullPageAppIconImageUrl property in the web part manifest.
{
  "$schema": "https://developer.microsoft.com/json-schemas/spfx/client-side-web-part-manifest.schema.json",
  "id": "bcae7077-85cb-41a0-b3d3-2084f268a211",
  "alias": "WeatherWebPart",
  "componentType": "WebPart",

  "version": "*",
  "manifestVersion": 2,

  "requiresCustomScript": false,
  "preconfiguredEntries": [
    {
      "groupId": "5c03119e-3074-46fd-976b-c60198311f70", // Advanced
      "group": {
        "default": "Advanced"
      },
      "title": {
        "default": "Weather"
      },
      "description": {
        "default": "Shows current weather in the given location"
      },
      "officeFabricIconFontName": "Sunny",
      "fullPageAppIconImageUrl": "https://assets.contoso.com/fullPageAppIcon.png",
      "properties": {
        "location": "Munich"
      }
    }
  ]
}
Tip
When displayed in the browser, the image will adjust its size based on the current screen size. By default, the image dimensions are 193x158px, where the bottom 48px are partially covered by the label with the web part's name. On smaller screens, the size and dimension of the displayed image will vary and the label with the web part's name can cover a relatively larger portion of the image.
Feedback
Coming soon: Throughout 2024 we will be phasing out GitHub Issues as the feedback mechanism for content and replacing it with a new feedback system. For more information see: https://aka.ms/ContentUserFeedback.
Submit and view feedback for