Exercise - Create a cloud flow and a connection
Note
To use the functionality in this lab, you'll need to own a paid or trial version of premium per-user plan with attended RPA. If you've completed the lab 1 prerequisite, you should already have a premium trial.
Open a new window browser and then go to https://make.powerautomate.com. Sign in if needed.
Select Create and then select the second option under Start from blank titled Instant cloud flow.

This causes the Build an instant cloud flow dialogue box to pop up. Name the flow
Manual trigger desktop flow to enter invoicethen select Manually trigger a flow. Select Create.
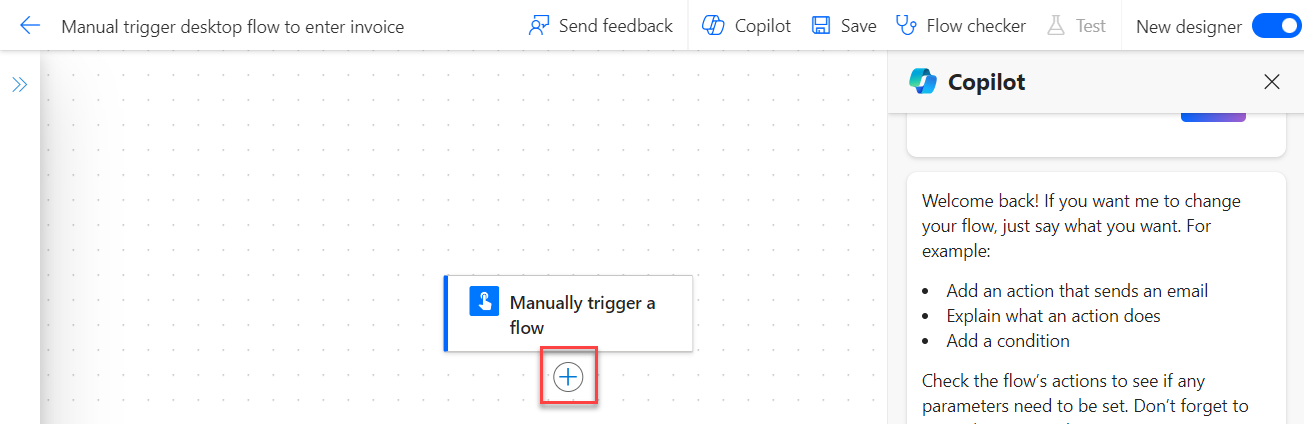
Add a step by selecting the + icon under the Manually trigger a flow action card.
Enter
desktop flowin the search box and then select Run a flow built with Power Automate for desktop located under Desktop Flows.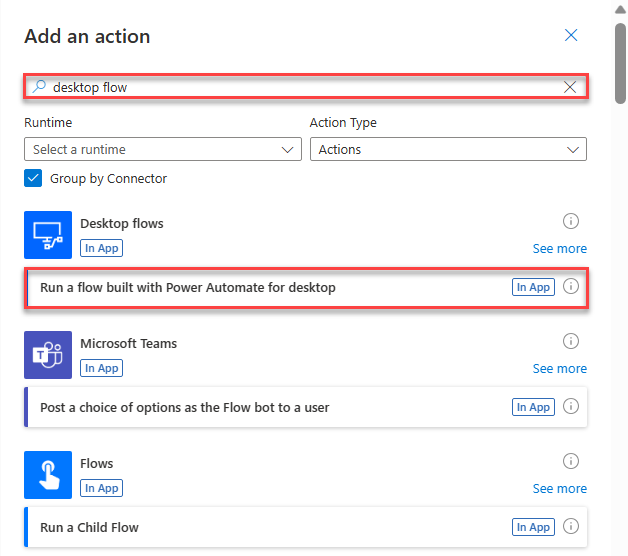
In the Connection Name box, type
My Computer. Select Connect with username and password from the Connect dropdown menu and then select the machine that you registered in the setup lab from the Machine or machine group dropdown menu.
Provide your sign-in user and password information.
Note
If you're uncertain of what to enter in the Domain and username field, you can use the Command Prompt window (open Windows Start menu, enter CMD, and then press the Enter key). Enter the whoami command and press the Enter key to locate the domain and username. Fill in the textbox with USERDOMAIN\USERNAME.
If this account isn't a domain account, then use the Set computer command to look for the computer name. Fill in the text with COMPUTERNAME\USERNAME.
Tip
To make sure that you have the correct sign-in credentials, try signing out of the computer and using the username/password combination to determine if you can successfully sign in to this computer.
Important
The account that you plan to use must have local admin rights on your machine.
Select Create New.

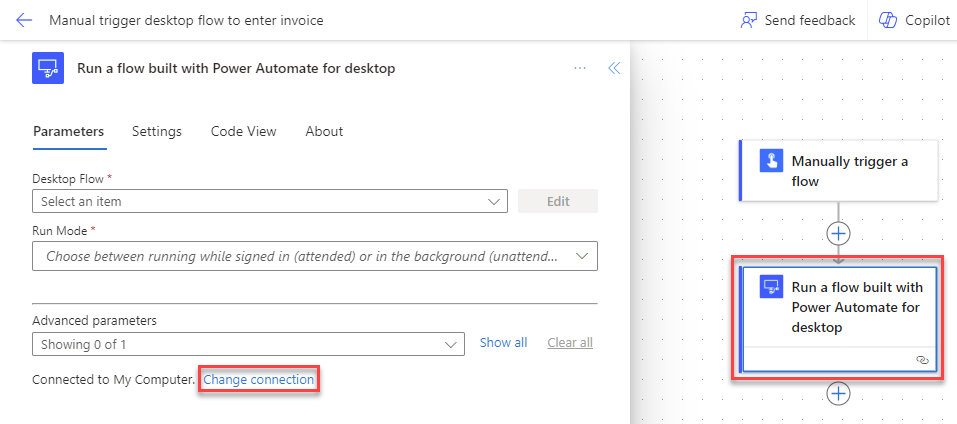
After setting up the connection, you can always view and select your connection by selecting the Run a flow built with Power Automate for desktop action card and then selecting Change connection reference.
Note
You can also create new connections here if needed. You can do this by selecting Add New. This step is not necessary for this lesson.
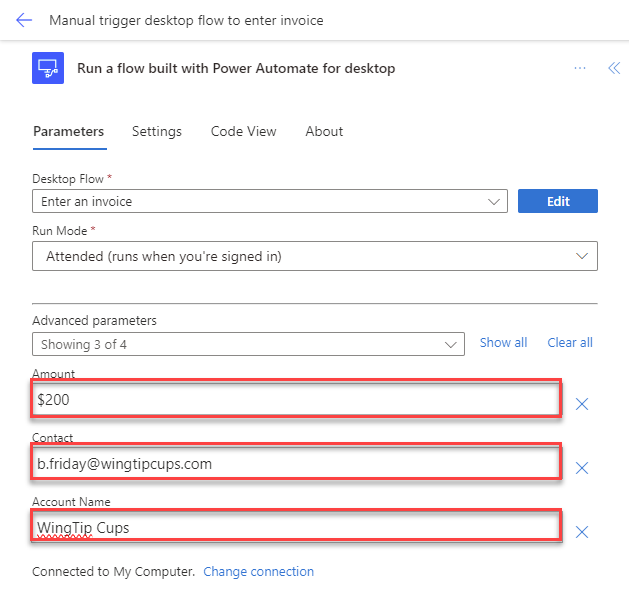
Select Enter an invoice from the Desktop flow dropdown menu.
From the Run Mode dropdown menu, select Attended (runs when you're signed in). This mode runs the desktop flow while you're signed in to the same machine. Unattended mode is for running flows on server machines without users needing to sign in.

Fill in the Amount, Contact, and Accountname boxes with the following sample input values (you're using static input values for now and will learn in the next labs how to use dynamic input values):
Amount -
$200Contact -
b.friday@wingtipcups.comAccount name -
WingTip Cups
Select Save, located at the top right-hand corner, and then wait for the flow to be saved.

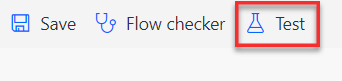
Select Test in the upper-right corner of the screen.
From the Test Flow dialog, select Manually and then select Test.

Determine if the required connections are correctly configured. If a green check mark appears to the right of Desktop flows, then you're ready to continue. Select Continue.

Select Run flow.

Select Done if your flow run started successfully.
Note
Don't interact with your device while testing.
Watch as your desktop flow is triggered from the cloud and runs on your desktop.
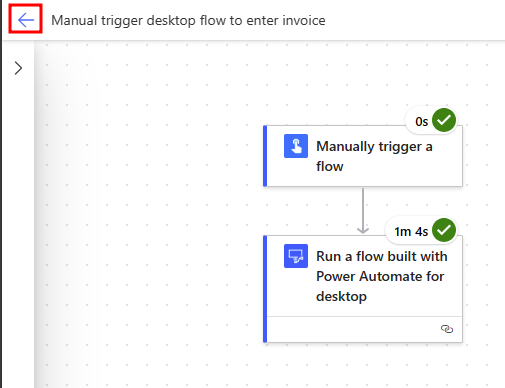
After your flow runs successfully, the run detail page will display.

Now we're going to connect the flow to the solution we previously created. To begin, select the back arrow at the top left of the screen next to the name of the flow.
Select Solutions and then select the previously created Invoice processing solution First Last.

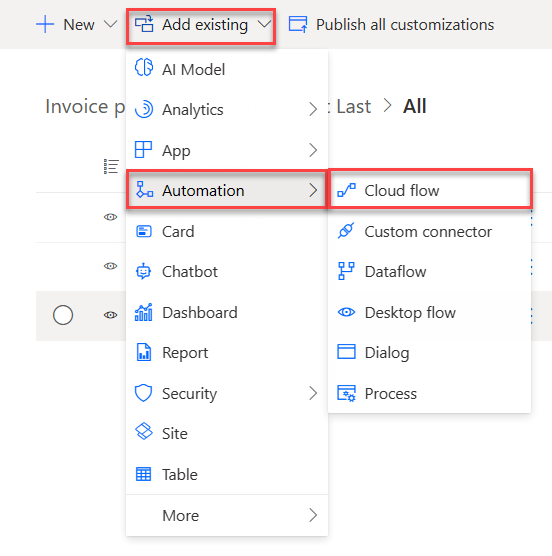
After clicking on the solution, select the Add existing drop-down menu at the top of the page. Then select Automation and then Cloud flow.
The Add existing cloud flows dialogue box pops up. Select the Outside Dataverse tab in the box. Then select the flow Manual trigger desktop flow to enter invoice and finally, select Add.


Now the flow is linked to the solution.
Tip
If you want more information on enhancing your cloud flow building skills, refer to the following Cloud Flow Best Practices