Exercise - Create a cloud flow with Describe it to design it
Note
To use the functionality in this lab, you'll need to own a paid or trial version of premium per-user plan with attended RPA. If you've completed the lab 1 prerequisite, you should already have a premium trial.
Open a new web browser and navigate to https://make.powerautomate.com. Sign in if needed.
Once in the Power Automate web browser, select My Flows from the navigation pane to the left of the screen.
Next, select the + New Flow drop-down from the ribbon at the top of the page.
From the drop-down, select Describe it to design it (preview).

If the Welcome pop-up dialog appears, select the X in the upper right corner to close out.
Within the text box at the top of the page, enter
When I receive an email with an attachment send a teams notification. Then hit Enter on your keyboard.
Once the flow has loaded and you have checked to make sure it's the correct flow you would like to use, select Next.

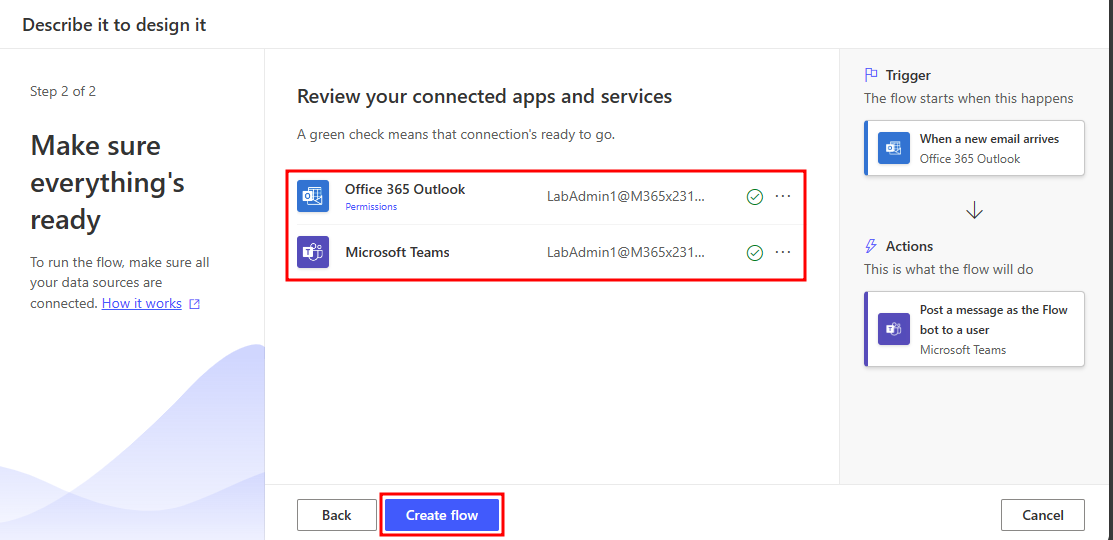
Check that you have the correct connection within the connected apps and services list, and then select Create flow. The connection should show as the same username that you used to sign in to Power Automate. Notice that to the right of the screen, you can also see a preview of the flow being created.
Note
If you receive error icon notifications within the connected apps and services list, select Fix connection. Use the same account you used to login to Power Automate to fix the connection.
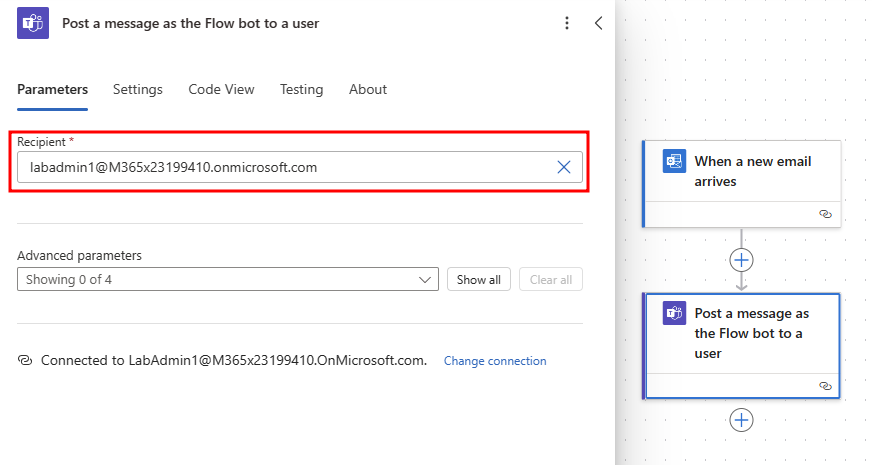
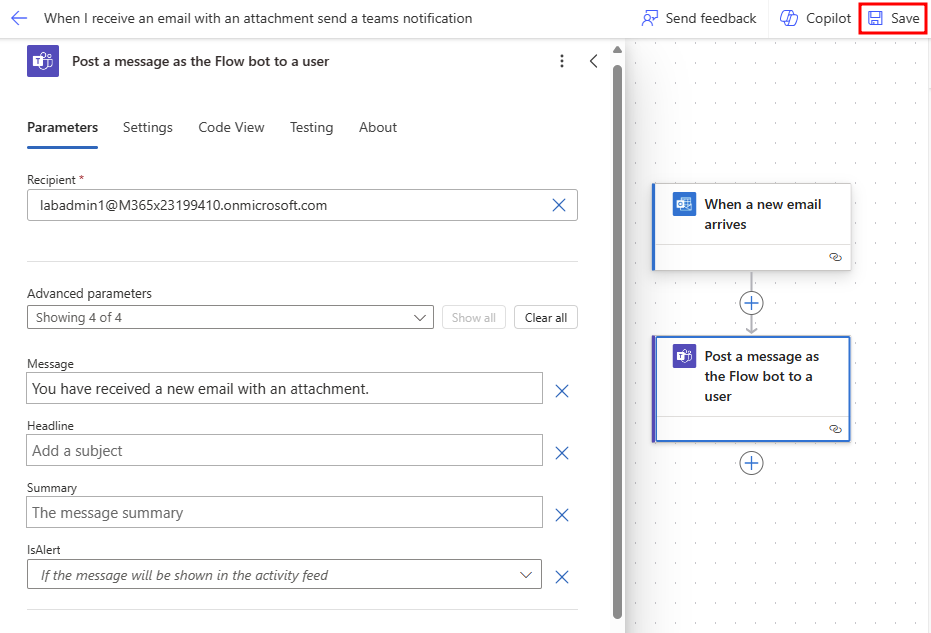
You should now be able to begin editing the flow. In the flow, select the Post a message in a chat or channel action.
Select Switch to Advanced Mode above the Recipient field.
Enter the email address for the account you are currently using in the Recipent field.
Note
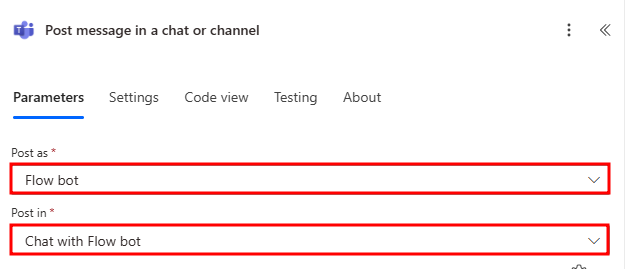
Results may vary when using Copilot to build a flow. If the Teams message action Copilot picked requires Post As and Post In fields, pick Flow bot for Post As and Chat with Flow bot for Post In.
Within the Message text box field, enter the message:
You have received a new email with an attachment.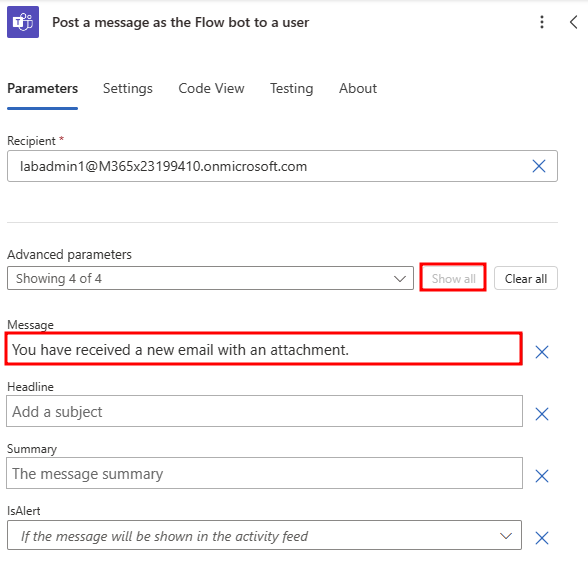
Lastly, select the Save button located at the top right of the page to save the changes that were just made to the parameters of the newly created flow.
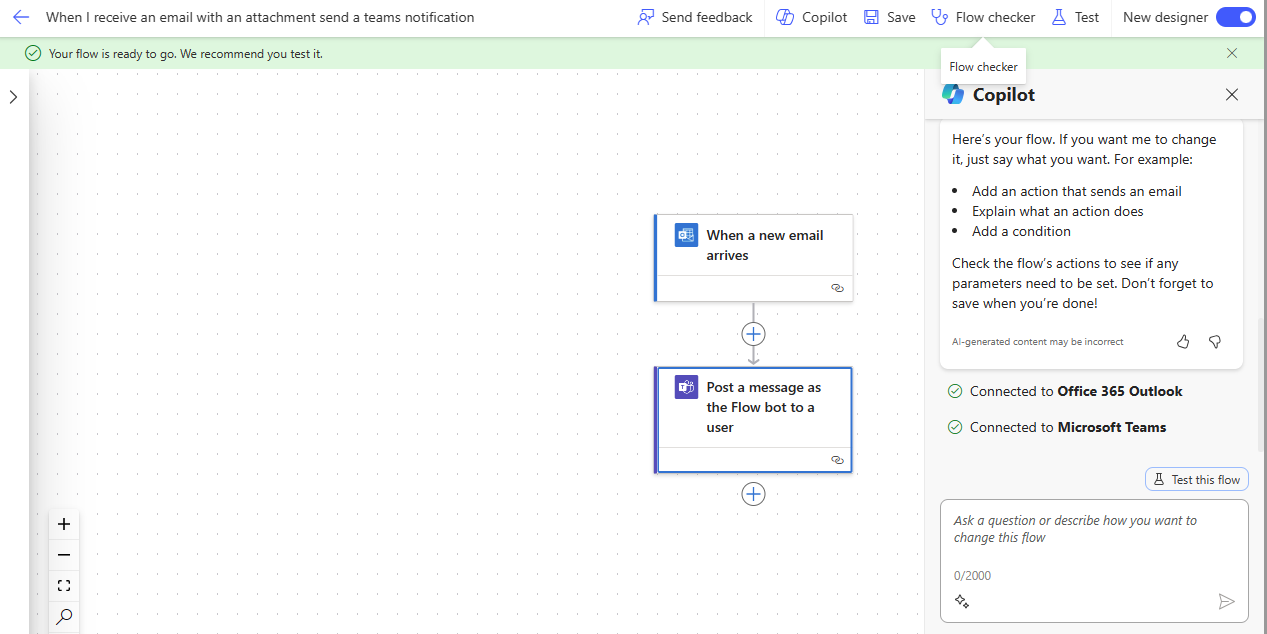
You should now be viewing a page that displays the flow that you created with the new parameters. After saving in the last step, a green success message at the top of the screen will show.
Note
To the right of the screen, you can chat with Copilot to make changes to your flow. You can also add to your flow by selecting the plus signs below each step.


You have now completed the flow!
If you desire, you can continue to test your flow by sending yourself an email with an attachment.