Exercise - Create a work queue
In previous labs, you created an end to end solution to enter an invoice to a legacy application. That solution, which runs a desktop flow from a cloud flow, lets you automatically enter relevant data into the legacy application without having any manual process take place. When triggered, this flow is placed in a queue with all other desktop flows that are set to run and only run when its turn in the queue is up in the order. But, a question remains - what if that order needs to be modified so a specific flow run takes higher priority than others?
Work queues in Power Automate play a crucial role in improving the efficiency, scalability, and resiliency of automations and help prioritize work, with the highest-priority items being completed first, regardless of whether they're processed by digital workers, human workers, or through integrations.
Just as manufacturing assembly lines are designed to decouple different complex stages of production, work queues can help decouple different areas of a process allowing each part to operate independently and exchange prioritized inputs and outputs asynchronously.
Task: Create a new work queue
Go to Power Automate and sign in with your credentials.
Within the navigation menu to the left of the screen, select More with the ellipses next to it. Then, select Work queues.
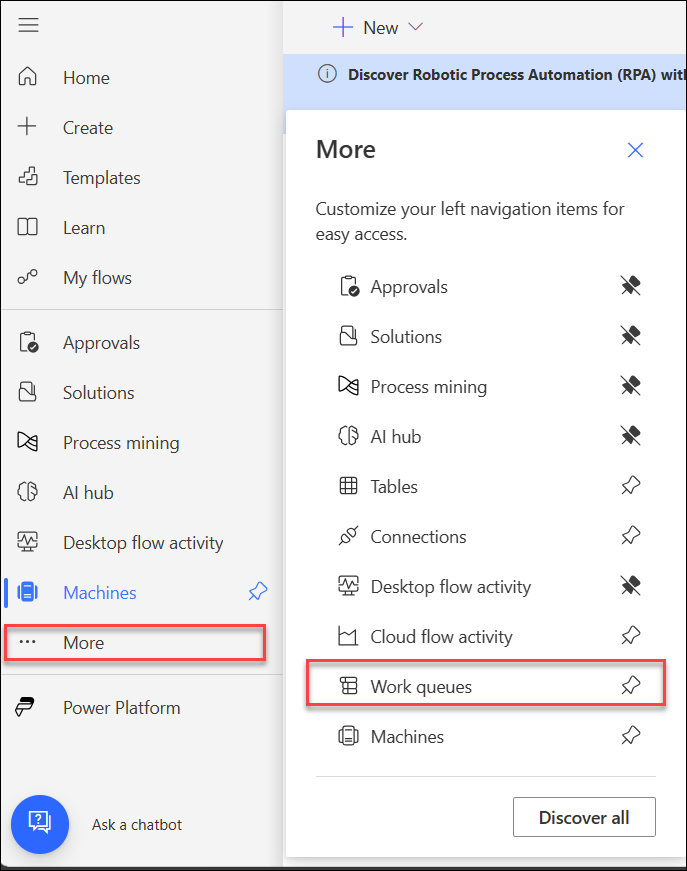
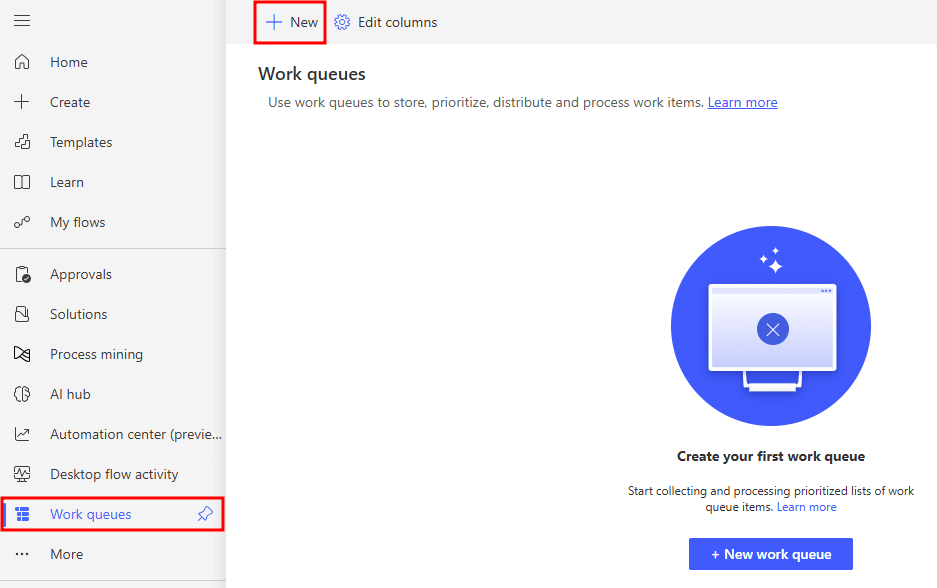
This takes the user to the work queues section. Select the + New work queue button or select the +New button at the top of the screen to create a new work queue.
In the New work queue panel, enter the following information:
- Work queue name:
Invoices
- Work queue name:
Then, select Create.

Note
If you set an expiration time for a work queue, any item added will expire after the time has elapsed. So if you set expiration time to 30 minutes, an item added at 2:00 PM will expire at 2:30 PM.


Task: Create the Work Queue Item Load workflow
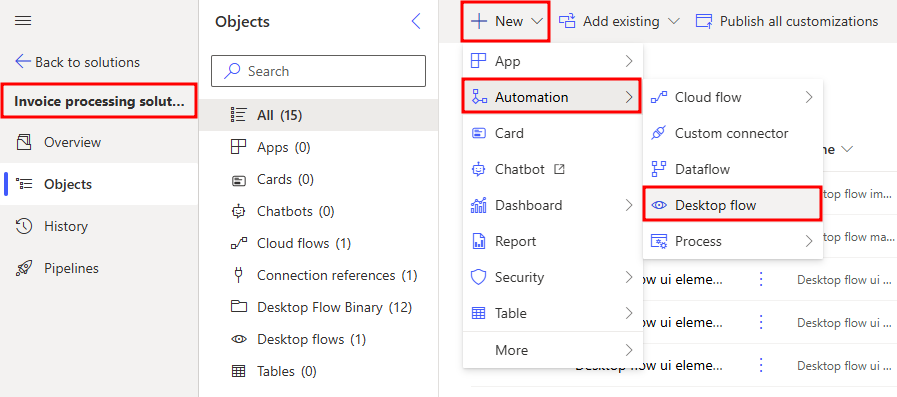
From within the Invoice Processing Solution created in a previous lab, select + New from the toolbar at the top. Then, select Automation and Desktop Flow to create a new desktop flow.
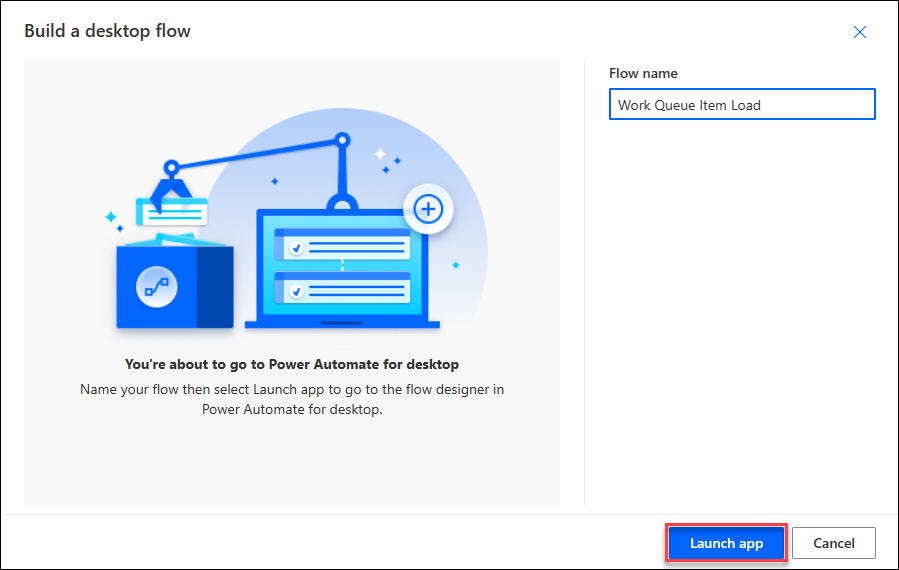
Name the flow Work Queue Item Load, then select Launch app. You're taken to a new tab in your browser and might need to sign into Power Automate Desktop if prompted.
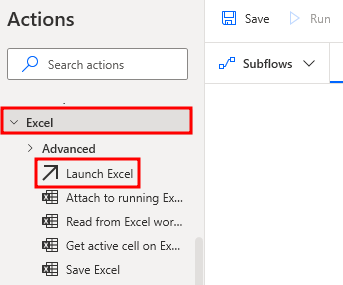
Once in the Power Automate Desktop designer, navigate to the Excel section and select the Launch Excel action to add as the first step of the workflow.
In the Launch Excel action, select the Launch Excel parameter dropdown menu and change it to and open the following document.
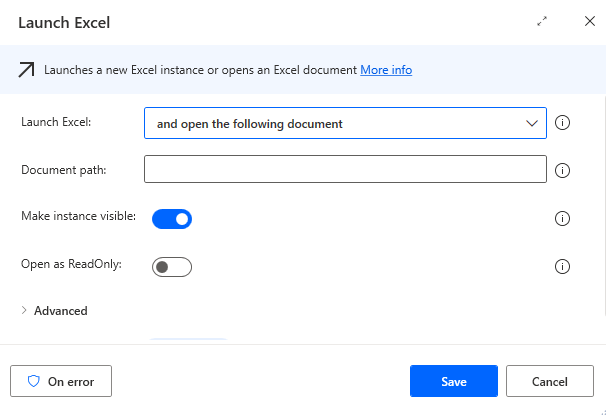
Change the Document path and select the file named Work Queue Vendor Invoice Items from the folder Lab #13 Excel file for Work Queues in the course materials.

Select the toggles as shown here to turn off Make instance visible and turn on Open as ReadOnly, then select Save.

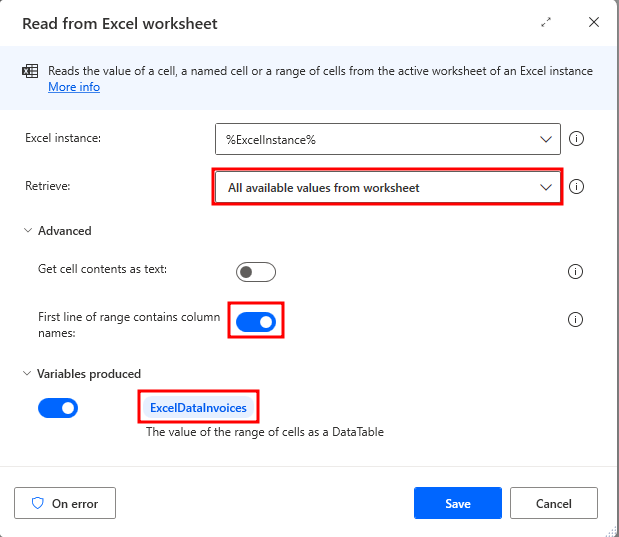
From within the Excel actions area, select the Read from Excel worksheet action and add as the next step.

Select the dropdown menu in the Read from Excel worksheet action for Retrieve and select All available values from worksheet. Then, select Advanced and toggle First line of range contains column names to on. Lastly, select the variable produced and add Invoices to the name of the variable to display as ExcelDataInvoices.
Note
It is a best practice to rename variables as necessary to make it easier to understand the purpose of the variable and how it is to be referenced.
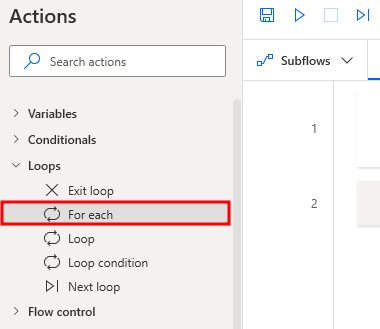
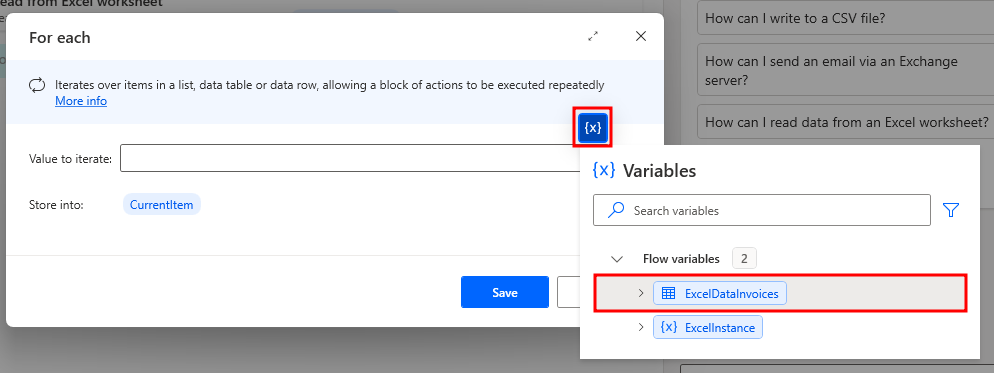
Navigate to the Loops actions section and select the For Each loop action.
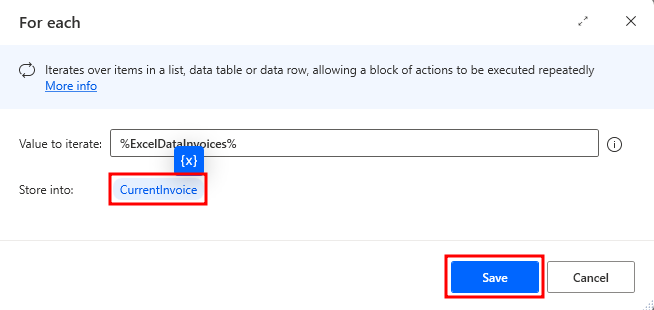
Select the variable icon to choose the ExcelDataInvoices variable to iterate over, then edit the name of the variable that the data is stored into to be CurrentInvoice and select Save.
Navigate to the Work Queues section in the Action pane and select the Add work queue item action. Ensure to drag the action inside of the For Each loop.
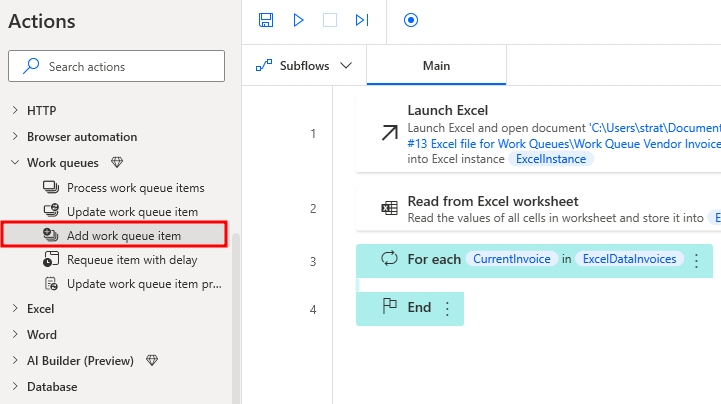
Within the dialog box, add the following information, then select Save.
Work Queue: Invoices
Status: Queued
Priority: Normal
Name:
%CurrentInvoice['InvoiceItemID']%Input:
{
"AccountName": "%CurrentInvoice['AccountName']%",
"ContactEmail": "%CurrentInvoice['ContactEmail']%",
"Amount": "%CurrentInvoice['Amount']%"
}

Note
The square brackets [ ] with single quote ' ' designate a column to be referenced.
Note
The input in this case is a JSON object that is storing data in name/value pairs.
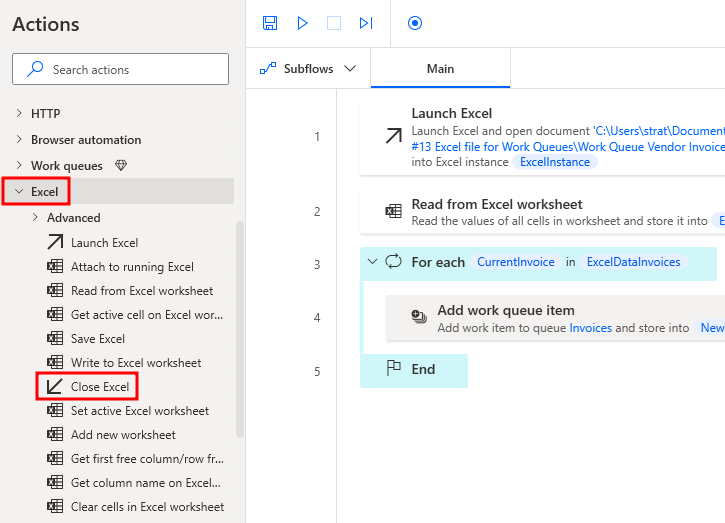
Navigate to the Excel section in the Actions pane and add the Close Excel action as the last step in the flow, outside of the For Each loop. You don't need to make any modifications to this action.

Select the Save button and then select the Run button to run the workflow.
Close the Power Automate Desktop designer window.
Navigate to the Power Automate cloud flow portal at make.powerautomate.com and select More and choose Work Queues from the menu. Notice the 30 queued items for the Invoice work queue.

Select the Invoice work queue and navigate to the Items tab to view the full list of items that were queued by the recently ran workflow.
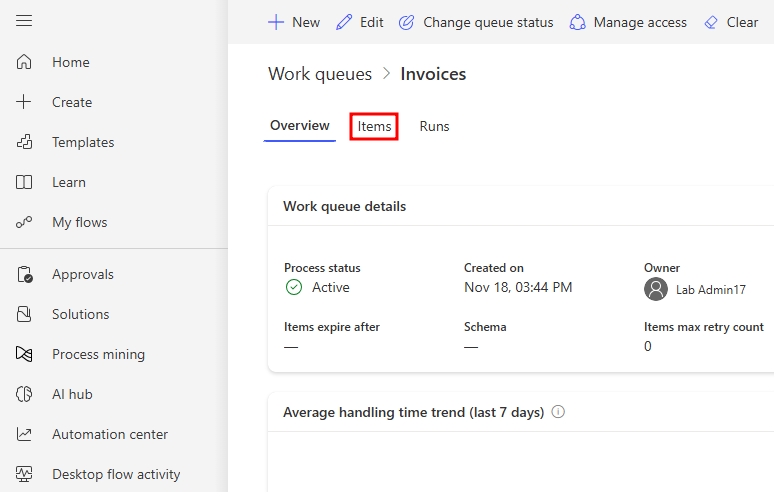
Notice the items are all given the status of Queued with a checkmark.


Task: Create the Work Queue Item Processor workflow
Return back to Power Automate Desktop.
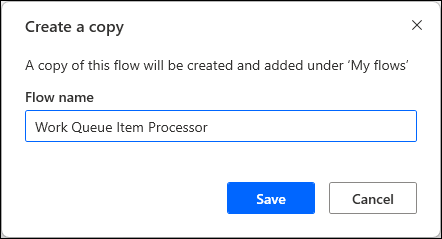
Select the ellipses for the Enter an Invoice flow created in an earlier lab and select Create a copy from the dropdown list.

Rename the new flow to: Work Queue Item Processor
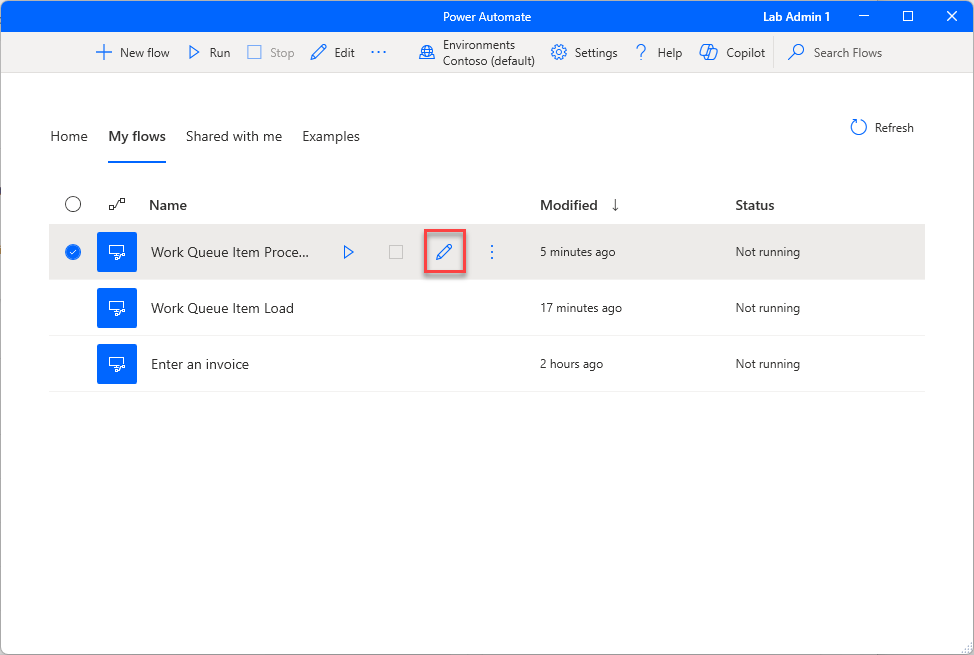
Select the new flow Work Queue Item Processor and select the pencil icon to edit it.
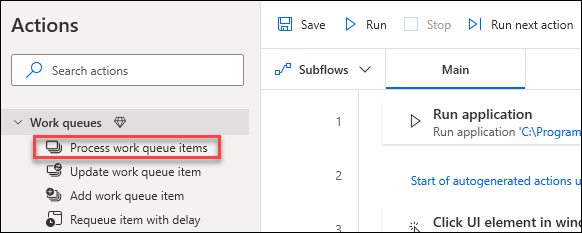
Navigate to the Work Queues section in the Action pane and select the Process work queue items action. Insert this action after the Run Application step already included in the flow.
Note
This should be the new action 2 in the workflow.
Select the Invoices work queue from the dropdown.

In the Actions pane, search for
Jsonand select the Convert JSON to custom object action, making sure to add inside of the newly created Process work queue item loop.
Select the variable icon {x} to choose the JSON value to convert. From the dropdown list, scroll down and select the expand arrow for WorkQueueItem, then select the .Value option. Click Select to add this to the parameter area. Once added, select Save.


Select the Save button at the top of the window.
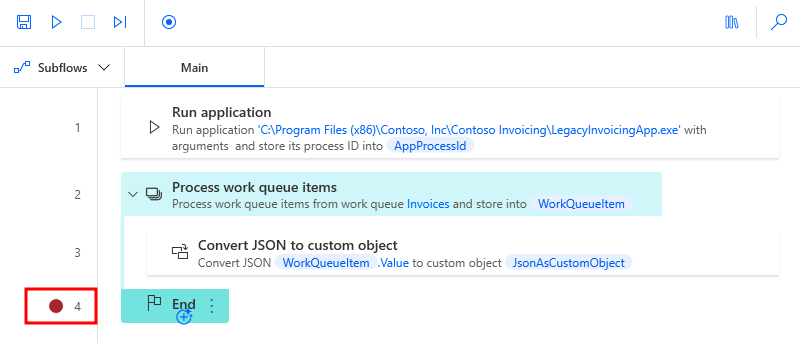
Select the number 4 in the list of actions to add a Breakpoint to the flow. This Breakpoint stops the flow at the action it's added to, and allows users to view the details of the flow at that stage.
Select the Save and Run buttons at the top of the window.
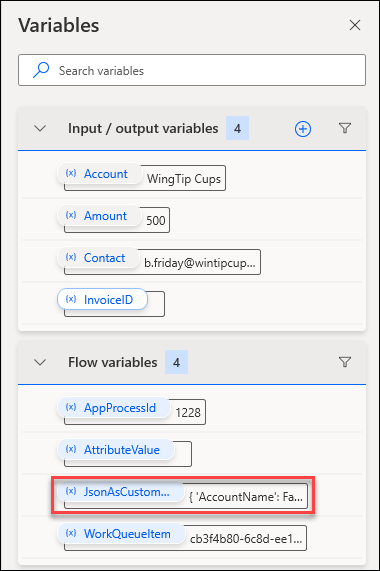
Double-click on the JsonAsCustomObject variable from the Flow variables area in the Variables pane to view the output details from the flow that is running.
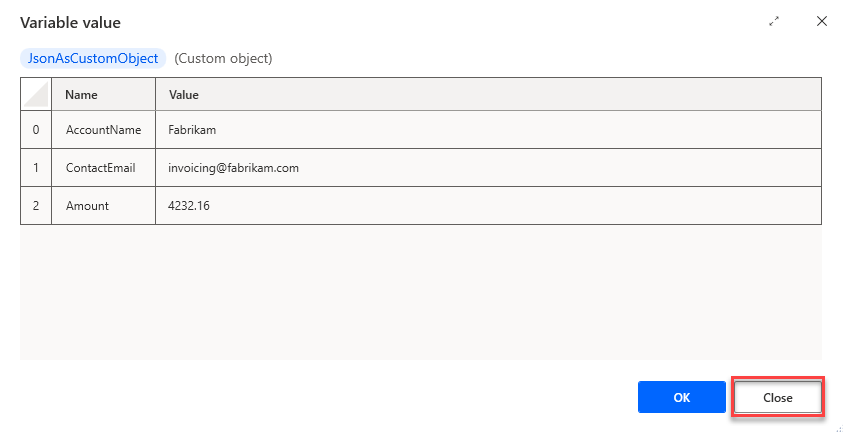
Notice the data that was parsed from the JSON that can now be used as Name/ Value pairs. Select Close to close out of the window.
Select the Stop button at the top of the designer window.

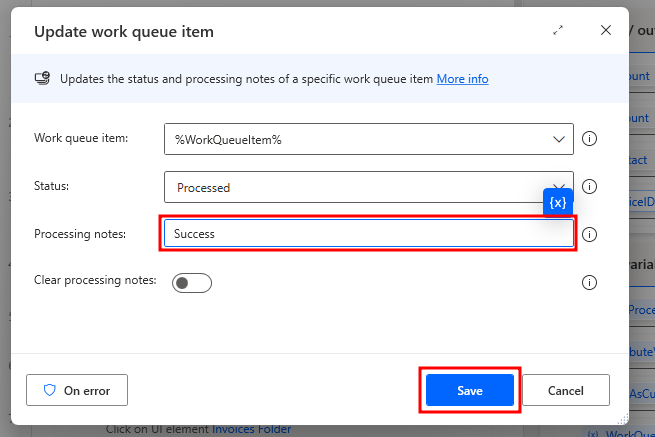
Within the Work Queues section in the Action pane, select the Update work queue item action and drag into the list of actions after the Convert JSON to custom object step inside the for loop.

Leave Input blank and add the Processing result: Success into the dialog box for Update work queue item and select Save.
Select the Save and Run buttons at the top of the window.
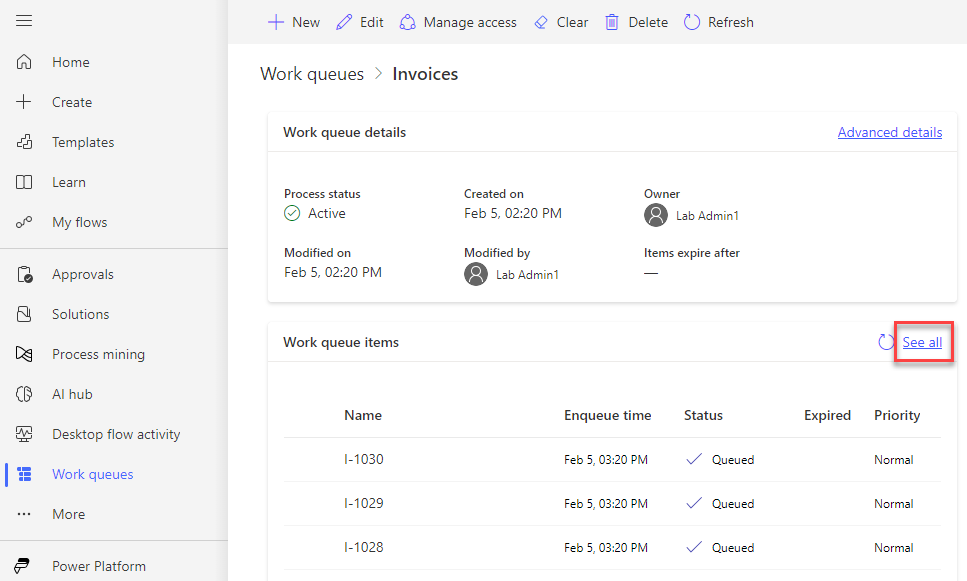
Return to the Power Automate web browser at the Invoice Work Queue previously visited. Refresh the browser and navigate to the Items tab.

Scroll down to the bottom of the list and notice the item that processed during the previous desktop flow run.

Return back to the desktop flow designer and select the Stop button at the top of the window.
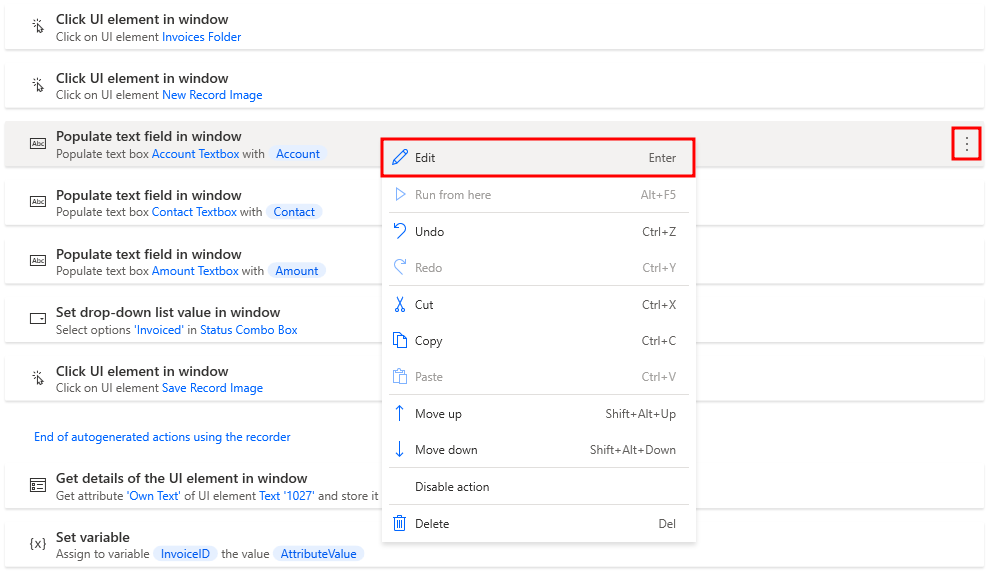
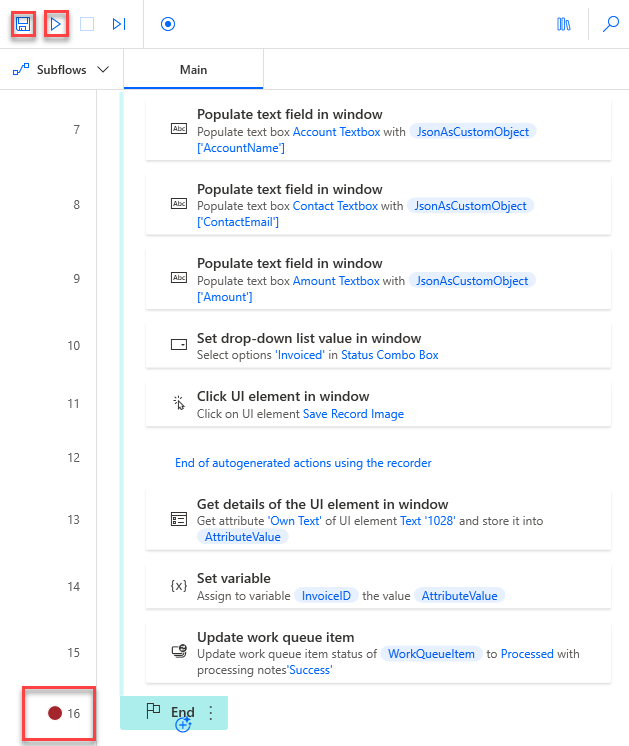
Holding down the Ctrl key on your keyboard, select all of the actions from the original Enter an Invoice desktop flow then, drag all of those steps into the Process work queue items loop, between the Convert JSON to custom object and Update work queue item actions.

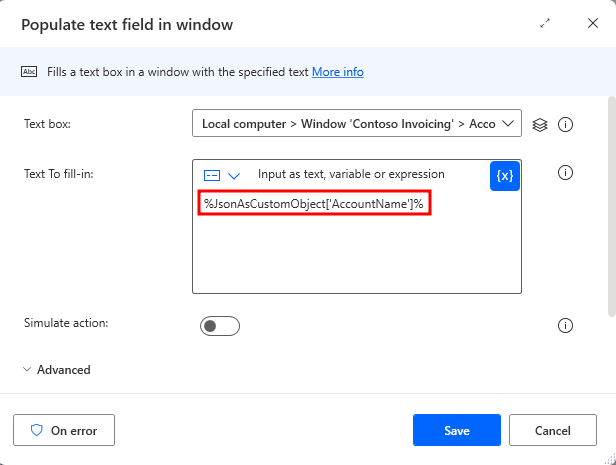
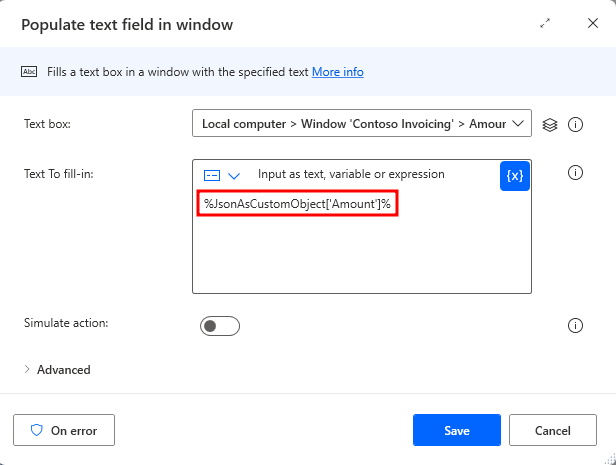
Edit the three steps that Populate text field in window and remove the previously used Input variable to replace the Text to fill in with a value from the parsed JSON stored in the JsonAsCustomObject variable.
Use the following to replace the Text to fill in for each action:
- Account Textbox:
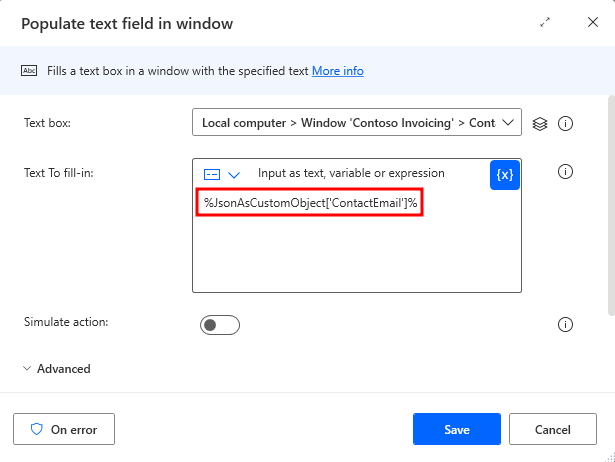
%JsonAsCustomObject['AccountName']% - Contact Textbox:
%JsonAsCustomObject['ContactEmail']% - Amount Textbox:
%JsonAsCustomObject['Amount']%
- Account Textbox:
If there's a Breakpoint on line 16, remove it. Select Save and Run one final time to see all of the work queue items processed by this flow.
Return to the Power Automate cloud portal and notice the completed work queue item runs in the Invoice work queue.


