Exercise - Explore Settings Sync
In this exercise, you turn on Settings Sync and explore how to manage your synced data and restore your settings on a new machine.
The ability to sync settings is important in remote development scenarios because when you connect to a remote environment, your VS Code configuration is different from your local machine configuration. When you use Settings Sync, you can easily restore your settings to the remote environment.
Turn on Settings Sync
Select the profile icon, and then select Backup and Sync Settings.
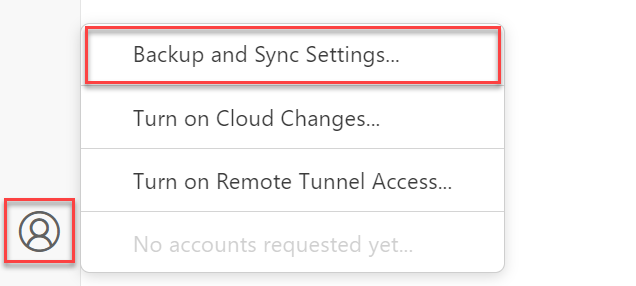
In the Settings Sync dialog, accept the default selections and select Sign In.
Select either GitHub or Microsoft as your account provider, and then sign in with your account credentials.
Complete the authorization flow to fully sign in to Settings Sync in VS Code.
View synced data
Open the Command Palette by selecting the F1 key, and then select Settings Sync: Show Synced Data.
Confirm that you can see each group of settings that had customizations on your machine. You can also see the last time that each of these settings was synced to the cloud.
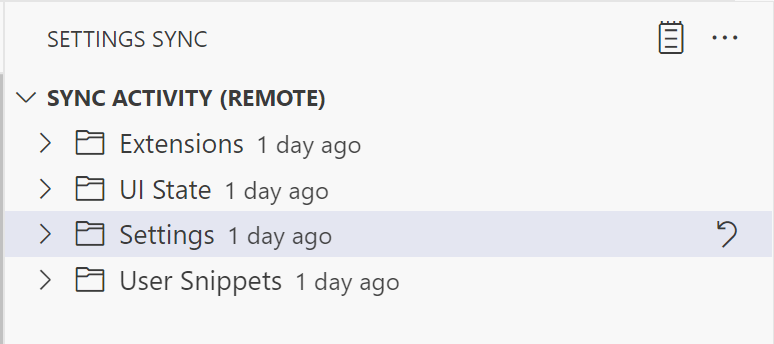
Another way to view the status of Settings Sync is to view the Settings Sync log.
Make a change to your settings
Open the user settings by selecting Preferences: Open User Settings in the Command Palette.
In the search box, enter activity bar.
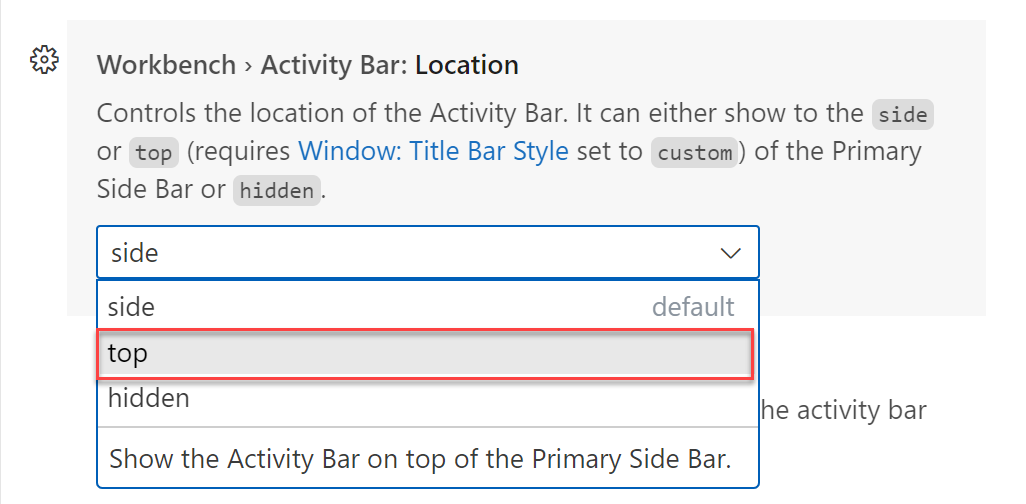
Change the Workbench > Activity Bar: Location setting to top.
Confirm that your Activity Bar appears at the top of the sidebar, instead of next to it.
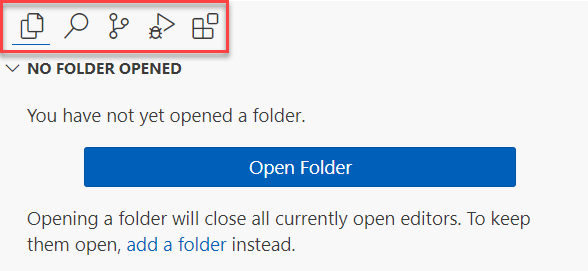
Select the Extensions icon in the Activity Bar.
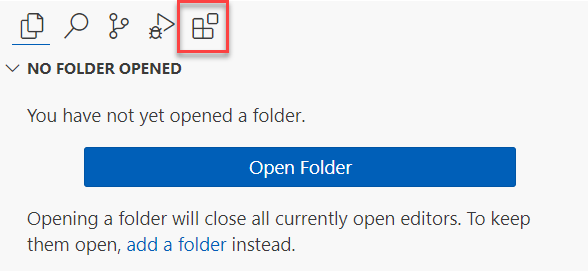
Search for and install the Dev Containers extension.
Sync settings
By default, VS Code automatically syncs your settings whenever you make configuration changes. However, you can manually synchronize settings at any time.
Open the Command Palette by selecting the F1 key, and then select Settings Sync: Sync Now.
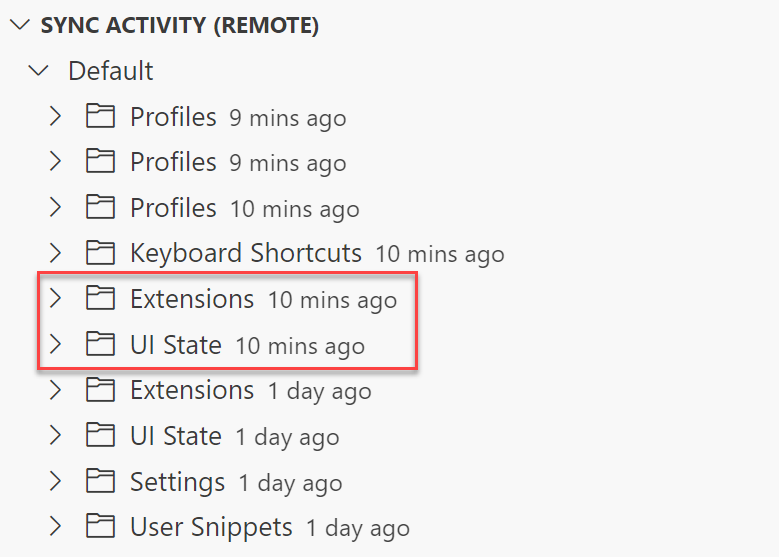
This command synchronizes your settings to the cloud. You can verify that your settings were synced by opening the Settings Sync activity view again.
Restore settings on a new machine
In this section, you restore your settings on a new machine. For this exercise, you use Visual Studio Code for the Web (vscode.dev). This free, zero-install VS Code experience runs entirely in your browser, so you can quickly and safely browse source code repositories and make lightweight code changes. To learn more about VS Code for the Web, see the documentation.
Because VS Code for the Web is a lightweight environment that you can use to quickly edit files in a browser, not all extensions work in this environment.
- Open a new browser tab and go to the vscode.dev site.
- Select the profile icon, and then select Backup and Sync Settings.
- In the Settings Sync dialog, accept the default selections and select Sign In.
- Select either GitHub or Microsoft as your account provider, and then sign in with your account credentials.
- Complete the authorization flow to fully sign in to Settings Sync in VS Code.
Your editor is now configured with the same settings as your local machine. You can verify that your settings are synced by opening the Settings Sync activity view again. Notice that the profile that you created in the previous exercise is now available in the browser-based editor.
In this exercise, you learned how to turn on Settings Sync and restore your settings on a new machine. In the next exercise, you learn how to combine remote environments for a customized remote development experience.