Note
Access to this page requires authorization. You can try signing in or changing directories.
Access to this page requires authorization. You can try changing directories.
Overview
You can remove a large number of members from a group by using a comma-separated values (CSV) file in the portal for Microsoft Entra ID.
Understand the CSV template
Download and fill in the bulk upload CSV template to successfully remove Microsoft Entra group members in bulk. Use the template that you download for the group member removal operation. The current group member template starts with the column header, not a version:v1.0 row.
CSV template structure
The rows in a downloaded CSV template are:
- Column headings: Preserve the full downloaded column header exactly as-is. The property name in brackets is only one part of the header, so don't replace the full header with only
memberObjectIdOrUpn. The current group member removal header isMember object ID or user principal name [memberObjectIdOrUpn] Required. For group membership changes, you can use either the member object ID or the user principal name (UPN) in the rows under this header. - Examples row: If the template includes a row of example values, such as
Example: 9832aad8-e4fe-496b-a604-95c6eF01ae75, remove the examples row and replace it with your own entries.
Note
CSV template formats vary by operation. Some templates, such as bulk create or delete users, include version:v1.0 as the first row. Other templates, such as group member operations, start with column headers. Download the template for your specific operation from the portal. Don't add a version row or any other row that isn't in the downloaded template. Keep any version row and column header row unchanged.
More guidance
- Keep any version row and column header row in the upload template exactly as downloaded, or the upload can't be processed.
- The required columns are listed first.
- We don't recommend adding new columns to the template. Any additional columns you add are ignored and not processed.
- We recommend that you download the latest version of the CSV template as often as possible.
- Enter one member per row. Don't use semicolons or other delimiters to separate multiple members in a single row.
Example CSV file
Here's an example of a completed CSV file ready for upload:
Member object ID or user principal name [memberObjectIdOrUpn] Required
alain@contoso.com
isabella@contoso.com
joseph@contoso.com
Tip
To get a list of current group members that you can edit, use the Download members bulk operation first. This gives you a CSV file with all current members that you can modify to include only the members you want to remove.
Bulk remove group members
Sign in to the Microsoft Entra admin center as at least a Groups Administrator.
Browse to Entra ID > Groups > All groups.
Open the group from which you're removing members and then select Members.
On the Members page, select Remove members.
On the Bulk remove group members page, select Download to get the CSV file template with required group member properties.
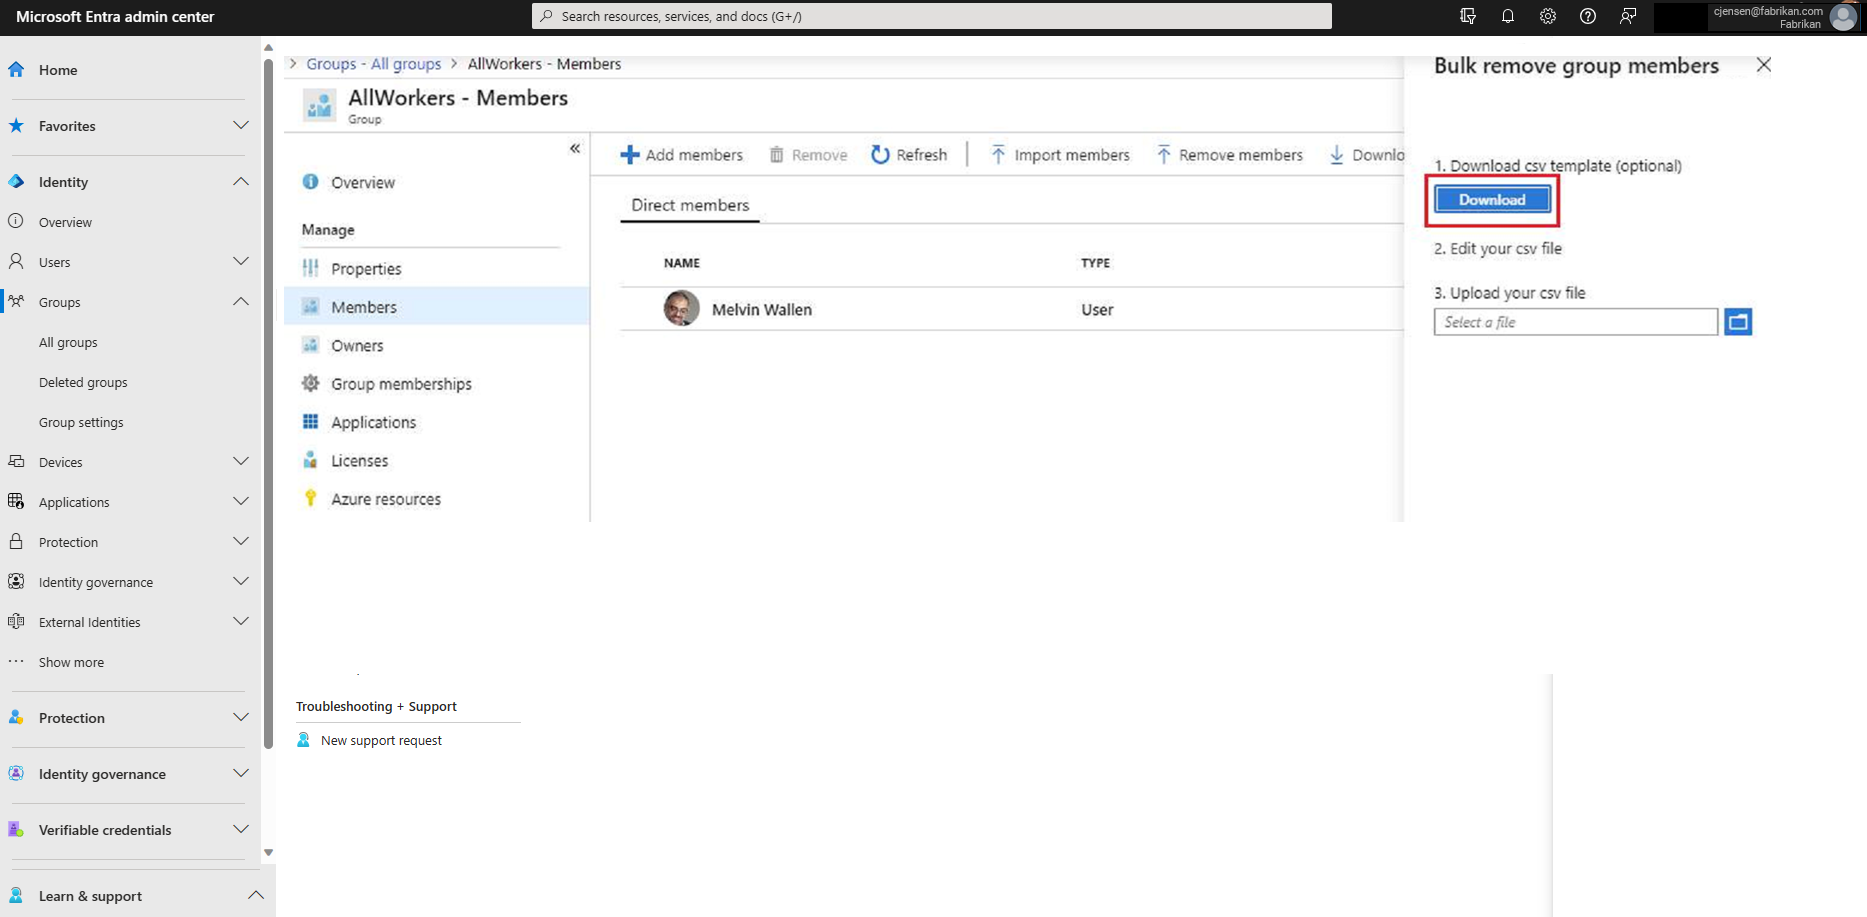
Open the CSV file and add a line for each group member you want to remove from the group. For each member, enter either their User principal name (UPN, such as
user@contoso.com) or their Object ID (a GUID likeaaaaaaaa-0000-1111-2222-bbbbbbbbbbbb). Enter one member per row. Then save the file.On the Bulk remove group members page, under Upload your csv file, browse to the file. When you select the file, validation of the CSV file starts.
When the file contents are validated, the bulk remove page displays File uploaded successfully. If there are errors, you must fix them before you can submit the job.
When your file passes validation, select Submit to start the bulk operation that removes the group members from the group.
When the removal operation finishes, a notification states that the bulk operation succeeded.
If you experience errors, you can download and view the results file on the Bulk operation results page. The file contains the reason for each error. The file submission must match the provided template and include the exact column names.
For more information about bulk operations limitations, see Bulk removal service limits.
Check removal status
You can see the status of all of your pending bulk requests in the Bulk operation results page.
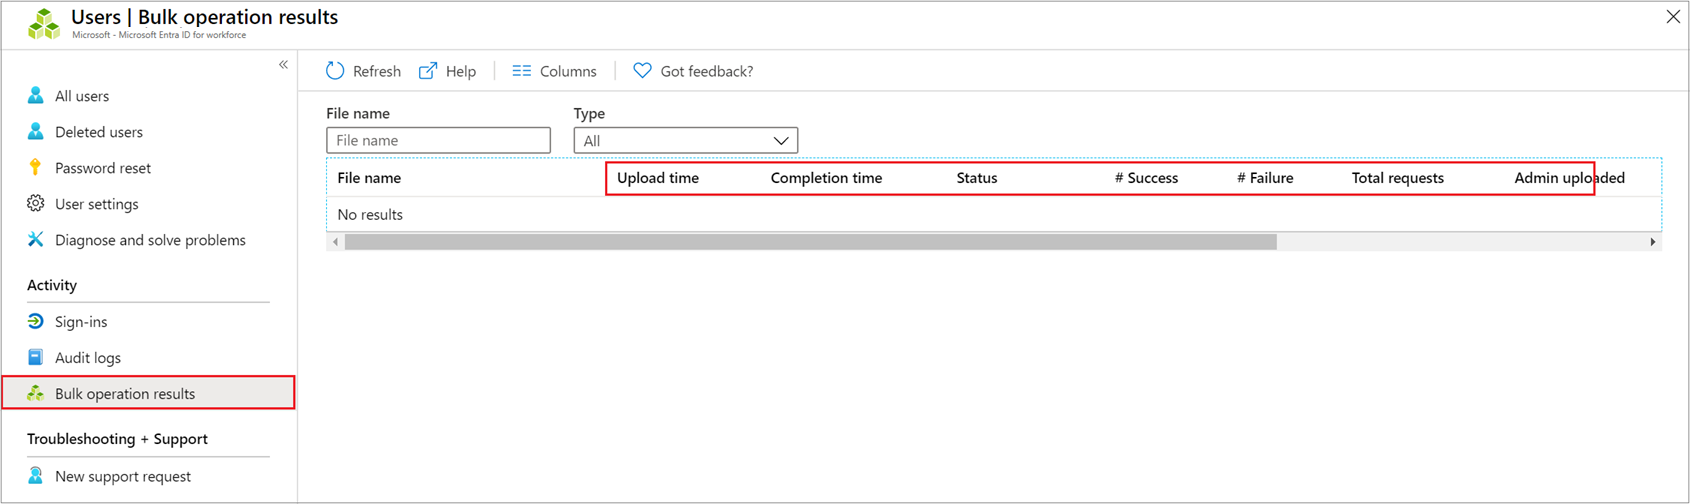
For details about each line item within the bulk operation, select the values under the # Success, # Failure, or Total Requests columns. If failures occurred, the reasons for failure are listed.
Bulk removal service limits
Note
When performing bulk operations, such as import or create, you can encounter a problem if the bulk operation doesn't complete within the hour. To work around this issue, we recommend splitting the number of records processed per batch. For example, before starting an export you could limit the result set by filtering on a group type or user name to reduce the size of the results. By refining your filters, essentially you limit the data returned by the bulk operation. For more information, see Bulk operations service limitations.