Install your synchronization tool
The following document provides the steps to install either cloud sync or Microsoft Entra Connect.
Install the Microsoft Entra provisioning agent for cloud sync
Cloud sync uses the Microsoft Entra provisioning agent. Use the steps below to install it.
- Sign in to the Microsoft Entra admin center as at least a Hybrid Administrator.
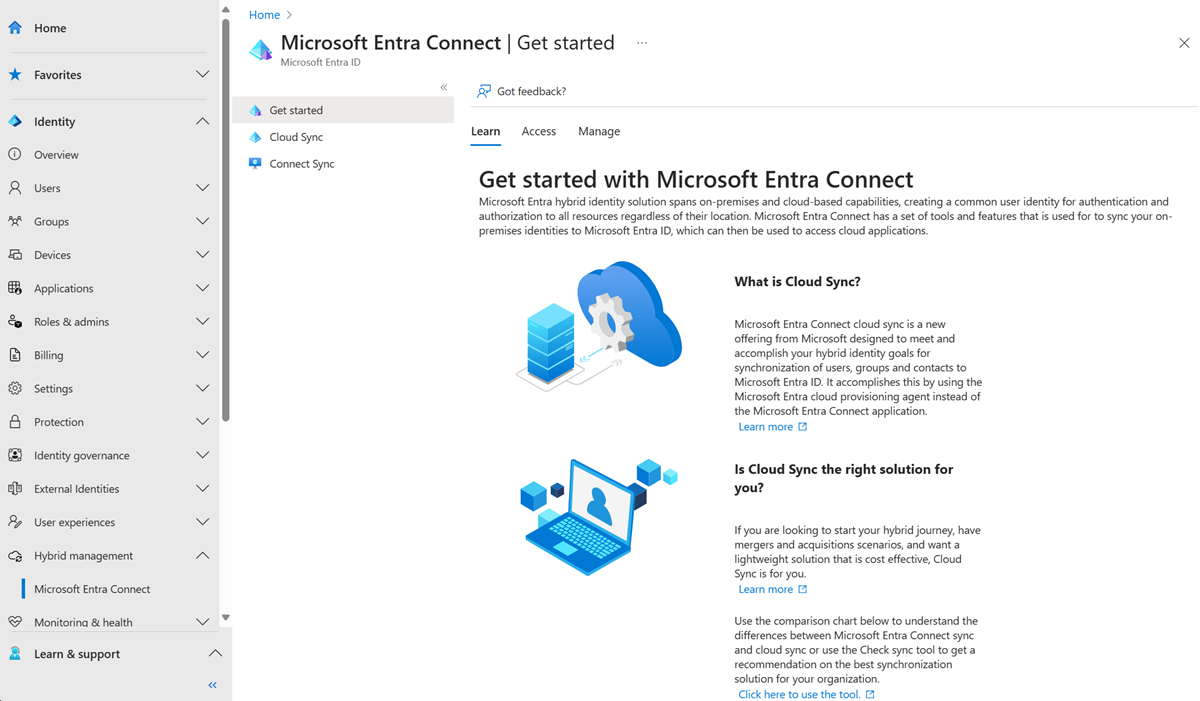
- Browse to Identity > Hybrid management > Microsoft Entra Connect > Cloud sync.

- On the left, select Agent.
- Select Download on-premises agent, and select Accept terms & download.
- Once the Microsoft Entra provisioning agent package has completed downloading, run the AADConnectProvisioningAgentSetup.exe installation file from your downloads folder.
Note
When installing for the US Government Cloud use:
AADConnectProvisioningAgentSetup.exe ENVIRONMENTNAME=AzureUSGovernment
See "Install an agent in the US government cloud" for more information.
- On the splash screen, select I agree to the license and conditions, and then select Install.
- Once the installation operation completes, the configuration wizard will launch. Select Next to start the configuration.
- On the Select Extension screen, select HR-driven provisioning (Workday and SuccessFactors) / Microsoft Entra Connect cloud sync and click Next.
- Sign in with your Microsoft Entra Hybrid Identity Administrator account.
- On the Configure Service Account screen, select a group Managed Service Account (gMSA). This account is used to run the agent service. To continue, select Next.
- On the Connect Active Directory screen, if your domain name appears under Configured domains, skip to the next step. Otherwise, type your Active Directory domain name, and select Add directory.
- Sign in with your Active Directory domain administrator account. Select OK, then select Next to continue.
- Select Next to continue.
- On the Configuration complete screen, select Confirm.
- Once this operation completes, you should be notified that Your agent configuration was successfully verified. You can select Exit.
- If you still get the initial splash screen, select Close.
For more information, see Installing the provisioning agent in the cloud sync reference section.
Install Microsoft Entra Connect with express settings
Express settings are the default option to install Microsoft Entra Connect, and it's used for the most commonly deployed scenario.
- Sign in as Local Administrator on the server you want to install Microsoft Entra Connect on. The server you sign in on will be the sync server.
- Go to AzureADConnect.msi and double-click to open the installation file.
- On Welcome, select the checkbox to agree to the licensing terms, and then select Continue.
- On Express settings, select Use express settings.
- On Connect to Microsoft Entra ID, enter the username and password of the Hybrid Identity Administrator account, and then select Next.
- On Connect to AD DS, enter the username and password for an Enterprise Admin account. You can enter the domain part in either NetBIOS or FQDN format, like
FABRIKAM\administratororfabrikam.com\administrator. Select Next - The Microsoft Entra sign-in configuration page appears only if you didn't complete the step to verify your domains in the prerequisites
- On Ready to configure, select Install
- When the installation is finished, select Exit.
- Before you use Synchronization Service Manager or Synchronization Rule Editor, sign out, and then sign in again.
For more information, see Installing the Microsoft Entra Connect with express settings in the Microsoft Entra Connect Sync reference section.
Microsoft Entra Connect with custom settings
Use custom settings in Microsoft Entra Connect when you want more options for the installation.
For more information, see Installing the Microsoft Entra Connect with custom settings in the Microsoft Entra Connect Sync reference section.