Note
Access to this page requires authorization. You can try signing in or changing directories.
Access to this page requires authorization. You can try changing directories.
In this article, you create and version a deployment plan in Microsoft Fabric to control the order in which workspace items deploy and to run actions between deployments. Use a deployment plan when the deployment must follow an order that you define, rather than the order Fabric derives from lineage, or when the deployment must run actions.
A deployment plan is a Fabric workspace item that groups each item into a deployment group and orders the groups. Each group can run actions before and after its item deploys. To create the plan, add and order deployment groups in a source workspace, configure any pre-deploy or post-deploy actions, and save it. To use the plan, attach it to a deployment in Git integration, in a deployment pipeline, or through the REST API. Deployment plans are in preview.
What are the prerequisites for creating a Microsoft Fabric deployment plan?
To create a Microsoft Fabric deployment plan, you need:
- A Fabric subscription
- A source Fabric workspace assigned to a capacity in a Fabric-supported region
- At least the Contributor workspace role in the source workspace
- Workspace items that support deployment plans
- The Users can create deployment plan (preview) items tenant setting enabled for your organization or security group by your Fabric administrator
Contributor is the least-privileged role that can create workspace items. For more information about enabling the tenant setting, see Enable deployment-plan creation for your tenant.
To commit the plan to Git or use it in a Git-integration deployment flow, you also need:
- The source workspace connected to a Git repository
- A target workspace that you connect to the same Git repository and assign to a capacity in a Fabric-supported region
- Permission to deploy content to the target workspace
Enable deployment-plan creation for your tenant
In Microsoft Fabric, the Users can create deployment plan (preview) items tenant setting controls who can create deployment plans. If your Fabric administrator hasn't enabled the setting, ask them to complete the following steps.
In the Fabric admin portal, select Tenant settings.
Locate the Users can create deployment plan (preview) items setting.
Turn on Users can create deployment plan (preview) items.
Under Apply to, keep The entire organization, or select Specific security groups and choose the groups that need to create deployment plans.
Select Apply.
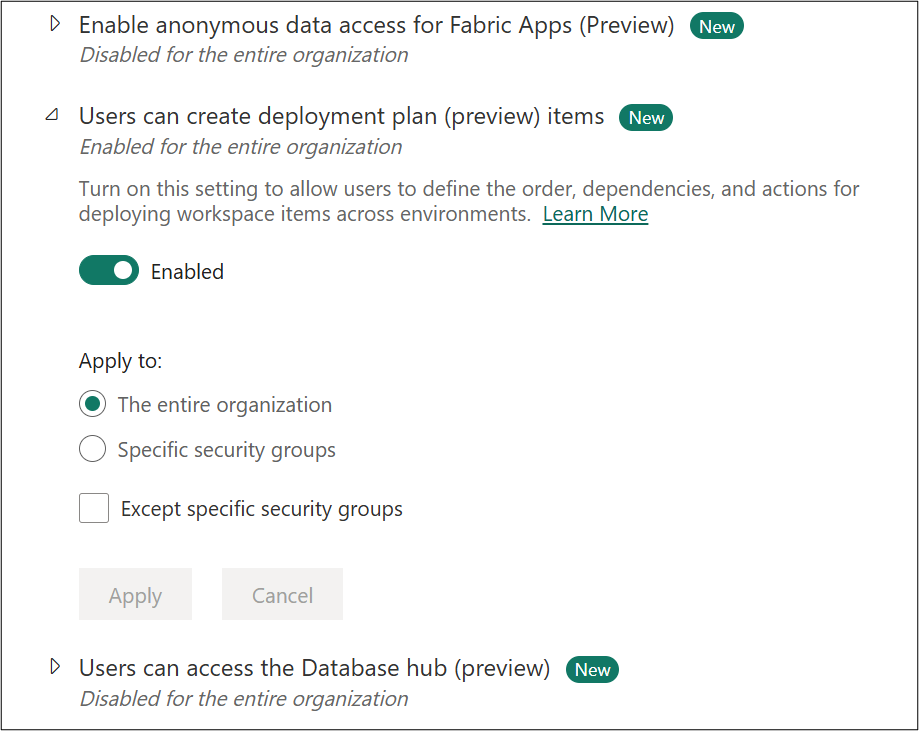
After the Fabric administrator applies the setting, you can create deployment plans if the setting applies to your organization or to a security group that you belong to. For more information, see About tenant settings.
Create a deployment plan in the source workspace
After a Fabric administrator enables deployment-plan creation for your organization or security group, create the deployment plan in the source workspace that contains the items you want to deploy.
- Open the source workspace.
- Select New item.
- Select Deployment plan.
- Enter a name for the deployment plan.
- Select Create.
- Open the deployment plan.
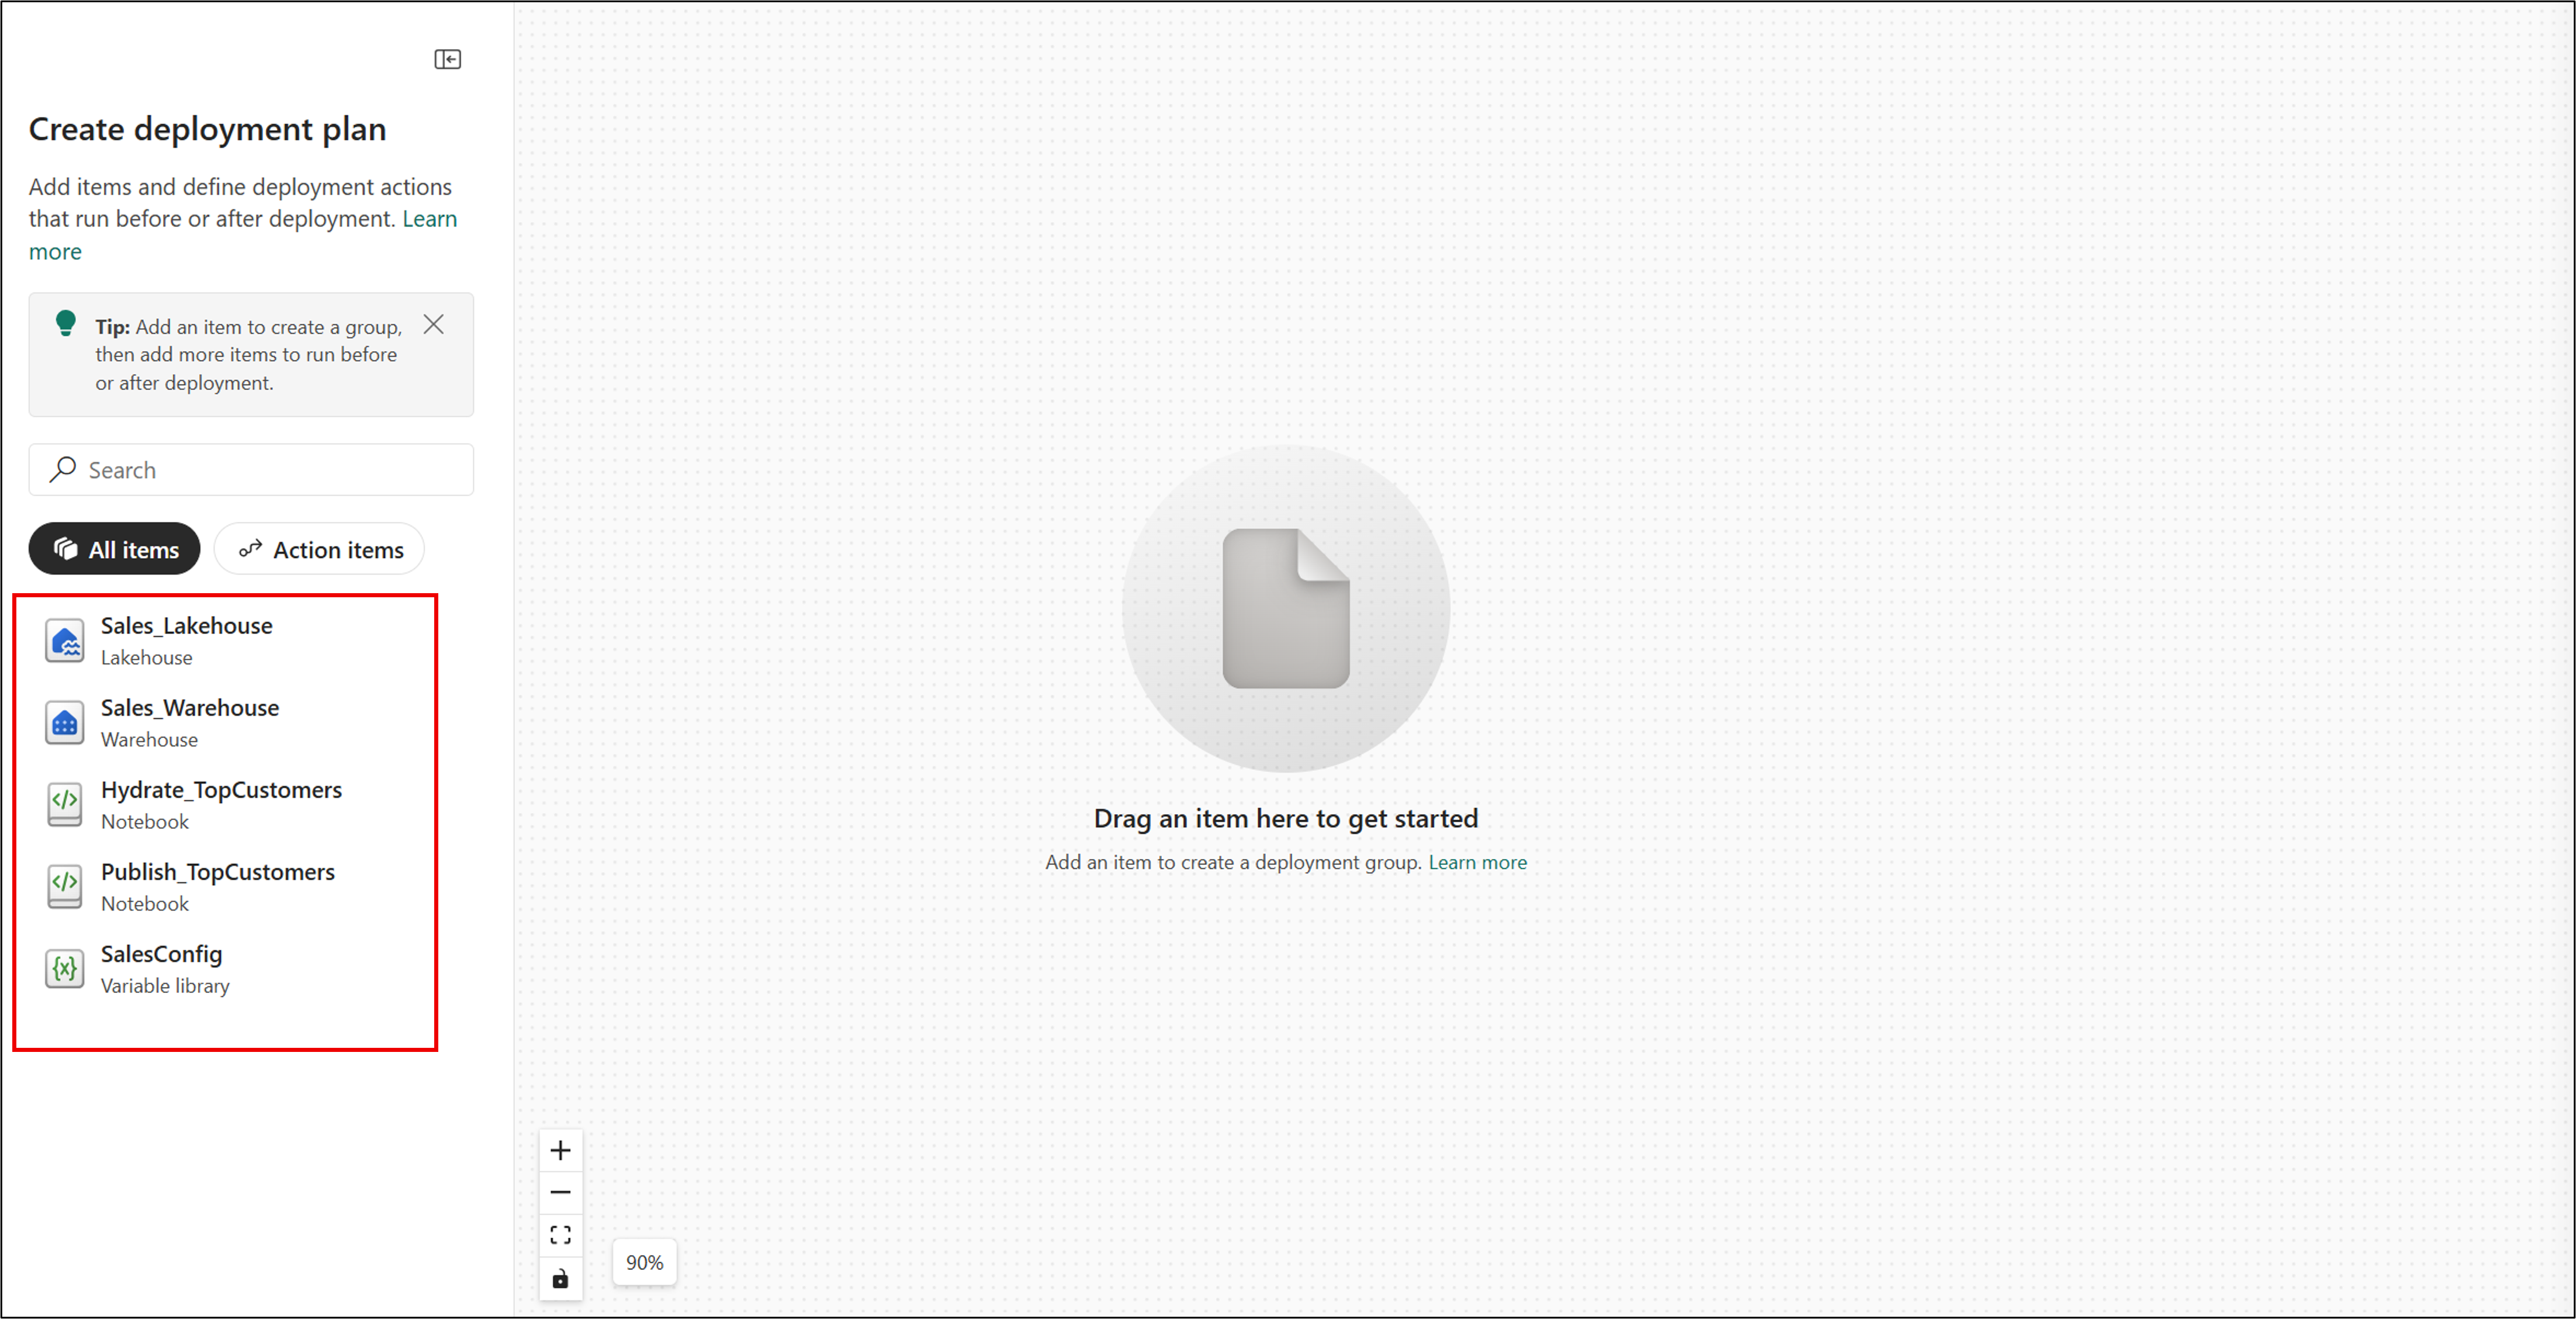
The deployment plan opens on the authoring canvas. The left pane lists the workspace items that support deployment plans. You don't have to commit an item to Git before you add it to a plan. When you save the plan, Fabric assigns a logical ID to every referenced item that doesn't already have one, so the plan can be promoted to another environment.
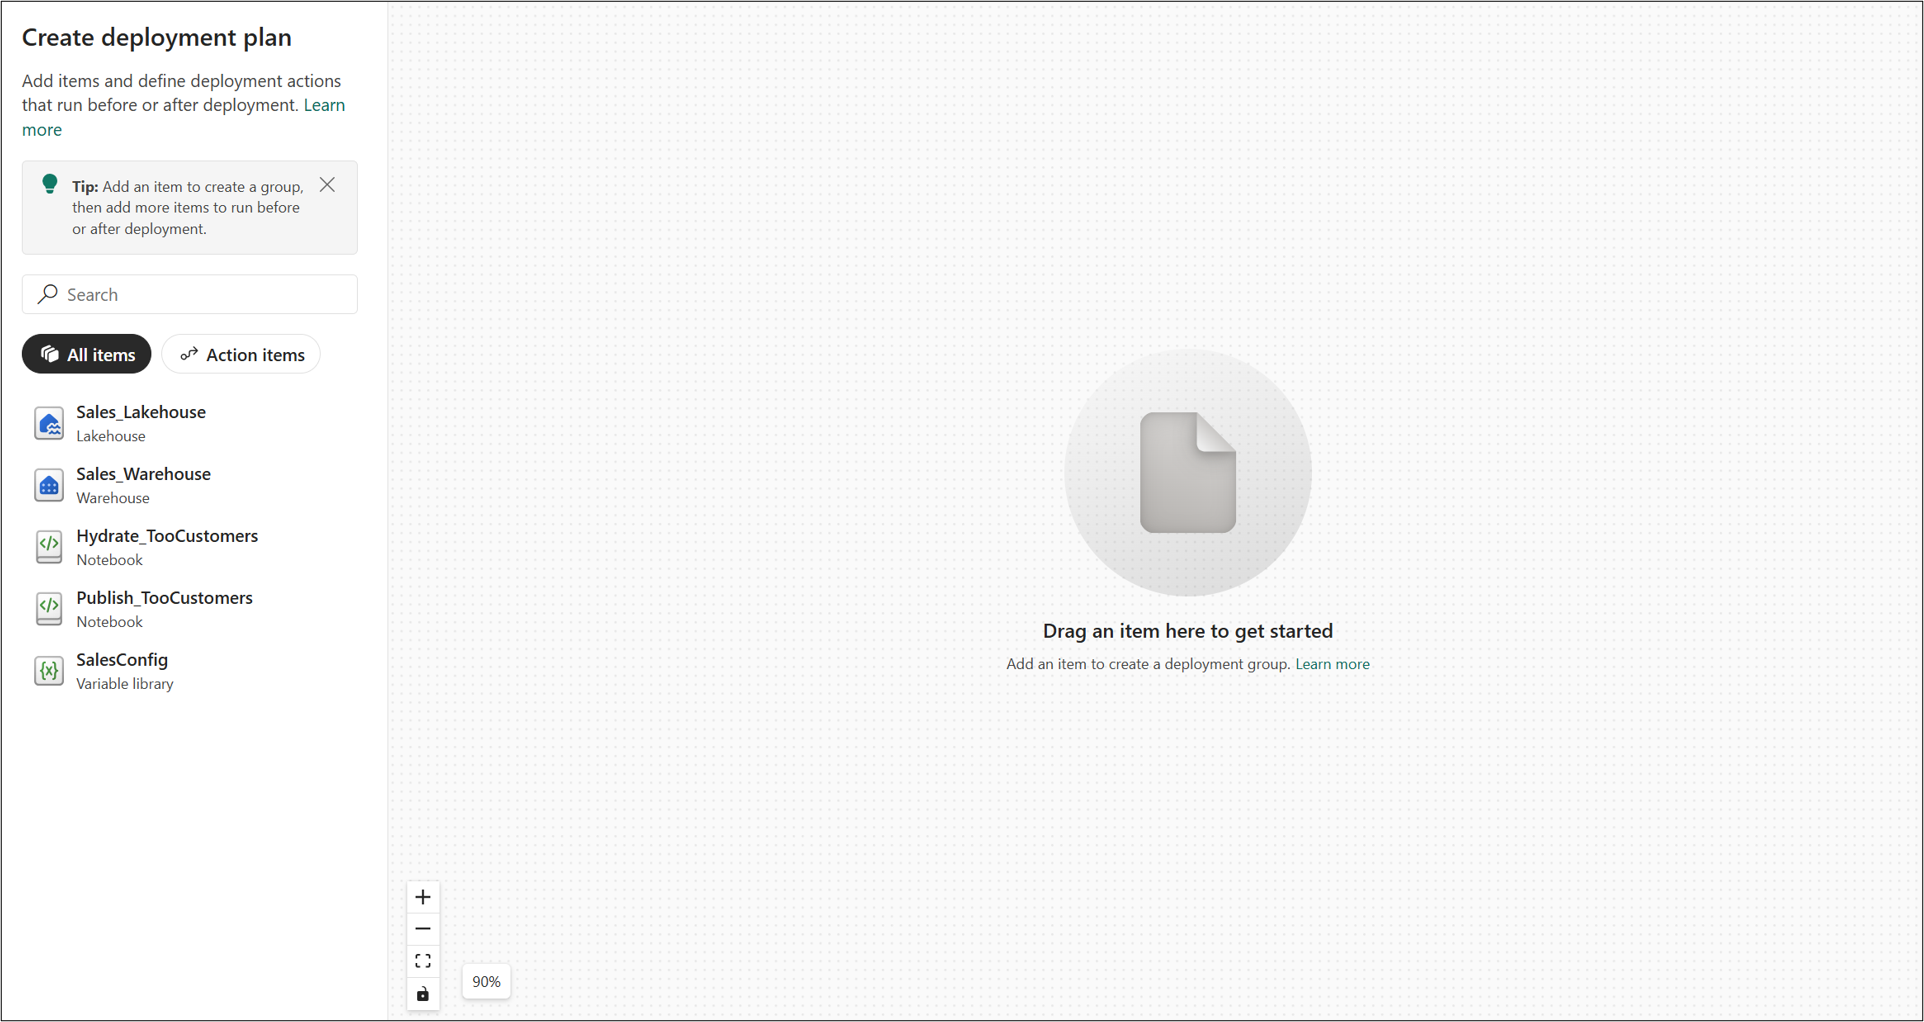
Add workspace items as deployment groups
A deployment plan can deploy any workspace item that supports deployment plans. Add each supported item as its own deployment group. If a supported action item performs a preparation task and you don't need to deploy it, add it as a pre-action or post-action on another deployment group.
- On the deployment-plan authoring canvas, add a workspace item from the left pane to the canvas.
- Add each remaining workspace item that you want the plan to deploy.
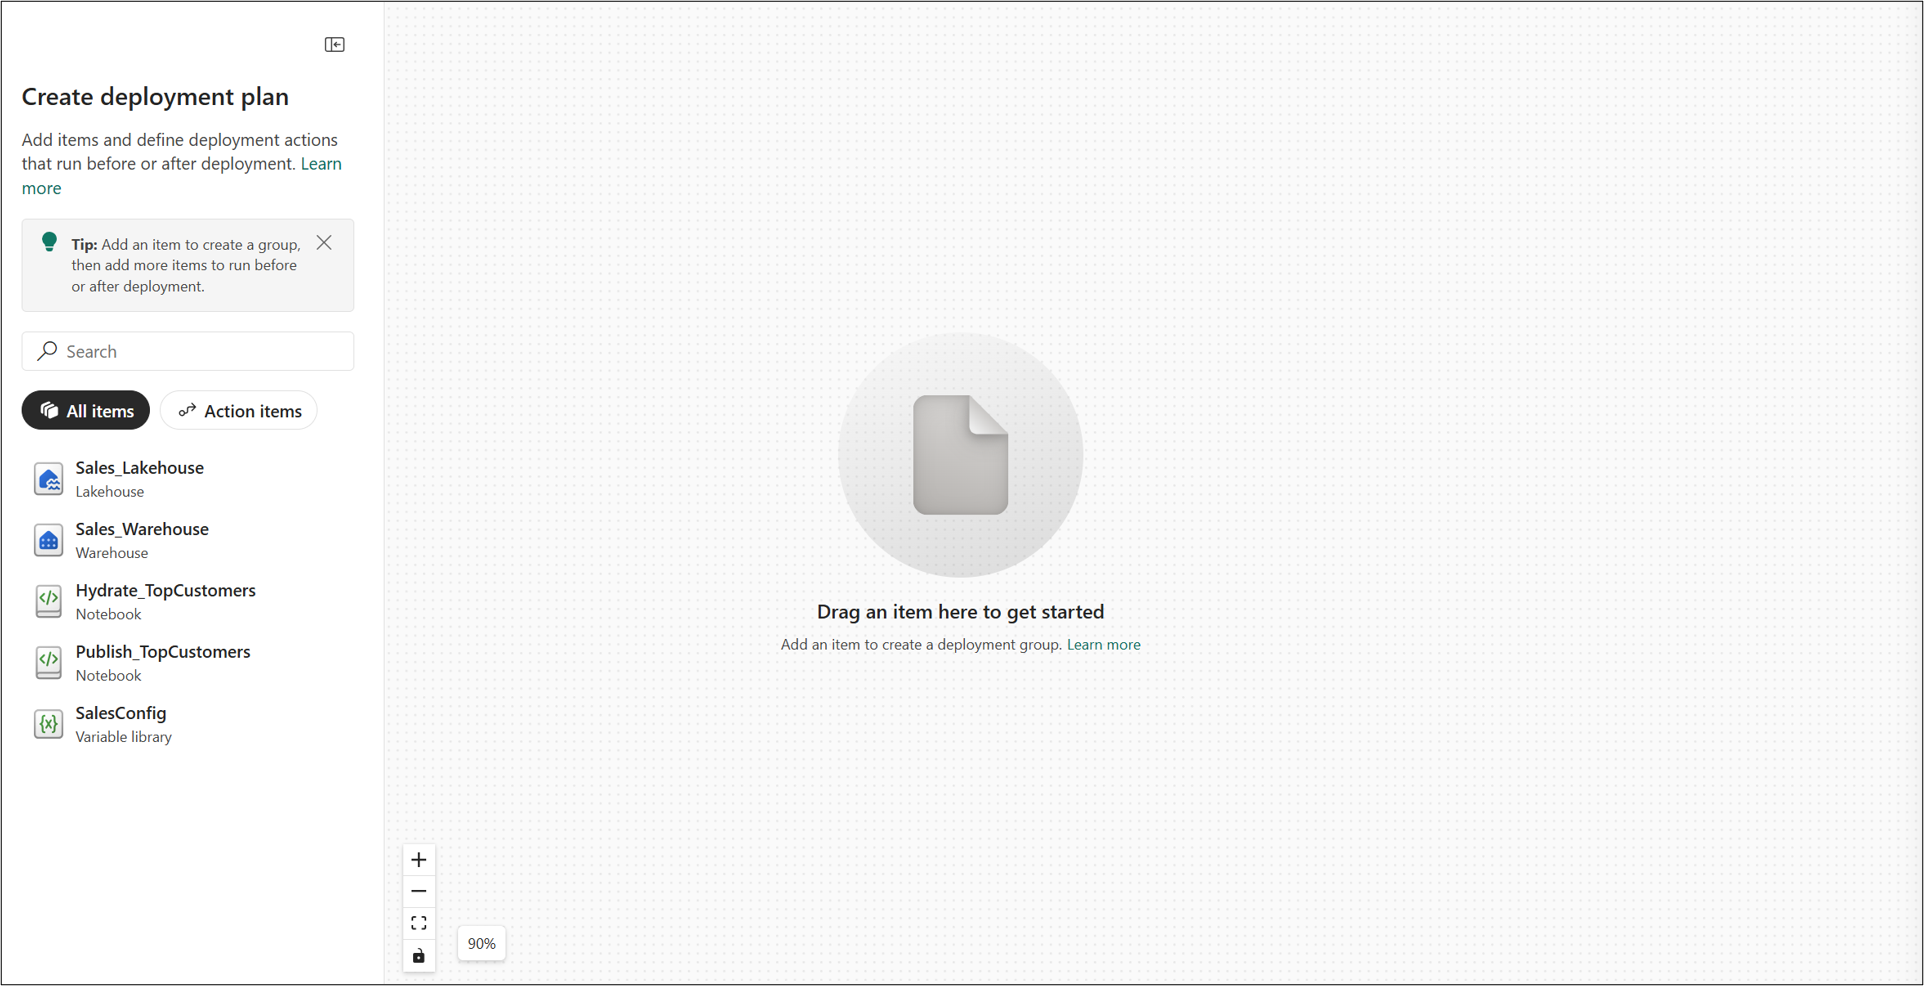
The deployment-plan canvas displays one deployment group for each workspace item that you added.
Order deployment groups by dependency
Define dependencies between deployment groups so that each prerequisite workspace item deploys before its dependent workspace items.
- On the deployment-plan authoring canvas, connect each prerequisite deployment group to the groups that depend on it.
- Confirm that the resolved deployment order places each prerequisite workspace item before its dependent items.
- You can change the group layout from left to right or top to bottom at the top of the canvas with the Group layout button.
The deployment-plan canvas displays the order in which Microsoft Fabric deploys the groups.
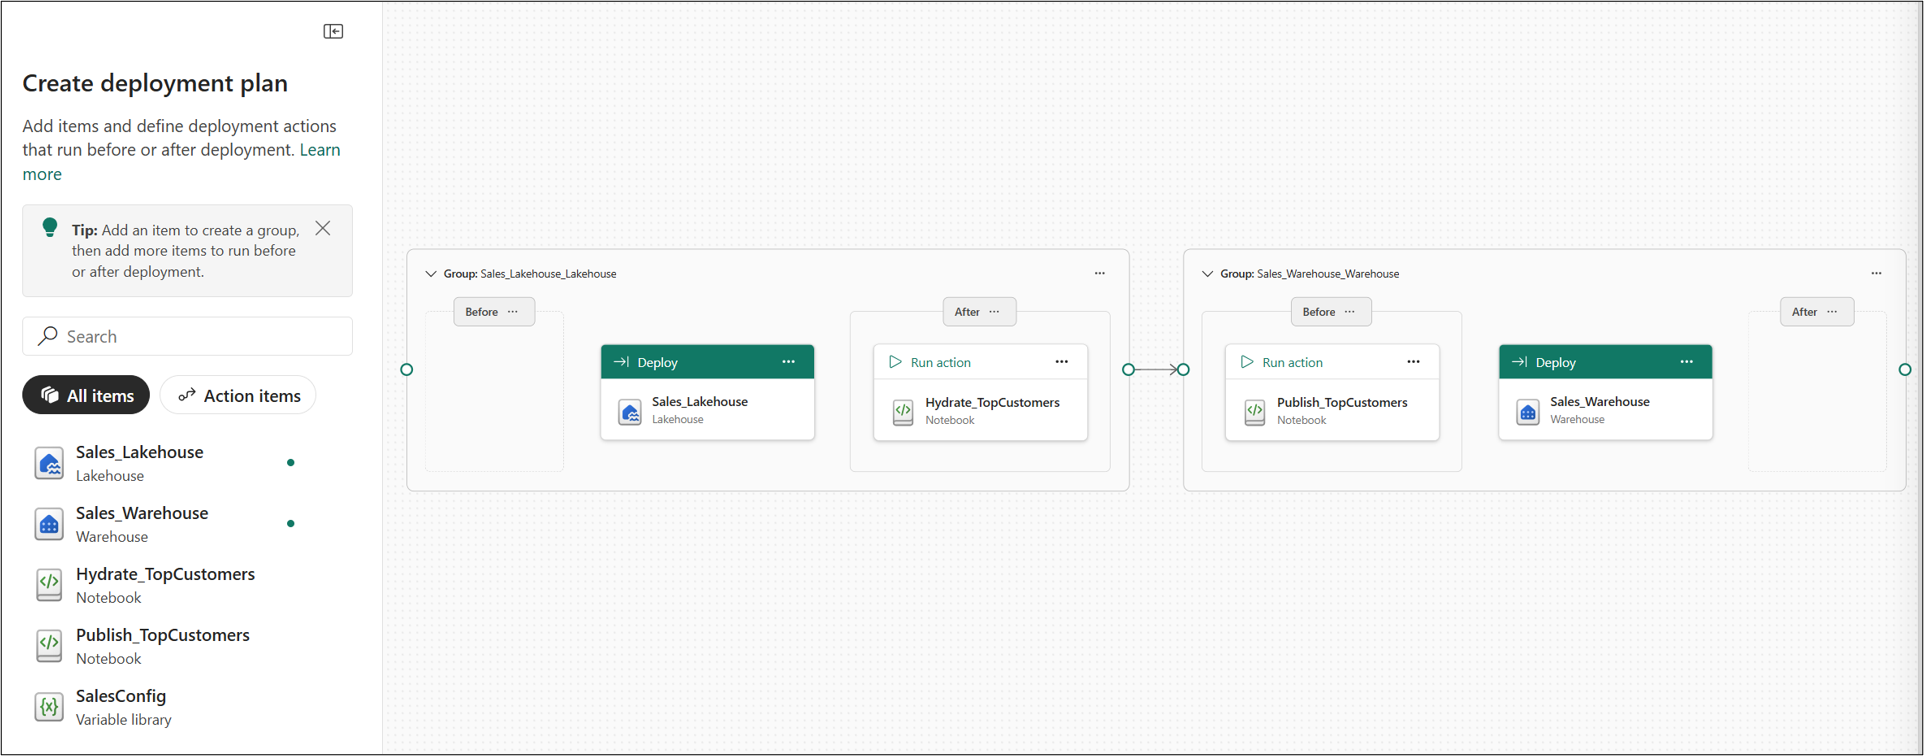
Add a pre-deploy or post-deploy action
Add a supported deployment action when work must run as part of the plan. A pre-action runs immediately before its associated workspace item deploys, and a post-action runs immediately afterward.
- On the deployment-plan authoring canvas, select the deployment group where the action must run.
- Add the action item to the appropriate pre-action or post-action slot.
- Verify that the action's environment-specific references point to the target environment. For example, verify that a notebook's default lakehouse points to the target lakehouse. Some references rebind automatically when the item deploys, and some don't. For more information, see Understand dependency binding in cross-workspace deployment and Notebook source control and deployment.
The deployment-plan canvas displays the action item in the pre-action or post-action slot that you selected.
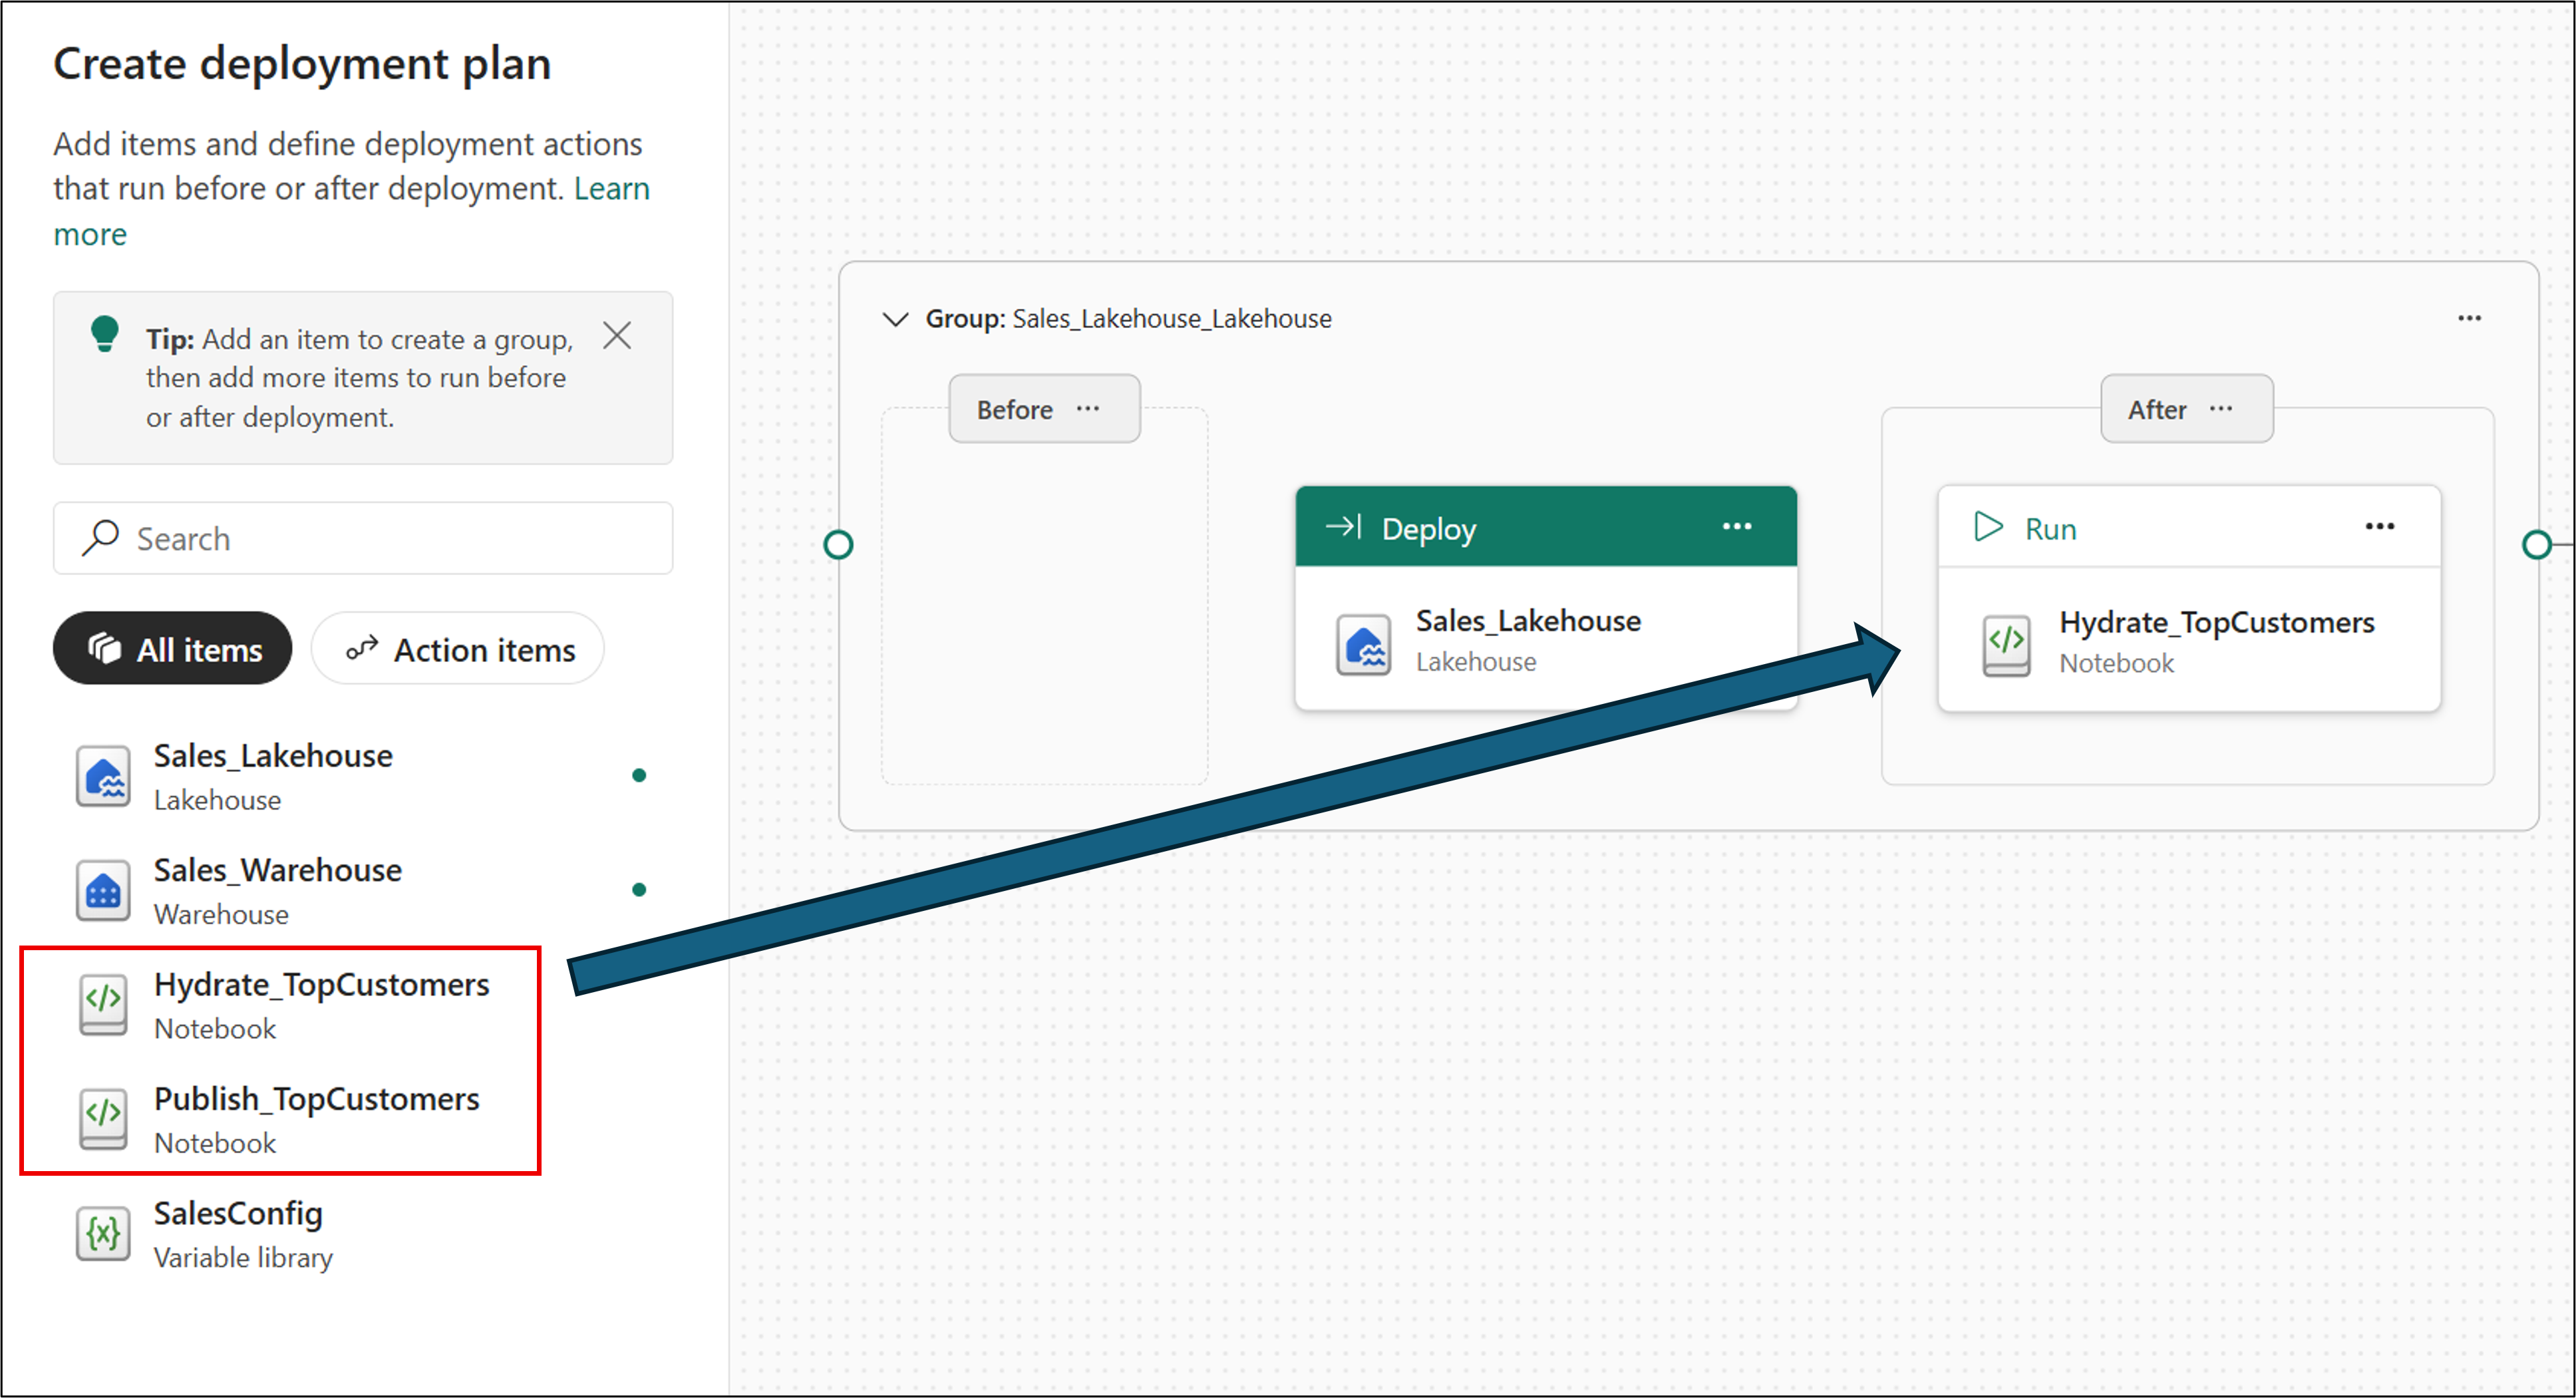
Review and save the deployment plan
Before you commit the deployment plan to Git, confirm that its deployment groups, dependency order, pre-actions, and post-actions match the required deployment order.
- Review the deployment groups, their order, and all pre-actions and post-actions.
- Select Save.
The source workspace stores the deployment plan that you saved with your other workspace items.
Commit the deployment plan to Git
Use the source workspace's Git integration to version the deployment plan that you saved with the workspace items that it deploys.
- In the source workspace, use Git integration to commit the deployment plan that you saved to the connected branch.
- Verify the Git status of the deployment plan is synced.
- In the Git repository, verify that the deployment-plan item folder contains the serialized deployment groups, deployment order, pre-actions, and post-actions.

You have now versioned the deployment plan with the workspace items, and it is ready to attach to a Git-integration deployment flow.
Delete the deployment plan
If you no longer need the deployment plan, delete the deployment-plan item from the source workspace and commit the deletion to Git.
Verify that the deployment plan no longer appears in the source workspace and that the Git commit removes the deployment-plan item folder.