Note
Access to this page requires authorization. You can try signing in or changing directories.
Access to this page requires authorization. You can try changing directories.
This article shows how to register an agent with Azure AI Bot Service using federated credentials.
Note
Federated Credentials doesn't work for local debugging via devtunnels.
Create a User-Assigned Managed Identity
Create a User-Assigned Managed Identity. This identity is used as the identity for the Azure Bot resource and is associated with the app registration using federated credentials. This allows the bot to authenticate using its managed identity when deployed to Azure, without needing to manage secrets.
Go to the Azure portal.
Create a User-Assigned Managed Identity:
In the right pane, find/select Create a resource and select User Assigned Managed Identity.
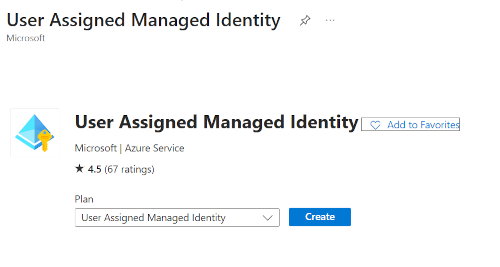
Select Create and supply the required information.
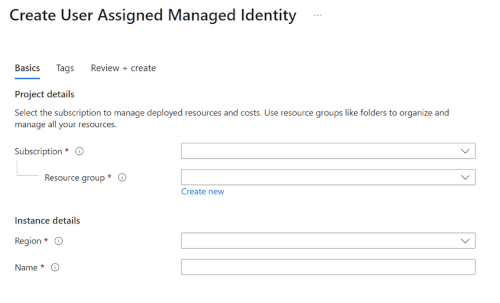
Complete creation by selecting Create. When you're done, select Go to resource.
Record the ClientId. You use this later when setting up Federated Credentials on the app registration. This is also used when configuring the Agent settings, and is the
FederatedClientIdsetting.
Create the Azure Bot resource
In the right pane, select Create a resource.
Find and select the Azure Bot card.

Select Create.
Enter values in the required fields and review and update settings.
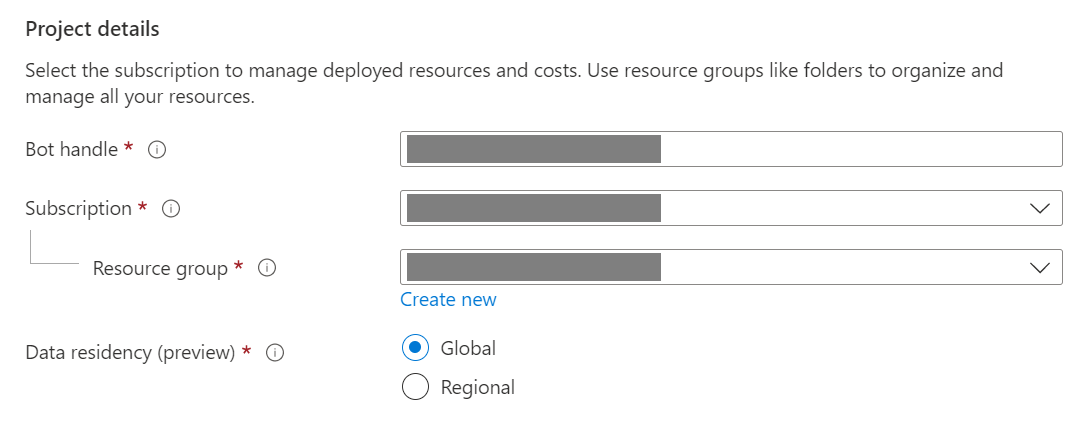
- Provide information under Project details. Select whether your agent has global or local data residency. Currently, the local data residency feature is available for resources in the "westeurope" and "centralindia" region. For more information, see Regionalization in Azure AI Bot Service.
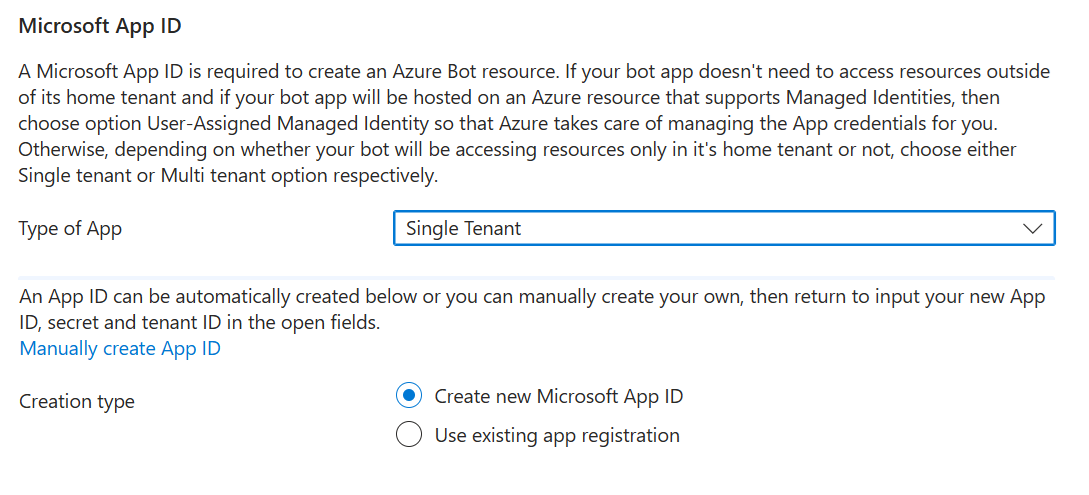
- Provide information under Microsoft App ID. Select how your agent identity is managed in Azure and whether to create a new identity or use an existing one.
Select Review + create.
If the validation passes, select Create.
Configure authentication for your Azure Bot resource using federated credentials
Once the Azure Bot resource is done deploying, select Go to resource. You should see the agent and related resources listed in the resource group you selected.
If this is a Teams or Microsoft 365 agent:
Select Settings, then select Channels.
Select Microsoft Teams from the list and choose appropriate options.
Select Settings, then Configuration.
Select Manage Password next to Microsoft App ID.
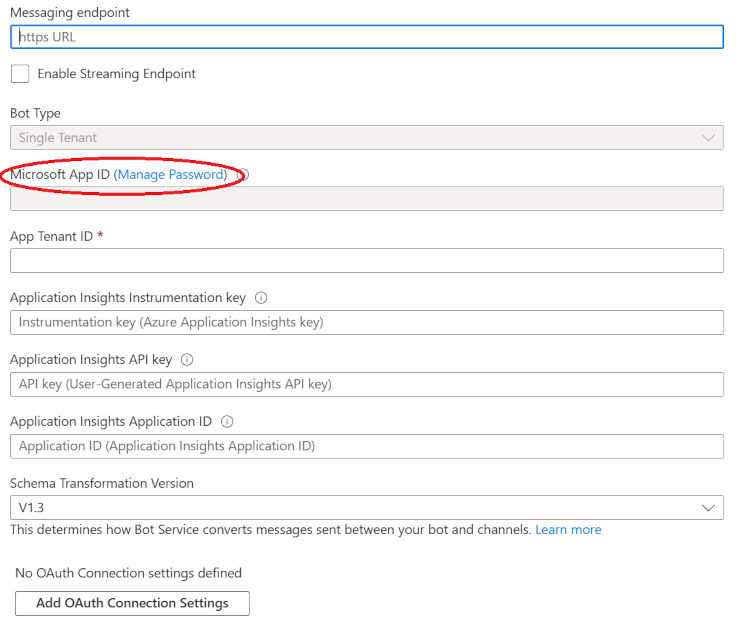
On the Overview pane, record the Application (client) ID and Directory (tenant) ID
- This is used when configuring the agent settings, and is the
ClientIdandTenantIdsettings.
- This is used when configuring the agent settings, and is the
Select Certificates & secrets, then select Client secrets. If there's a secret listed, you can delete the secret so that it's not used for authentication. The federated credential you set up in the next steps are used for authentication instead of a client secret.
Select Federated credentials.
Select Add credential.
Set credential properties.
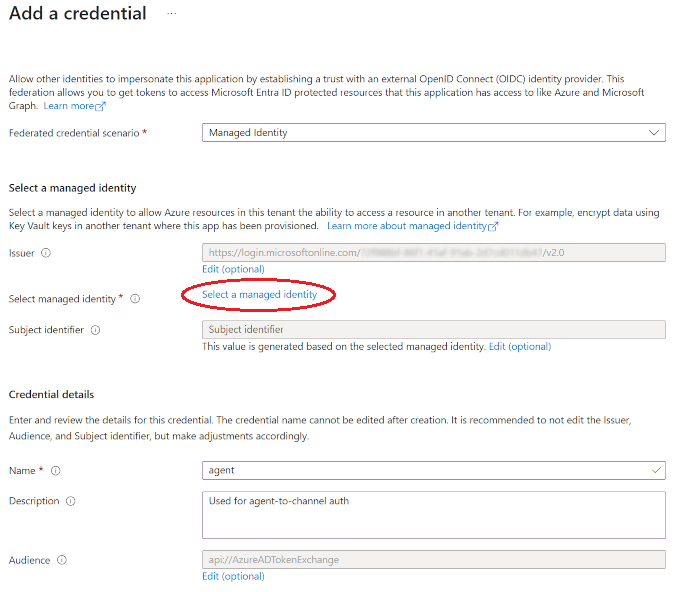
Federated credential scenario: Managed Identity.
Select Select a managed identity and select the User-Assigned Managed Identity you created previously.
Set the Name, for example, "agent."
When you're done, select Add.
Important
Store the ClientId, TenantId from the Azure Bot resource, and store the ClientId from the Managed Identity. You need the information later when configuring your agent configuration.