Note
Access to this page requires authorization. You can try signing in or changing directories.
Access to this page requires authorization. You can try changing directories.
Important
Disable rules are being deprecated as part of the transition from grouped recommendations to individual recommendations. Use exemptions to manage exceptions going forward. For migration guidance, see Transition from disable rules to exemptions.
Note
You can customize your vulnerability assessment experience by exempting management groups, subscriptions, or specific resources from your secure score. To create an exemption for a resource or subscription, see Create an exemption.
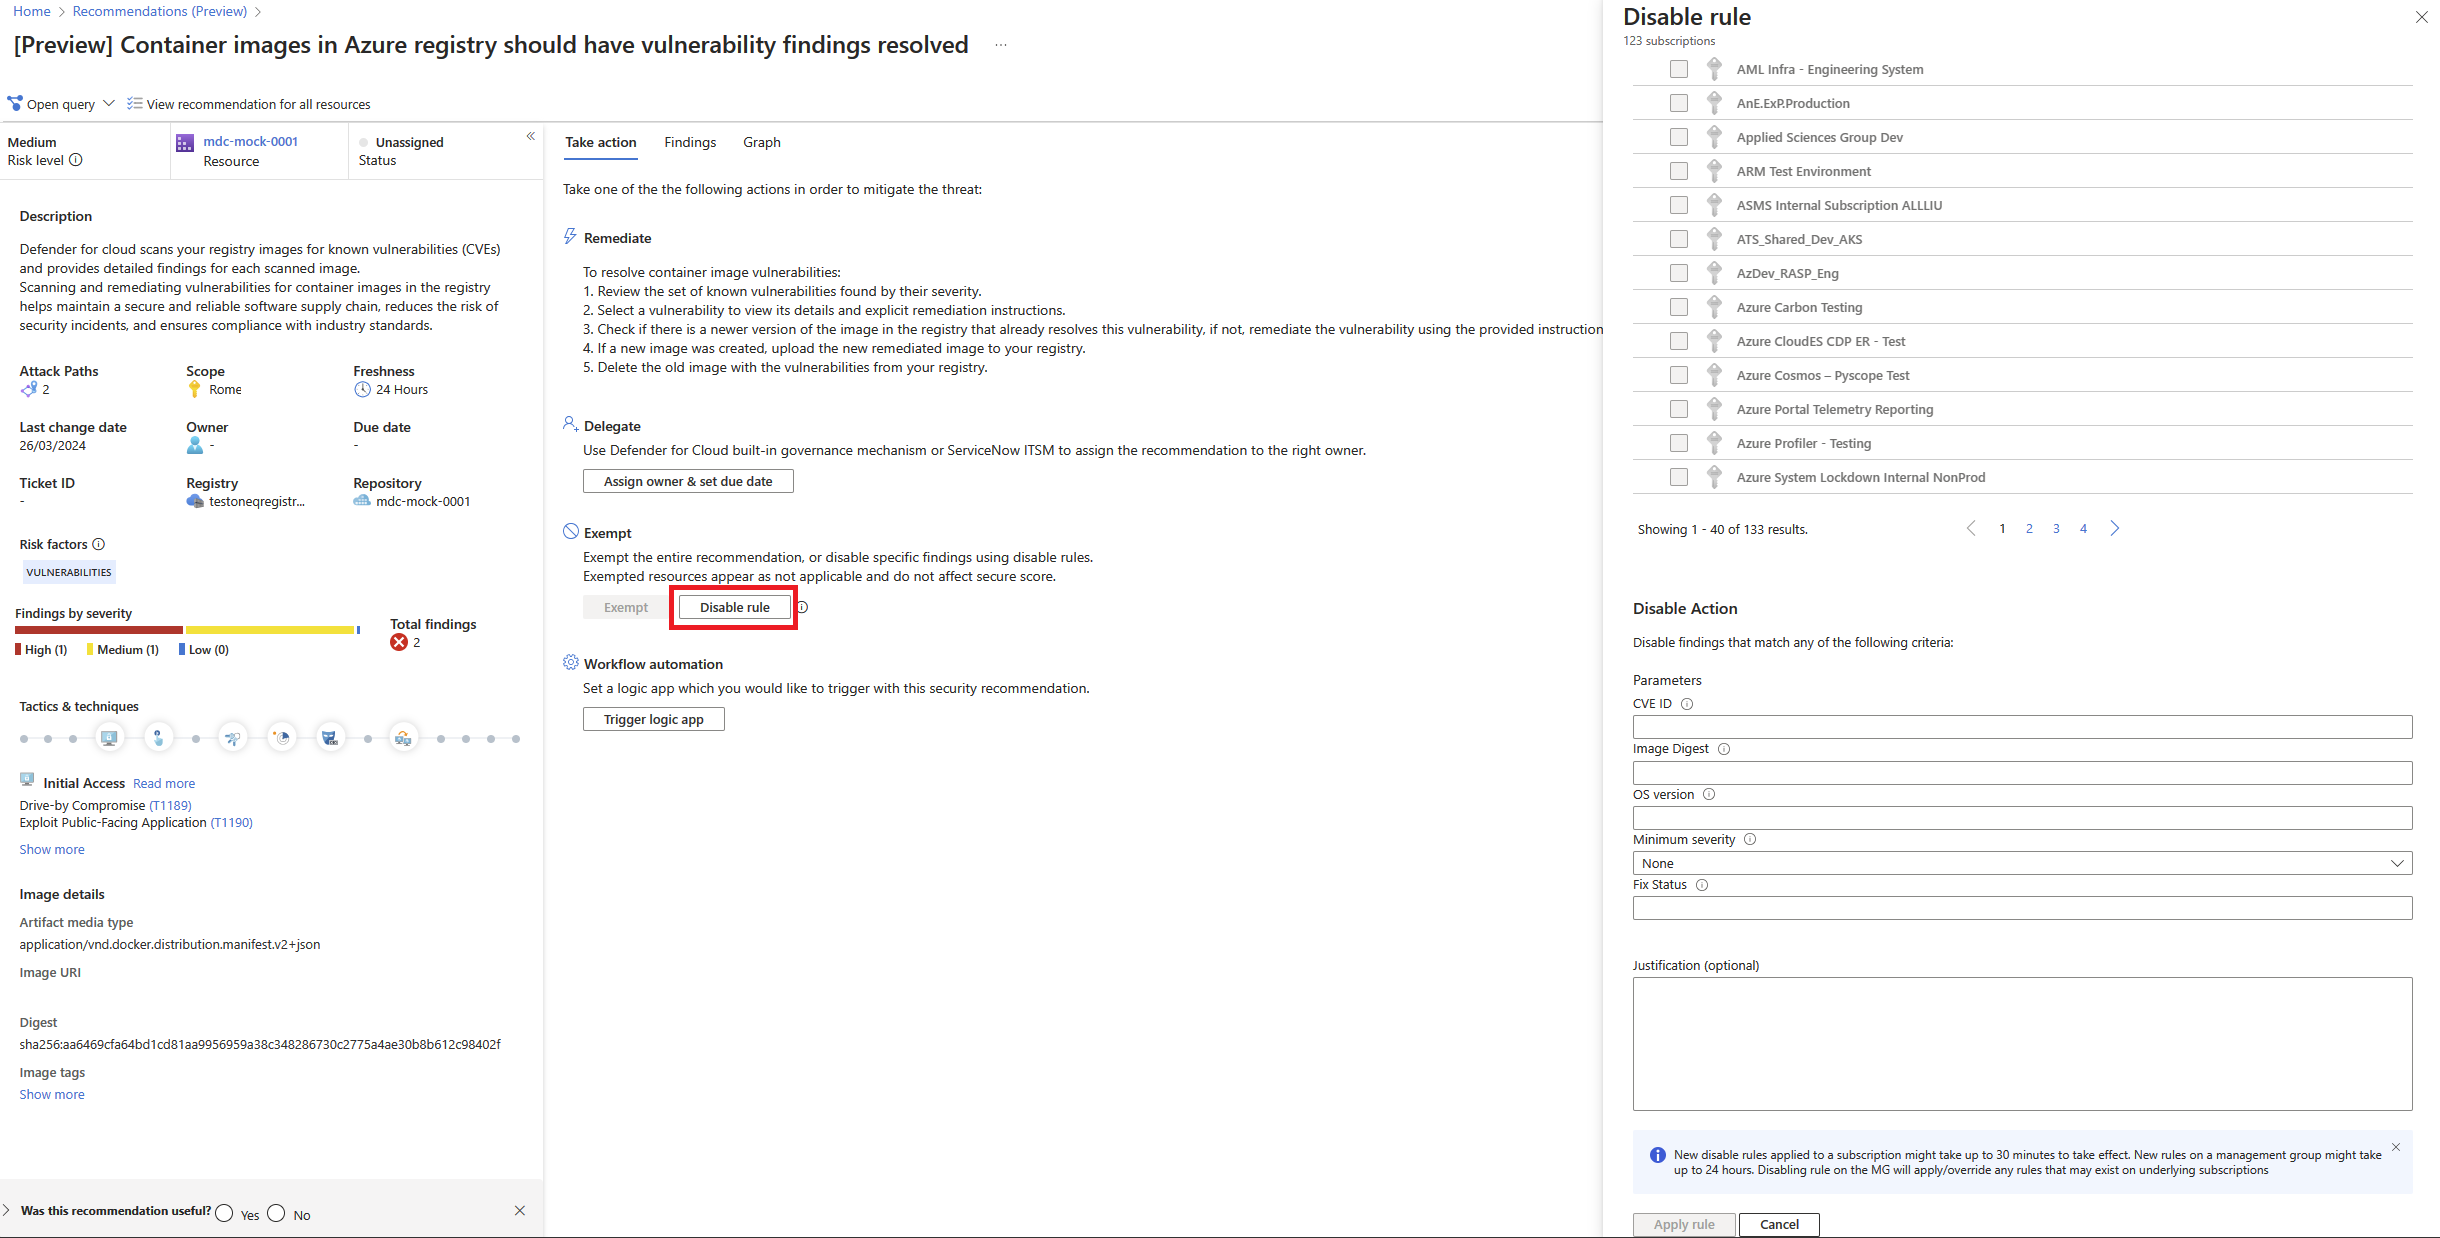
If your organization needs to ignore a finding instead of remediating it, create a disable rule. Disabled findings don't affect secure score or generate unnecessary noise.
When a finding matches your disable rule criteria, it doesn't appear in the findings list. Common examples include:
- Disable findings with severity below medium
- Disable findings for images that the vendor won't fix
Important
To create a rule, you need permissions to edit a policy in Azure Policy. For more information about permissions, see Azure RBAC permissions in Azure Policy.
You can use a combination of any of the following criteria:
- Common Vulnerabilities and Exposures (CVE) - Enter the CVEs of the findings you want to exclude. Ensure the CVEs are valid. Separate multiple CVEs with a semicolon. For example, CVE-2020-1347; CVE-2020-1346.
- Image digest - Specify images for which vulnerabilities should be excluded based on the image digest. Separate multiple digests with a semicolon, for example:
sha256:9b920e938111710c2768b31699aac9d1ae80ab6284454e8a9ff42e887fa1db31;sha256:ab0ab32f75988da9b146de7a3589c47e919393ae51bbf2d8a0d55dd92542451c - OS version - Specify images for which vulnerabilities should be excluded based on the image OS. Separate multiple versions with a semicolon, for example: ubuntu_linux_20.04;alpine_3.17
- Minimum Severity - Select low, medium, high, or critical to exclude vulnerabilities less than the specified severity level.
- Fix status - Select the option to exclude vulnerabilities based on their fix status.
Disable rules apply per recommendation. For example, to disable the CVE-2017-17512 vulnerability on both registry images and runtime images, configure the rule in both recommendations. For CVE details, see CVE-2017-17512.
Note
The Azure Preview Supplemental Terms include additional legal terms that apply to Azure features that are in beta, preview, or otherwise not yet released into general availability.
To create a rule
To create a disable rule for vulnerability findings, follow these steps:
Sign in to the Azure portal.
Go to Microsoft Defender for Cloud > Recommendations.
Search for one of the following recommendations:
Container registry images should have vulnerability findings resolved powered by Microsoft Defender Vulnerability ManagementContainers running in Azure should have vulnerability findings resolved.
Select the recommendation.
Select Disable rule.
Select the relevant scope.
Define your criteria. You can use any of the following criteria:
- Common Vulnerabilities and Exposures (CVE) - Enter the CVEs of the findings you want to exclude. Ensure the CVEs are valid. Separate multiple CVEs with a semicolon. For example, CVE-2020-1347; CVE-2020-1346.
- Image digest - Specify images for which vulnerabilities should be excluded based on the image digest. Separate multiple digests with a semicolon, for example:
sha256:9b920e938111710c2768b31699aac9d1ae80ab6284454e8a9ff42e887fa1db31;sha256:ab0ab32f75988da9b146de7a3589c47e919393ae51bbf2d8a0d55dd92542451c - OS version - Specify images for which vulnerabilities should be excluded based on the image OS. Separate multiple versions with a semicolon, for example: ubuntu_linux_20.04;alpine_3.17
- Minimum Severity - Select low, medium, high, or critical to exclude vulnerabilities less than and equal to the specified severity level.
- Fix status - Select the option to exclude vulnerabilities based on their fix status.
In the justification text box, explain why you disabled a specific vulnerability. This explanation helps anyone who reviews the rule.
Select Apply rule.
Important
Changes might take up to 24 hours to take effect.

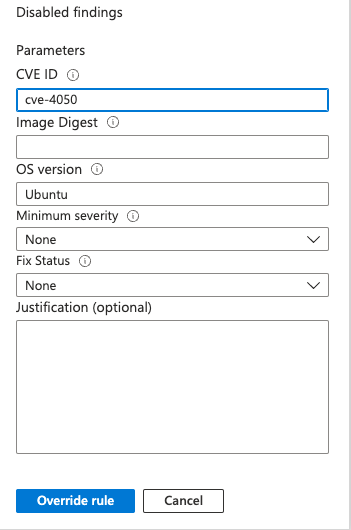
To view, override, or delete a rule
To manage existing disable rules, follow these steps:
From the recommendations detail page, select Disable rule.
From the scope list, subscriptions with active rules show as Rule applied.
To view or delete the rule, select the ellipsis menu ("...").
Do one of the following:
- To view or override a disable rule - select View rule, make any changes you want, and select Override rule.
- To delete a disable rule - select Delete rule.

Next steps
- To view and remediate vulnerability assessment findings for registry images, see View and remediate vulnerability assessment findings for registry images.
- To learn about agentless container posture, see Agentless container posture.