Quickstart: Use Azure Cache for Redis with an ASP.NET web app
In this quickstart, you use Visual Studio 2019 to modify an ASP.NET web application that connects to Azure Cache for Redis to store and get data from the cache. Then, you deploy the app to Azure App Service.
Skip to the code
This article describes how to modify the code for a sample app to create a working app that connects to Azure Cache for Redis.
If you want to go straight to the sample code, see the ASP.NET quickstart sample on GitHub.
Prerequisites
- An Azure subscription. Create one for free
- Visual Studio 2019 with the ASP.NET and web development and Azure development workloads.
Create a cache
Next, create the cache to use with the app.
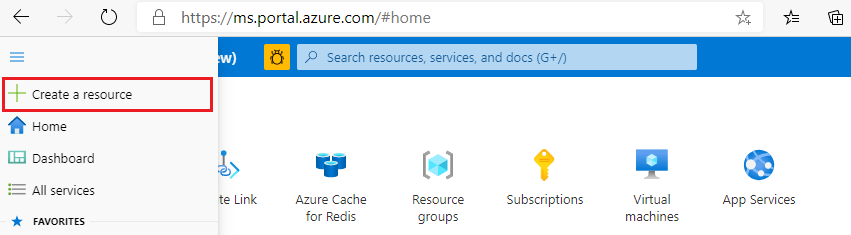
To create a cache, sign in to the Azure portal. On the portal menu, select Create a resource.
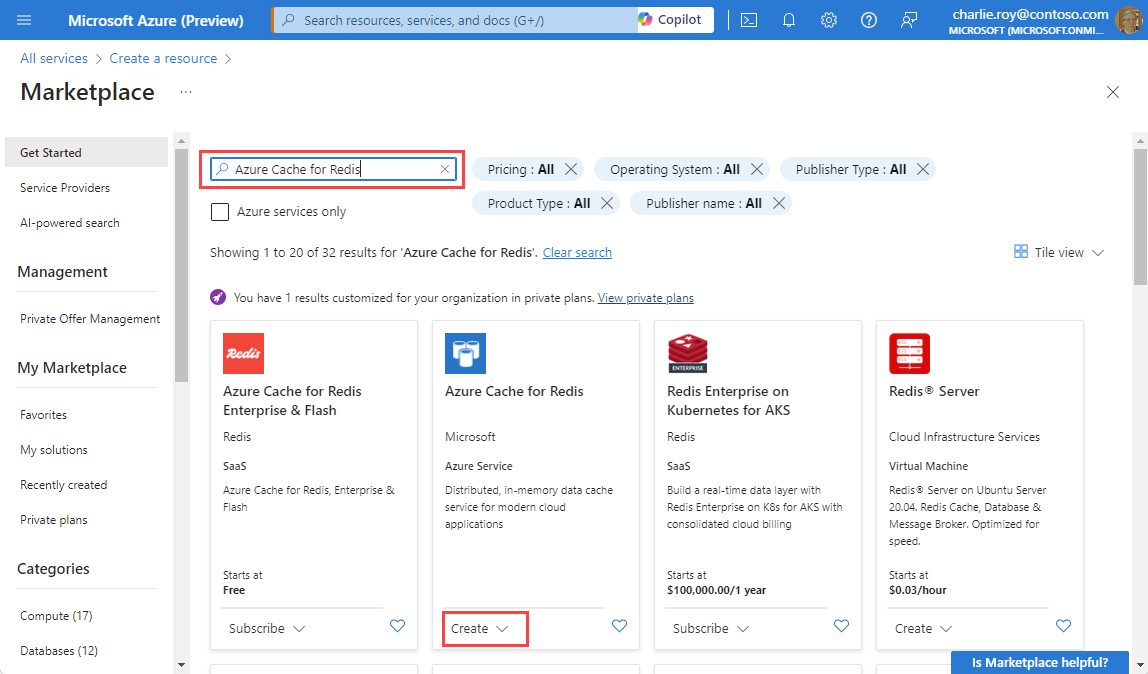
On the Get Started pane, enter Azure Cache for Redis in the search bar. In the search results, find Azure Cache for Redis, and then select Create.
On the New Redis Cache pane, on the Basics tab, configure the following settings for your cache:
Setting Action Description Subscription Select your Azure subscription. The subscription to use to create the new instance of Azure Cache for Redis. Resource group Select a resource group, or select Create new and enter a new resource group name. A name for the resource group in which to create your cache and other resources. By putting all your app resources in one resource group, you can easily manage or delete them together. DNS name Enter a unique name. The cache name must be a string of 1 to 63 characters that contains only numbers, letters, and hyphens. The name must start and end with a number or letter, and it can't contain consecutive hyphens. Your cache instance's host name is \<DNS name>.redis.cache.windows.net.Location Select a location. An Azure region that is near other services that use your cache. Cache SKU Select a SKU. The SKU determines the size, performance, and feature parameters that are available for the cache. For more information, see Azure Cache for Redis overview. Cache size Select a cache size. For more information, see Azure Cache for Redis overview. Select the Networking tab or select Next: Networking.
On the Networking tab, select a connectivity method to use for the cache.
Select the Advanced tab or select Next: Advanced.
On the Advanced pane, verify or select an authentication method based on the following information:
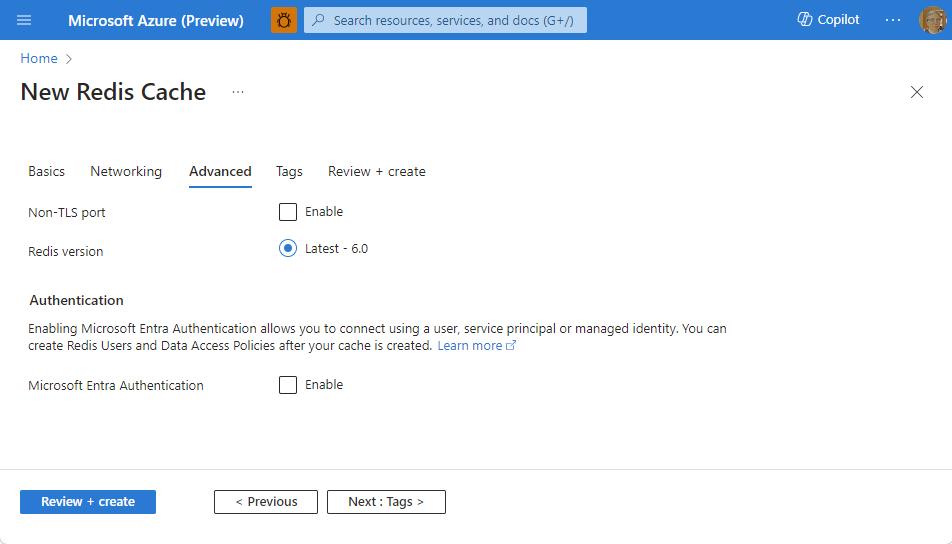
- By default, for a new Basic, Standard, or Premium cache, Microsoft Entra Authentication is enabled and Access Keys Authentication is disabled.
- For Basic or Standard caches, you can choose the selection for a non-TLS port.
- For Standard and Premium caches, you can choose to enable availability zones. You can't disable availability zones after the cache is created.
- For a Premium cache, configure the settings for non-TLS port, clustering, managed identity, and data persistence.
Important
For optimal security, we recommend that you use Microsoft Entra ID with managed identities to authorize requests against your cache if possible. Authorization by using Microsoft Entra ID and managed identities provides superior security and ease of use over shared access key authorization. For more information about using managed identities with your cache, see Use Microsoft Entra ID for cache authentication.
(Optional) Select the Tags tab or select Next: Tags.
(Optional) On the Tags tab, enter a tag name and value if you want to categorize your cache resource.
Select the Review + create button.
On the Review + create tab, Azure automatically validates your configuration.
After the green Validation passed message appears, select Create.
A new cache deployment occurs over several minutes. You can monitor the progress of the deployment on the Azure Cache for Redis Overview pane. When Status displays Running, the cache is ready to use.
Get the host name, ports, and access key
To connect to your Azure Cache for Redis server, the cache client needs the cache's host name, ports, and an access key. Some clients might refer to these items by using slightly different names. You can get the host name, ports, and keys in the Azure portal.
To get an access key for your cache:
- In the Azure portal, go to your cache.
- On the service menu, under Settings, select Authentication.
- On the Authentication pane, select the Access keys tab.
- To copy the value for an access key, select the Copy icon in the key field.

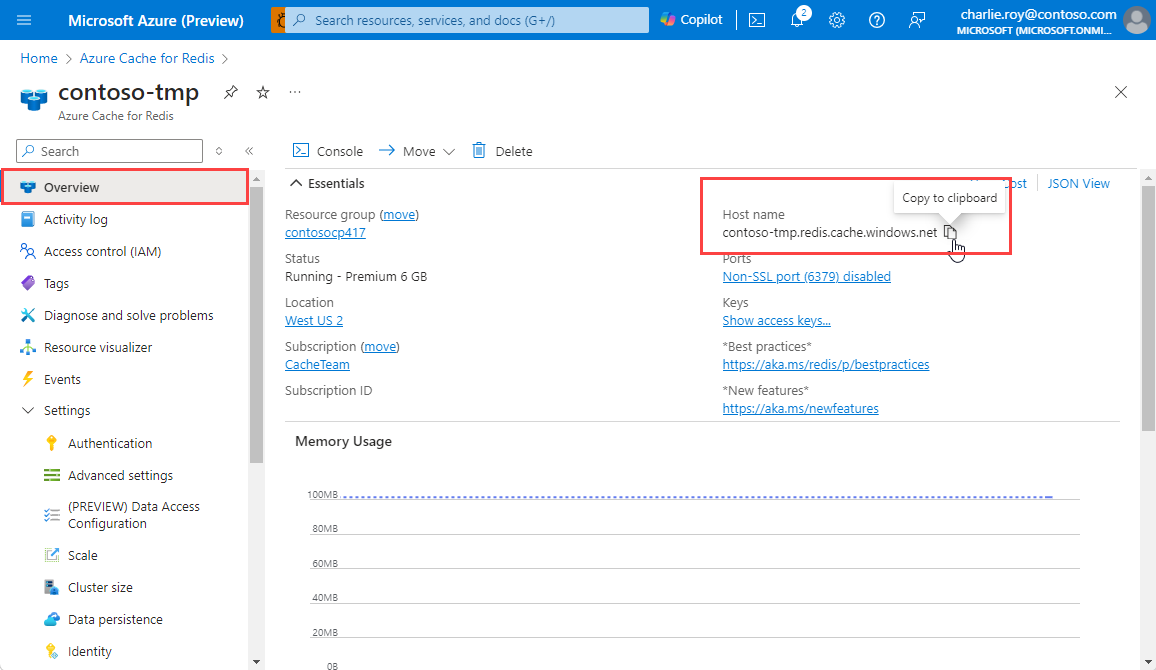
To get the host name and ports for your cache:
- In the Azure portal, go to your cache.
- On the service menu, select Overview.
- Under Essentials, for Host name, select the Copy icon to copy the host name value. The host name value has the form
<DNS name>.redis.cache.windows.net. - For Ports, select the Copy icon to copy the port values.
Edit the CacheSecrets.config file
On your computer, create a file named CacheSecrets.config. Put the file in a location where it isn't checked in with the source code of your sample application. For this quickstart, the CacheSecrets.config file is in the C:\AppSecrets\ folder.
Edit the CacheSecrets.config file to add the following content.
In the code:
Replace
<cache-name>with your cache host name.Replace
<access-key>with the primary access key for your cache.Tip
You can use the secondary access key during key rotation as an alternate key while you regenerate the primary access key.
<appSettings>
    <add key="CacheConnection" value="<cache-name>.redis.cache.windows.net,abortConnect=false,ssl=true,allowAdmin=true,password=<access-key>"/>
</appSettings>
Save the file.
Update the MVC application
In this section, a model-view-controller (MVC) application displays a simple test for the connection to Azure Cache for Redis.
How the web.config file connects to the cache
When you run the application locally, the information in CacheSecrets.config is used to connect to your Azure Cache for Redis instance. Later, you can deploy this application to Azure. At that time, you configure an app setting in Azure that the application uses to retrieve the cache connection information instead of using the config file.
Because the CacheSecrets.config file isn't deployed to Azure with your application, you use it only when you test the application locally. Keep this information as secure as possible to help prevent malicious access to your cache data.
Update the web.config file
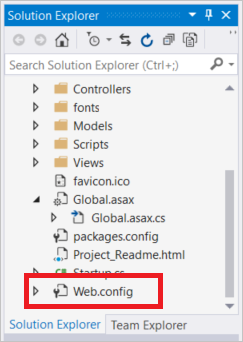
In Solution Explorer, open the web.config file.
In the web.config file, set the
<appSettings>element to run the application locally:<appSettings file="C:\AppSecrets\CacheSecrets.config">
The ASP.NET runtime merges the contents of the external file with the markup in the <appSettings> element. The runtime ignores the file attribute if the specified file can't be found. Your secrets (the connection string to your cache) aren't included as part of the source code for the application. When you deploy your web app to Azure, the CacheSecrets.config file isn't deployed.
Install StackExchange.Redis
Your solution requires the StackExchange.Redis package to run.
To install the StackExchange.Redis package:
To configure the app to use the StackExchange.Redis NuGet package for Visual Studio, select Tools > NuGet Package Manager > Package Manager Console.
In the Package Manager Console window, run the following command:
Install-Package StackExchange.Redis
The NuGet package downloads and adds the required assembly references for your client application to access Azure Cache for Redis by using the StackExchange.Redis client.
Connect to the cache by using RedisConnection
The connection to your cache is managed by the RedisConnection class. The connection is first made in this statement that's in ContosoTeamStats/Controllers/HomeController.cs:
private static Task<RedisConnection> _redisConnectionFactory = RedisConnection.InitializeAsync(connectionString: ConfigurationManager.AppSettings["CacheConnection"].ToString()););
The value of the CacheConnection secret is accessed by using the Secret Manager configuration provider and is used as the password parameter.
In RedisConnection.cs, you can see that the StackExchange.Redis namespace is added to the code. The RedisConnection class requires the namespace.
using StackExchange.Redis;
The RedisConnection code ensures that there's always a healthy connection to the cache. The connection is managed via the ConnectionMultiplexer instance in StackExchange.Redis. The RedisConnection class re-creates the connection when a connection is lost and unable to reconnect automatically.
For more information, see StackExchange.Redis and the code in a GitHub repo.
Verify layout views in the sample
The home page layout for this sample is stored in the _Layout.cshtml file. From this page, you start the actual cache testing by selecting Azure Cache for Redis Test on this page.
In Solution Explorer, select Views, and then right-click the Shared folder. Then, open the _Layout.cshtml file.
Verify that the following line is in
<div class="navbar-header">:@Html.ActionLink("Azure Cache for Redis Test", "RedisCache", "Home", new { area = "" }, new { @class = "navbar-brand" })
Show data from the cache
On the home page, select Azure Cache for Redis Test in the navigation bar to see the sample output.
In Solution Explorer, select Views, and then right-click the Home folder.
Verify that the following code is in the RedisCache.cshtml file:
@{
    ViewBag.Title = "Azure Cache for Redis Test";
}

<h2>@ViewBag.Title.</h2>
<h3>@ViewBag.Message</h3>
<br /><br />
<table border="1" cellpadding="10">
    <tr>
        <th>Command</th>
        <th>Result</th>
    </tr>
    <tr>
        <td>@ViewBag.command1</td>
        <td><pre>@ViewBag.command1Result</pre></td>
    </tr>
    <tr>
        <td>@ViewBag.command2</td>
        <td><pre>@ViewBag.command2Result</pre></td>
    </tr>
    <tr>
        <td>@ViewBag.command3</td>
        <td><pre>@ViewBag.command3Result</pre></td>
    </tr>
    <tr>
        <td>@ViewBag.command4</td>
        <td><pre>@ViewBag.command4Result</pre></td>
    </tr>
    <tr>
        <td>@ViewBag.command5</td>
        <td><pre>@ViewBag.command5Result</pre></td>
    </tr>
</table>
Run the app locally
By default, the project is configured to host the app locally in IIS Express for testing and debugging.
To run the app locally:
In Visual Studio, select Debug > Start Debugging to build and start the app locally for testing and debugging.
In the browser, select Azure Cache for Redis Test on the navigation bar.
In the following example, the
Messagekey previously had a cached value, which was set by using the Azure Cache for Redis console in the portal. The app updated that cached value. The app also executed thePINGandCLIENT LISTcommands.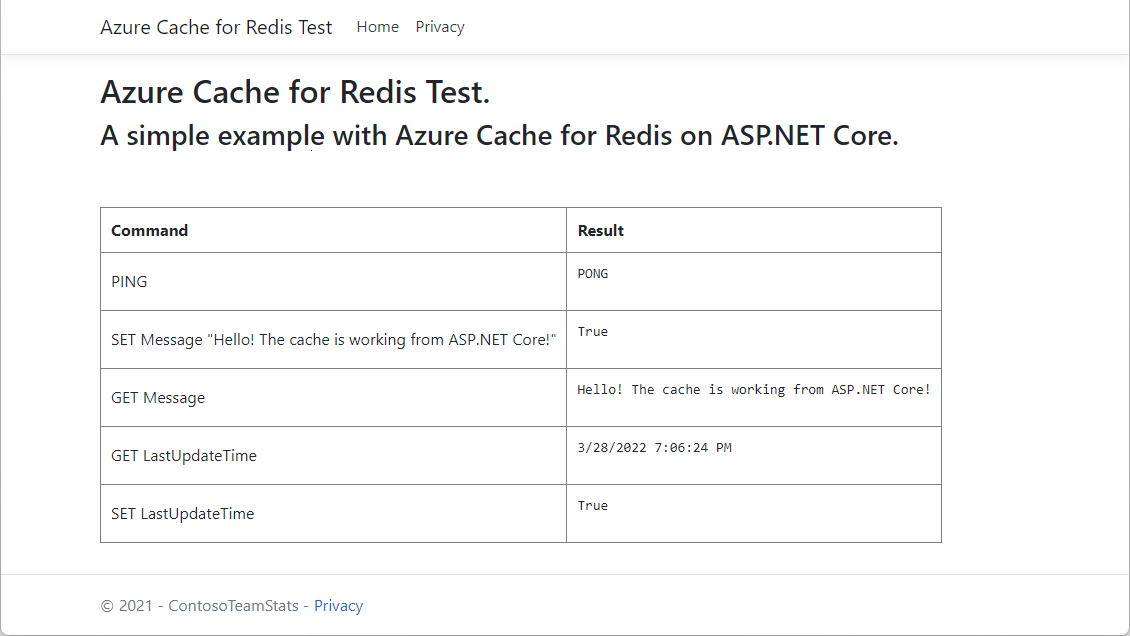
Publish and run in Azure
After you successfully test the app locally, you can deploy the app to Azure and run it in the cloud.
To publish the app to Azure:
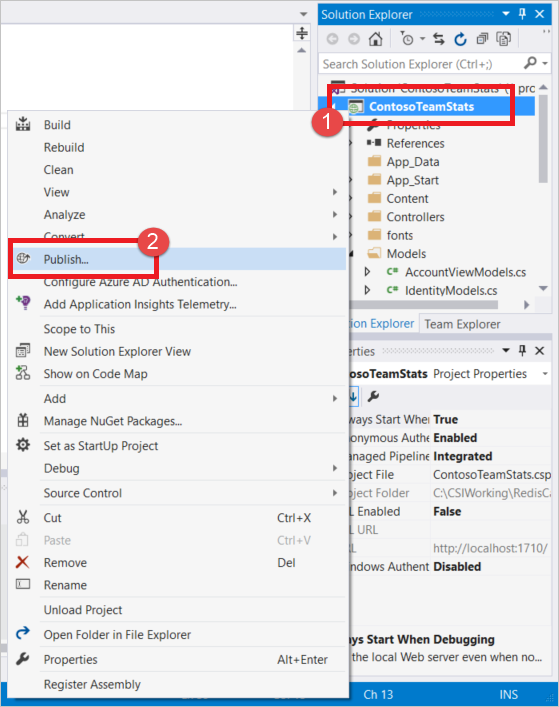
In Visual Studio, in Solution Explorer, right-click the project node and select Publish.
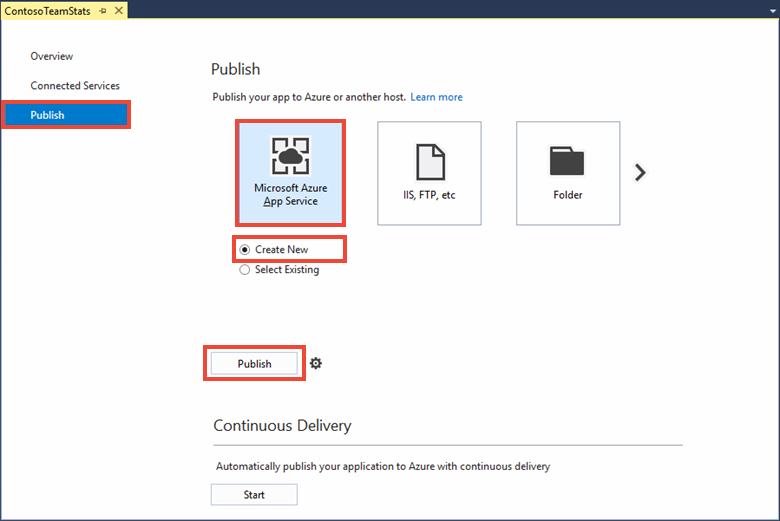
Select Microsoft Azure App Service > Create New > Publish.
In the Create App Service dialog box, make the following changes:
Setting Action Description App name Use the default. The app name is the host name for the app when it's deployed to Azure. The name might have a timestamp suffix added to it to make the app name unique. Subscription Select your Azure subscription. This subscription is charged for any related hosting costs. If you have multiple Azure subscriptions, verify that the subscription that you want to use is selected. Resource group Use the same resource group that you used to create the cache (for example, TestResourceGroup). The resource group helps you manage all resources as a group. Later, when you want to delete the app, you can delete the resource group to delete all related resources. App Service plan Select New, and then create a new App Service plan named TestingPlan.
Use the same value for Location that you used when you created your cache.
For size, select Free.An App Service plan defines a set of compute resources for a web app to run with. 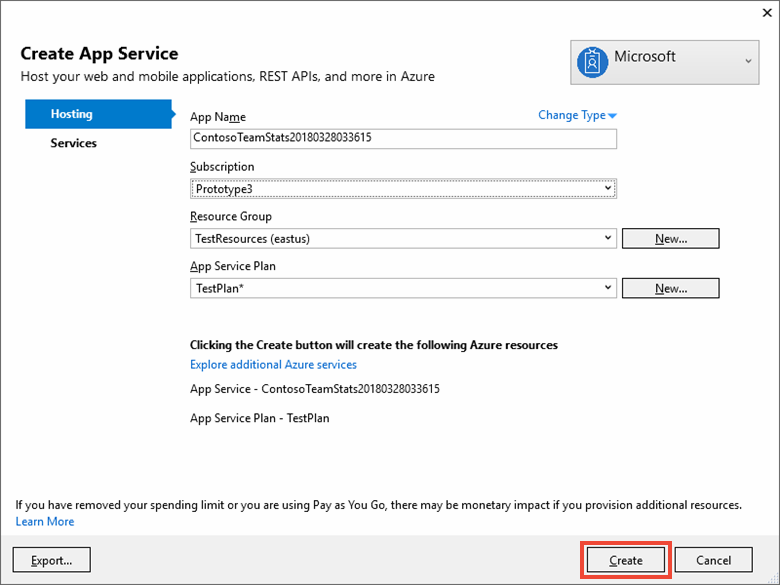
After you configure the App Service host settings, select Create.
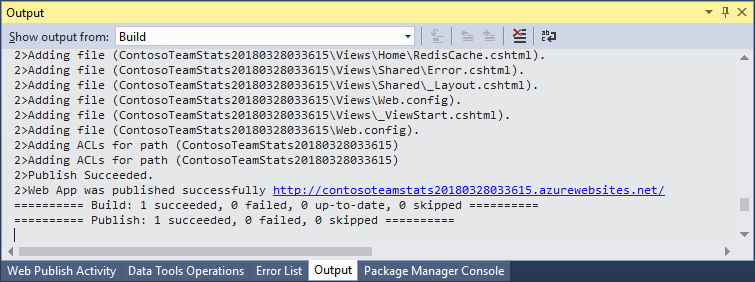
In the Output window, check the publishing status. After the app is published, the URL for the app appears as output:
Add an app setting for the cache
After the new app is published, add a new app setting in the Azure portal. This setting stores the cache connection information.
To add the app setting:
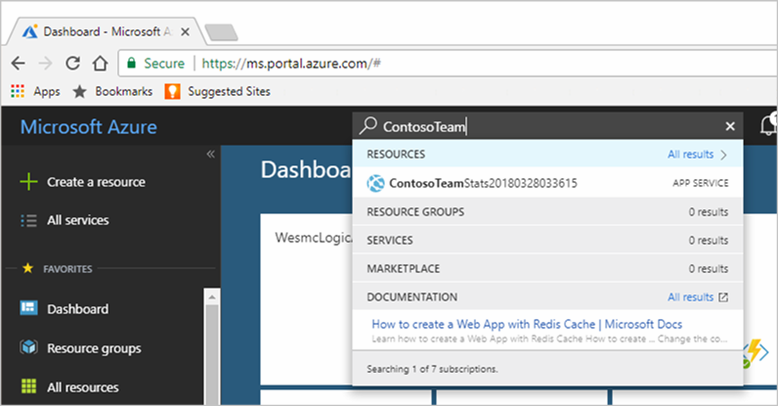
In the Azure portal, enter the name of the app in the search bar.
Add a new app setting named CacheConnection for the app to use to connect to the cache. Use the same value that you used for
CacheConnectionin the CacheSecrets.config file. The value contains the cache host name and access key.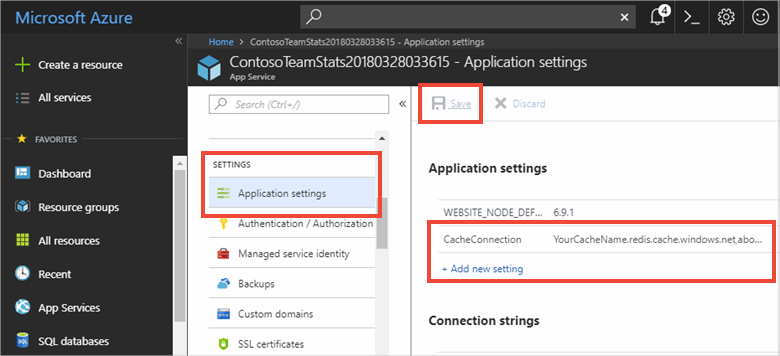
Run the app in Azure
In your browser, go to the URL for the app. The URL appears in the results of the publishing operation in the Visual Studio Output window. It also appears in the Azure portal on the Overview pane of your app.
On the webpage navigation bar, select Azure Cache for Redis Test to test cache access like you did with the local version.
Clean up resources
If you want to continue to use the resources you created in this article, keep the resource group.
Otherwise, to avoid charges related to the resources, if you're finished using the resources, you can delete the Azure resource group that you created.
Warning
Deleting a resource group is irreversible. When you delete a resource group, all the resources in the resource group are permanently deleted. Make sure that you do not accidentally delete the wrong resource group or resources. If you created the resources inside an existing resource group that has resources you want to keep, you can delete each resource individually instead of deleting the resource group.
Delete a resource group
Sign in to the Azure portal, and then select Resource groups.
Select the resource group to delete.
If there are many resource groups, in Filter for any field, enter the name of the resource group you created to complete this article. In the list of search results, select the resource group.
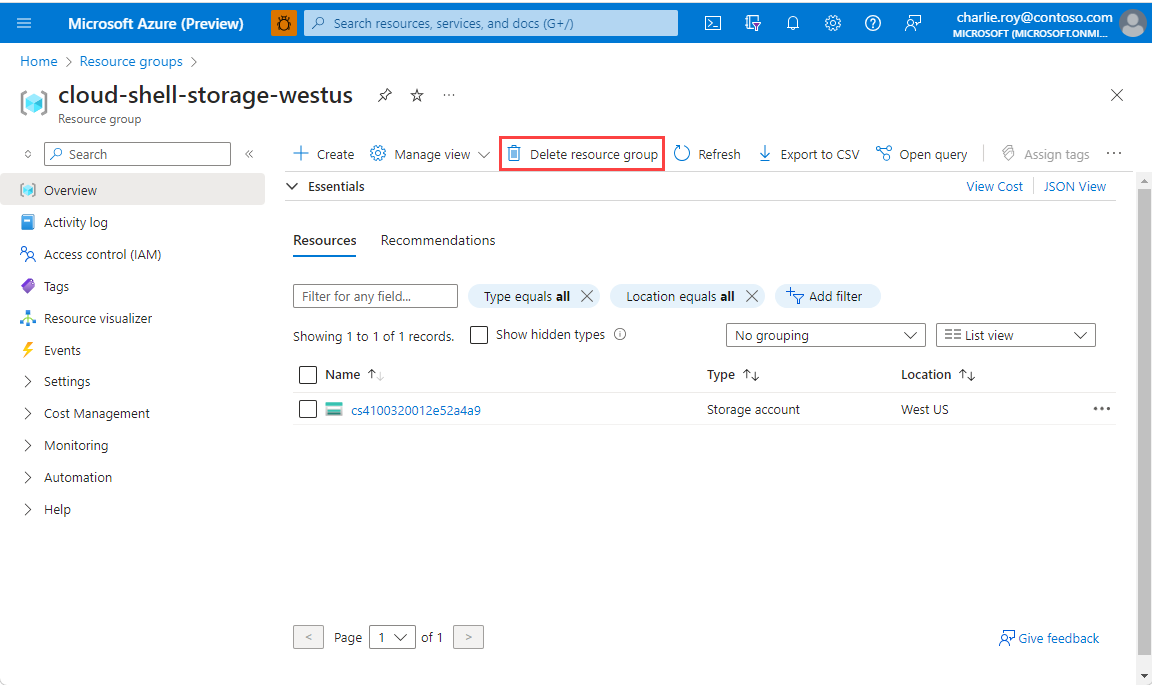
Select Delete resource group.
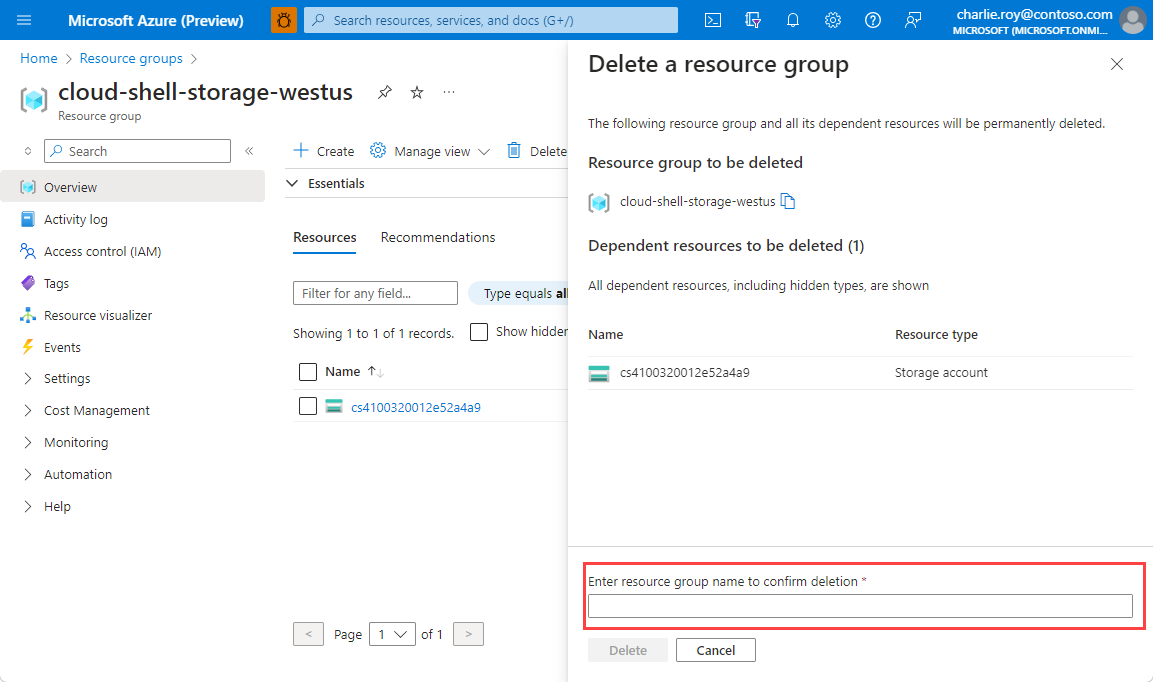
In the Delete a resource group pane, enter the name of your resource group to confirm, and then select Delete.
Within a few moments, the resource group and all of its resources are deleted.