Note
Access to this page requires authorization. You can try signing in or changing directories.
Access to this page requires authorization. You can try changing directories.
This tutorial describes how to back up multiple virtual machines (VMs) by using the Azure portal.
Azure stores backup data in a Recovery Services vault, which is accessible from the Settings menu of most services. This integration simplifies the backup process. However, managing each database or virtual machine separately can be tedious. To streamline backups for multiple virtual machines (for department or location), you can create a backup policy and apply it to the relevant machines.
In this tutorial, you:
- Create a Recovery Services vault.
- Set the vault to help protect virtual machines.
- Create a custom backup and retention policy.
- Assign the policy to help protect multiple virtual machines.
- Trigger an on-demand back up for virtual machines.
Note
The functionality that the following sections describe can also be accessed via Resiliency. Resiliency in Azure is a cloud-native unified experience for resiliency posture management that enables you to manage your protection estate across solutions and environments.
Create a Recovery Services vault
A Recovery Services vault is a management entity that stores recovery points that are created over time. It provides an interface to perform backup-related operations. These operations include taking on-demand backups, performing restores, and creating backup policies.
To create a Recovery Services vault:
Sign in to the Azure portal.
Search for Resiliency, and then go to the Resiliency dashboard.

On the Vault pane, select + Vault.

Select Recovery Services vault > Continue.
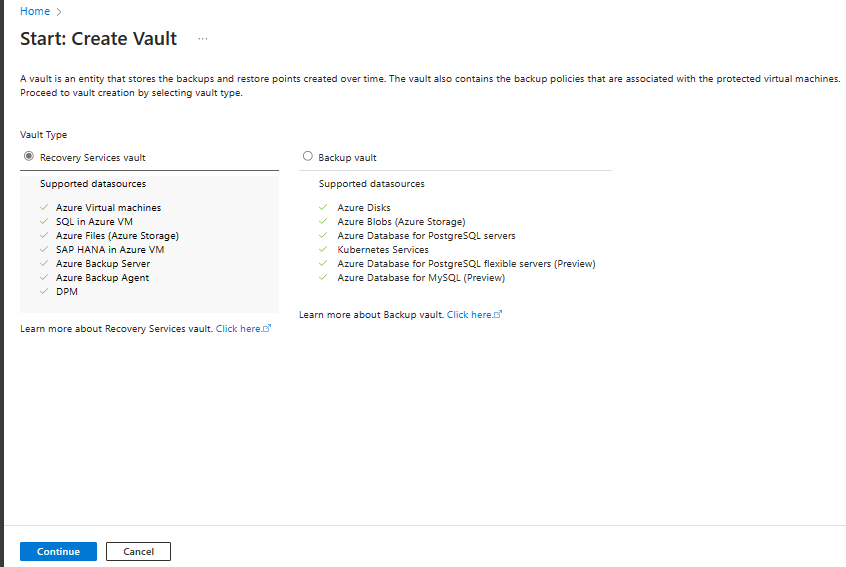
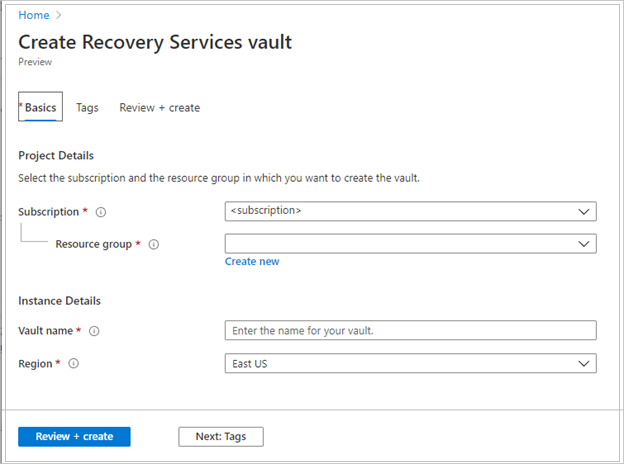
On the Create Recovery Services vault pane, enter the following values:
Subscription: Select the subscription to use. If you're a member of only one subscription, you see that name. If you're not sure which subscription to use, use the default subscription. Multiple choices appear only if your work or school account is associated with more than one Azure subscription.
Resource group: Use an existing resource group or create a new one. To view a list of available resource groups in your subscription, select Use existing. Then select a resource in the dropdown list. To create a new resource group, select Create new, and then enter the name. For more information about resource groups, see Azure Resource Manager overview.
Vault name: Enter a friendly name to identify the vault. The name must be unique to the Azure subscription. Specify a name that has at least 2 but not more than 50 characters. The name must start with a letter and consist only of letters, numbers, and hyphens.
Region: Select the geographic region for the vault. For you to create a vault to help protect any data source, the vault must be in the same region as the data source.
Important
If you're not sure of the location of your data source, close the window. Go to the list of your resources in the portal. If you have data sources in multiple regions, create a Recovery Services vault for each region. Create the vault in the first location before you create a vault in another location. You don't need to specify storage accounts to store the backup data. The Recovery Services vault and Azure Backup handle that step automatically.
After you provide the values, select Review + create.
To finish creating the Recovery Services vault, select Create.
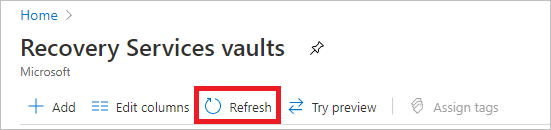
It can take a while to create the Recovery Services vault. Monitor the status notifications in the Notifications area at the upper right. After the vault is created, it appears in the list of Recovery Services vaults. If the vault doesn't appear, select Refresh.


Azure Backup now supports immutable vaults that help you ensure that after recovery points are created, they can't be deleted before their expiry according to the backup policy. You can make the immutability irreversible to help protect your backup data from various threats, including ransomware attacks and malicious actors. Learn more about Azure Backup immutable vaults.
When you create a Recovery Services vault, the vault has geo-redundant storage by default. To provide data resiliency, geo-redundant storage replicates the data multiple times across two Azure regions.
Set a backup policy for VMs
After creation of the Recovery Services vault is complete, configure the vault for the data type backup and set the backup policy. The policy defines the schedule for recovery points and their retention period. In this tutorial, assume that you have a business (a sports complex with a hotel, stadium, and restaurants) that requires VM data protection.
To set a backup policy for your Azure VMs, follow these steps:
Go to Resiliency. On the Overview tab, select + Configure protection.
On the Configure protection pane, under Where is your workload running?, select Azure. Under What do you want to back up?, select Virtual machine. Then select Continue.
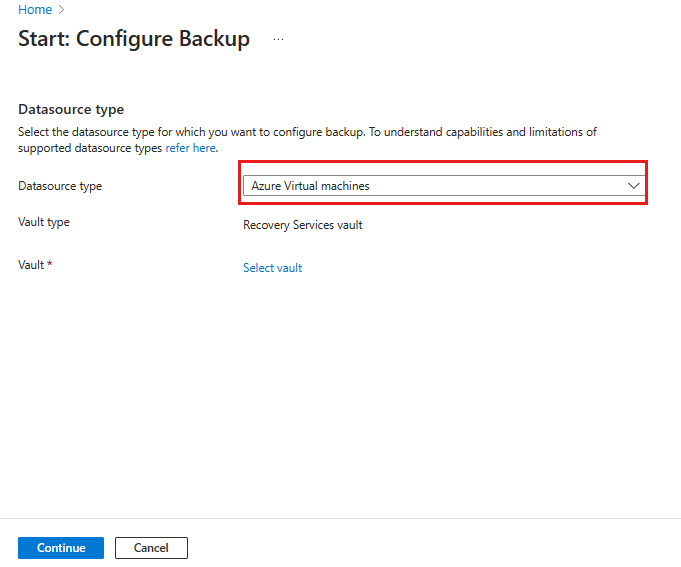
On the Start: Configure Backup pane, select Azure Virtual machines as the Datasource type value, and then select the vault that you created. Then select Continue.
Assign a backup policy:
The default policy backs up the VM once a day. The daily backups are retained for 30 days. Instant recovery snapshots are retained for 2 days.
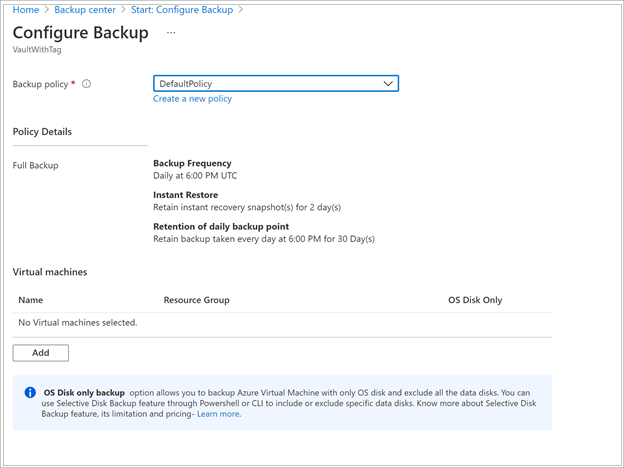
If you don't want to use the default policy, select Create a new policy, and then create a custom policy.
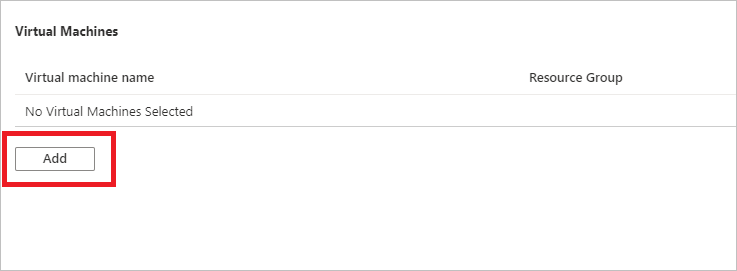
Under Virtual Machines, select Add.
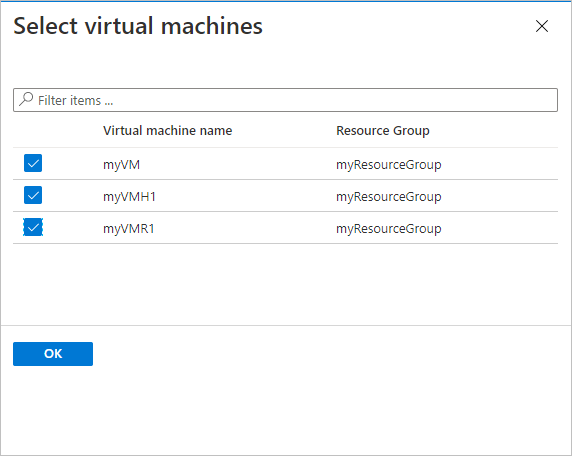
The Select virtual machines pane opens. Select the VMs that you want to back up by using the policy. Then select OK.
The following considerations apply:
- The selected VMs are validated.
- You can select only VMs in the same region as the vault.
- VMs can be backed up only in a single vault.
Note
All the VMs in the same region as the vault are available for configuring a backup, including eligible VMs in a different subscription when the VM and vault are in the same tenant. When you configure backup, you can browse to each VM's name and its resource group, even though you don't have the required permission on those VMs.
If your VM is in soft-deleted state, it isn't visible in this list. If you need to protect the VM again, wait for the soft-delete period to expire or restore the VM from the soft-deleted list. For more information, see the article about soft delete for VMs.
In Backup, select Enable backup. This selection deploys the policy to the vault and to the VMs. It also installs the backup extension on the VM agent that runs on the Azure VM.
After you enable a backup:
- The Azure Backup service installs the backup extension whether or not the VM is running.
- An initial backup runs in accordance with your backup schedule.
When backups run, note that:
- A VM that's running has the greatest chance for capturing an application-consistent recovery point.
- Even if a VM is offline, it's backed up. In this case, the recovery point is crash-consistent.
- Explicit outbound connectivity isn't required for backing up Azure VMs.
Note
You can also set an Enhanced policy to back up Azure VMs multiple times a day.
Run an initial backup
You enabled backups for the Recovery Services vaults, but you haven't created an initial backup. A best practice for disaster recovery is to trigger the initial backup so that your data is protected.
The initial backup runs in accordance with the schedule, but you can run it immediately as follows:
Go to Resiliency and select Protected items.
On the Protected items pane, for Datasource type, select Azure Virtual machines. Then search for the VM that you configured for backups.
Right-click the relevant row or select the more icon (…), and then select Backup Now.
In Backup Now, use the calendar control to select the last day that the recovery point should be retained. Then select OK.
Monitor the portal notifications. To monitor the job's progress, go to Resiliency > Jobs and filter the list for In progress jobs.
Depending on the size of your VM, creating the initial backup might take a while.
Clean up resources
If you plan to work with subsequent tutorials, don't clean up the resources that you created in this tutorial.
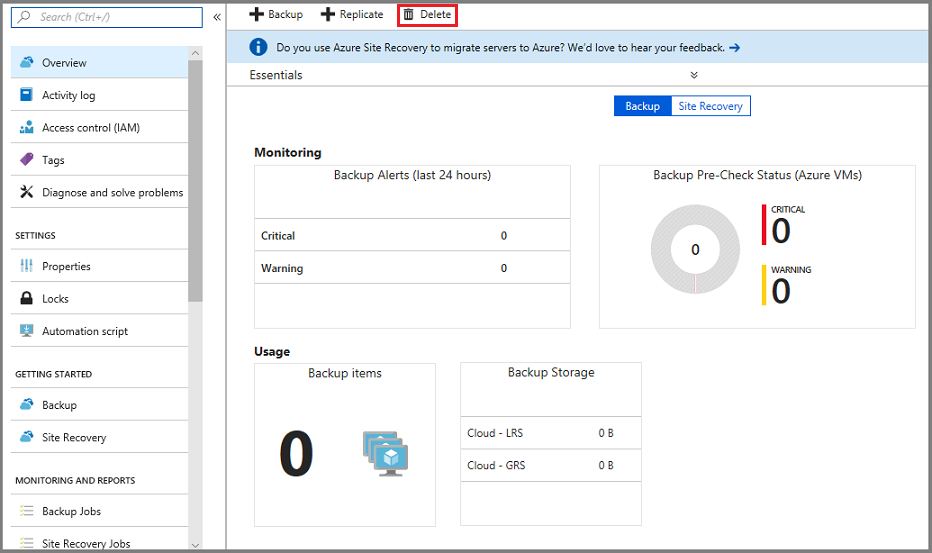
If you don't plan to continue, delete all resources that you created in this tutorial. In the Azure portal, follow these steps:
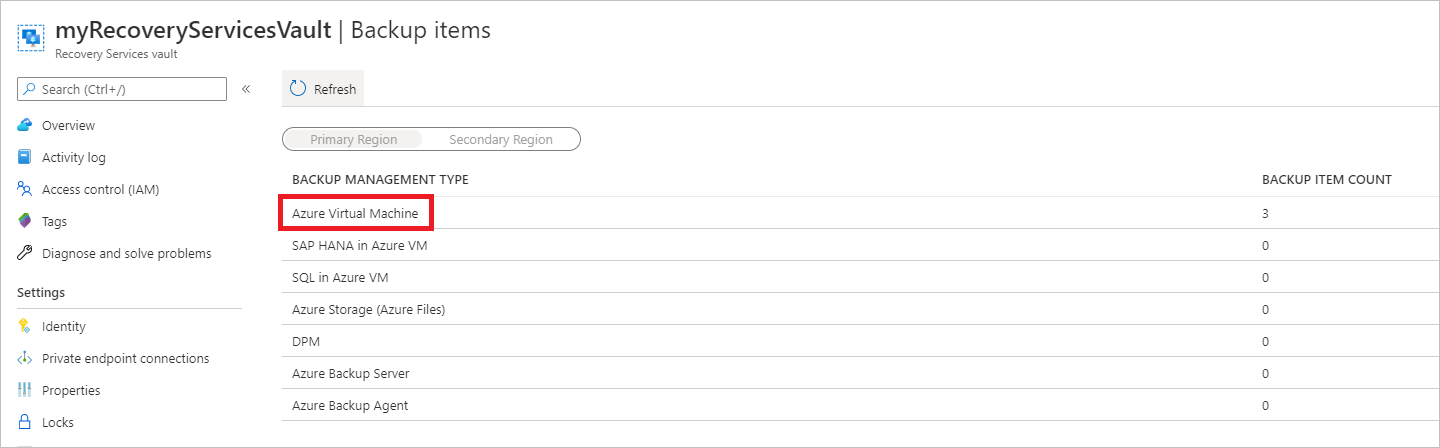
On the myRecoveryServicesVault dashboard, under Backup items. select 3.
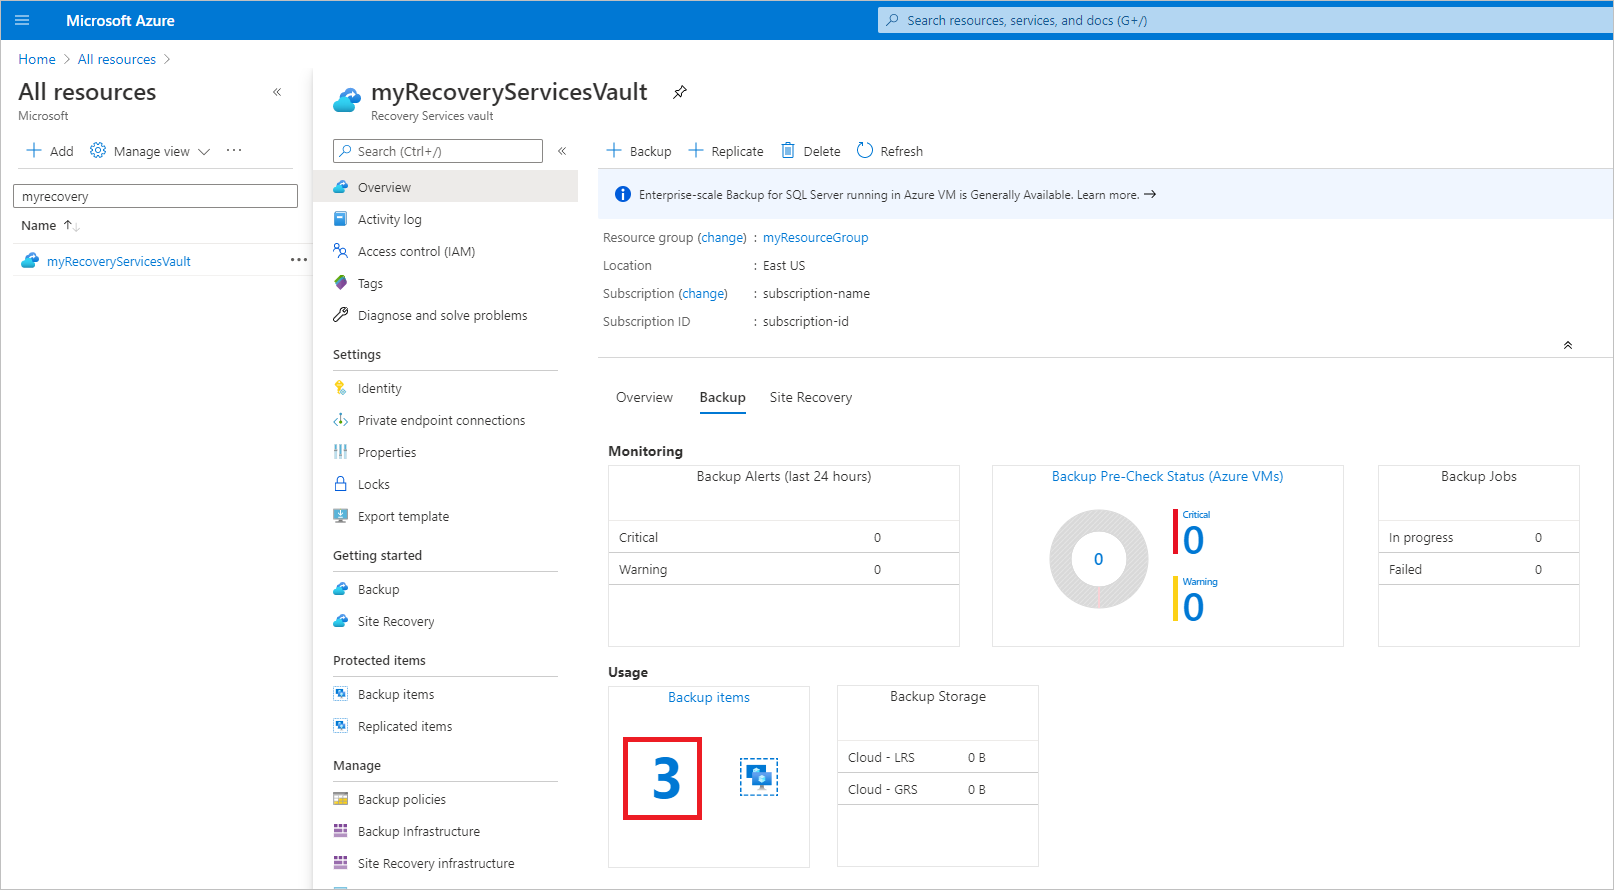
On the Backup items pane, select Azure Virtual Machine to open the list of virtual machines associated with the vault.
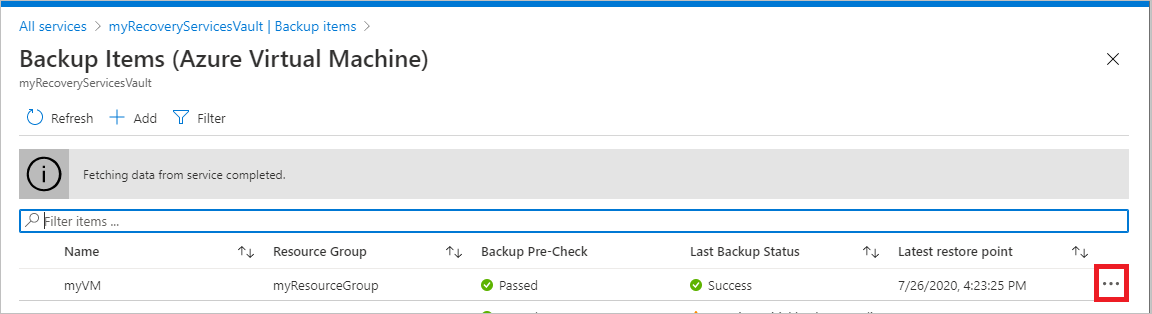
In the list of backup items, select the ellipsis for the myVM item.
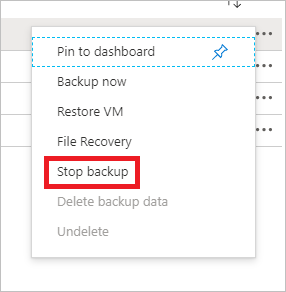
On the menu that opens, select Stop backup.
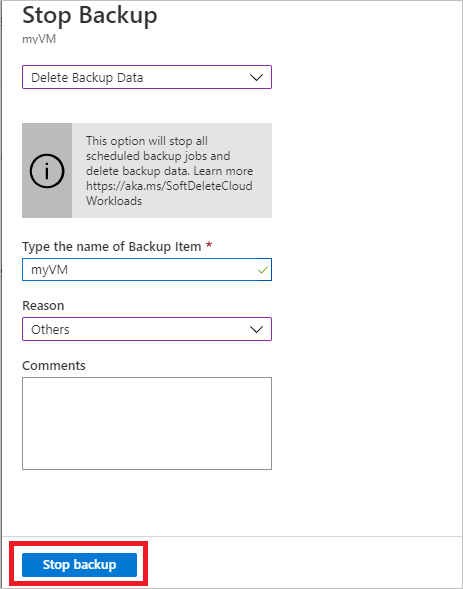
On the Stop Backup pane, in the uppermost box, select Delete Backup Data.
In the Type the name of the Backup Item box, enter myVM.
After the backup item is verified, a check mark appears. Select the Stop backup button to stop the policy and delete the restore points.
Note
Deleted items stay in a soft-deleted state for 14 days. You can delete the vault after that period. For more information, see Delete an Azure Backup Recovery Services vault.
When no more items are in the vault, select Delete.
After you delete the vault, you return to the list of Recovery Services vaults.
Next step
Continue to the next tutorial to restore an Azure virtual machine from disk: