Note
Access to this page requires authorization. You can try signing in or changing directories.
Access to this page requires authorization. You can try changing directories.
The Azure Copilot Deployment Agent acts as a virtual cloud solution architect, guiding the entire infrastructure planning and deployment process with simplicity and precision.
To invoke Azure Deployment Agent outside of the Azure portal, use the azure-skills repository or learn more about the enterprise infrastructure planner.
The Deployment Agent helps you translate high-level goals into actionable deployment plans by applying Azure Well-Architected Framework best practices. You can get help with tasks like creating workload plans, generating and reviewing Terraform and Bicep configurations, and streamlining the automation of Infrastructure-as-Code (IaC) workflows by integrating with GitHub.
The Deployment Agent supports multi-turn conversations to clarify requirements. Once it understands your scenario, the Deployment Agent offers recommendations for optimal resource configurations and provides step-by-step guidance for deploying production-ready environments—whether you're setting up analytics pipelines, web applications, or complex multi-tier architectures. These capabilities let you reduce manual effort, minimize errors, and accelerate time-to-value for your cloud deployments.
After creating a deployment plan, the Deployment Agent can generate Terraform or Bicep configurations that you can review, edit, and deploy. You can open the generated files in Visual Studio Code for the Web or have Azure Copilot create a pull request to add the files to your GitHub repository.
Note
Administrators can enable or disable access to the Azure Copilot Deployment Agent and other Azure Copilot agents. If you don't see the Deployment Agent as an option when starting a new chat, check with your administrator.
Supported resource types
The Azure Copilot Deployment Agent works with all Azure resource types. You can get assistance with many types of deployments, including:
- Compute services, such as Virtual Machines and containerized workloads.
- Networking components, such as Virtual Networks, Subnets, and Network Security Groups.
- Storage solutions, such as Blob Storage, with advanced resiliency options.
- Identity and access management scenarios.
- Monitoring and diagnostics solutions.
- Orchestration of multi-tier architectures for complex workloads.
Deployment sample prompts
Here are a few examples of the kinds of prompts you can use with the Deployment Agent. Modify these prompts based on your real-life scenarios, or try additional prompts to create different kinds of queries. The more details you provide about the workload you want to deploy, the better results you'll get.
- "Host a sentiment-analysis LLM with Azure Functions for serverless API endpoints, connect to an Azure SQL Database for logging user interactions, and set up alerting for failed requests."
- "Deploy a Python Flask web app on Azure App Service with a PostgreSQL Flexible Server backend, secure secrets in Azure Key Vault, and enable monitoring with Application Insights."
- "Launch a multilingual chatbot service using Azure OpenAI Service, integrate logging with Azure Monitor, and use Azure Key Vault for API credential management."
- "Set up a multitenant SaaS application on AKS using Kubernetes namespaces for isolation, integrate Microsoft Entra for authentication, and centralize logs in Azure Log Analytics."
- "Deploy a microservices workload on AKS where API Gateway routes traffic, integrate with Azure Key Vault for secrets, and roll out canary deployments for new service versions."
Example workflow
Here’s an example workflow for using the Deployment Agent in Azure Copilot.
Select Deployment from the New chat options in Azure Copilot. Describe the workload you want to deploy using simple, natural language, such as "I need a scalable web app with a SQL database."
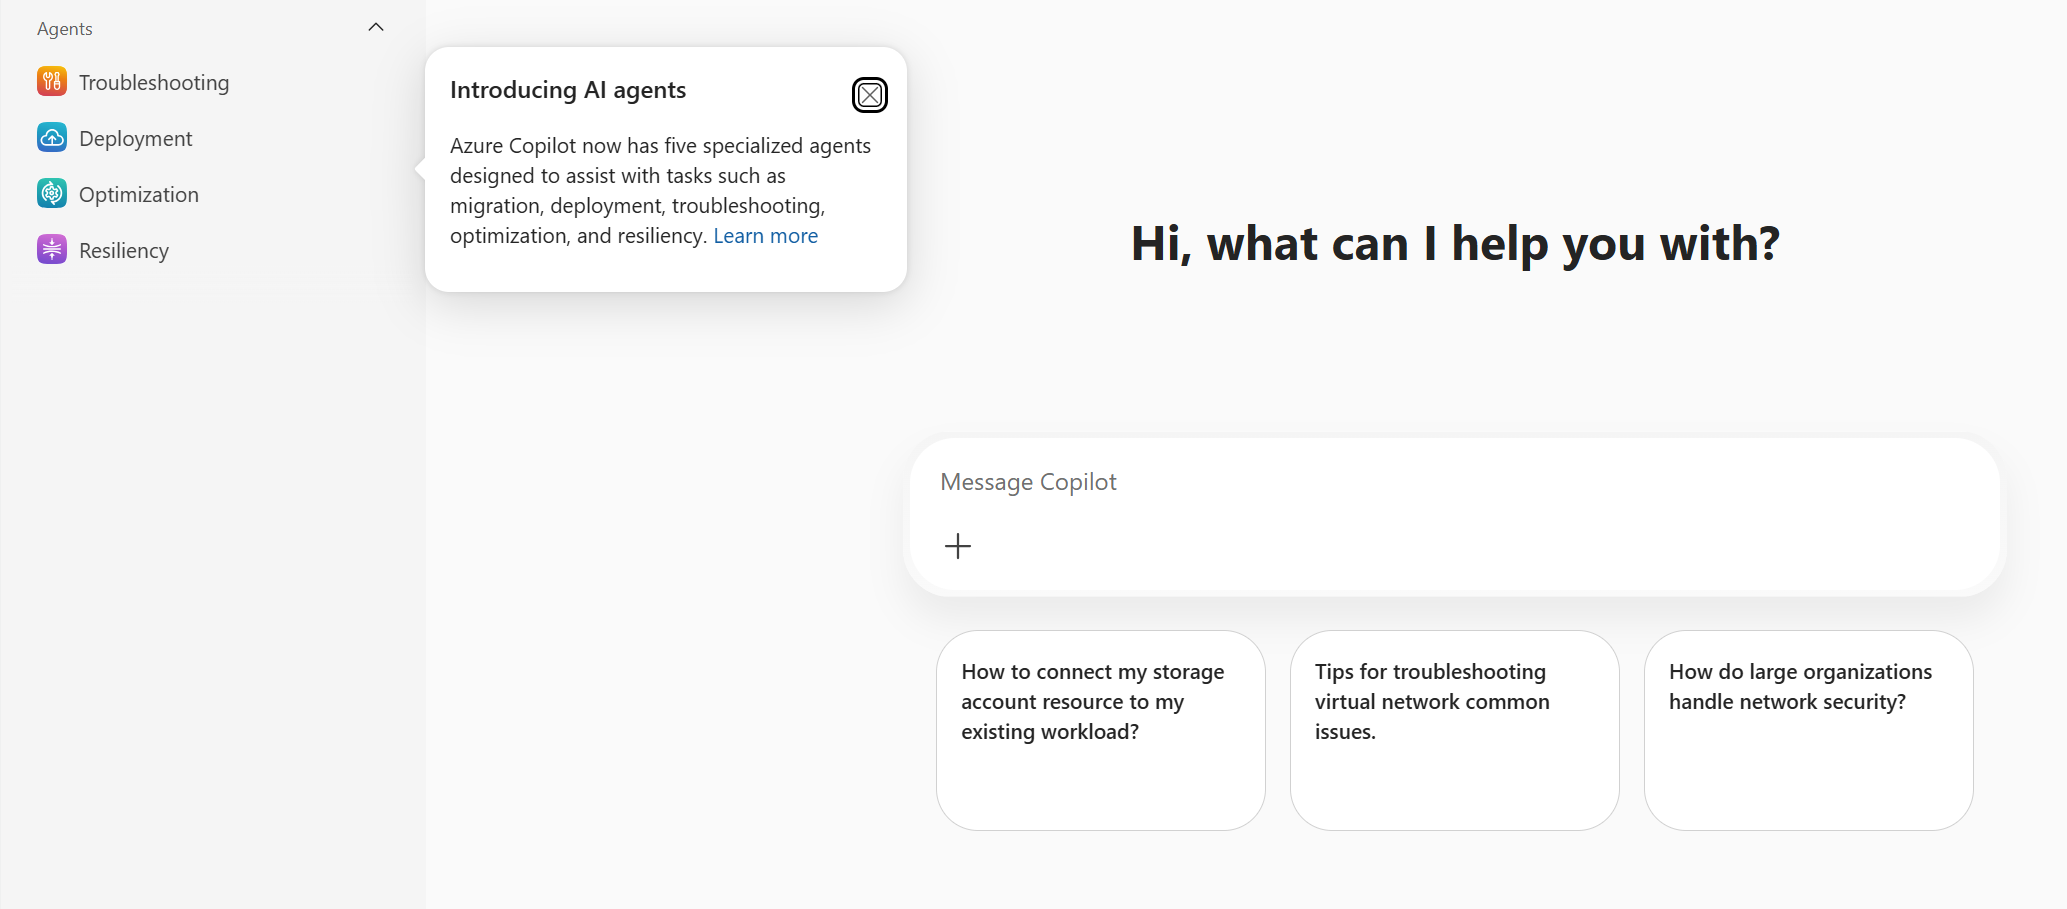
The Deployment Agent reviews your requirements and builds a detailed infrastructure plan tailored to your needs. If more information is needed, the Deployment Agent asks questions about your scenario. The workload plan is a comprehensive, step-by-step blueprint that includes analysis of pros, cons, and trade-offs associated with each architectural decision. All recommendations are grounded in the Azure Well-Architected Framework, ensuring that recommendations align with industry standards and Azure best practices.
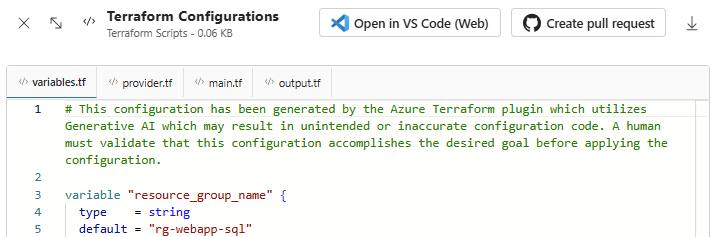
After you approve the plan, choose whether the Deployment Agent should generate a Terraform or Bicep configuration. Each configuration contains the necessary components to deploy the resources outlined in the plan. Comprehensive guidance on deployment strategies, including guidance for CI/CD pipeline configuration, is also provided. You can review the generated configurations in the artifact pane, make edits if needed, and then choose a deployment method.
Review the generated Terraform or Bicep configuration in the artifact pane. If desired, you can make changes to configurations from this pane. Be sure to review all generated configurations carefully to make sure that they meet your requirements.
After validating the configurations, choose a deployment method. You can open the files in VS Code for the Web, create a GitHub pull request, or use the Azure portal. You can also download the files for local deployment or further customization.
Complete the deployment, then use Azure's monitoring tools to track the performance, cost, and health of your resources.
GitHub pull request integration
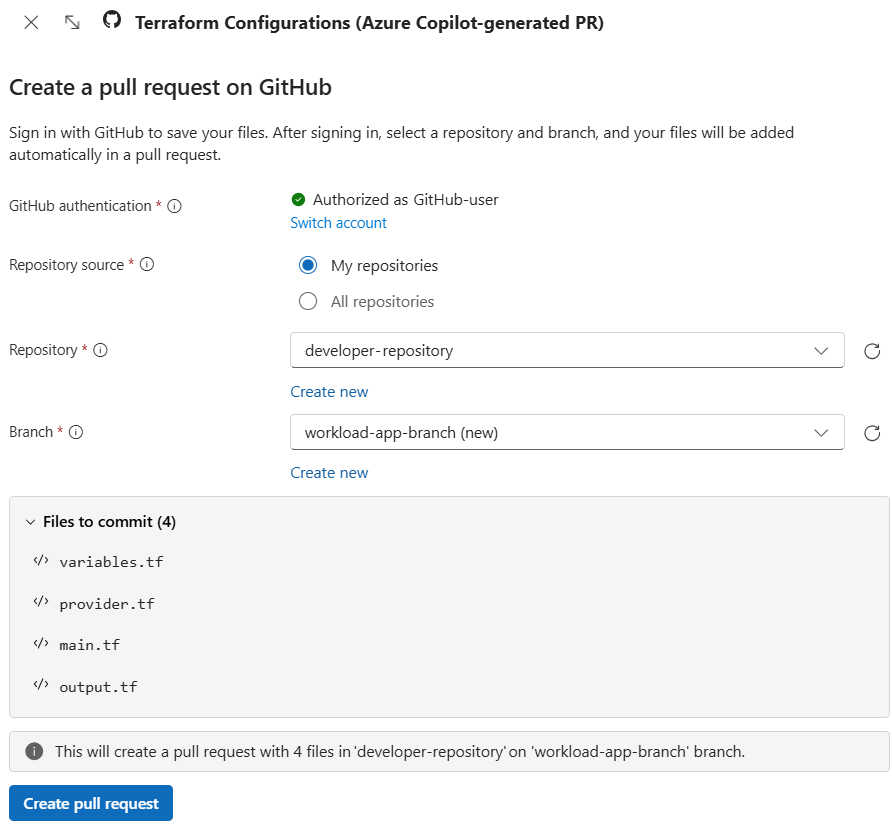
When Azure Copilot generates Terraform or Bicep configurations, you can choose to automatically create a pull request to add the files to your GitHub repository. This option simplifies the process of integrating the generated files into your existing CI/CD workflows.
To use this feature, select Create pull request after reviewing your generated configurations in the artifact pane. After signing in, select an existing repository and branch, or create new ones. When you select Create pull request, the generated files are added to a new pull request.
Open in VS Code
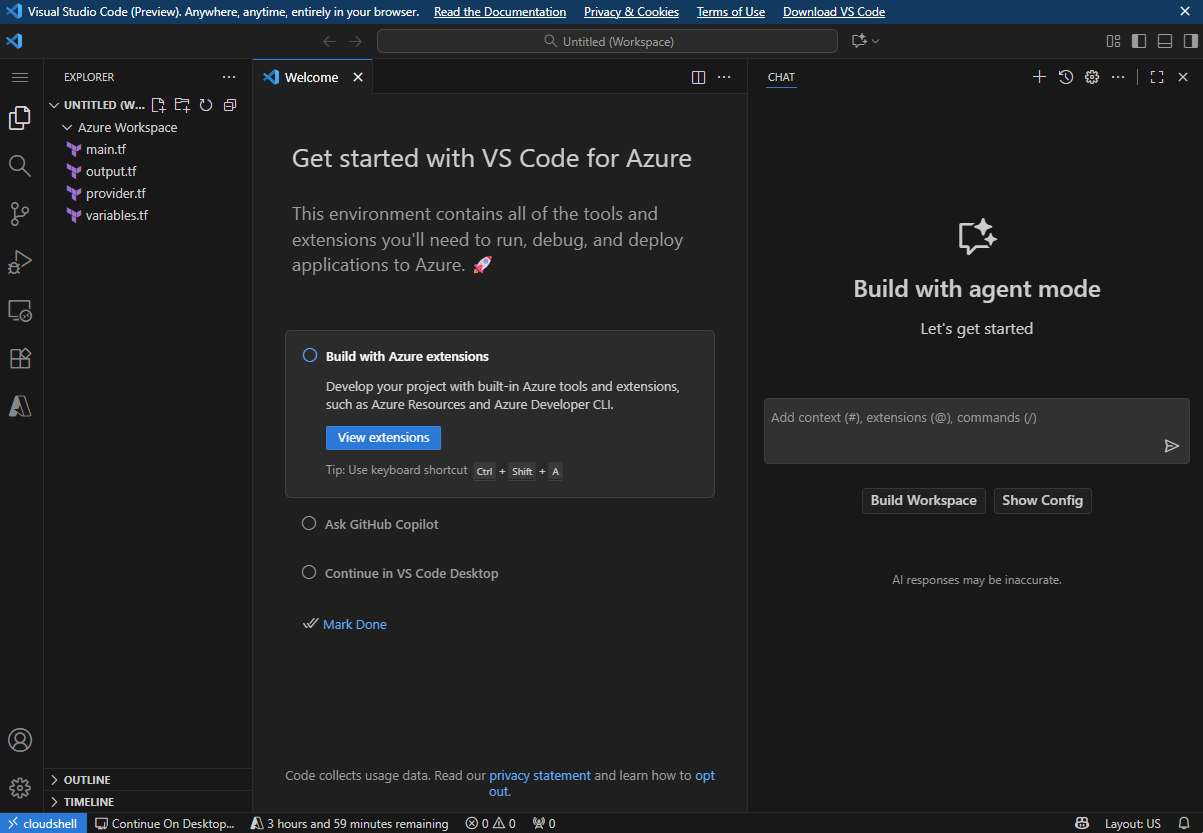
You can choose to open generated Terraform or Bicep configurations in Visual Studio Code for the Web. VS Code for the Web provides a free, zero-install Microsoft VS Code experience in your browser, allowing you to review and modify the files as needed.
To use this feature, select Open in VS Code (Web) after reviewing your generated configurations in the artifact pane. This action launches a VS Code web workspace with the generated files opened for review and editing.
Current considerations and limitations
Keep in mind the following considerations and limitations when working with the Azure Copilot Deployment Agent.
- Currently, generated artifacts are available as Terraform or Bicep configurations. Before generating an IaC file for the output, the agent asks if you want Terraform or Bicep.
- The Deployment Agent is designed to help you deploy brand new workloads and environments ("greenfield" scenarios). The Deployment Agent doesn't currently support importing, analyzing, or modifying existing infrastructure. You can still ask Azure Copilot for guidance in these scenarios.
- While the Deployment Agent provides guidance for secure deployment pipelines, it doesn't currently support automated integration of CI/CD workflows.