Note
Access to this page requires authorization. You can try signing in or changing directories.
Access to this page requires authorization. You can try changing directories.
This quickstart shows you how to create and apply your own custom skills when you use GitHub Copilot modernization.
GitHub Copilot modernization supports custom skills to codify your organizational knowledge for custom library upgrade, configuration updates, enforcing coding standards, and more. You can also copy the out-of-box Microsoft tasks into custom skills to adjust them to your needs. You can reuse, share, and improve custom skills to boost the efficiency of your team.
Note
If you previously used custom tasks - stored in .github/appmod/custom-tasks/ of the project or Visual Studio Code user data - the extension automatically migrates them to the new .github/skills/ location of the project on first load.
Prerequisites
- A GitHub account with an active GitHub Copilot subscription under any plan.
- One of the following IDEs:
- The latest version of Visual Studio Code. Must be version 1.113 or later.
- GitHub Copilot in Visual Studio Code. For setup instructions, see Set up GitHub Copilot in Visual Studio Code. Be sure to sign in to your GitHub account within Visual Studio Code.
- GitHub Copilot modernization. Restart Visual Studio Code after installation.
- The latest version of IntelliJ IDEA. Must be version 2023.3 or later.
- GitHub Copilot. Must be version 1.5.59 or later. For more information, see Set up GitHub Copilot in IntelliJ IDEA. Be sure to sign in to your GitHub account within IntelliJ IDEA.
- GitHub Copilot modernization. Restart IntelliJ IDEA after installation. If you don't have GitHub Copilot installed, you can install GitHub Copilot modernization directly.
- The latest version of Visual Studio Code. Must be version 1.113 or later.
- Java 21 or later.
- Maven or Gradle to build Java projects.
Note
An Azure account is required only for deploying resources to Azure, and isn't needed when using GitHub Copilot modernization to make code changes.
If you're using Gradle, only the Gradle wrapper version 5 or later is supported.
The Kotlin Domain Specific Language (DSL) isn't supported.
The function My Skills isn't supported yet for IntelliJ IDEA.
Create your own skill
Use the following steps to create a custom skill.
Define skill information
In the Activity sidebar, open the GitHub Copilot modernization extension pane, hover over the TASKS section, and then select Create a Custom Skill.
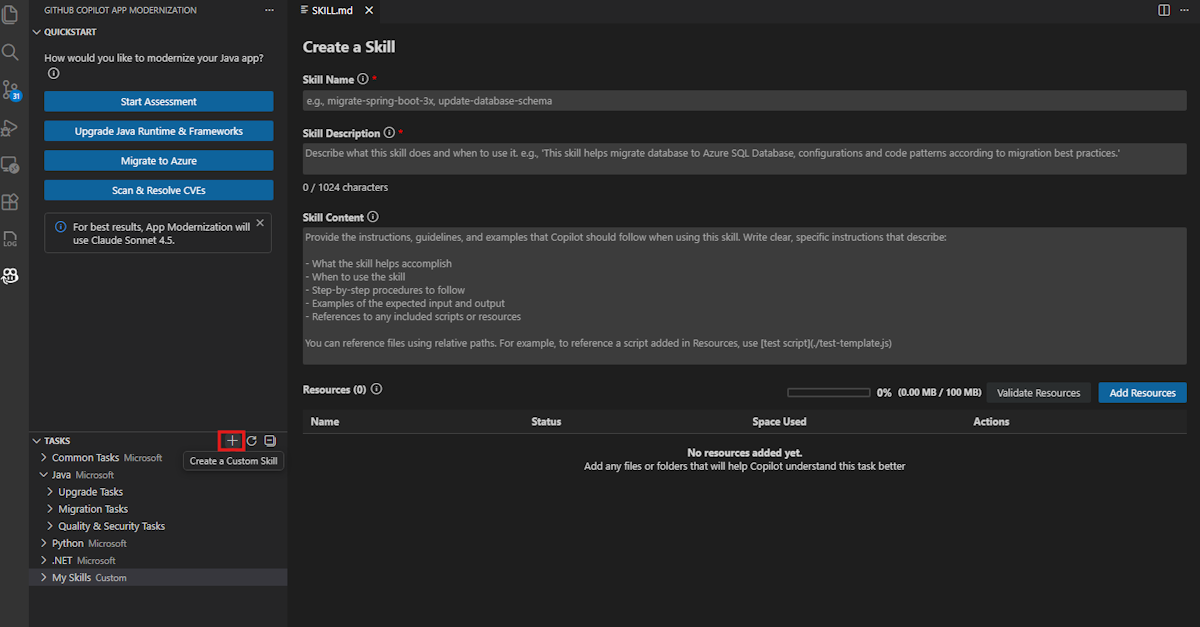
A
SKILL.mdfile opens. Fill in the following fields. For the full skill format specification, see the Agent Skills specification.- Skill Name: A descriptive, hyphenated identifier for the skill. For example, "Custom-skill-migrate-rabbitmq".
- Skill Description: A concise summary of the skill's purpose. For example, "Migrate RabbitMQ messaging to Azure Service Bus for Spring Boot applications".
- Skill Content: Detailed instructions that guide Copilot during code migration. You can reference files from the Resources section by name in this field. For example, "You are a Spring Boot developer assistant, follow
guide.mdto migrate from RabbitMQ to Azure Service Bus."

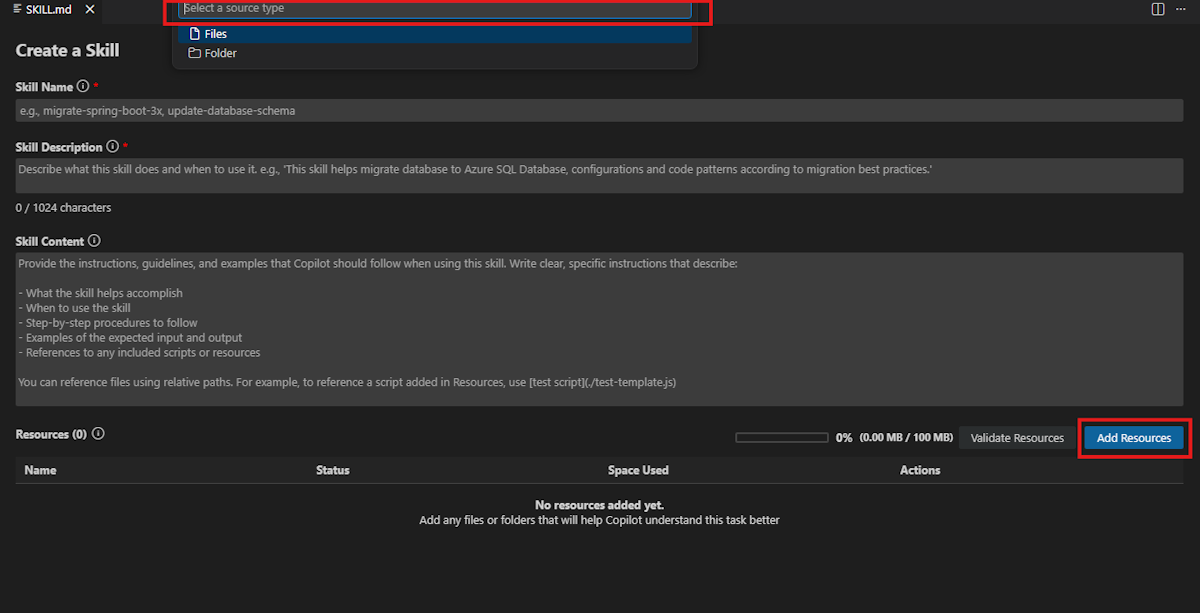
Add resources
Resources provide reference knowledge that Copilot uses when it applies the skill. Select Add Resources and choose a resource type:
Files: Select individual files that contain migration instructions, configuration examples, or other reference material. To include a Git commit diff as a resource, select the corresponding diff file.
Folders: Select a folder to include all files within it as resources. This option is useful when reference knowledge spans multiple related files.

The selected files are copied to .github/skills/<skill-name>/ in your project. Resource files and folders are stored alongside SKILL.md in the skill folder. The total resource size is limited. Be sure to reference these files or folders by name in the Skill Content field so that Copilot knows when to use them.
Save the skill
After you complete all fields and add resources, select Save. The custom skill appears in the My Skills section.
Share your own skill
Share a skill with others by copying its folder from your project:
Copy the skill folder located under
.github/skills/and share it with the intended recipient.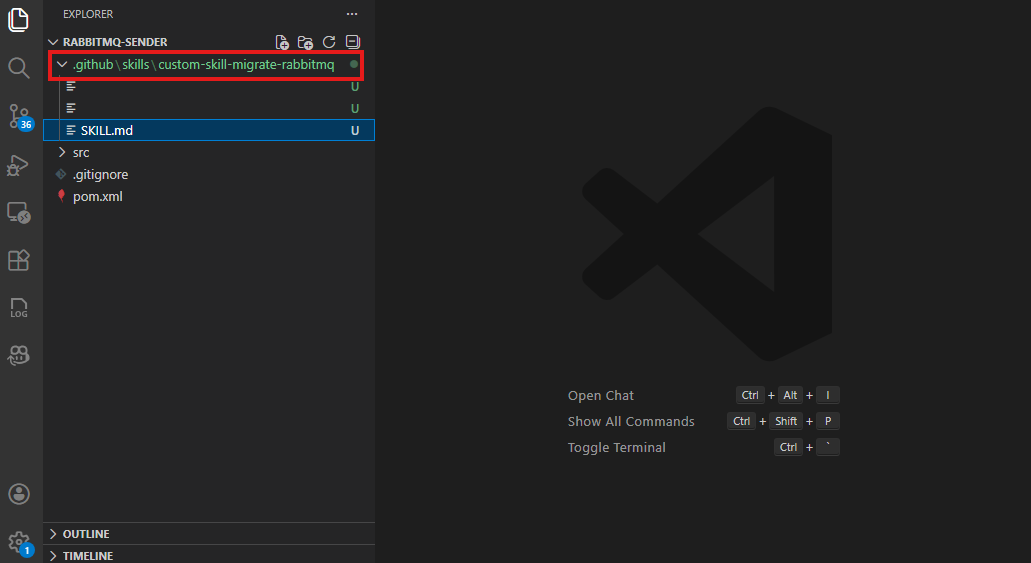
On the recipient's side, place the folder under
.github/skills/in their project root. Create the directory if it doesn't exist.Select Refresh in the extension pane. The skill appears in the My Skills section, ready to use.

Apply your own skill
Use the following steps to apply your own skill:
Select Run at the bottom of the
SKILL.mdfile, or find the skill in the My Skills section and select Run Skill.The Copilot chat window opens in Agent Mode and automatically performs the following steps:
- Creates plan.md and progress.md.
- Checks the version control status and checks out a new migration branch.
- Performs code migration.
- Runs validations and fixes for build, unit tests, CVE, consistency check and completeness check.
- Generates a summary.md file.
If the agent pauses for confirmation or is interrupted, enter Continue to proceed.
After all steps finish, review the code changes and select Keep in the chat window to confirm.
Copy to My Skills
If you want to customize a Microsoft task, you can export it to My Skills as a starting point and then modify it to fit your needs:
In the TASKS section, locate the Microsoft task that you want to customize.
Right-click the item and select Copy to My Skills.
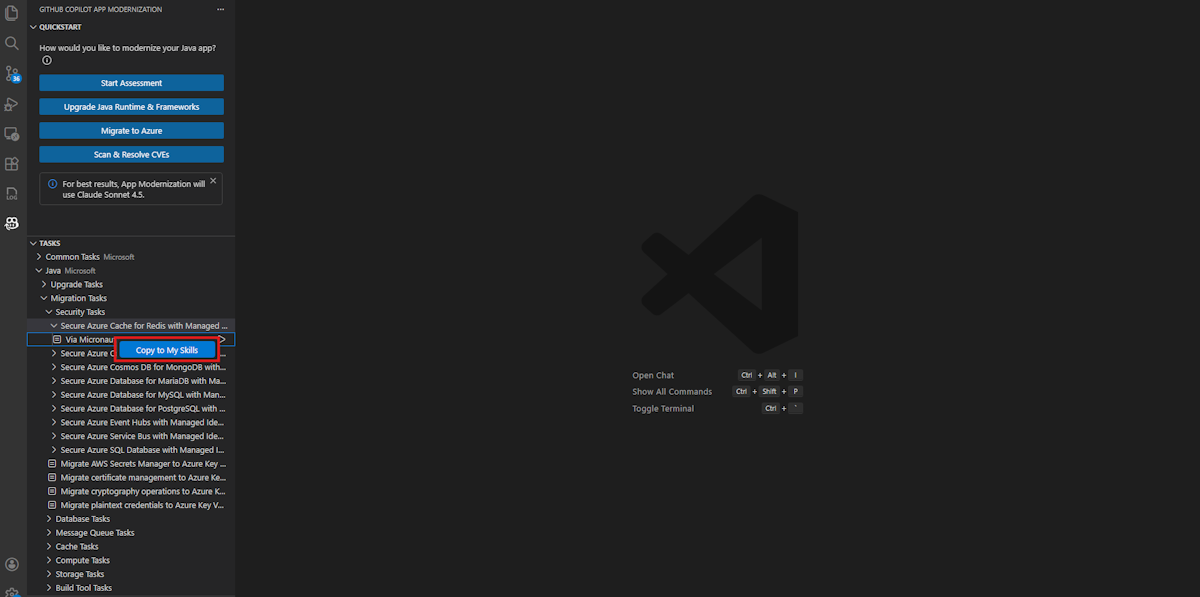
A new
SKILL.mdfile opens, prefilled with the content from the selected item. Edit the Skill Name, Description, Content, and Resources fields as needed.Select Save. The skill appears in the My Skills section.

Update or delete your own skill
In the My Skills section, right-click the skill you want to modify and choose one of the following options:
- Edit to update the skill.
- Delete to remove the skill.
Frequently asked questions
If I manually place a skill folder in .github/skills/, does the extension recognize it?
Yes. If you place a valid skill folder containing a SKILL.md file under .github/skills/ in your project root, the extension recognizes it after you select Refresh in the extension pane. The skill appears in the My Skills section of the TASKS panel, and you can run, edit, or delete it the same way as any other custom skill.
However, only resource files that are explicitly referenced in SKILL.md are displayed in the extension UI. When you use the Add Resources button, the extension copies the selected files into the skill folder and adds a link entry in SKILL.md under the Resources section, for example:
**Resources:**
- file:///references.txt
If you manually place extra files in the skill folder without adding these link entries, the extension doesn't display them. To ensure that resource files appear in the UI and are available to Copilot, always add them through the Add Resources button or manually add the corresponding link entries in SKILL.md.