Note
Access to this page requires authorization. You can try signing in or changing directories.
Access to this page requires authorization. You can try changing directories.
In this article, you learn how to assign a system-assigned or a user-assigned identity to an Event Grid namespace. To learn about managed identities in general, see What are managed identities for Azure resources.
Note
- You can assign one system-assigned identity and up to two user-assigned identities to a namespace.
Enable managed identity for an existing namespace
This section shows you how to enable a managed identity for an existing system topic.
- Go to the Azure portal.
- Search for event grid namespace in the search bar at the top.
- Select the Event Grid namespace for which you want to enable the managed identity.
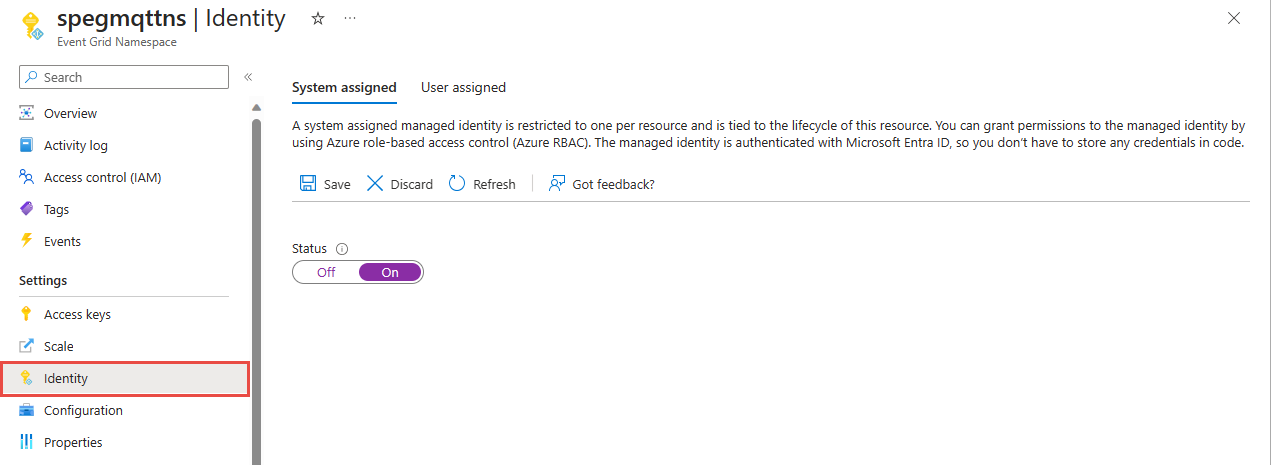
- Select Identity under Settings on the left menu.
Enable system-assigned identity
Turn on the switch to enable the identity.
Select Save on the toolbar to save the setting.
Select Yes on the confirmation message.
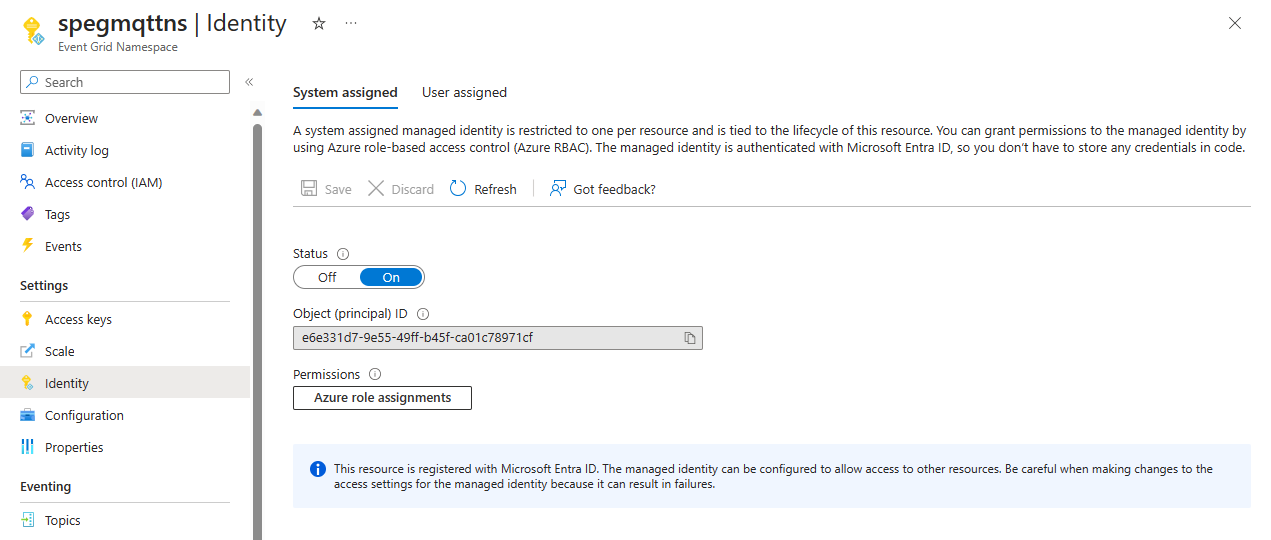
Confirm that you see the object ID of the system-assigned managed identity and see a link to assign roles.
Enable user-assigned identity
First, create a user-assigned identity by following instructions in the Manage user-assigned managed identities article.
On the Identity page, switch to the User assigned tab in the right pane, and then select + Add on the toolbar.
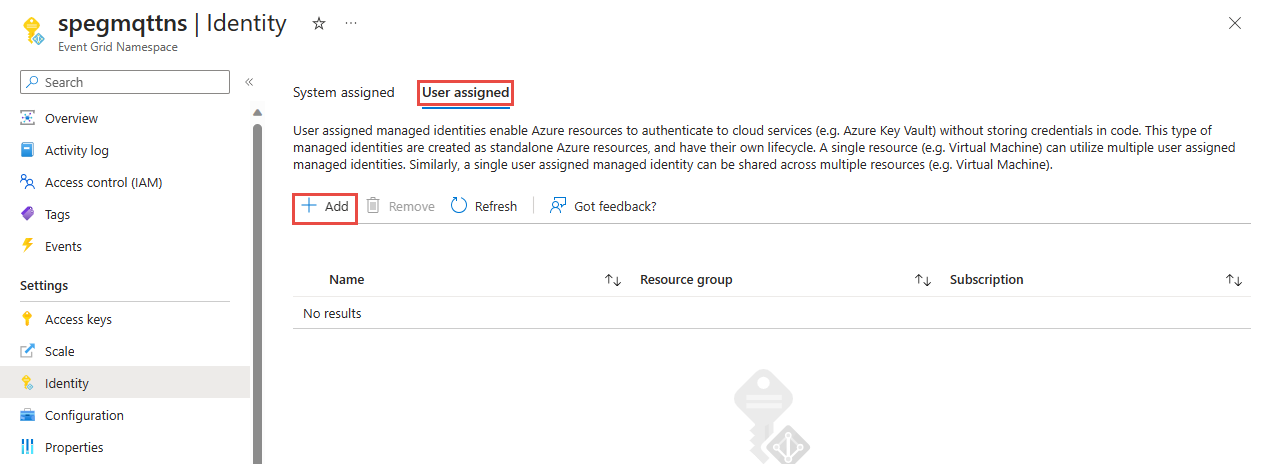
In the Add user managed identity window, follow these steps:
- Select the Azure subscription that has the user-assigned identity.
- Select the user-assigned identity.
- Select Add.
Refresh the list in the User assigned tab to see the added user-assigned identity.
Enable managed identity when creating an Event Grid namespace
- In the Azure portal, in the search bar, search for and select Event Grid namespace.
- On the Event Grid Namespaces page, select Create on the toolbar.
- On the Basics page of the creation wizard, follow these steps:
Select values for subscription, resource group, location as per your preference.
Specify a name for the namespace.
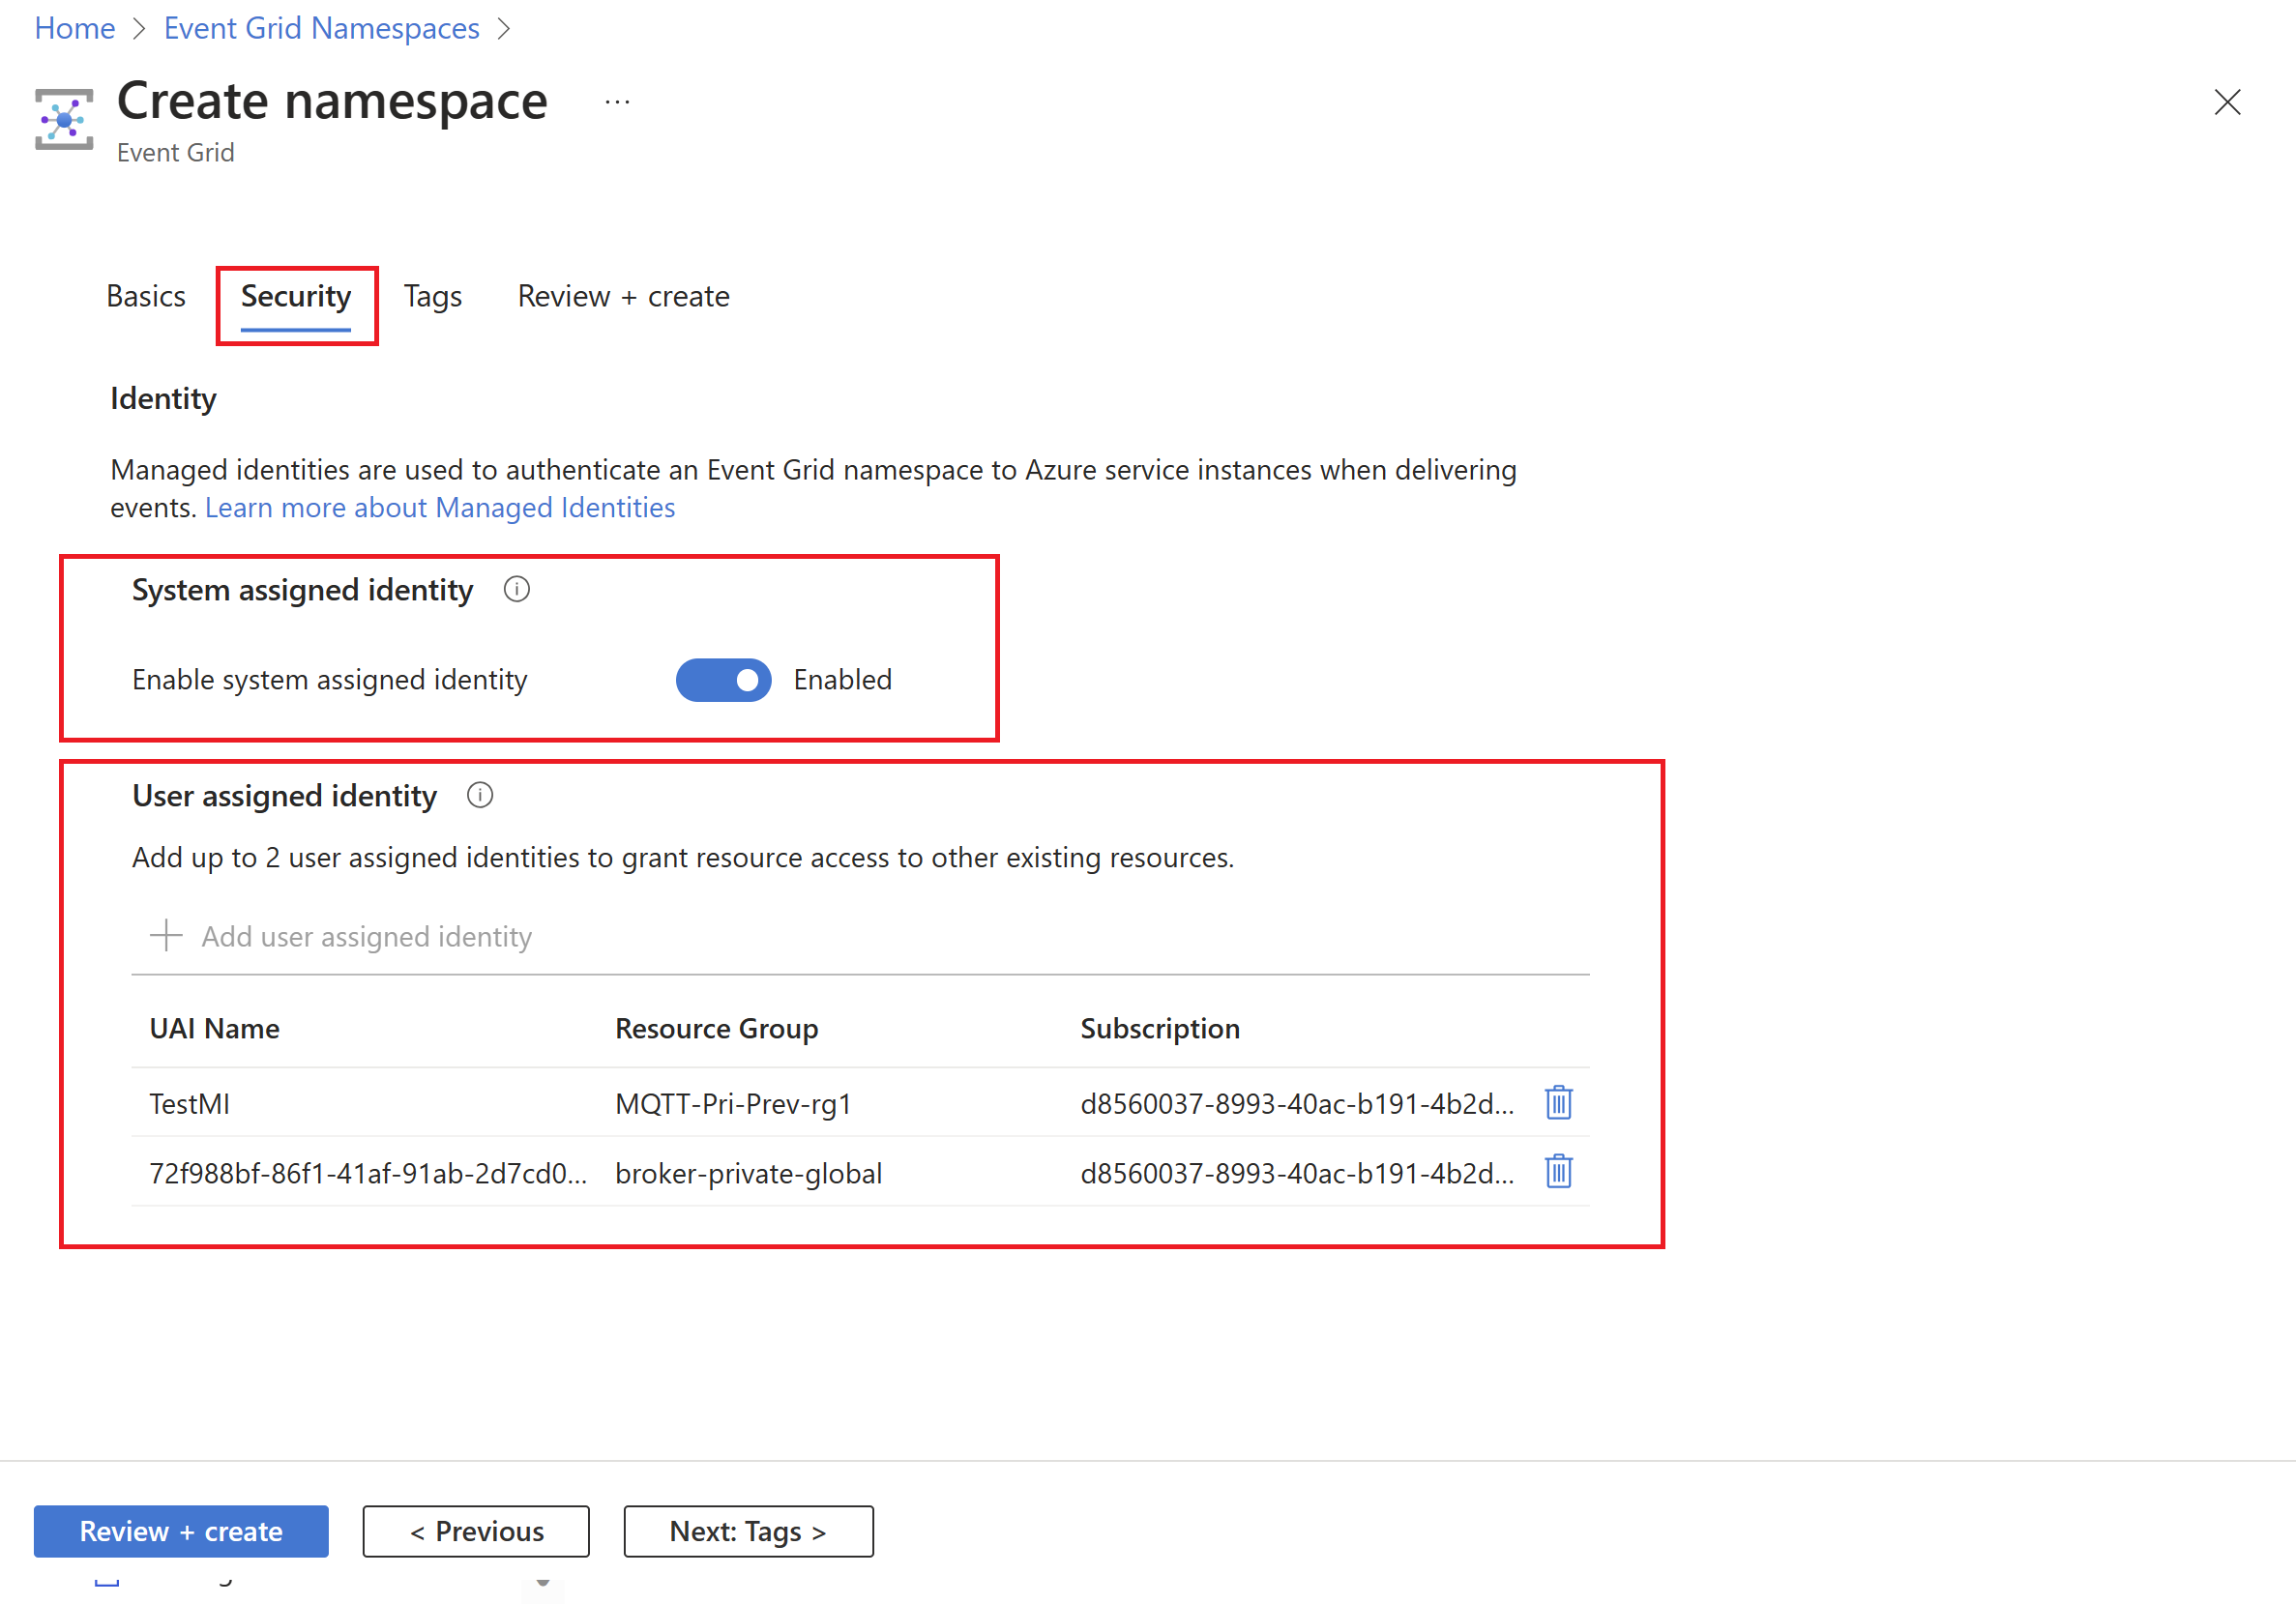
In the security tab, you can enable managed identity:
- To enable system-assigned identity, select Enable system assigned identity.
- To enable user assigned identity:
- Select User assigned identity, and then select Add user identity.
- In the Add user managed identity window, follow these steps:
- Select the Azure subscription that has the user-assigned identity.
- Select the user-assigned identity.
- Select Add.