Note
Access to this page requires authorization. You can try signing in or changing directories.
Access to this page requires authorization. You can try changing directories.
Important
Azure Lab Services will be retired on June 28, 2027. For more information, see the retirement guide. To simplify your migration, Microsoft has published automation scripts to help you clean up Lab Services resources, these are available in the Azure Lab Services Retirement Scripts GitHub repository.
In this quickstart, you create an Azure Lab Services lab plan in the Azure portal and grant permissions to a user to create labs. Azure Lab Services enables you to create labs with infrastructure managed by Azure. After you create a lab plan, you can create labs by using the Azure Lab Services website, Microsoft Teams, or Canvas.

A lab plan is an Azure resource. A lab plan contains configuration and settings that apply to all the labs created from it. For example, lab plans specify the networking setup, the available virtual machine (VM) images, and VM sizes.
After you complete this quickstart, you'll have a lab plan that you can use for other quickstarts and tutorials.
Prerequisites
- An Azure account with an active subscription. If you don't have an Azure subscription, create a free account before you begin.
- An Azure account with permission to create and manage resources in the subscription, such as the Contributor or Owner Azure RBAC role.
Create a lab plan
In Azure Lab Services, a lab plan contains configuration and settings that apply to all the labs created from it.
Follow these steps to create a lab plan from the Azure portal:
Sign in to the Azure portal by using the credentials for your Azure subscription.
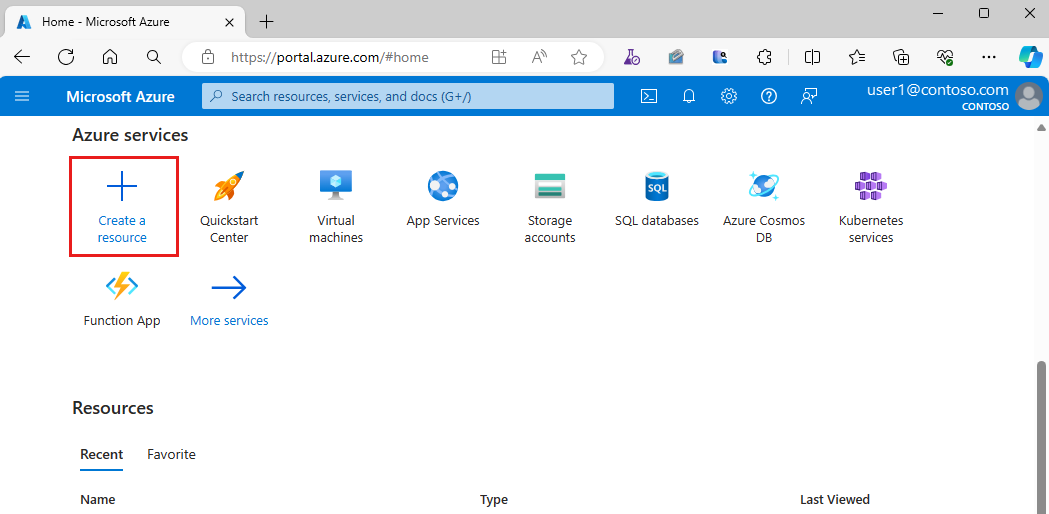
Select Create a resource in the upper left-hand corner of the Azure portal.
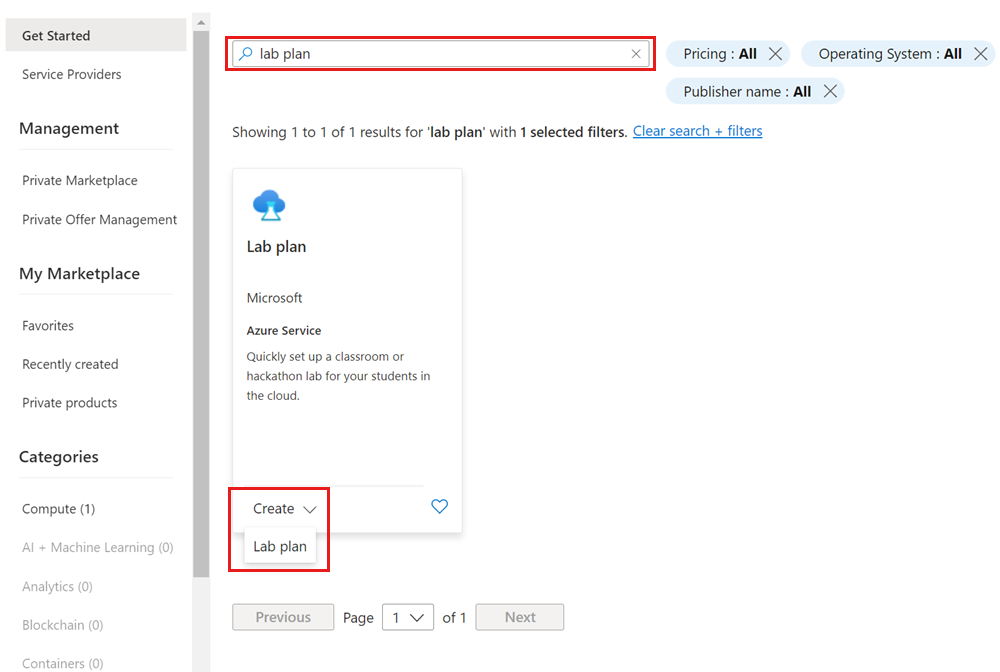
Enter Lab Plan in the search field, and then select Create > Lab plan.
On the Basics tab of the Create a lab plan page, provide the following information:
Field Description Subscription Select the Azure subscription that you want to use for this lab plan resource. Resource group Select Create New and enter MyResourceGroup. Name Enter MyLabPlan as the lab plan name. Region Select a geographic location to host your lab plan resource. After you finish configuring the resource, select Review + Create.
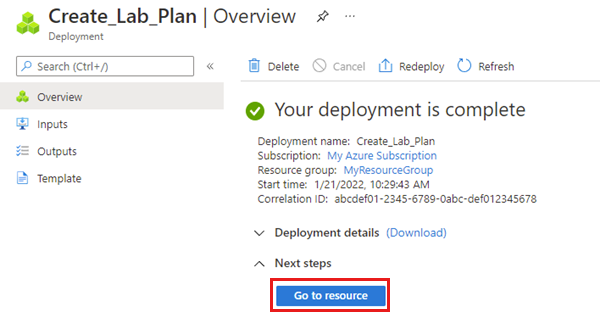
Review all the configuration settings and select Create to start the deployment of the Lab Plan.
To view the new resource, select Go to resource.
Confirm that you see the Lab Plan Overview page for MyLabPlan.


Add a user to the Lab Creator role
To create or edit a lab in the Azure Lab Services website (https://labs.azure.com), your Azure account must be assigned the Lab Creator role in Azure RBAC. If you assign the Lab Creator role to a user on the lab plan's resource group, that user can create labs for all lab plans in the resource group. Learn more about Azure Lab Services built-in roles.
Note
Owners of a lab plan can automatically create labs and do not need to be assigned the Lab Creator role.
Select the resource group that contains the lab plan.
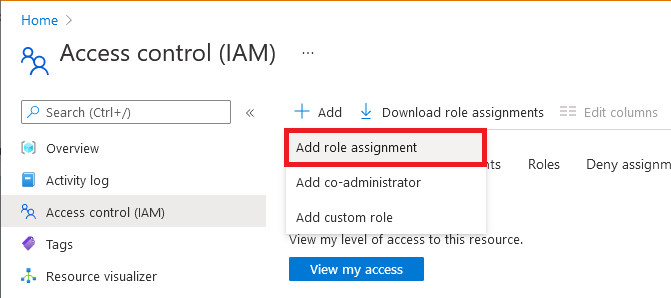
From the Access control (IAM) page, select Add > Add role assignment.
On the Role tab, select the Lab Creator role.

On the Members tab, select the user you want to add to the Lab Creators role.
On the Review + assign tab, select Review + assign to assign the role.

Warning
When you create a lab, you are automatically granted Owner permissions of the lab. If you have the Lab Creator role on the lab plan level, you may notice a short delay in being able to access the newly created lab. This delay is because the Owner permissions need to propagate. To overcome this issue, you might assign a role that allows you to view labs, such as Lab Creator, on the resource group that contains the lab plan.
Clean up resources
When no longer needed, you can delete the resource group, lab plan, and all related resources.
In the Azure portal, on the Overview page for the lab plan, select Resource group.
At the top of the page for the resource group, select Delete resource group.
Enter the resource group name. Then select Delete.
To delete resources by using the Azure CLI, enter the following command:
az group delete --name <yourresourcegroup>
Remember, deleting the resource group deletes all of the resources within it.
Next step
You created an Azure Lab Services lab plan and granted permissions to create labs. The lab plan contains the common configuration settings for the labs.
You can now use this resource to create a lab or let lab creators create labs.