QuickStart: Get started with Apache Kafka & Apache Flink on Confluent Cloud - Azure portal
In this quickstart, you'll use the Azure portal to create an instance of Apache Kafka® & Apache Flink® on Confluent Cloud™ - An Azure Native ISV Service.
Prerequisites
- An Azure account. If you don't have an active Azure subscription, create a free account.
- You must have the Owner or Contributor role for your Azure subscription. The integration between Azure and Confluent can only be set up by users with Owner or Contributor access. Before getting started, confirm that you have the appropriate access.
Find offer
Use the Azure portal to find the Apache Kafka & Apache Flink on Confluent Cloud application.
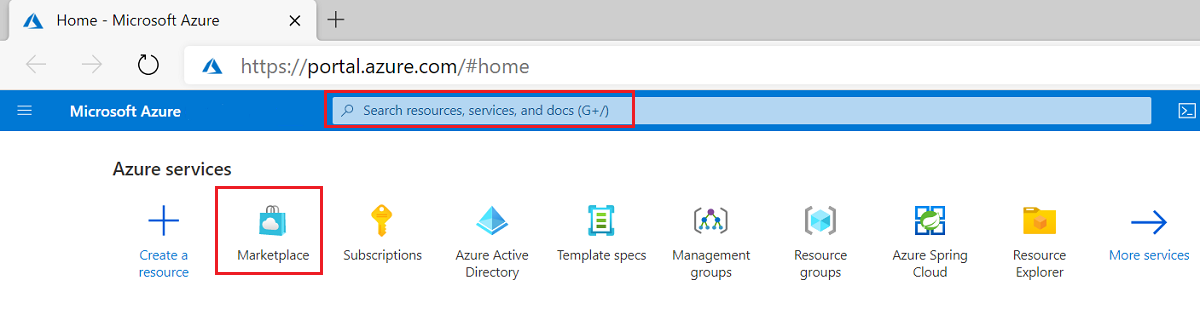
In a web browser, go to the Azure portal and sign in.
If you've visited the Marketplace in a recent session, select the icon from the available options. Otherwise, search for Marketplace.
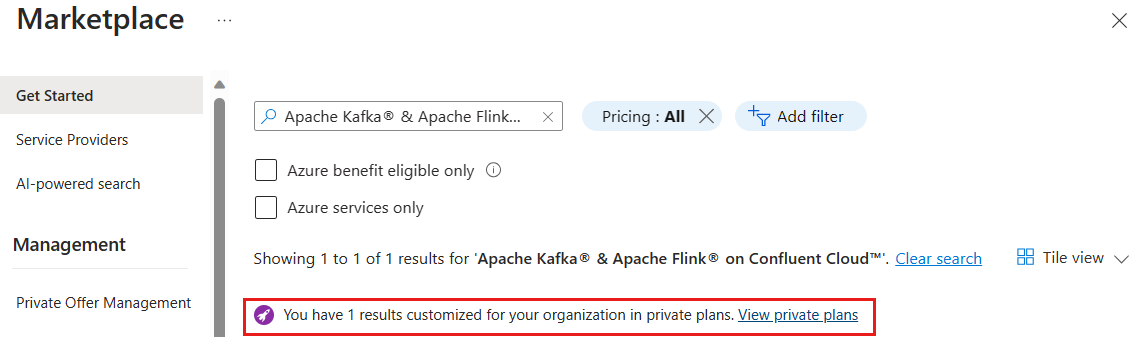
From the Marketplace page, you have two options based on the type of plan you want. You can sign up for a pay-as-you-go plan or commitment plan. Pay-as-you-go is publicly available. The commitment plan is available to customers who have been approved for a private offer.
For pay-as-you-go customers, search for Apache Kafka® & Apache Flink® on Confluent Cloud™ and select the corresponding offer.

For commitment customers, select the link to View Private plans. The commitment requires you to sign up for a minimum spend amount. Use this option only when you know you need the service for an extended time.
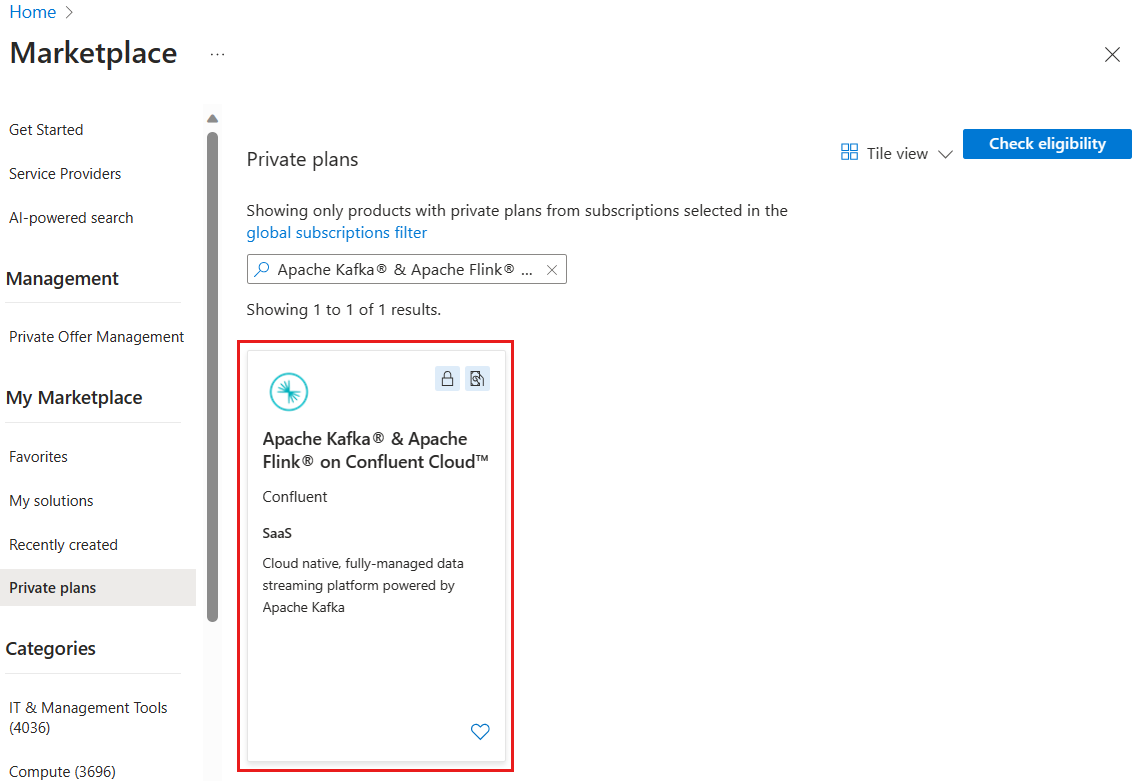
Look for Apache Kafka® & Apache Flink® on Confluent Cloud™.
Create resource
After you've selected the offer for Apache Kafka & Apache Flink on Confluent Cloud, you're ready to set up the application.
If you selected private offers in the previous section, you'll have two options for plan types:
- Confluent Cloud - Pay-as-you-go
- Commitment - for commit plan
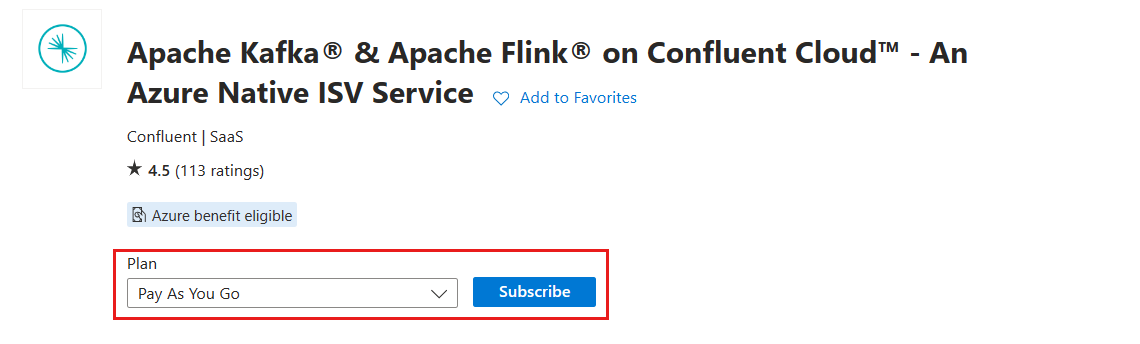
If you didn't select private offers, you'll only have the pay-as-you-go option.
Pick the plan to use, and select Subscribe.
On the Create a Confluent organization basics page, provide the following values. When you've finished, select Next: Tags.
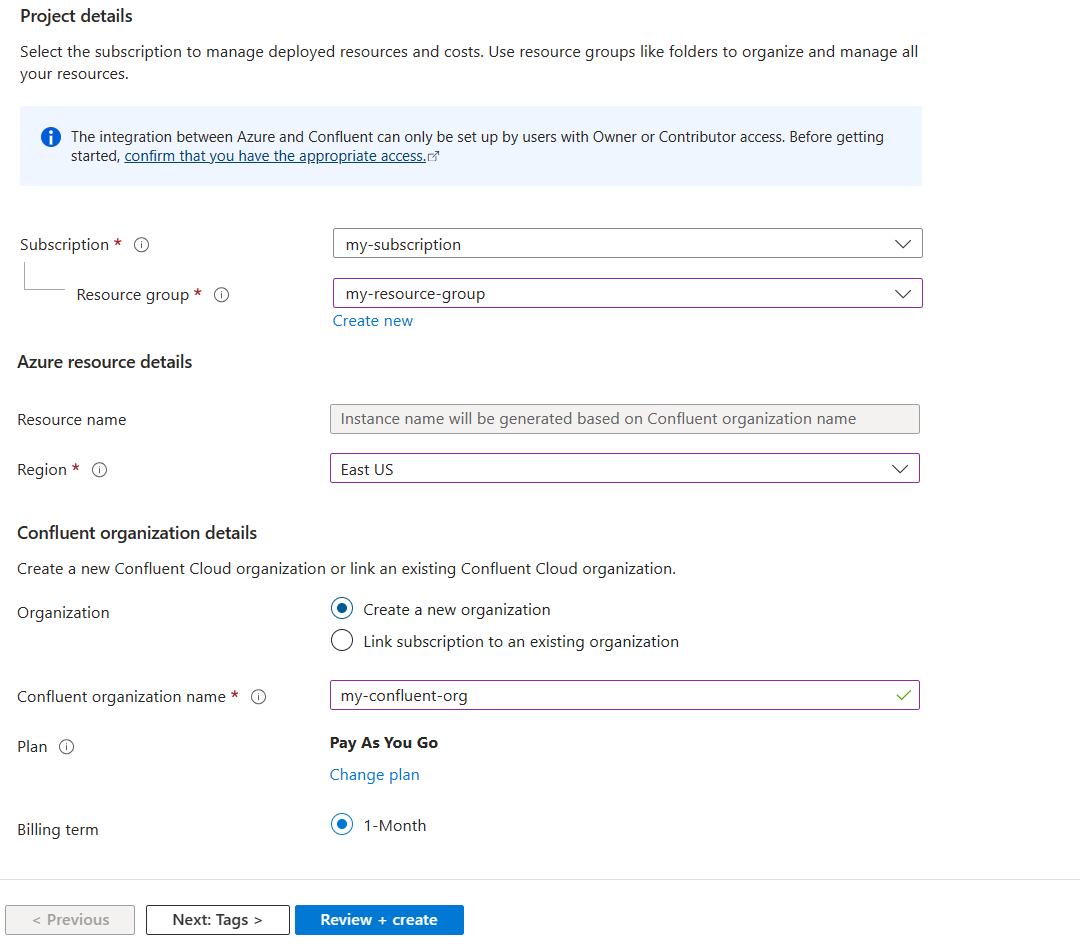
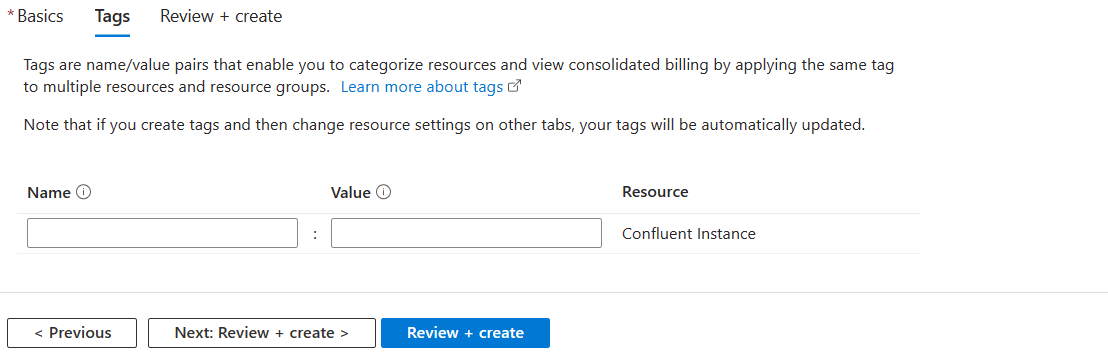
Property Description Subscription From the drop-down menu, select the Azure subscription to deploy to. You must have Owner or Contributor access. Resource group Specify whether you want to create a new resource group or use an existing resource group. A resource group is a container that holds related resources for an Azure solution. For more information, see Azure Resource Group overview. Resource name Instance name is automatically generated based on the name of the Confluent organization. Region From the drop-down menu, select one of these regions: Australia East, Canada Central, Central US, East US, East US 2, France Central, North Europe, Southeast Asia, UK South, West Central US, West Europe, West US 2 Organization To create a new Confluent organization, select Create a new organization and provide a name for the Confluent organization. To link to an existing Confluent organization, select Link Subscription to an existing organization option, sign in to your Confluent account, and select the existing organization. Plan Optionally change plan. Billing term Prefilled based on the selected billing plan. Price + Payment options Prefilled based on the selected Confluent plan. Subtotal Prefilled based on the selected Confluent plan. On Tags, provide the name and value pairs for tags you want to apply to resource. After you enter the tags, select Review + Create.
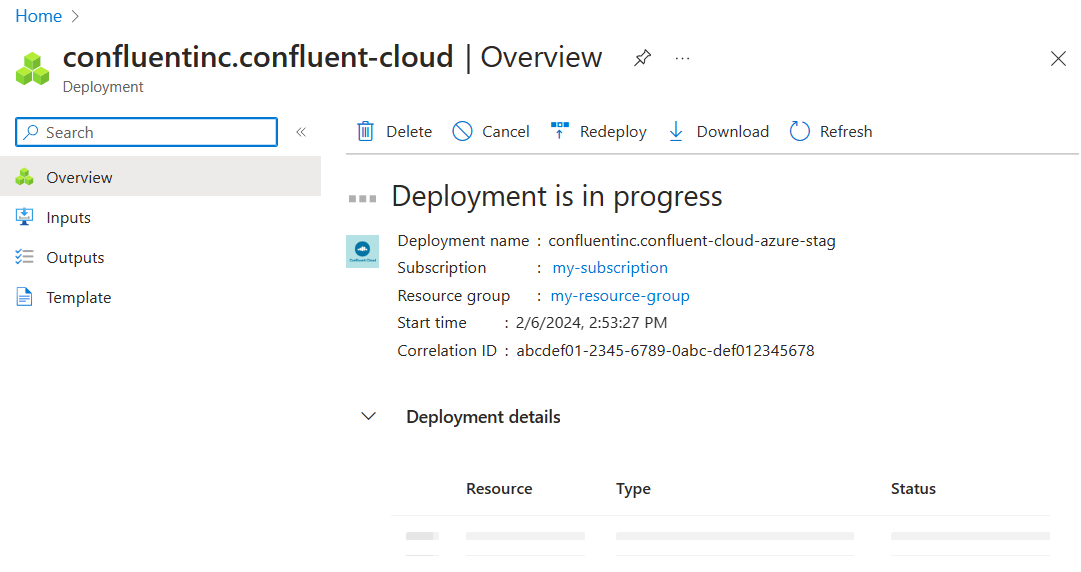
Review the settings you provided. When ready, select Create.
It takes a few minutes to create the resource. You can view the deployment status in Notifications. After the deployment is finished, select the resource to view the Overview page.
If you get an error, see Troubleshooting Apache Kafka & Apache Flink on Confluent Cloud solutions.
Next steps
Get started with Apache Kafka & Apache Flink on Confluent Cloud - An Azure Native ISV Service on