QuickStart: Get started with Informatica – An Azure Native ISV Service
In this quickstart, you use the Azure portal and Marketplace to find and create an instance of Informatica Intelligent Data Management Cloud - Azure Native ISV Service.
Prerequisites
- An Azure account. If you don't have an active Azure subscription, create a free account. Make sure you're an Owner or a Contributor in the subscription.
Create an Informatica organization
In this section, you see how to create an instance of Informatica Intelligent Data Management Cloud - Azure Native ISV Service using Azure portal.
Find the service
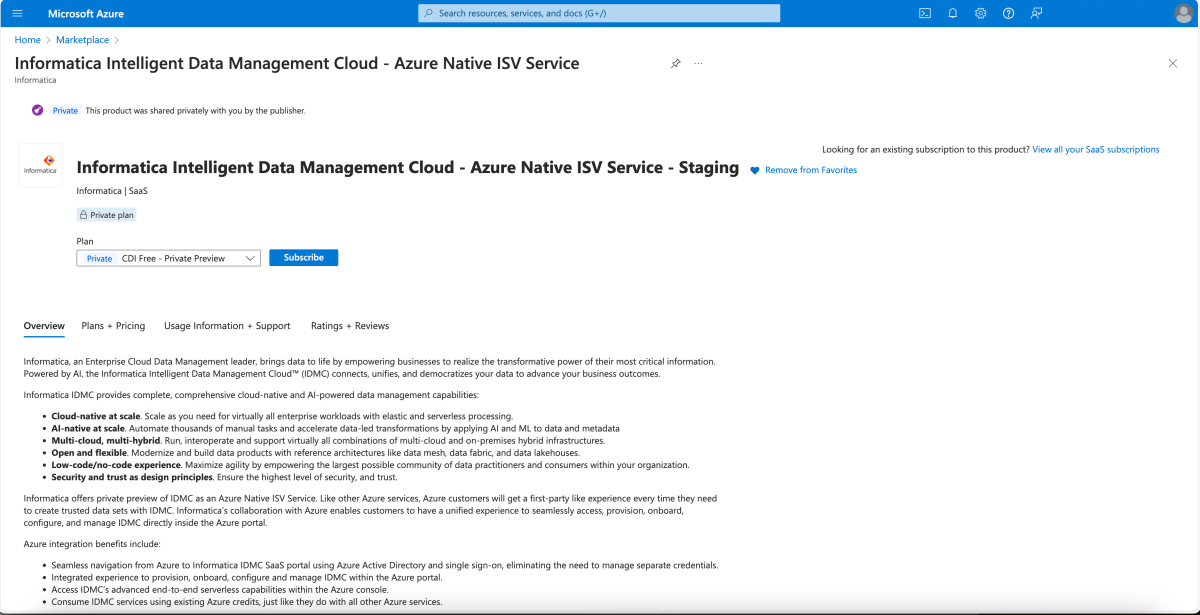
Use the search in the Azure portal to find the Informatica Intelligent Data Management Cloud - Azure Native ISV Service application.
Alternatively, go to Marketplace and search for Informatica Intelligent Data Management Cloud - Azure Native ISV Service.
Subscribe to the corresponding service.
Basics
To create an Informatica deployment using the Marketplace, subscribe to Informatica in the Azure portal.
Set the following values in the Create Informatica pane.
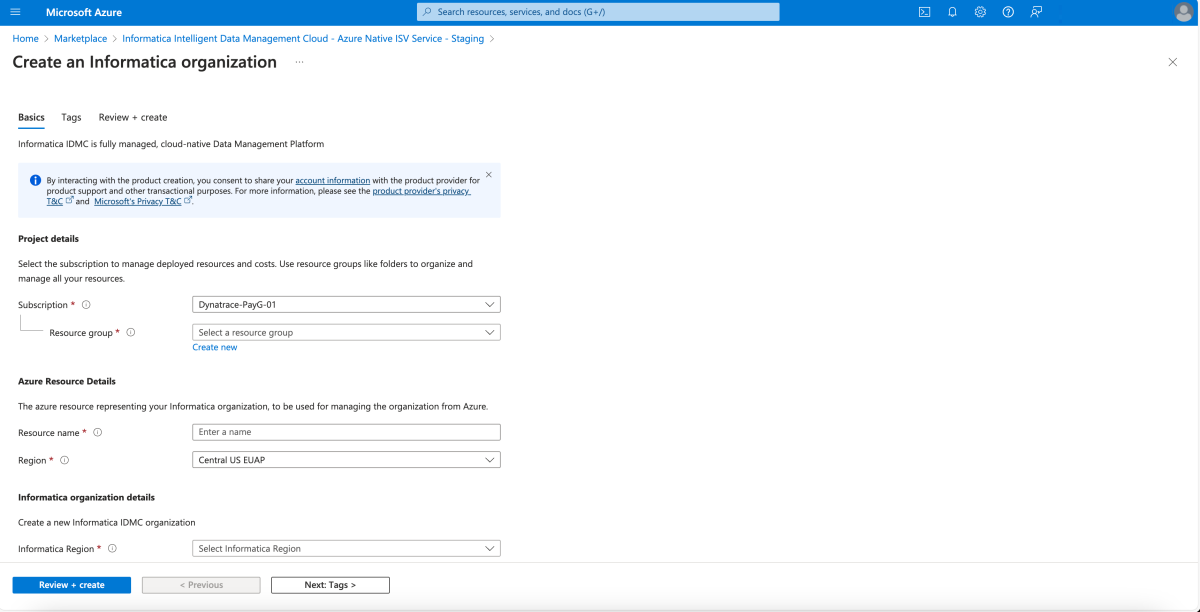
Property Description Subscription From the drop-down, select your Azure subscription where you have owner access. Resource group Specify whether you want to create a new resource group or use an existing one. A resource group is a container that holds related resources for an Azure solution. For more information, see Azure Resource Group overview. Name Put the name for the Informatica Organization you want to create. Region Select the closest region to where you would like to deploy your Informatica Azure Resource. Informatica Region Select the Informatica region where you want to create Informatica Organization. Organization Select "Create a new organization" if you want to a new Informatica Organization. Select Link to an existing organization (with Azure Marketplace Billing) if you already have an Informatica organization, intend to map it to the Azure resource, and initiate a new plan with Azure Marketplace. Select Link to an existing organization (continue with existing Informatica Billing) if you already have an existing Informatica organization and have a billing contract with Informatica already. Plan Choose the plan you want to subscribe to.
Tags
You can specify custom tags for the new Informatica resource in Azure by adding custom key-value pairs.
Select Tags.
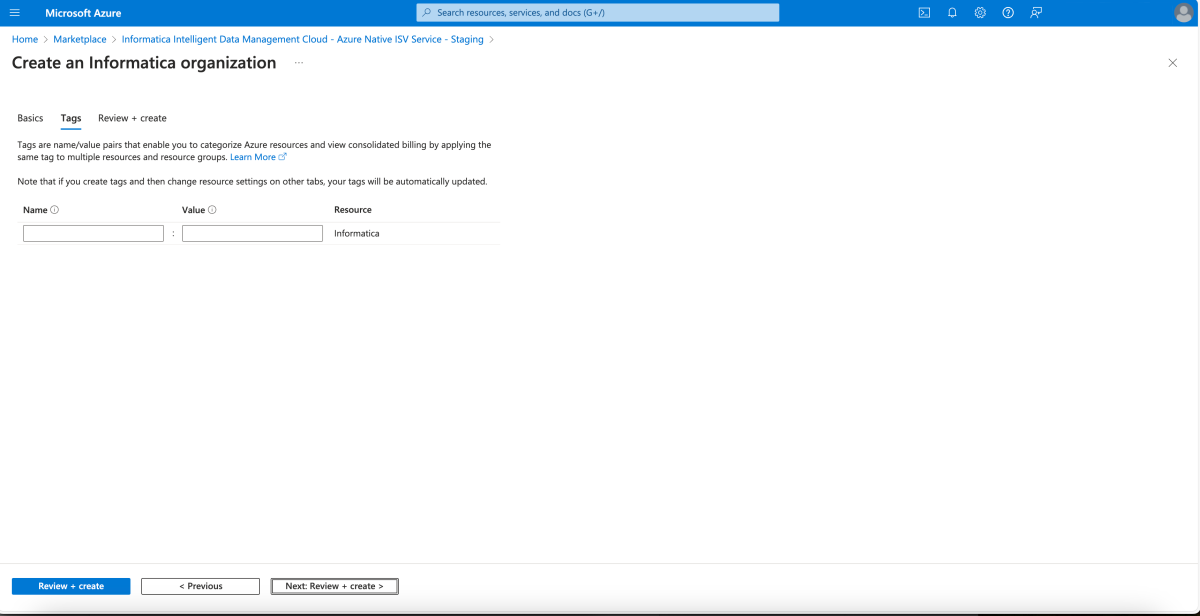
Property Description Name Name of the tag corresponding to the Azure Native Informatica resource. Value Value of the tag corresponding to the Azure Native Informatica resource.
Review and create
Select the Next: Review + Create to navigate to the final step for resource creation. When you get to the Review + Create page, all validations are run. At this point, review all the selections made in the Basics and optionally Tags panes. You can also review the Informatica and Azure Marketplace terms and conditions.
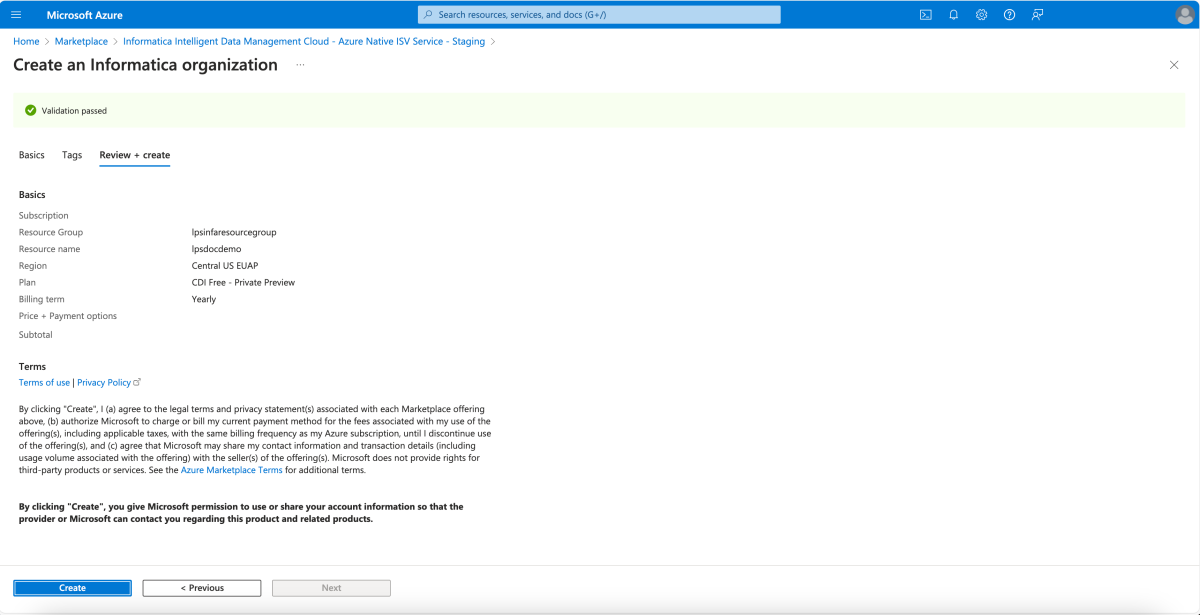
After you review all the information, select Create. Azure now deploys the Informatica resource.
Deployment completed
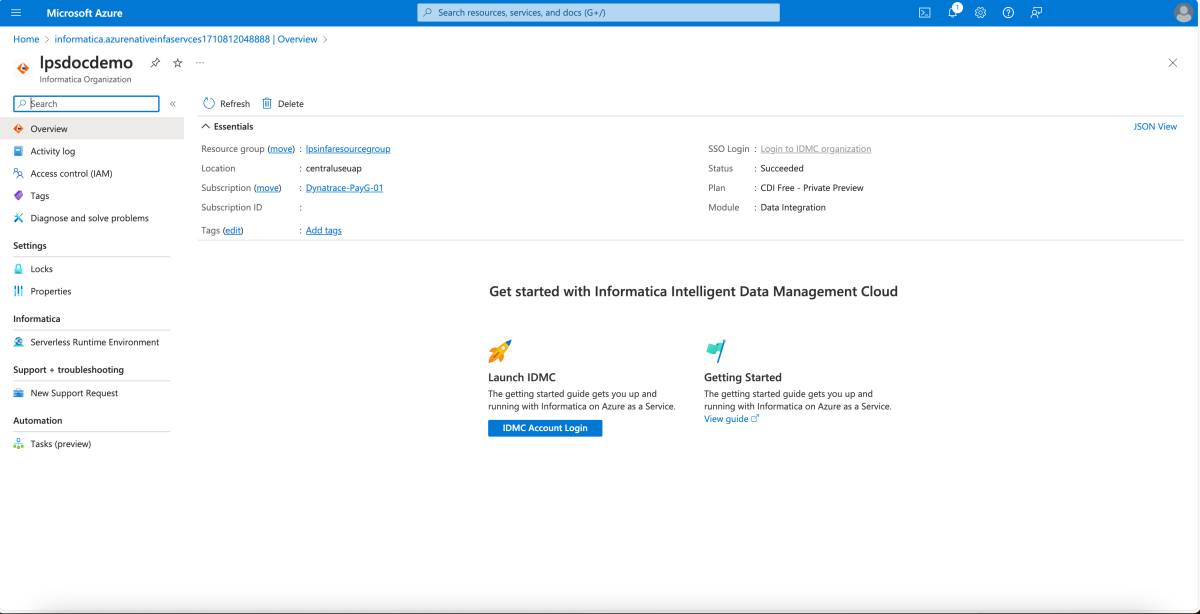
After the create process is completed, select Go to Resource to navigate to the specific Informatica resource.
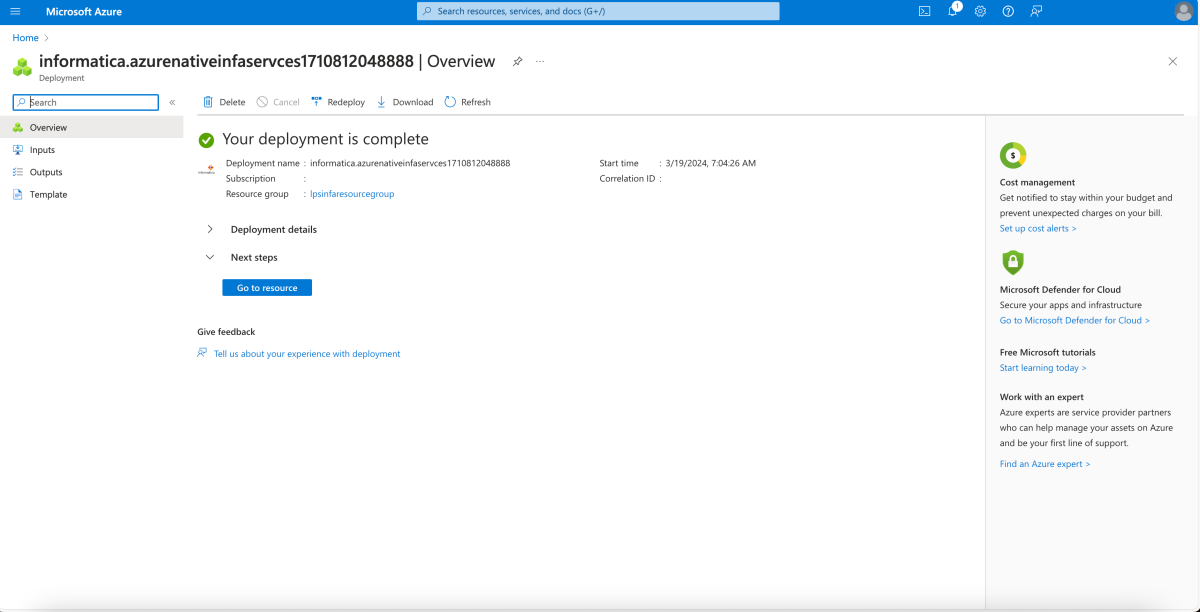
Select Overview in the Resource menu to see information on the deployed resources.
