Move your private mobile network resources to a different region
In this how-to guide, you'll learn how to move your private mobile network resources to a different region. This involves exporting your resources from the source region's resource group and recreating them in a new resource group deployed in the target region.
You might move your resources to another region for a number of reasons. For example, to take advantage of a new Azure region, to create a backup of your deployment, to meet internal policy and governance requirements, or in response to capacity planning requirements.
Prerequisites
- Ensure you can sign in to the Azure portal using an account with access to the active subscription you used to create your private mobile network. This account must have the built-in Contributor or Owner role at the subscription scope.
- Ensure Azure Private 5G Core supports the region to which you want to move your resources. Refer to Products available by region.
- Verify pricing and charges associated with the target region to which you want to move your resources.
- Choose a name for your new resource group in the target region. This must be different to the source region's resource group name.
- If you use Microsoft Entra ID to authenticate access to your local monitoring tools, ensure your local machine has core kubectl access to the Azure Arc-enabled Kubernetes cluster. This requires a core kubeconfig file, which you can obtain by following Core namespace access.
Back up deployment information
The following list contains the data that will be lost over the region move. Back up any information you'd like to preserve; after the move, you can use this information to reconfigure your deployment.
For security reasons, your SIM configuration won't be carried over a region move. Refer to Collect the required information for your SIMs to take a backup of all the information you'll need to recreate your SIMs.
Depending on your authentication method when signing in to the distributed tracing and packet core dashboards:
- If you use Microsoft Entra ID, save a copy of the Kubernetes Secret Object YAML file you created in Create Kubernetes Secret Objects.
- If you use local usernames and passwords and want to keep using the same credentials, save a copy of the current passwords to a secure location.
All traces are deleted during upgrade and cannot be retrieved. If you want to retain any traces, export and save them securely before continuing.
Any customizations made to the packet core dashboards won't be carried over the region move. Refer to Exporting a dashboard in the Grafana documentation to save a backed-up copy of your dashboards.
Most UEs will automatically re-register and recreate any sessions after the region move completes. If you have any special devices that require manual operations to recover from a packet core outage, gather a list of these UEs and their recovery steps.
Prepare to move your resources
Remove SIMs and custom location
Important
Completing this step will initiate an outage in the source region.
If you want your source deployment to stay operational during the region move, skip this step and move to Generate template. You'll need to make additional modifications to the template in Prepare template.
Before moving your resources, you'll need to delete all SIMs in your deployment. You'll also need to uninstall all packet core instances you want to move by changing their Azure Arc Custom Location field to None.
Follow Delete SIMs to delete all the SIMs in your deployment.
For each site that you want to move, follow Modify the packet core instance in a site to modify your packet core instance with the changes below. You can ignore the sections about attaching and modifying data networks.
- In Modify the packet core configuration, make a note of the custom location value in the Azure Arc Custom Location field.
- Set the Azure Arc Custom Location field to None.
- In Submit and verify changes, the packet core will be uninstalled.
Generate template
Your mobile network resources can now be exported via an Azure Resource Manager (ARM) template.
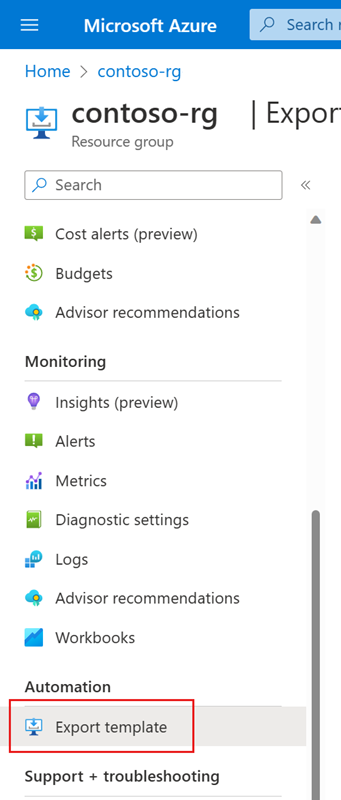
Navigate to the resource group containing your private mobile network resources.
In the resource menu, select Export template.
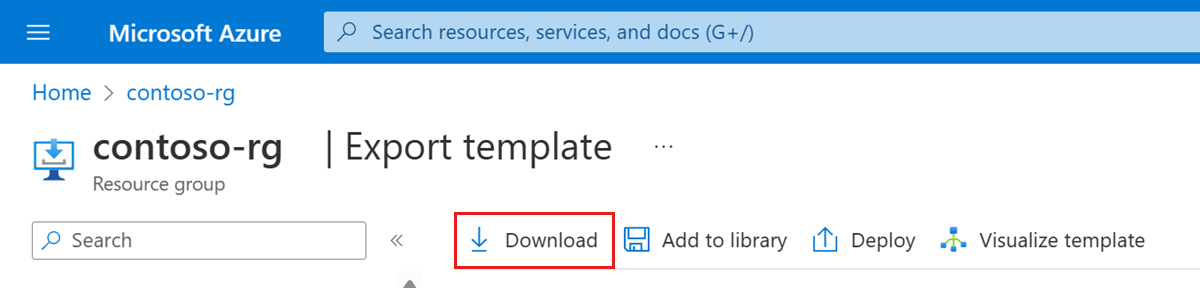
Once Azure finishes generating the template, select Download.
Move resources to a new region
Prepare template
You'll need to customize your template to ensure all your resources are correctly deployed to the new region.
- Open the template.json file you downloaded in Generate template.
- Find every instance of the original region's code name and replace it with the target region you're moving your deployment to. This involves updating the location parameter for every resource. See Region code names for instructions on how to obtain the target region's code name.
- Find every instance of the original region's resource group name and replace it with the target region's resource group name you defined in Prerequisites.
- If you skipped Remove SIMs and custom location because you need your deployment to stay online in the original region, make the additional changes to the template:
- Remove all the SIM resources.
- Remove all custom location entries, including any dependencies from other resources.
- Remove any other resources you don't want to move to the target region.
Deploy template
Create a resource group in the target region. Use the resource group name you defined in Prerequisites.
Deploy the template.json file you downloaded in Generate template.
If you want to use the Azure portal, follow the instructions to deploy resources from a custom template in Deploy resources with ARM templates and Azure portal.
If you want to use PowerShell, navigate to the folder containing the template.json file and deploy using the command:
az deployment group create --resource-group <new resource group name> --template-file template.json
In the Azure portal, navigate to the new resource group and verify that your resources have been successfully recreated.
Configure custom location
You can now install your packet core instances in the new region.
For each site in your deployment, follow Modify the packet core instance in a site to reconfigure your packet core custom location. In Modify the packet core configuration, set the Azure Arc Custom Location field to the custom location value you noted down in Remove SIMs and custom location. You can ignore the sections about attaching and modifying data networks.
Restore backed up deployment information
Configure your deployment in the new region using the information you gathered in Back up deployment information.
Retrieve your backed-up SIM information and recreate your SIMs by following one of:
Depending on your authentication method when signing in to the distributed tracing and packet core dashboards:
- If you use Microsoft Entra ID, reapply the Secret Object for distributed tracing and the packet core dashboards.
- If you use local usernames and passwords, follow Access the distributed tracing web GUI and Access the packet core dashboards to restore access to your local monitoring tools.
If you backed up any packet core dashboards, follow Importing a dashboard in the Grafana documentation to restore them.
If you have UEs that require manual operations to recover from a packet core outage, follow their recovery steps.
Verify
Use Azure Monitor or the packet core dashboards to confirm your deployment is operating normally after the region move.
Next steps
- If you no longer require a deployment in the source region, delete the original resource group.
- Learn more about reliability in Azure Private 5G Core.