Note
Access to this page requires authorization. You can try signing in or changing directories.
Access to this page requires authorization. You can try changing directories.
Azure Service Fabric is a distributed systems platform for deploying and managing scalable and reliable microservices and containers.
Running an existing application in a Windows container on a Service Fabric cluster doesn't require any changes to your application. This quickstart shows you how to deploy a pre-built Docker container image in a Service Fabric application. When you're finished, you'll have a running Windows Server Core 2016 Server and IIS container. This quickstart describes deploying a Windows container. Read this quickstart to deploy a Linux container.
In this quickstart you learn how to:
- Package a Docker image container
- Configure communication
- Build and package the Service Fabric application
- Deploy the container application to Azure
Note
We recommend that you use the Azure Az PowerShell module to interact with Azure. To get started, see Install Azure PowerShell. To learn how to migrate to the Az PowerShell module, see Migrate Azure PowerShell from AzureRM to Az.
Prerequisites
- An Azure subscription (you can create a free account).
- A development computer running:
- Visual Studio 2019 or Windows 2019.
- Service Fabric SDK and tools.
Package a Docker image container with Visual Studio
The Service Fabric SDK and tools provide a service template to help you deploy a container to a Service Fabric cluster.
Start Visual Studio as "Administrator". Select File > New > Project.
Select Service Fabric application, name it "MyFirstContainer", and click Create.
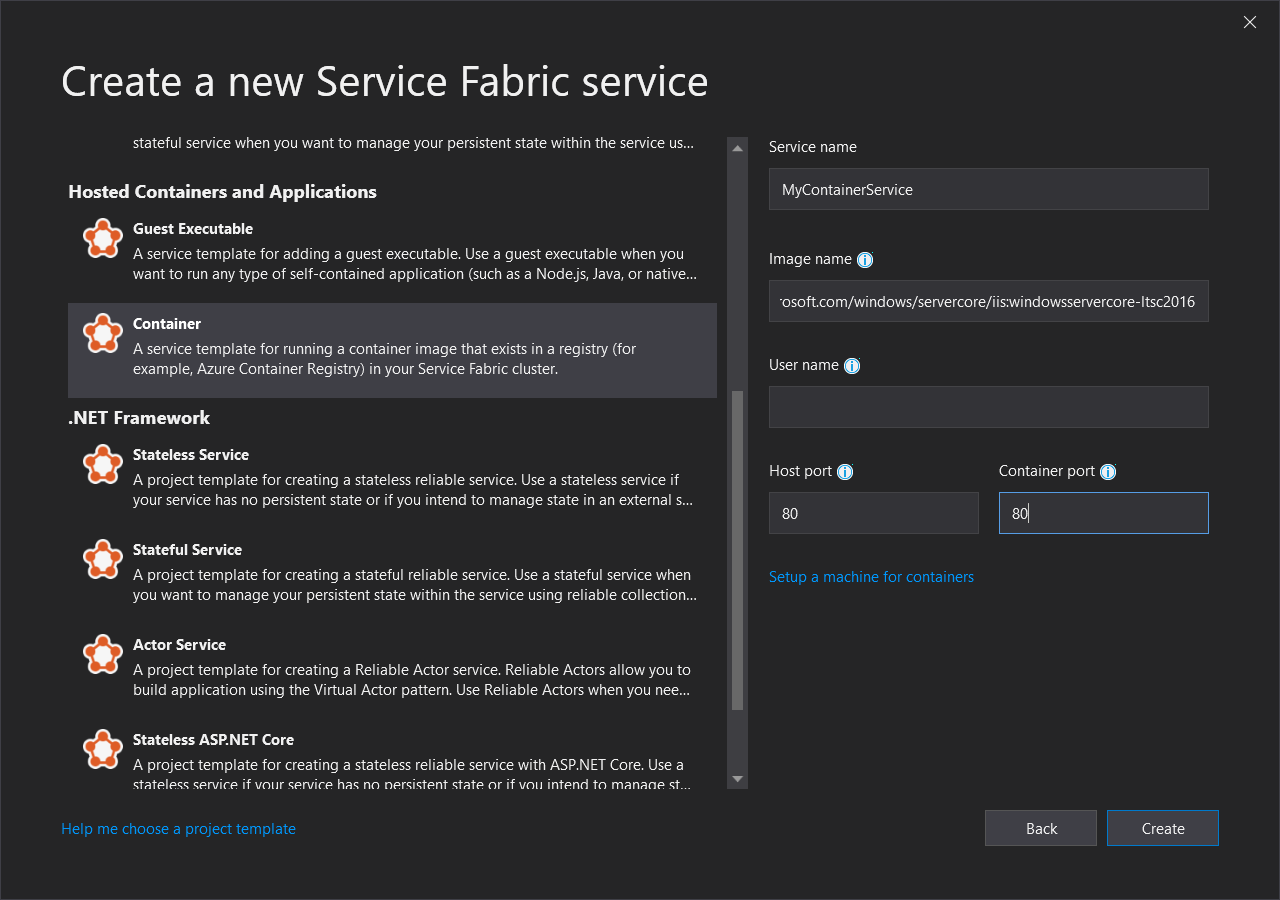
Select Container from the Hosted Containers and Applications templates.
In Image Name, enter "mcr.microsoft.com/windows/servercore/iis:windowsservercore-ltsc2016", the Windows Server Core Server and IIS base image.
Configure the container port-to-host port mapping so that incoming requests to the service on port 80 are mapped to port 80 on the container. Set Container Port to "80" and set Host Port to "80".
Name your service "MyContainerService", and click OK.
Specify the OS build for your container image
Containers built with a specific version of Windows Server may not run on a host running a different version of Windows Server. For example, containers built using Windows Server version 1709 don't run on hosts running Windows Server 2016. To learn more, see Windows Server container OS and host OS compatibility.
With version 6.1 of the Service Fabric runtime and newer, you can specify multiple OS images per container and tag each with the build version of the OS that it should be deployed to. This helps to make sure that your application will run across hosts running different versions of Windows OS. To learn more, see Specify OS build specific container images.
Microsoft publishes different images for versions of IIS built on different versions of Windows Server. To make sure that Service Fabric deploys a container compatible with the version of Windows Server running on the cluster nodes where it deploys your application, add the following lines to the ApplicationManifest.xml file. The build version for Windows Server 2016 is 14393 and the build version for Windows Server version 1709 is 16299.
    <ContainerHostPolicies CodePackageRef="Code">
      <ImageOverrides>
        ...
	      <Image Name="mcr.microsoft.com/windows/servercore/iis:windowsservercore-1803" />
          <Image Name= "mcr.microsoft.com/windows/servercore/iis:windowsservercore-ltsc2016" Os="14393" />
          <Image Name="mcr.microsoft.com/windows/servercore/iis:windowsservercore-1709" Os="16299" />
      </ImageOverrides>
    </ContainerHostPolicies>
The service manifest continues to specify only one image for the nanoserver, mcr.microsoft.com/windows/servercore/iis:windowsservercore-ltsc2016.
Also in the ApplicationManifest.xml file, change PasswordEncrypted to false. The account and password are blank for the public container image that is on Docker Hub, so we turn off encryption because encrypting a blank password will generate a build error.
<RepositoryCredentials AccountName="" Password="" PasswordEncrypted="false" />
Create a cluster
The following sample script creates a five-node Service Fabric cluster secured with an X.509 certificate. The command creates a self-signed certificate and uploads it to a new key vault. The certificate is also copied to a local directory. You can learn more about creating a cluster using this script in Create a Service Fabric cluster.
If needed, install the Azure PowerShell using the instructions found in the Azure PowerShell guide.
Before you run the following script, in PowerShell run Connect-AzAccount to create a connection with Azure.
Copy the following script to the clipboard and open Windows PowerShell ISE. Paste the contents into the empty Untitled1.ps1 window. Then provide values for the variables in the script: subscriptionId, certpwd, certfolder, adminuser, adminpwd, and so on. The directory you specify for certfolder must exist before you run the script.
#Provide the subscription Id
$subscriptionId = 'yourSubscriptionId'

# Certificate variables.
$certpwd="Password#1234" | ConvertTo-SecureString -AsPlainText -Force
$certfolder="c:\mycertificates\"

# Variables for VM admin.
$adminuser="vmadmin"
$adminpwd="Password#1234" | ConvertTo-SecureString -AsPlainText -Force

# Variables for common values
$clusterloc="SouthCentralUS"
$clustername = "mysfcluster"
$groupname="mysfclustergroup"
$vmsku = "Standard_D2_v2"
$vaultname = "mykeyvault"
$subname="$clustername.$clusterloc.cloudapp.azure.com"

# Set the number of cluster nodes. Possible values: 1, 3-99
$clustersize=5

# Set the context to the subscription Id where the cluster will be created
Select-AzSubscription -SubscriptionId $subscriptionId

# Create the Service Fabric cluster.
New-AzServiceFabricCluster -Name $clustername -ResourceGroupName $groupname -Location $clusterloc `
-ClusterSize $clustersize -VmUserName $adminuser -VmPassword $adminpwd -CertificateSubjectName $subname `
-CertificatePassword $certpwd -CertificateOutputFolder $certfolder `
-OS WindowsServer2016DatacenterwithContainers -VmSku $vmsku -KeyVaultName $vaultname
Once you've provided your values for the variables, press F5 to run the script.
After the script runs and the cluster is created, find the ClusterEndpoint in the output. For example:
...
ClusterEndpoint : https://southcentralus.servicefabric.azure.com/runtime/clusters/b76e757d-0b97-4037-a184-9046a7c818c0
Install the certificate for the cluster
Now we'll install the PFX in CurrentUser\My certificate store. The PFX file will be in the directory you specified using the certfolder environment variable in the PowerShell script above.
Change to that directory, and then run the following PowerShell command, replacing the name of the PFX file that is in your certfolder directory, and the password that you specified in the certpwd variable. In this example, the current directory is set to the directory specified by the certfolder variable in the PowerShell script. From there the Import-PfxCertificate command is run:
PS C:\mycertificates> Import-PfxCertificate -FilePath .\mysfclustergroup20190130193456.pfx -CertStoreLocation Cert:\CurrentUser\My -Password (ConvertTo-SecureString Password#1234 -AsPlainText -Force)
The command returns the Thumbprint:
  ...
  PSParentPath: Microsoft.PowerShell.Security\Certificate::CurrentUser\My

Thumbprint                                Subject
----------                                -------
0AC30A2FA770BEF566226CFCF75A6515D73FC686  CN=mysfcluster.SouthCentralUS.cloudapp.azure.com
Remember the thumbprint value for the following step.
Deploy the application to Azure using Visual Studio
Now that the application is ready, you can deploy it to a cluster directly from Visual Studio.
Right-click MyFirstContainer in the Solution Explorer and choose Publish. The Publish dialog appears.
Copy the content following CN= in the PowerShell window when you ran the Import-PfxCertificate command above, and add port 19000 to it. For example, mysfcluster.SouthCentralUS.cloudapp.azure.com:19000. Copy it into the Connection Endpoint field. Remember this value because you'll need it in a future step.
Click Advanced Connection Parameters and verify the connection parameter information. FindValue and ServerCertThumbprint values must match the thumbprint of the certificate installed when you ran Import-PfxCertificate in the previous step. Then, select Publish.
Each application in the cluster must have a unique name. If there's a name conflict, rename the Visual Studio project and deploy again.
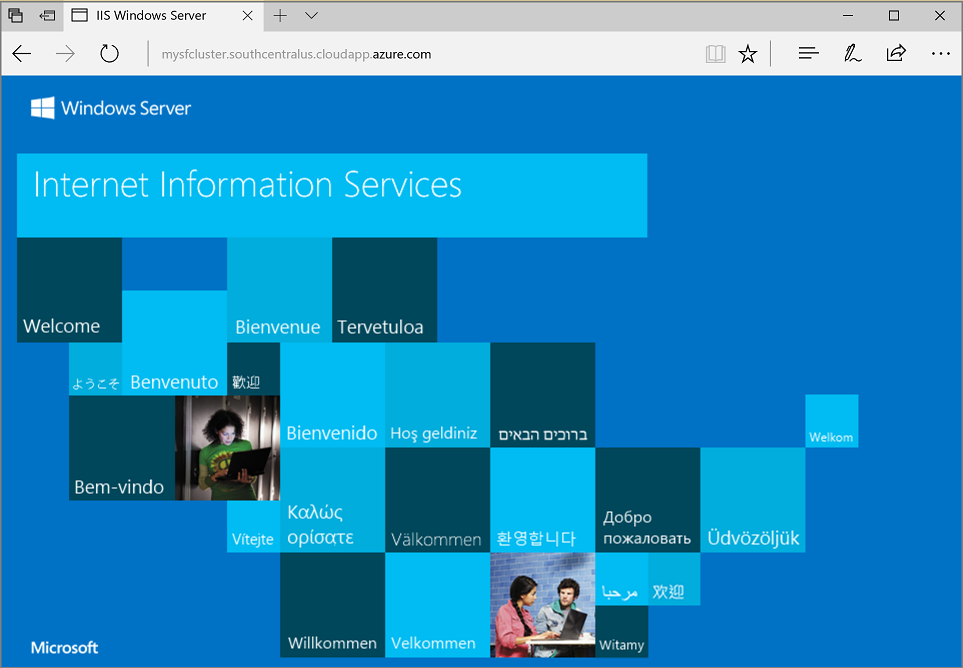
Open a browser and navigate to the address that you put into the Connection Endpoint field in the previous step. You can optionally prepend the scheme identifier, http://, and append the port, :80, to the URL. For example, http://mysfcluster.SouthCentralUS.cloudapp.azure.com:80.
You should see the IIS default web page:
Clean up
You continue to incur charges while the cluster is running. Consider deleting your cluster.
Next steps
In this quickstart, you learned how to:
- Package a Docker image container
- Configure communication
- Build and package the Service Fabric application
- Deploy the container application to Azure
To learn more about working with Windows containers in Service Fabric, continue to the tutorial for Windows container applications.