Note
Access to this page requires authorization. You can try signing in or changing directories.
Access to this page requires authorization. You can try changing directories.
In this Quickstart, you will create a Synapse workspace, and you can follow along with the rest of the tutorials to create a dedicated SQL pool, and a serverless Apache Spark pool.
Prerequisites
- If you don't have an Azure subscription, create a free account before you begin.
- To complete this tutorial's steps, you need to have access to a resource group for which you're assigned the Owner role. Create the Synapse workspace in this resource group.
Create a Synapse workspace in the Azure portal
Start the process
- Open the Azure portal, in the search bar enter Synapse without hitting enter.
- In the search results, under Services, select Azure Synapse Analytics.
- Select Create to create a workspace.
Basics tab > Project Details
Fill in the following fields:
- Subscription - Pick any subscription.
- Resource group - Use any resource group.
- Managed Resource group - Leave this blank.
Basics tab > Workspace details
Fill in the following fields:
- Workspace name - Pick any globally unique name. In this tutorial, we'll use myworkspace.
- Region - Pick the region where you have placed your client applications/services (for example, Azure Virtual Machine, Power BI, Azure Analysis Service) and storages that contain data (for example Azure Data Lake storage, Azure Cosmos DB analytical storage).
Note
A workspace that is not co-located with the client applications or storage can be the root cause of many performance issues. If your data or the clients are placed in multiple regions, you can create separate workspaces in different regions co-located with your data and clients.
Under Select Data Lake Storage Gen 2:
By Account name, select Create New and name the new storage account contosolake or similar as the name must be unique.
Tip
If you get an error reading "The Azure Synapse resource provider (Microsoft.Synapse) needs to be registered with the selected subscription", open the Azure portal and select Subscriptions. Select your subscription. Under the Settings list select Resource providers. Search for Microsoft.Synapse, select it, and select Register.
By File system name, select Create New and name it users. This will create a storage container called users. The workspace will use this storage account as the "primary" storage account to Spark tables and Spark application logs.
Check the Assign myself the Storage Blob Data Contributor role on the Data Lake Storage Gen2 account box.
Completing the process
Select Review + create > Create. Your workspace is ready in a few minutes.
Note
To enable workspace features from an existing dedicated SQL pool (formerly SQL DW) refer to How to enable a workspace for your dedicated SQL pool (formerly SQL DW).
Open Synapse Studio
After your Azure Synapse workspace is created, you have two ways to open Synapse Studio:
Open your Synapse workspace in the Azure portal, in the Overview section of the Synapse workspace, select Open in the Open Synapse Studio box.
Go to the
https://web.azuresynapse.netand sign in to your workspace.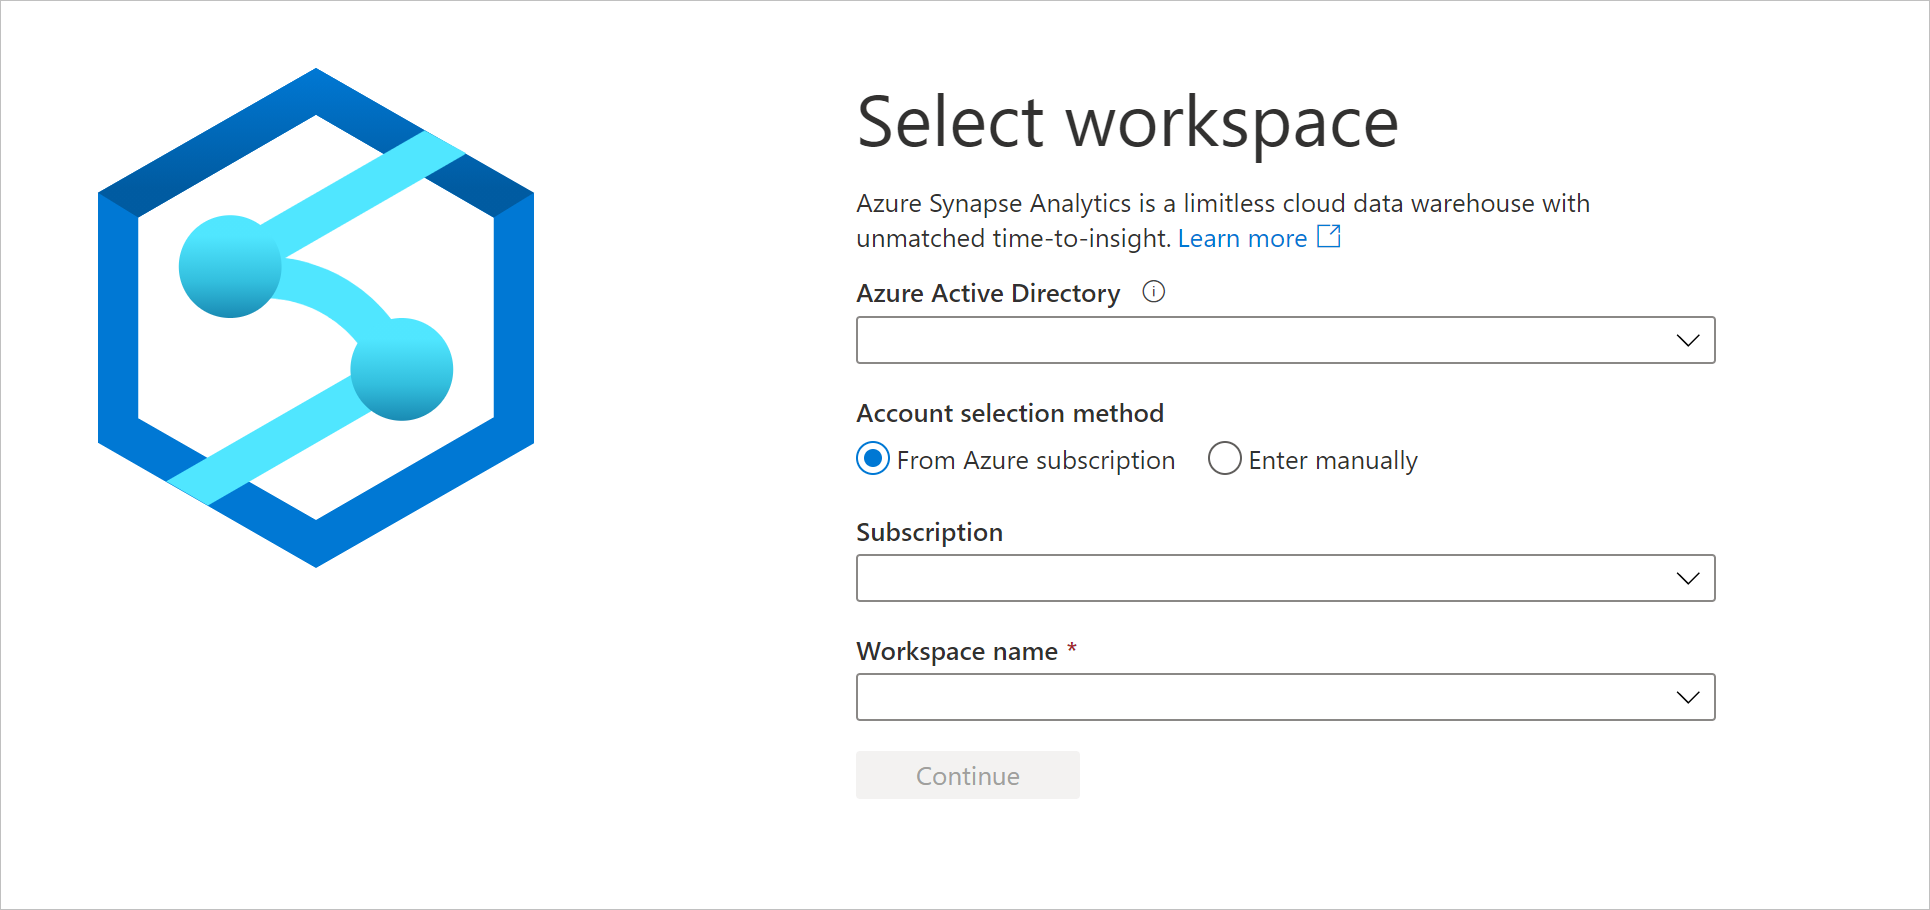
Note
To sign into your workspace, there are two Account selection methods. One is from Azure subscription, the other is from Enter manually. If you have the Synapse Azure role or higher level Azure roles, you can use both methods to log into the workspace. If you don't have the related Azure roles, and you were granted as the Synapse RBAC role, Enter manually is the only way to log into the workspace. To learn more about the Synapse RBAC, refer to What is Synapse role-based access control (RBAC).
Place sample data into the primary storage account
We're going to use a small 100k row sample dataset of NYC Taxi Cab data for many examples in this getting started guide. We begin by placing it in the primary storage account you created for the workspace.
- Download the NYC Taxi - green trip dataset to your computer:
- Navigate to the original dataset location from the link, choose a specific year and download the Green taxi trip records in Parquet format.
- Rename the downloaded file to NYCTripSmall.parquet.
- In Synapse Studio, navigate to the Data hub.
- Select Linked.
- Under the category Azure Data Lake Storage Gen2, you'll see an item with a name like myworkspace ( Primary - contosolake ).
- Select the container named users (Primary).
- Select Upload and select the
NYCTripSmall.parquetfile you downloaded.
Once the parquet file is uploaded, it's available through two equivalent URIs:
https://contosolake.dfs.core.windows.net/users/NYCTripSmall.parquetabfss://users@contosolake.dfs.core.windows.net/NYCTripSmall.parquet
Tip
In the examples that follow in this tutorial, make sure to replace contosolake in the UI with the name of the primary storage account that you selected for your workspace.