Incrementally load data from Data Warehouse to Lakehouse
In this tutorial, you learn how to incrementally load data from Data Warehouse to Lakehouse.
Overview
Here is the high-level solution diagram:

Here are the important steps to create this solution:
Select the watermark column. Select one column in the source data table, which can be used to slice the new or updated records for every run. Normally, the data in this selected column (for example, last_modify_time or ID) keeps increasing when rows are created or updated. The maximum value in this column is used as a watermark.
Prepare a table to store the last watermark value in your Data Warehouse.
Create a pipeline with the following workflow:
The pipeline in this solution has the following activities:
- Create two lookup activities. Use the first lookup activity to retrieve the last watermark value. Use the second lookup activity to retrieve the new watermark value. These watermark values are passed to the copy activity.
- Create a copy activity that copies rows from the source data table with the value of the watermark column greater than the old watermark value and less than the new watermark value. Then, it copies the data from the Data Warehouse to Lakehouse as a new file.
- Create a stored procedure activity that updates the last watermark value for the next pipeline run.
Prerequisites
- Data Warehouse. You use the Data Warehouse as the source data store. If you don't have it, see Create a Data Warehouse for steps to create one.
- Lakehouse. You use the Lakehouse as the destination data store. If you don't have it, see Create a Lakehouse for steps to create one. Create a folder named IncrementalCopy to store the copied data.
Preparing your source
Here are some tables and stored procedure that you need to prepare in your source Data Warehouse before configuring the incremental copy pipeline.
1. Create a data source table in your Data Warehouse
Run the following SQL command in your Data Warehouse to create a table named data_source_table as the data source table. In this tutorial, you'll use it as the sample data to do the incremental copy.
create table data_source_table
(
    PersonID int,
    Name varchar(255),
    LastModifytime DATETIME2(6)
);

INSERT INTO data_source_table
    (PersonID, Name, LastModifytime)
VALUES
    (1, 'aaaa','9/1/2017 12:56:00 AM'),
    (2, 'bbbb','9/2/2017 5:23:00 AM'),
    (3, 'cccc','9/3/2017 2:36:00 AM'),
    (4, 'dddd','9/4/2017 3:21:00 AM'),
    (5, 'eeee','9/5/2017 8:06:00 AM');
The data in the data source table is shown below:
PersonID | Name | LastModifytime
-------- | ---- | --------------
1        | aaaa | 2017-09-01 00:56:00.000
2        | bbbb | 2017-09-02 05:23:00.000
3        | cccc | 2017-09-03 02:36:00.000
4        | dddd | 2017-09-04 03:21:00.000
5        | eeee | 2017-09-05 08:06:00.000
In this tutorial, you use LastModifytime as the watermark column.
2. Create another table in your Data Warehouse to store the last watermark value
Run the following SQL command in your Data Warehouse to create a table named watermarktable to store the last watermark value:
create table watermarktable
(
TableName varchar(255),
WatermarkValue DATETIME2(6),
);
Set the default value of the last watermark with the table name of source data table. In this tutorial, the table name is data_source_table, and the default value is
1/1/2010 12:00:00 AM.INSERT INTO watermarktable VALUES ('data_source_table','1/1/2010 12:00:00 AM')Review the data in the table watermarktable.
Select * from watermarktableOutput:
TableName  | WatermarkValue
----------  | --------------
data_source_table | 2010-01-01 00:00:00.000
3. Create a stored procedure in your Data Warehouse
Run the following command to create a stored procedure in your Data Warehouse. This stored procedure is used to help updates the last watermark value after last pipeline run.
CREATE PROCEDURE usp_write_watermark @LastModifiedtime datetime, @TableName varchar(50)
AS

BEGIN

UPDATE watermarktable
SET [WatermarkValue] = @LastModifiedtime
WHERE [TableName] = @TableName

END
Configure a pipeline for incremental copy
Step 1: Create a pipeline
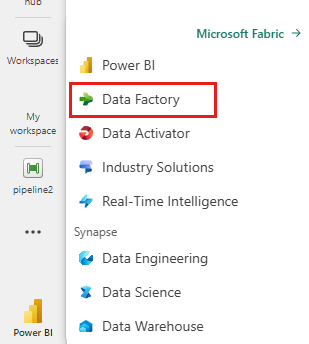
Navigate to Power BI.
Select the Power BI icon in the bottom left of the screen, then select Data factory to open homepage of Data Factory.
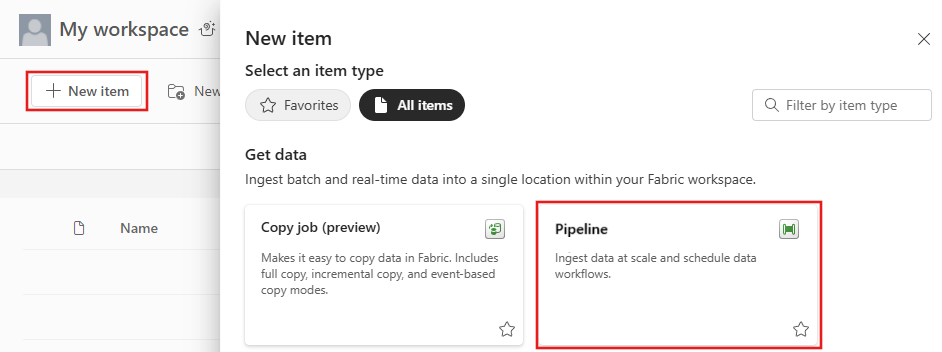
Navigate to your Microsoft Fabric workspace.
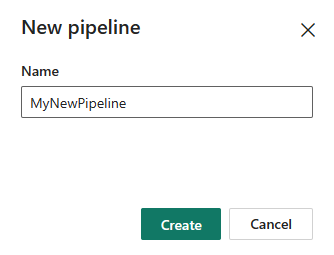
Select Data pipeline and then input a pipeline name to create a new pipeline.
Step 2: Add a lookup activity for the last watermark
In this step, you create a lookup activity to get the last watermark value. The default value 1/1/2010 12:00:00 AM set before will be obtained.
Select Add pipeline activity and select Lookup from the drop-down list.
Under General tab, rename this activity to LookupOldWaterMarkActivity.
Under Settings tab, perform the following configuration:
- Data store type: Select Workspace.
- Workspace data store type: Select Data Warehouse.
- Data Warehouse: Select your Data Warehouse.
- Use query: Choose Table.
- Table: Choose dbo.watermarktable.
- First row only: Selected.

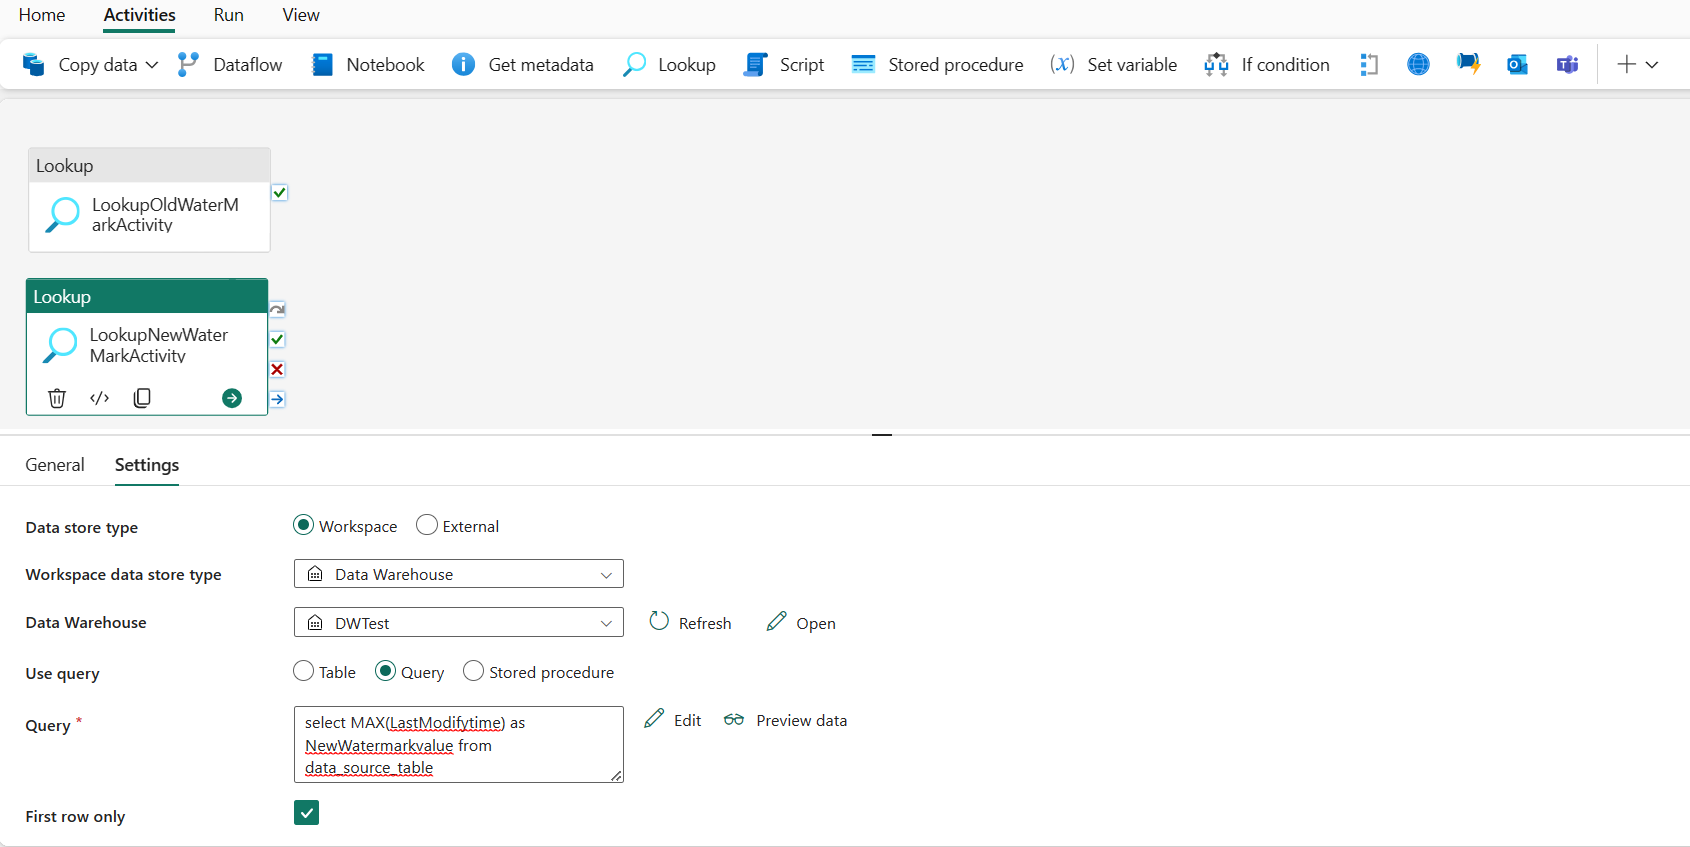
Step 3: Add a lookup activity for the new watermark
In this step, you create a lookup activity to get the new watermark value. You'll use a query to obtain the new watermark from your source data table. The maximum value in LastModifytime column in data_source_table will be obtained.
On the top bar, select Lookup under Activities tab to add the second lookup activity.
Under General tab, rename this activity to LookupNewWaterMarkActivity.
Under Settings tab, perform the following configuration:
Data store type: Select Workspace.
Workspace data store type: Select Data Warehouse.
Data Warehouse: Select your Data Warehouse.
Use query: Choose Query.
Query: Enter the following query to pick the maximum last modified time as the new watermark:
select MAX(LastModifytime) as NewWatermarkvalue from data_source_tableFirst row only: Selected.
Step 4: Add the copy activity to copy incremental data
In this step, you add a copy activity to copy the incremental data between the last watermark and new watermark from Data Warehouse to Lakehouse.
Select Activities on the top bar and select Copy data -> Add to canvas to get the copy activity.
Under General tab, rename this activity to IncrementalCopyActivity.
Connect both Lookup activities to the copy activity by dragging the green button (On success) attached to the lookup activities to the copy activity. Release the mouse button when you see the border color of the copy activity changes to green.

Under Source tab, perform the following configuration:
Data store type: Select Workspace.
Workspace data store type: Select Data Warehouse.
Data Warehouse: Select your Data Warehouse.
Use query: Choose Query.
Query: Enter the following query to copy incremental data between last watermark and new watermark.
select * from data_source_table where LastModifytime > '@{activity('LookupOldWaterMarkActivity').output.firstRow.WatermarkValue}' and LastModifytime <= '@{activity('LookupNewWaterMarkActivity').output.firstRow.NewWatermarkvalue}'

Under Destination tab, perform the following configuration:
- Data store type: Select Workspace.
- Workspace data store type: Select Lakehouse.
- Lakehouse: Select your Lakehouse.
- Root folder: Choose Files.
- File path: Specify the folder that you want to store your copied data. Select Browse to select your folder. For the file name, open Add dynamic content and enter
@CONCAT('Incremental-', pipeline().RunId, '.txt')in the opened window to create file names for your copied data file in Lakehouse. - File format: Select the format type of your data.

Step 5:Add a stored procedure activity
In this step, you add a stored procedure activity to update the last watermark value for the next pipeline run.
Select Activities on the top bar and select Stored procedure to add a stored procedure activity.
Under General tab, rename this activity to StoredProceduretoWriteWatermarkActivity.
Connect the green (On success) output of the copy activity to the stored procedure activity.
Under Settings tab, perform the following configuration:
Data store type: Select Workspace.
Data Warehouse: Select your Data Warehouse.
Stored procedure name: Specify the stored procedure that you created in your Data Warehouse: [dbo].[usp_write_watermark].
Expand Stored procedure parameters. To specify values for the stored procedure parameters, select Import, and enter following values for the parameters:
Name Type Value LastModifiedtime DateTime @{activity('LookupNewWaterMarkActivity').output.firstRow.NewWatermarkvalue} TableName String @{activity('LookupOldWaterMarkActivity').output.firstRow.TableName}

Step 6:Run the pipeline and monitor the result
On the top bar, select Run under Home tab. Then select Save and run. The pipeline starts run and you can monitor the pipeline under Output tab.

Go to your Lakehouse, you find the data file is under the folder that you specified and you can select the file to preview the copied data.


Add more data to see the incremental copy results
After you finish the first pipeline run, let's try to add more data in your Data Warehouse source table to see if this pipeline can copy your incremental data.
Step 1: Add more data to source
Insert new data into your Data Warehouse by running the following query:
INSERT INTO data_source_table
VALUES (6, 'newdata','9/6/2017 2:23:00 AM')

INSERT INTO data_source_table
VALUES (7, 'newdata','9/7/2017 9:01:00 AM')
The updated data for data_source_table is:
PersonID | Name | LastModifytime
-------- | ---- | --------------
1 | aaaa | 2017-09-01 00:56:00.000
2 | bbbb | 2017-09-02 05:23:00.000
3 | cccc | 2017-09-03 02:36:00.000
4 | dddd | 2017-09-04 03:21:00.000
5 | eeee | 2017-09-05 08:06:00.000
6 | newdata | 2017-09-06 02:23:00.000
7 | newdata | 2017-09-07 09:01:00.000
Step 2:Trigger another pipeline run and monitor the result
Go back to your pipeline page. On the top bar, select Run under Home tab again. The pipeline starts run and you can monitor the pipeline under Output.
Go to your Lakehouse, you find the new copied data file is under the folder that you specified, and you can select the file to preview the copied data. You see your incremental data are shown in this file.


Related content
Next, advance to learn more about copy from Azure Blob Storage to Lakehouse.
Feedback
Coming soon: Throughout 2024 we will be phasing out GitHub Issues as the feedback mechanism for content and replacing it with a new feedback system. For more information see: https://aka.ms/ContentUserFeedback.
Submit and view feedback for