Service windows for site servers
Applies to: Configuration Manager (current branch)
To control when in-console updates can install, configure service windows. You can add service windows at the central administration site (CAS) and primary sites. Each site can have multiple service windows. The site determines when it can install an update by the combination of all service windows that it has.
Tip
A service window is for a site server. A maintenance window is for a client. For more information, see How to use maintenance windows.
Default behavior
When you don't configure a service window:
On your top-tier site, you choose when to start the update installation. The top-tier site is either the CAS or a stand-alone primary site.
On a child primary site, the update automatically installs after it successfully completes at the CAS.
On a secondary site, updates never start automatically. After the parent primary site updates, manually start the update from the console.
Behavior with a service window
When you create one or more service windows:
On your top-tier site, you can't start the installation of any new update from the console until the time is in the service window. Even with a service window, the site still automatically downloads updates so they're ready to install.
On a child primary site, an update from the CAS downloads to the primary site, but doesn't automatically start. You can't manually start the install of an update outside of a service window. When service windows no longer block update installation, the primary site automatically starts the update installation.
Secondary sites don't support service windows, and don't automatically install updates. After the parent primary site updates, manually start the update from the console.
Configure a service window
In the Configuration Manager console, go to the Administration workspace, expand Site Configuration, and select the Sites node.
Select the site server where you want to configure a service window.
In the ribbon, select Properties.
Switch to the Service Windows tab.
To add a new service window, select the new button (gold asterisk).
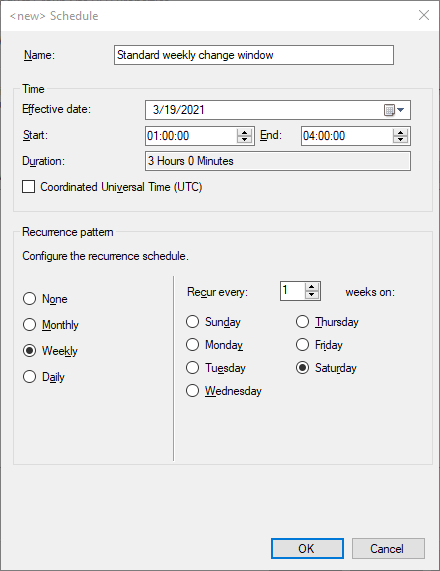
In the Schedule window, specify a name to describe the service window. This name helps you identify the service window in the console.
Configure the date, time, and recurrence pattern as necessary for this site.
After you create a service window, use the edit and delete buttons to make changes.