Create and edit public or system views (legacy)
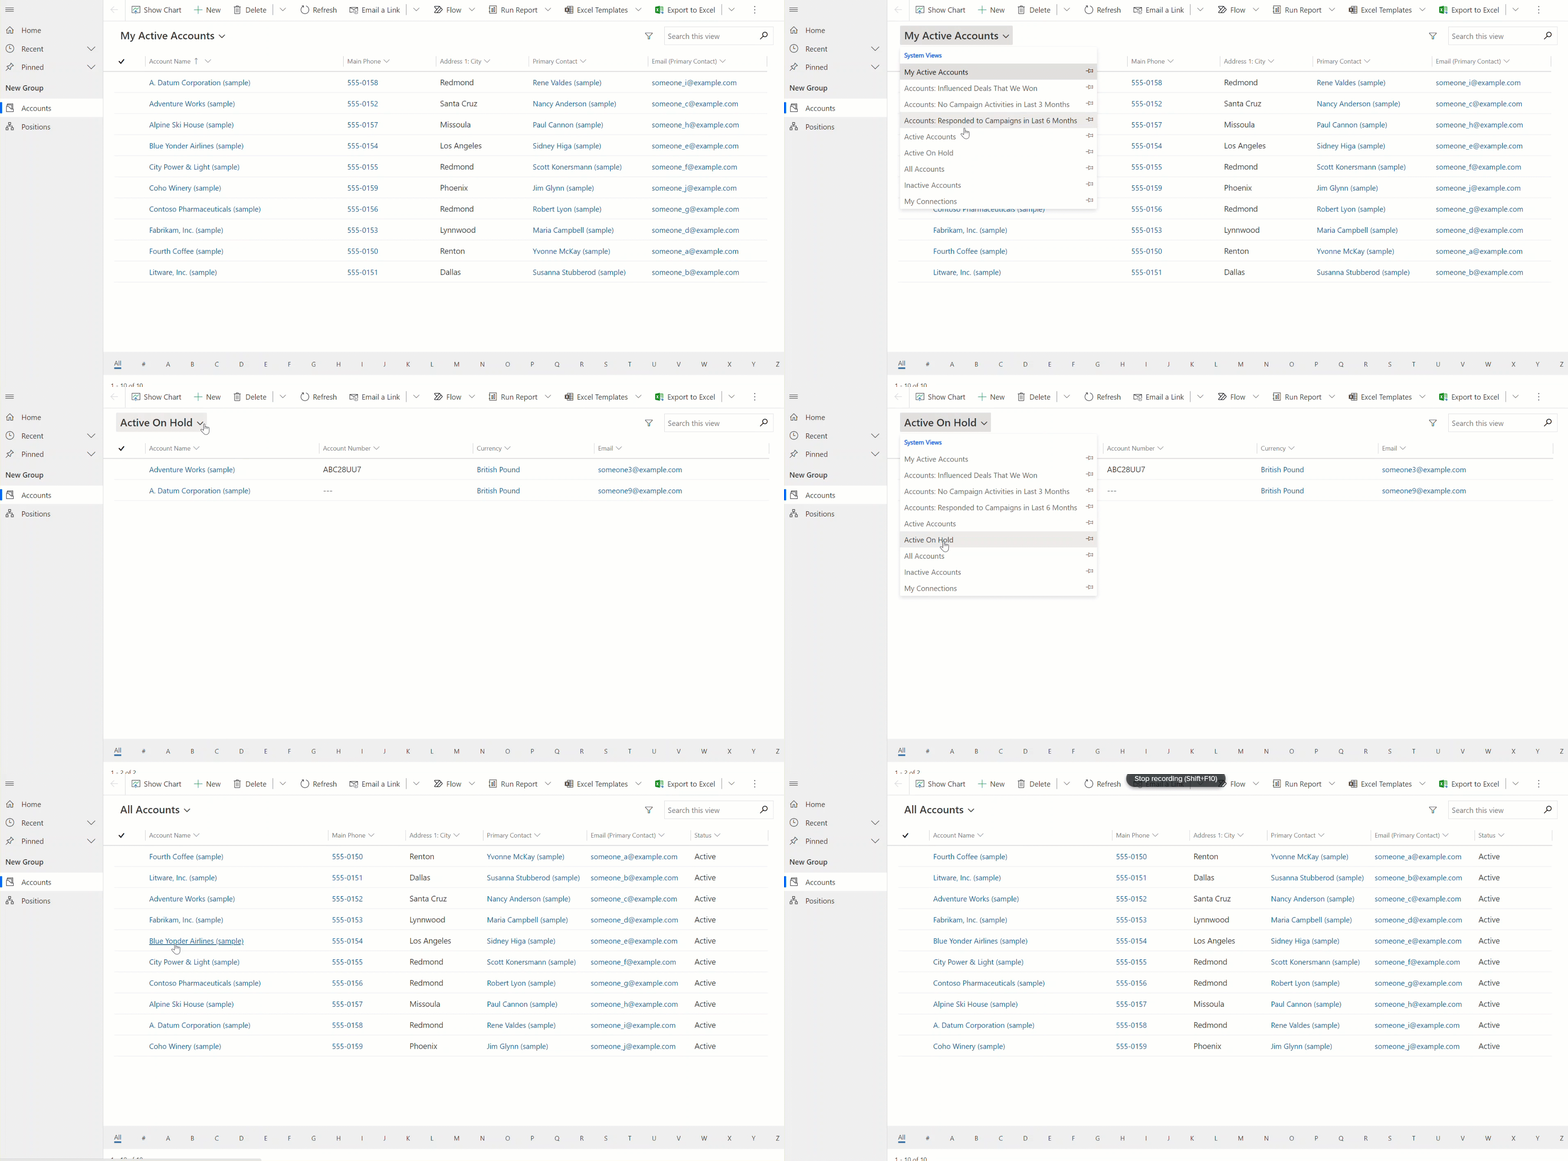
Model-driven apps can contain a range of views, so that app users can see the most suitably presented and filtered version of the table that they are investigating. Views can be Personal, System or Public.
This article describes how to update views through tables or the app designer.

Tip
For a general introduction into views, go to Understand views in model-driven apps.
Create a public view in Power Apps
Public views are available for users to review table records. App makers can create and configure public views using Power Apps.
Note
Public views created in Power Apps that include Contains data or Does not contain data filters will not appear in the list of saved views in Advanced Find.
Sign in to Power Apps.
Select Solutions in the left navigation.
Create a new solution by selecting New solution or select Edit in the ellipses (...) menu of an existing solution. For more information about creating a model-driven app, go to:
From within the solution there are two ways to edit views: app designer and tables.
Edit public views through tables
In the solution that we opened earlier create a new table or find an existing table that where the public views need to be edited.
Expand Data, select Tables, select the table you want, and then select the Views area.
On the toolbar, select Add view.

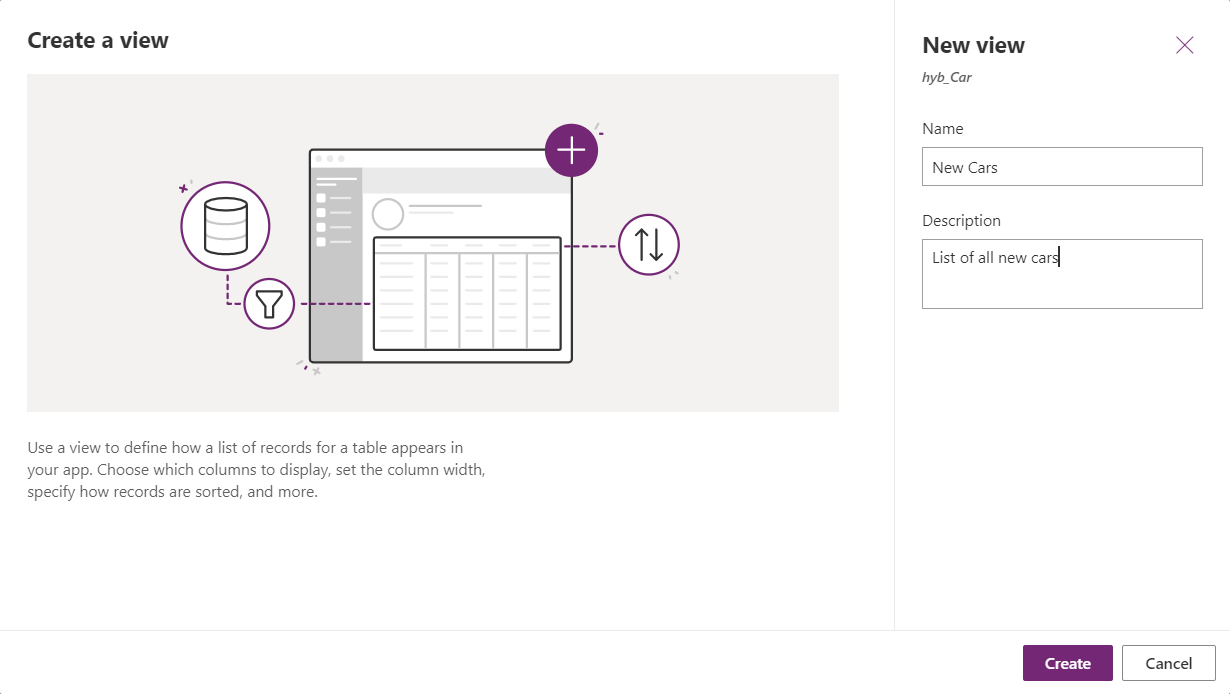
On the Create a view dialog, enter a name and, optionally, a description, and then select Create.

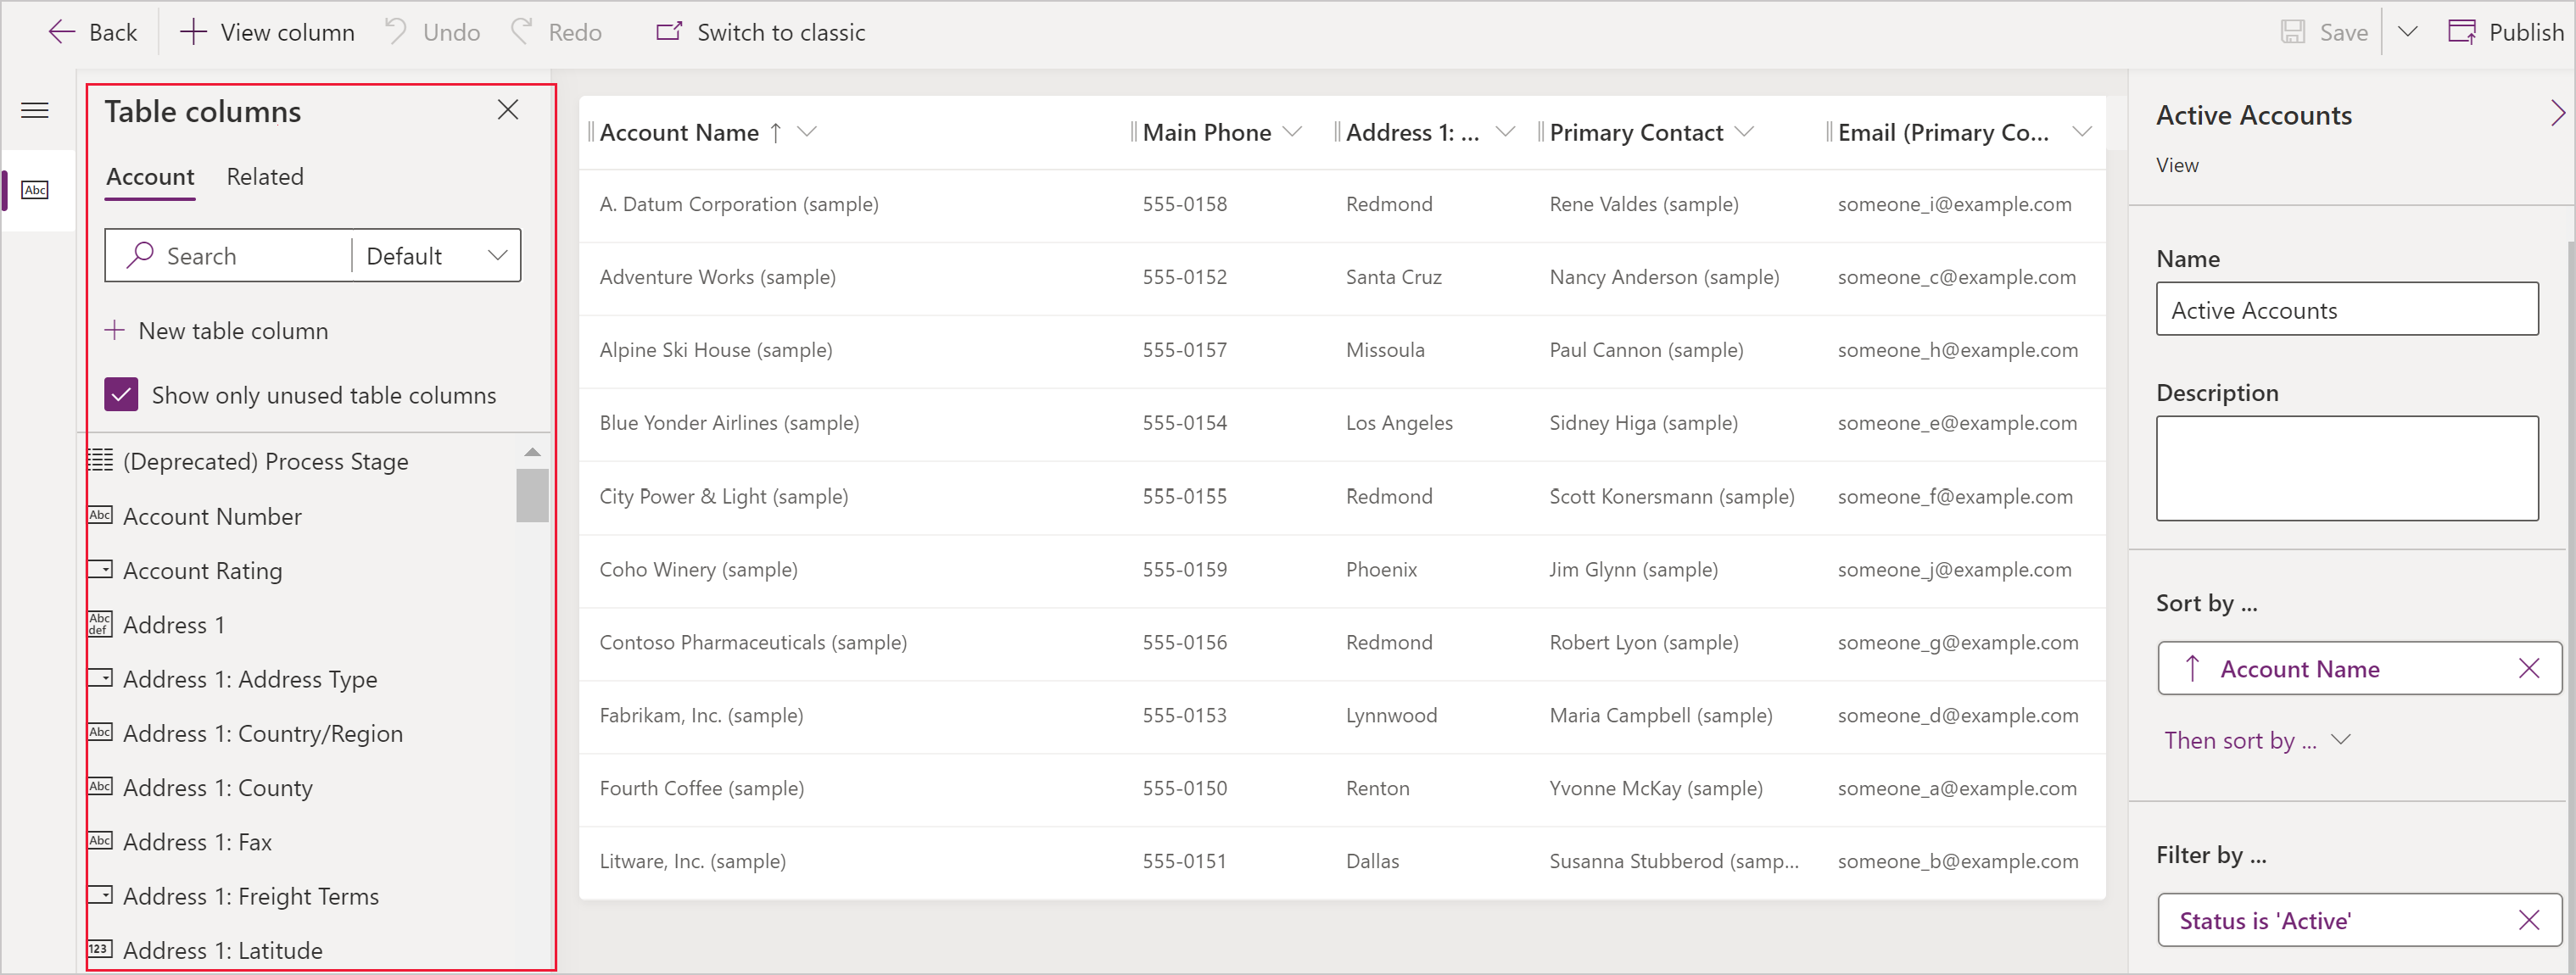
In the view designer, select + View column to add additional columns needed within the view. Or alternatively, select Table columns in the left navigation and drag the table columns into your view.

Tip
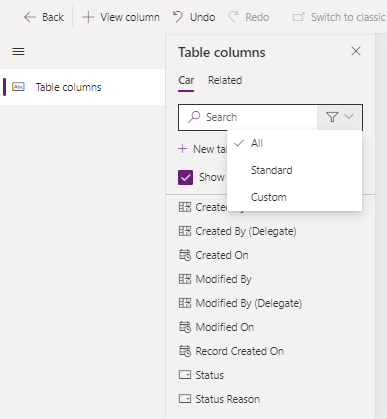
The Default view in the Add column pane displays all columns. If preferred, select Standard or Custom to display a subset of columns.

In the view designer, the following tasks can be performed:
- To change the column filtering select the header of the column where the filter is required, and then in the dropdown select Filter by.
- To change the column sorting select the header of the column where sorting is needed then select Sort A-Z or Sort Z-A or Sort descending or Sort ascending.
- Configure column width by selecting and dragging the column to the desired position.
- Reorder columns by dragging a column to the desired position.
Note
Depending on the data type of the column, the term Sort A-Z/Sort Z-A or Sort ascending/Sort descending is used
Tip
It is also possible to change column order. To do this, select the column header, and then select Move Right or Move Left.
Select Publish to save the view and make it available for other users in your organization.
Work with views in app designer
An alternative to editing views in the tables is to edit views from the app designer.
Open and add a view in the app designer
The following steps explain how to open and add a view in the app designer.
In Power Apps select Solutions from the left navigation pane. If the item isn’t in the side panel pane, select …More and then select the item you want.
Select ... next to the app you want, and then select Edit.
In the app designer Table View section, select Views. In this example, Views from the Account table are selected.

To add a view, select it by using view types such as Public Views, Advanced Find Views, Associated Views, and Lookup Views. The view is automatically added to the Views list.
Note
Views are displayed based on the table selected. For example, when you select Account, views that are related to the account table are displayed.
For more information about the app designer, go to Design custom business apps by using the app designer.