Note
Access to this page requires authorization. You can try signing in or changing directories.
Access to this page requires authorization. You can try changing directories.
Power Pages provides integration to multiple authentication providers to allow secure access to external users to your site. In this tutorial, you'll see how to use the Setup workspace to configure Azure Active Directory Business-to-Consumer (Azure AD B2C) as an authentication provider.
In this tutorial, you learn how to:
- Provide user access to your Power Pages sites using Azure AD B2C as an identity provider.
Prerequisites
- A Power Pages subscription or trial. Get a Power Pages trial here.
- A Power Pages site created. Create a Power Pages site.
- An Azure subscription and administrative rights to configure Azure AD B2C
Configure authorized access to your site
Setting up an external authentication provider will allow you to provide access to your site and provide the mechanism for end users to be able to reset their passwords and other information without administrator intervention.
This video provides an overview of authentication in Power Pages.
This video provides an overview of the steps to configure authentication providers.
Go to Power Pages.
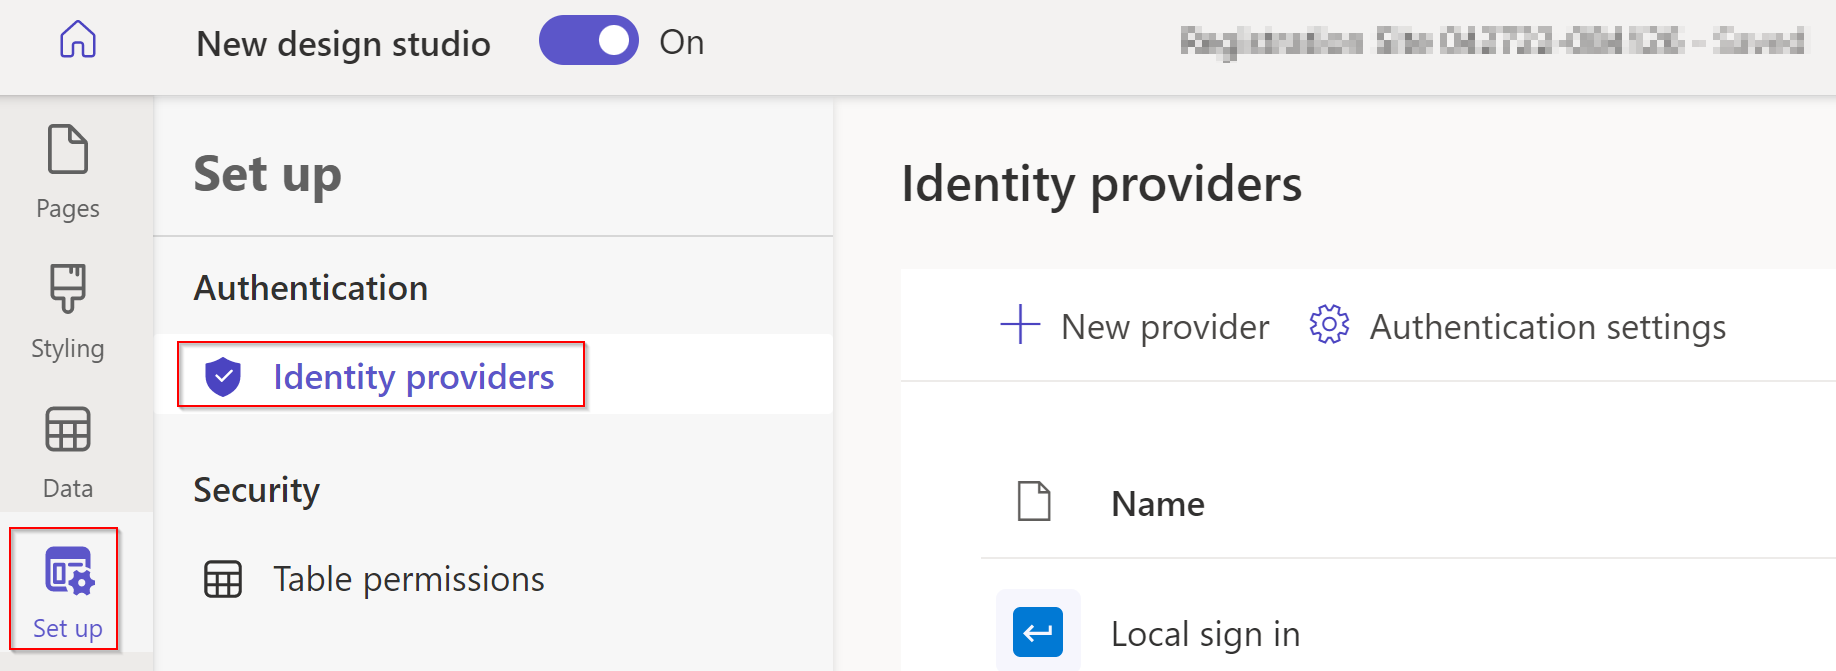
In design studio, select Security.
- Under Manage, select Identity Providers.
- Under Manage, select Identity Providers.
Select Configure.
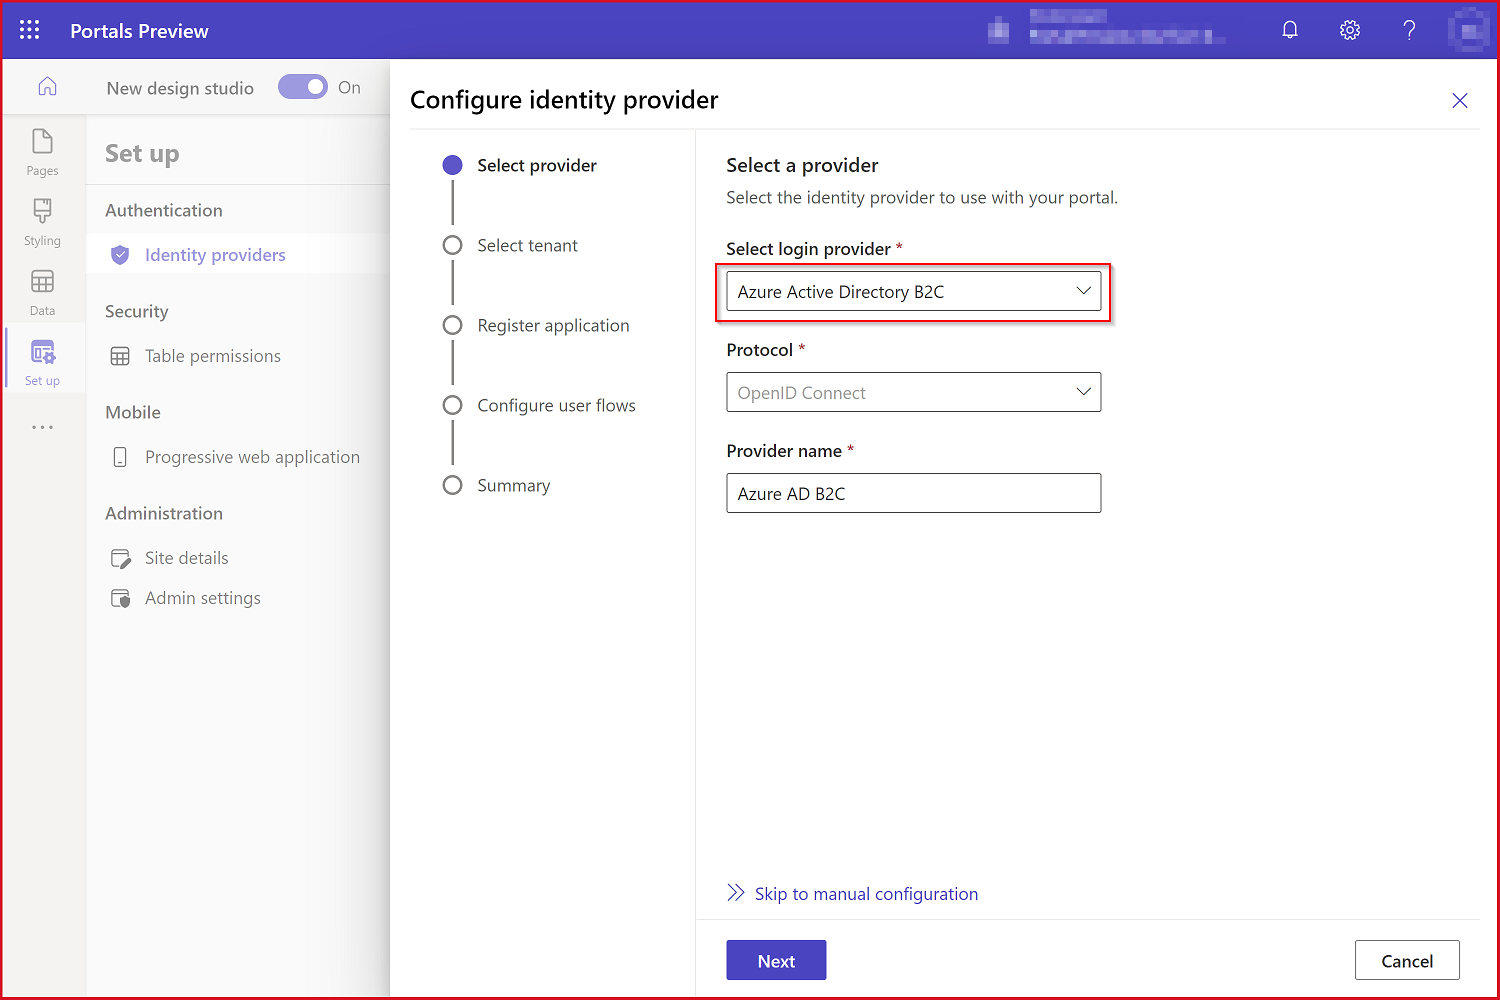
- Ensure Azure Active Directory B2C is selected and then choose Next.
- Ensure Azure Active Directory B2C is selected and then choose Next.
Fill in the details.
- Choose an Azure subscription.
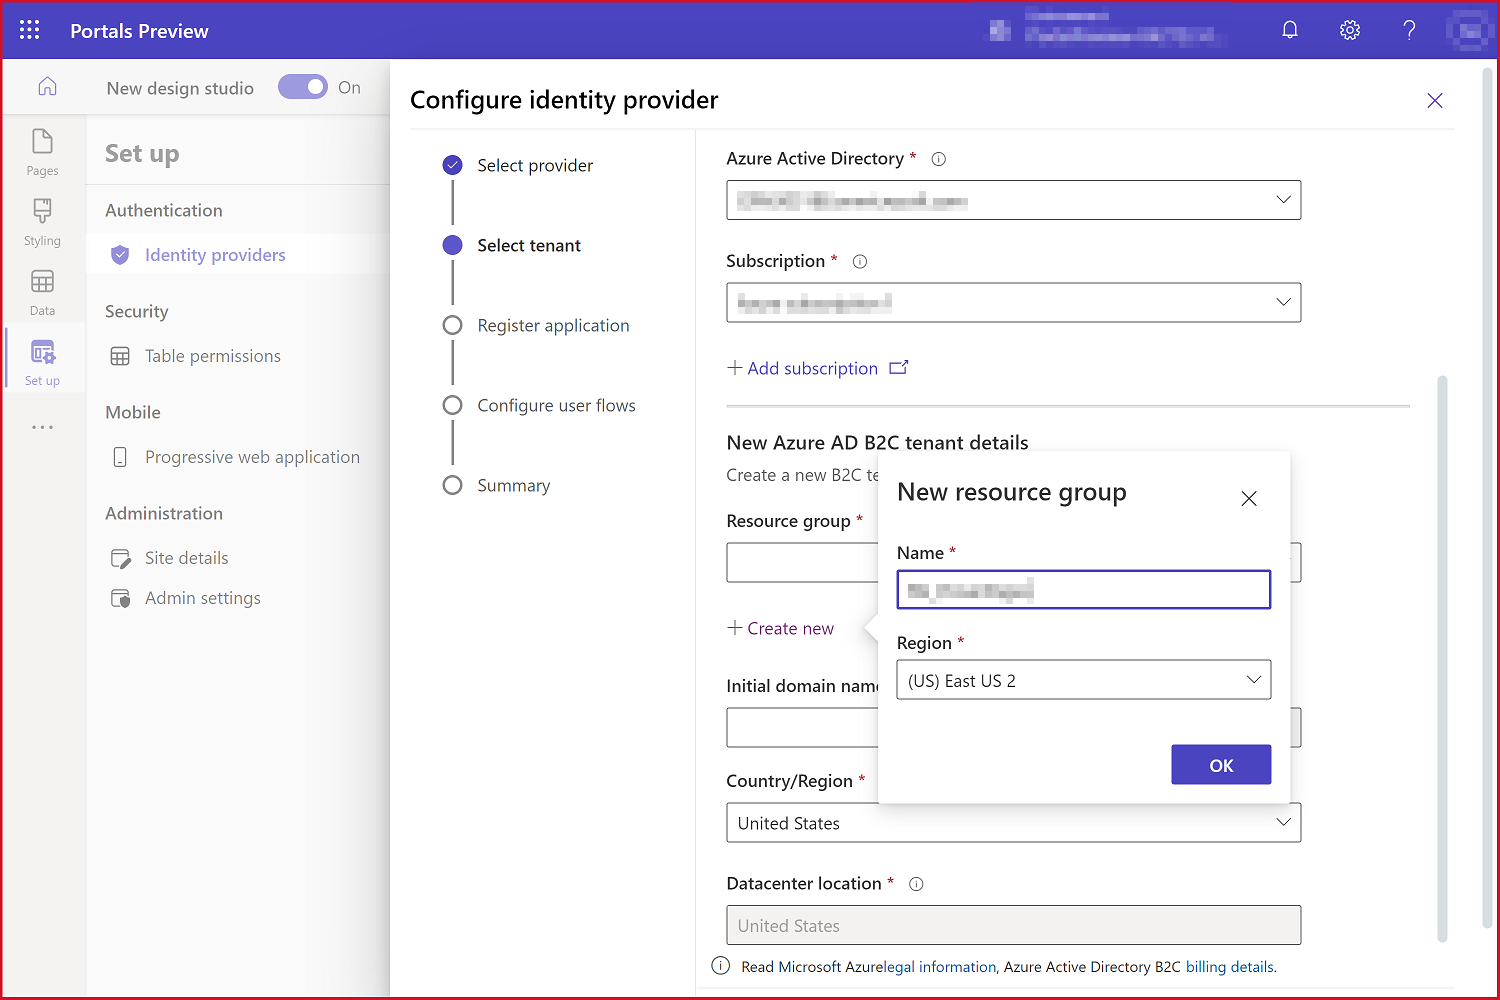
- Create an Azure resource group.
- Select a country.
- Select Next.
Confirm the defaults and then select Next.
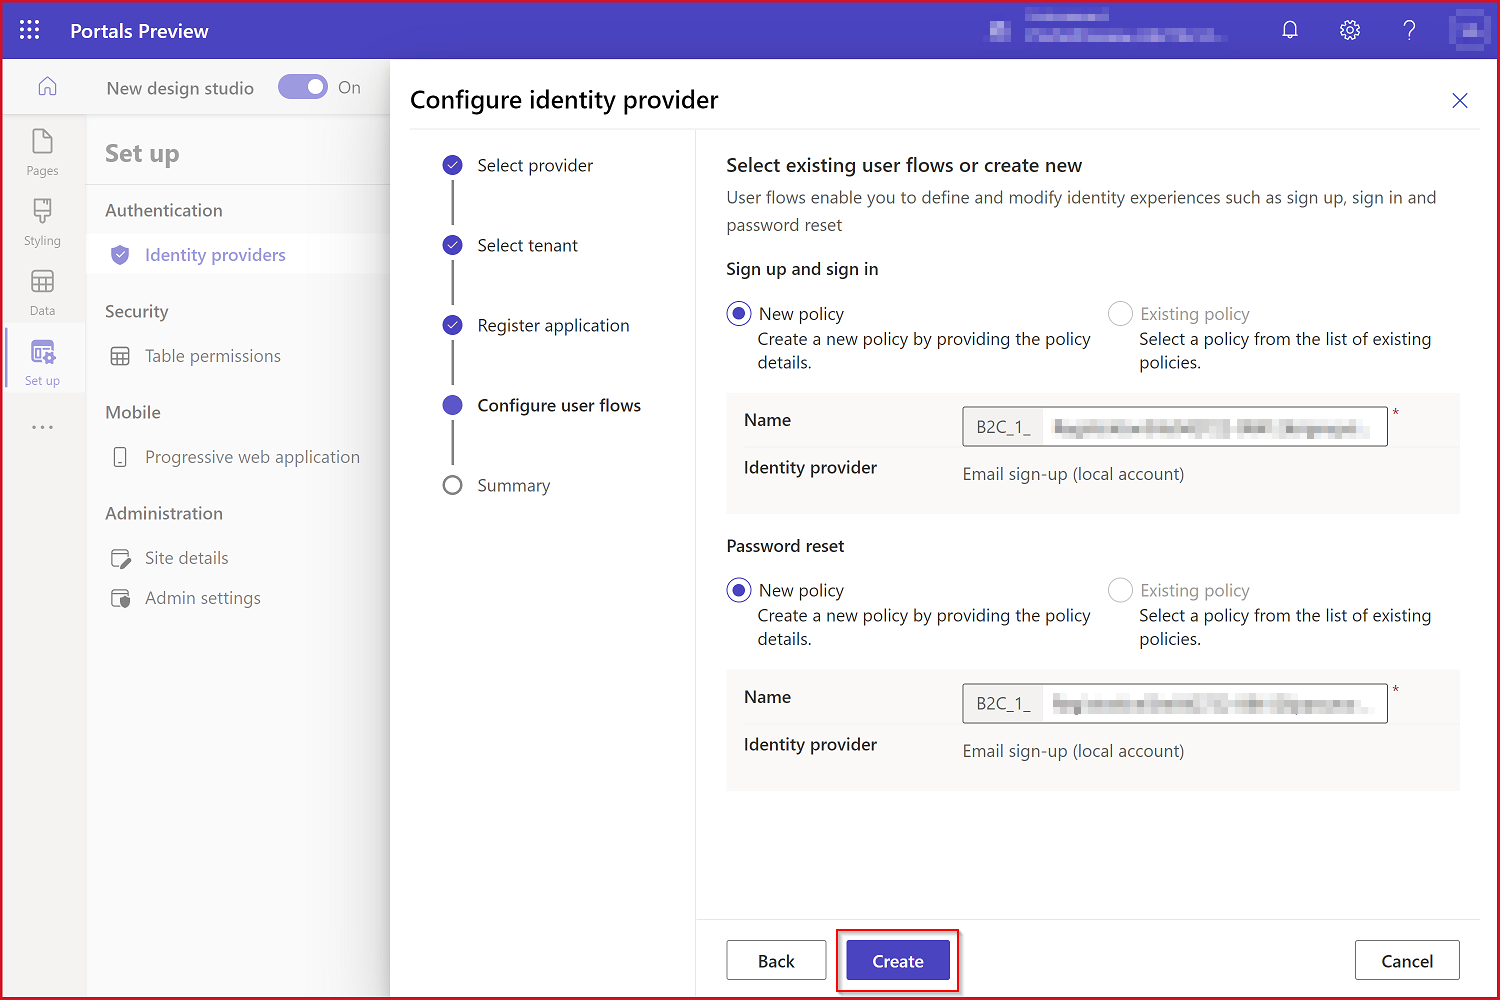
Select defaults (new policy) and then select Create.
Select Close.
Select the ellipses next to Local Sign In.
Choose Disable.
Now your users can sign in, register, or redeem an invitation to your site using Azure AD B2C.
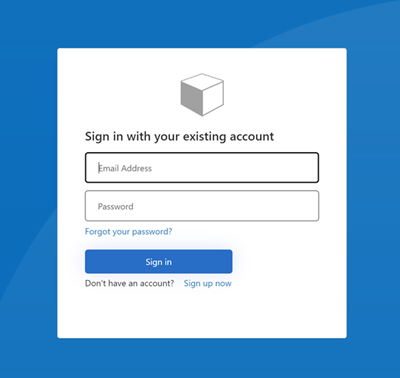
You can preview this functionality by visiting a portal and selecting Sign In, then select Azure AD B2C. The default Azure AD B2C sign-in screen will appear.
Next steps
Learn how to protect your pages using page permissions in the next tutorial