Assemble Views
Note
The following connector article is provided by Autodesk, the owner of this connector and a member of the Microsoft Power Query Connector Certification Program. If you have questions regarding the content of this article or have changes you would like to see made to this article, visit the Autodesk website and use the support channels there.
Summary
| Item | Description |
|---|---|
| Release State | General Availability |
| Products | Power BI (Semantic models) Power BI (Dataflows) Fabric (Dataflow Gen2) |
| Authentication Types Supported | Autodesk Account |
| Function Reference Documentation | — |
Prerequisites
To use the Assemble Views connector, you must have an Autodesk account with a username and password, and be a member of at least one project in Assemble.
You'll also need at least one view associated with the Assemble project.
Capabilities supported
- Import
Connect to Assemble Views from Power Query Desktop
To connect to Assemble data:
Select Assemble Views from the Get Data experience under the Online Services category, and then select Connect.
In Assemble Views, enter your site's URL to sign in. For example, use
https://example.tryassemble.com.a. (Optional) Select a date from which you want to load the data. Leaving this entry blank results in the latest data being pulled each time you refresh.
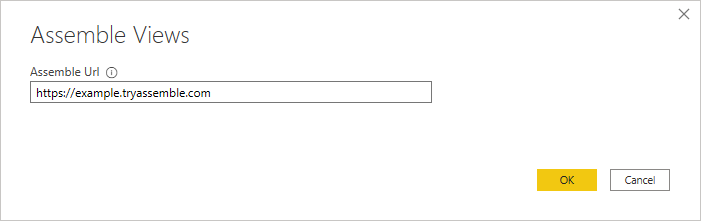
b. Once you've entered the URL, select OK to continue.
Select Sign in to sign in to your Autodesk account.

Once you've successfully signed in, select Connect.
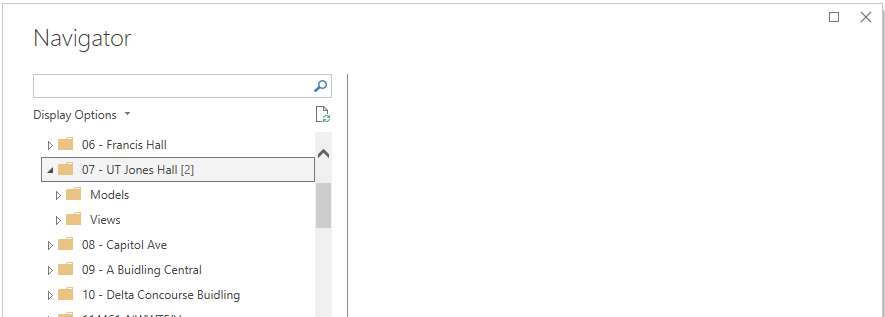
In the Navigator dialog box, search for and expand the project that you want to load. For each project, there's a folder for Models and Views.
Models (New!) - fetches select properties from any or all versions of a model.
Views - fetches all visible columns in a previously saved view.
Loading data from Models
Expand the Models folder. Select each of the models you want to include. The settings outlined in the following steps must be completed for each selected model.
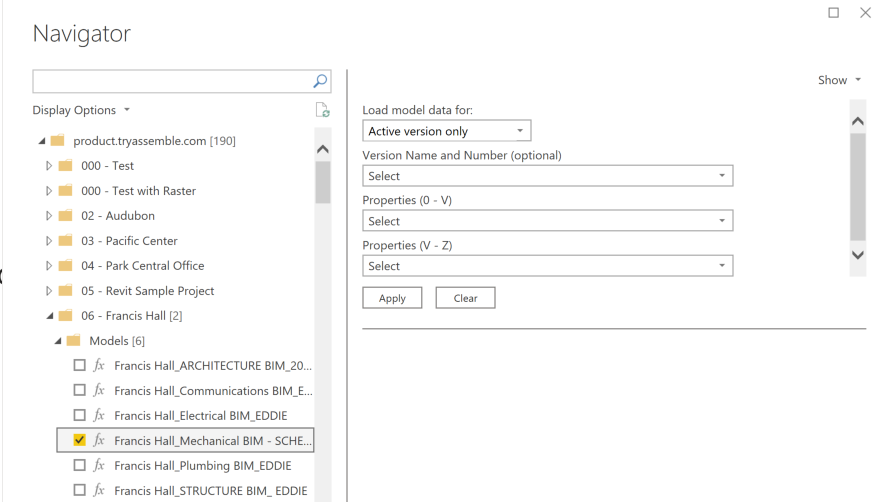
Select the versions you wish to load:
- Active version only: Loads only the active version of the model.
- All versions: Loads all versions of the model.
- All except active version: Loads all previous versions of the model without loading the active version (intended for advanced workflows when previous version data only needs to be loaded once and not included in a refresh).
- Specific versions: Loads all specific versions of the model that are selected (specific versions will be selected in the Version Name and Number drop down).
Select the properties you want to fetch by using the search filter or scrolling. By default, Model ID, Model Name, Version ID, Version Name, and Version Number will always be included in the result.
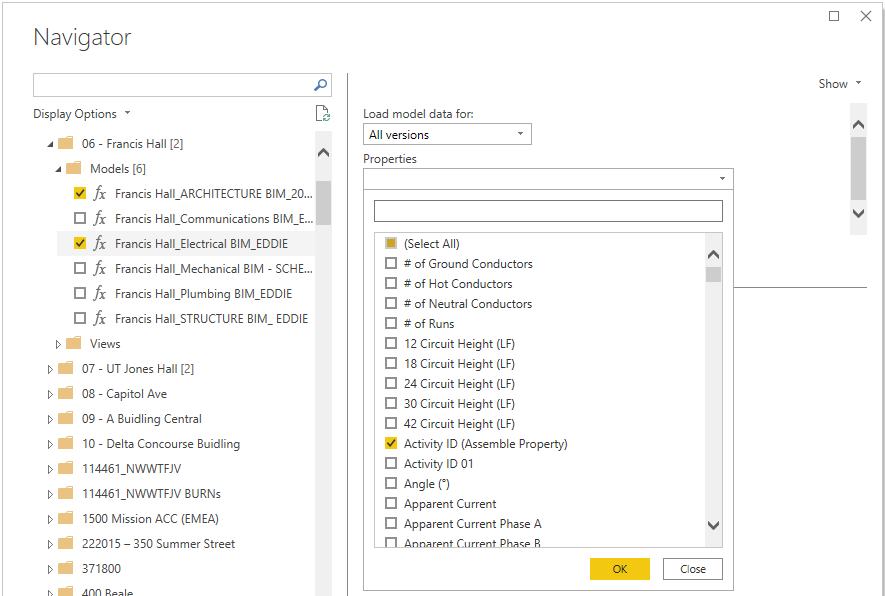
Note
When using the search bar, be sure to clear the selection and select all properties before selecting OK, or previous selections will be overwritten.
If using "Specific versions", select the versions you want to load in the Version Name and Number (optional) dropdown, then select Apply. Selections in this dropdown will be ignored if any of the other "Load model data" settings are selected.
Once the data preview has been displayed, you can either select Transform Data to go to the Power Query editor, or Load to go straight to the dashboard.
If you want to load multiple models at once, be sure to select Apply after setting up each model per the aforementioned steps.
Loading data from Views
Expand the Views folder. Select the view you want to include. Additionally select [Your Project] View Thumbnails if you want to include images in your report. Select Transform Data to continue to Power Query.
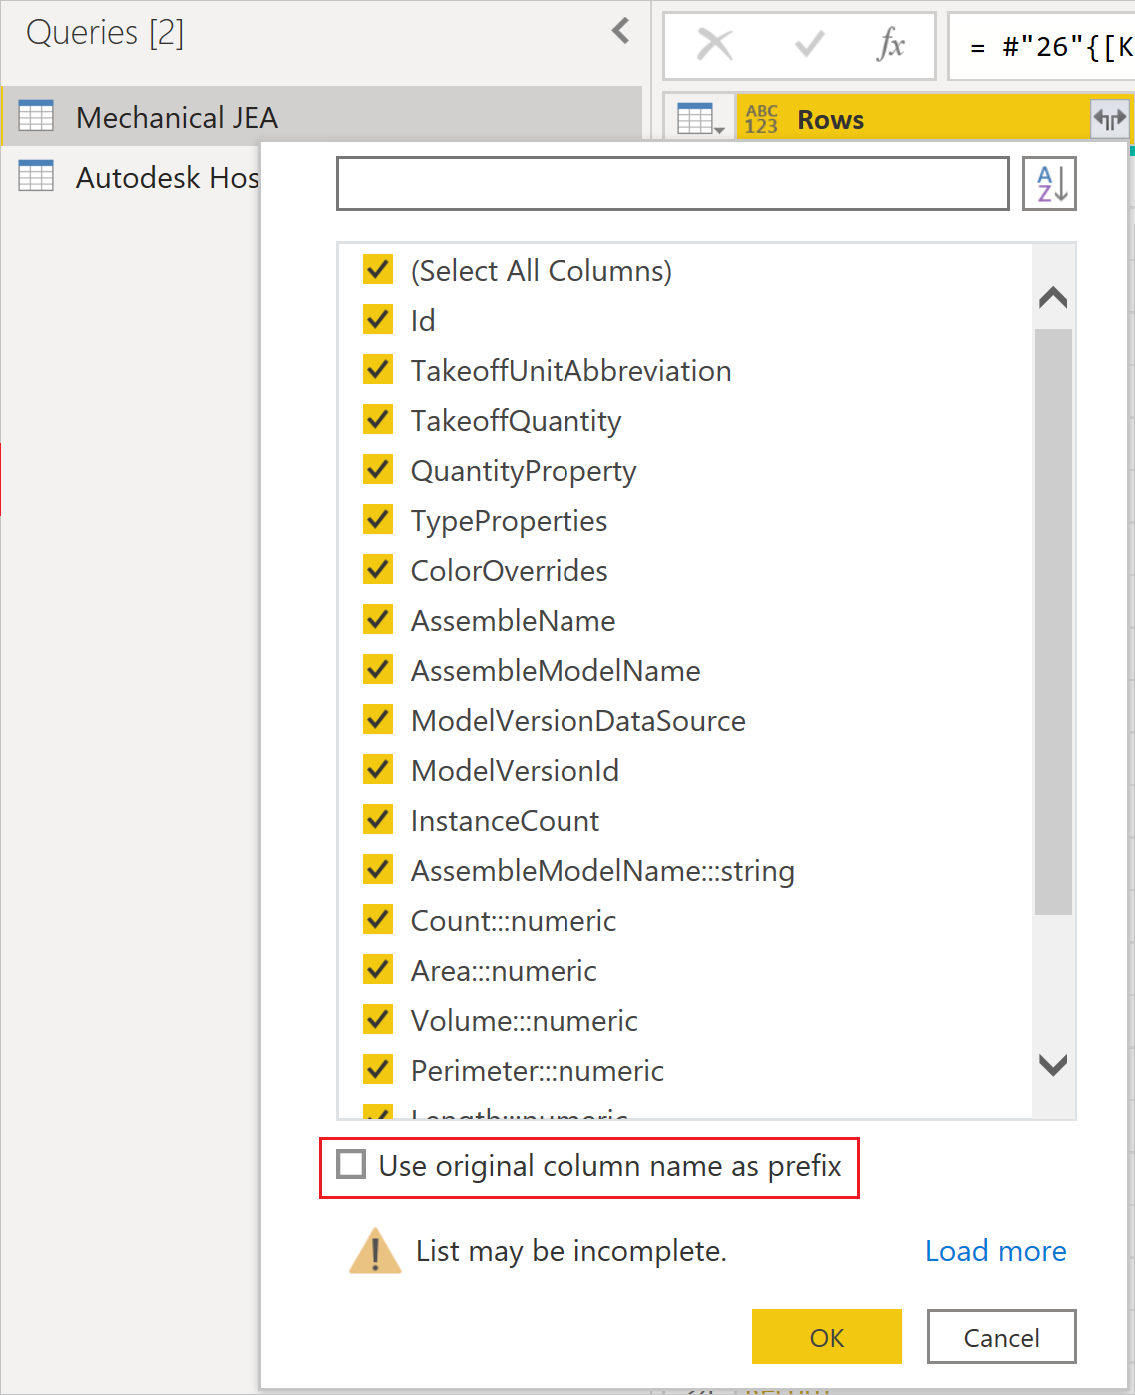
In Power Query, you'll see a single column named Rows. On the header of the column, select the button with two arrows pointing in opposite directions to expand your rows.

a. Uncheck Use original column name as prefix and select OK for each view data query you've selected.
b. Select Close & Apply to load the data sets.
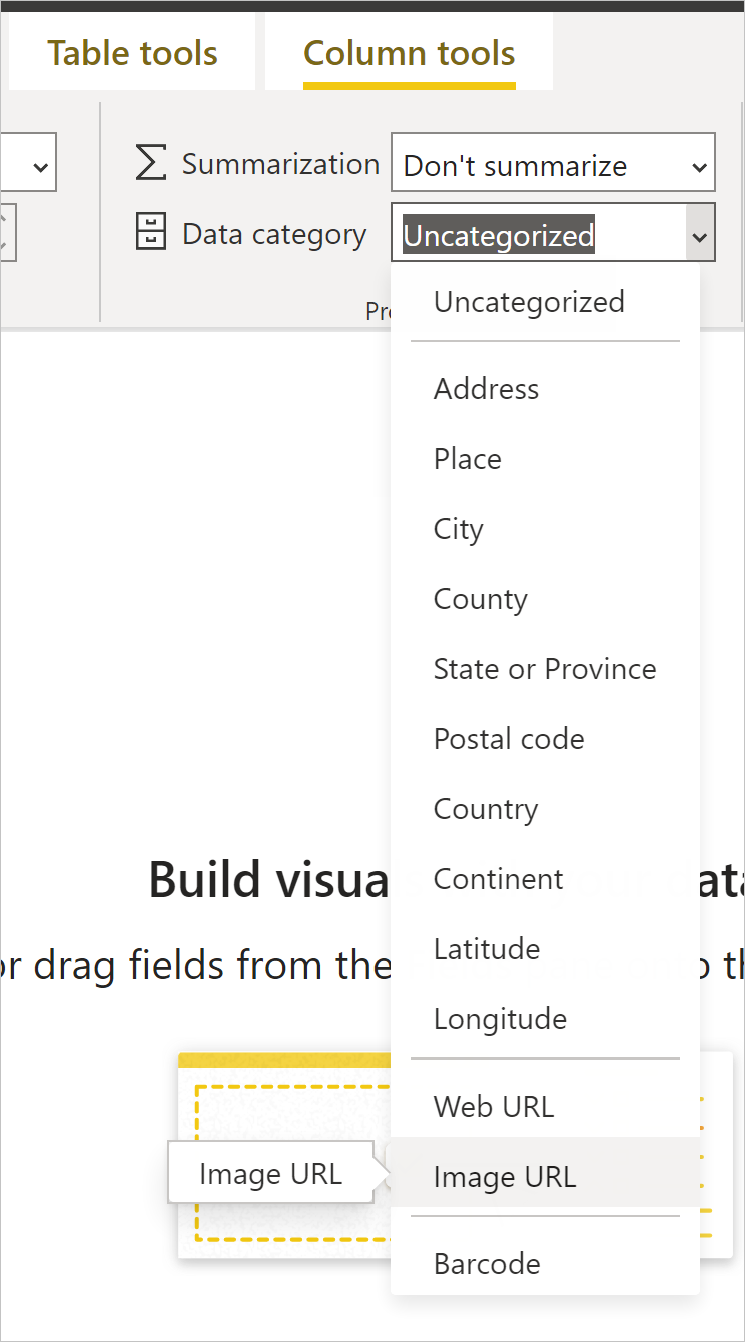
(Optional) If you have chosen to load images, you'll need to update the Data category for the image field.
a. Expand the [Your Project] View Thumbnails table, and then select the Image field. This selection opens the Column tools tab.
b. Open the Data category drop-down and select Image URL. You can now drag and drop the Image field into your report visuals.
Known issues and limitations
Views with greater than 100,000 rows may not load depending on the number of fields included in the view. To avoid this limitation, we suggest breaking large views into multiple smaller views and appending the queries in your report, or creating relationships in your data model.
The view images feature currently only supports thumbnail sized images because of a row size limitation in Power BI.
When creating a query using Models data, a maximum of 200 properties can be selected.
Feedback
Coming soon: Throughout 2024 we will be phasing out GitHub Issues as the feedback mechanism for content and replacing it with a new feedback system. For more information see: https://aka.ms/ContentUserFeedback.
Submit and view feedback for