Microsoft Exchange Online
Summary
| Item | Description |
|---|---|
| Release State | General Availability |
| Products | Excel Power BI (Semantic models) Power BI (Dataflows) Fabric (Dataflow Gen2) Power Apps (Dataflows) Dynamics 365 Customer Insights Analysis Services |
| Authentication Types Supported | Exchange account Microsoft account |
| Function Reference Documentation | Exchange.Contents |
Capabilities Supported
- Import
Connect to Microsoft Exchange Online from Power Query Desktop
Power Query Desktop includes Excel, Power BI (semantic models), and Analysis Services as experiences.
To make the connection to Microsoft Exchange Online, follow these steps:
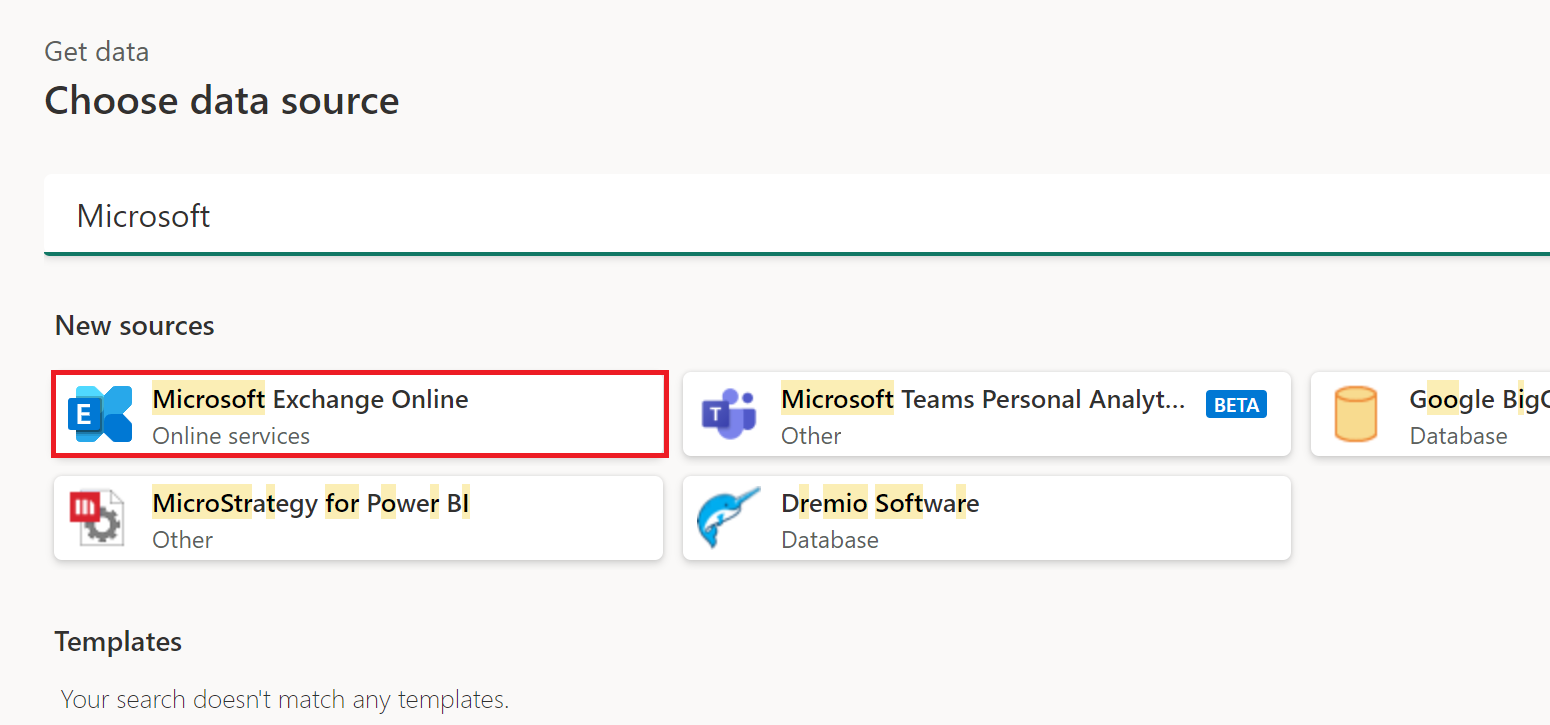
Select Microsoft Exchange Online in the get data experience. The get data experience in Power Query Desktop varies between apps. For more information about the Power Query Desktop get data experience for your app, go to Where to get data.
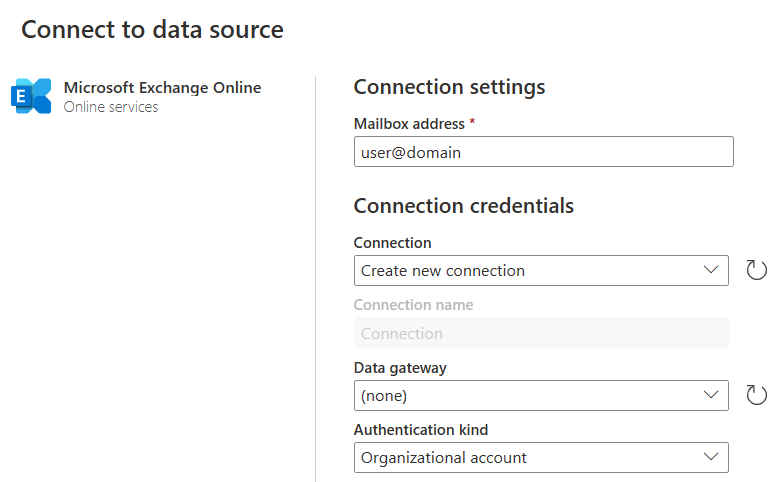
In the Microsoft Exchange Online window that appears, enter the mailbox address for the account you would like to access.
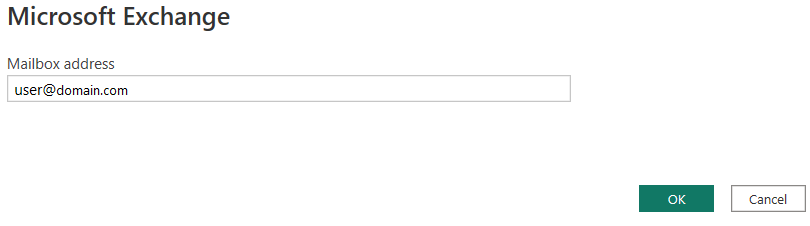
Select OK.
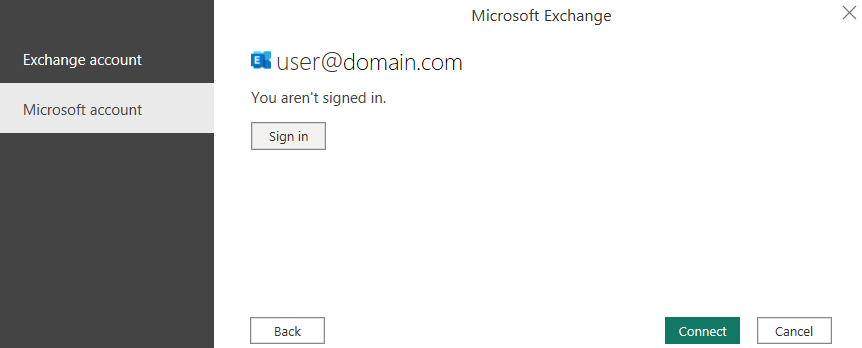
Choose either Exchange account sign in and provide your credentials, or Microsoft account and sign in.
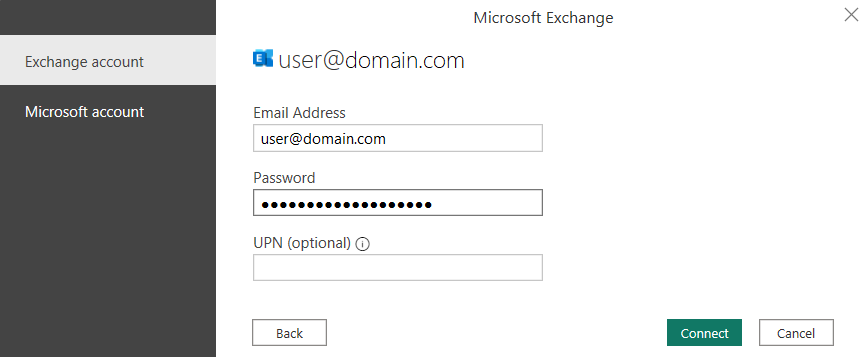
You can also use a User Principal Name (UPN). It looks similar to an email address. Typical format is user@domain_name.
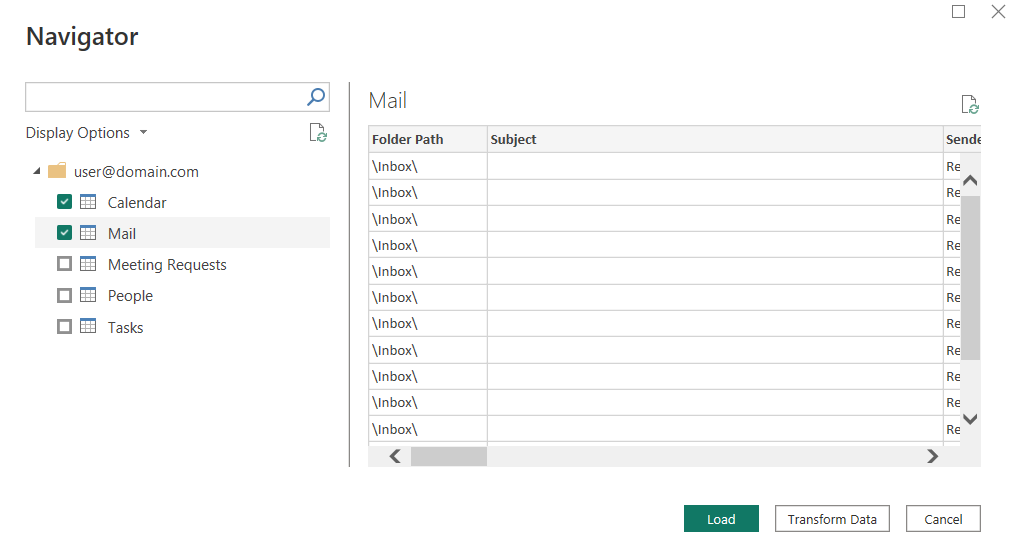
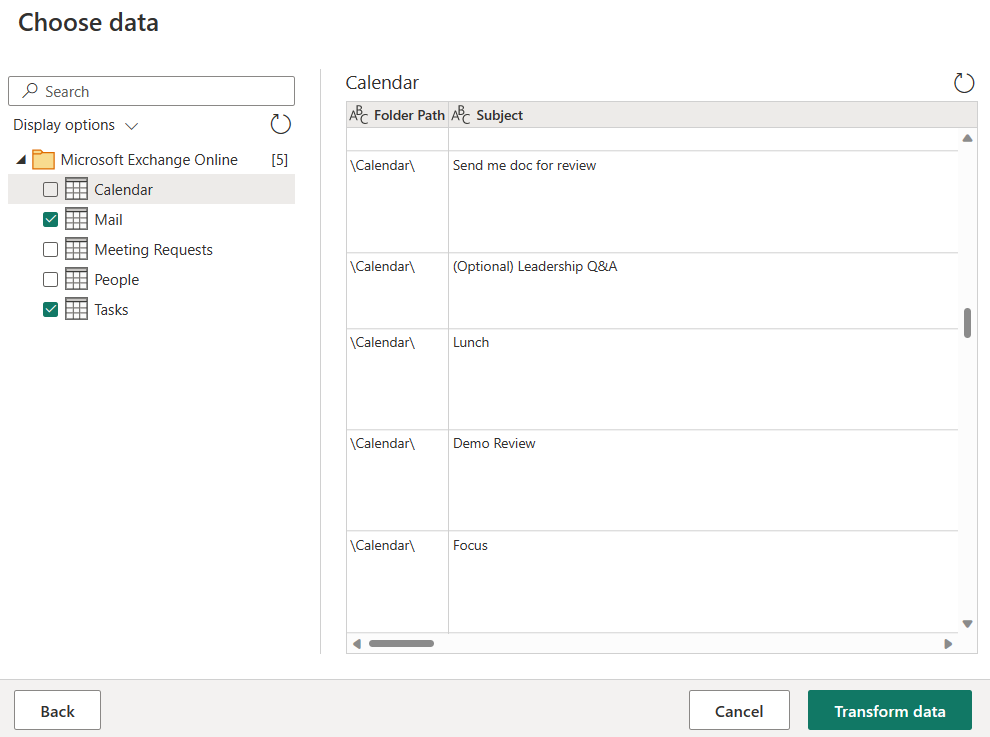
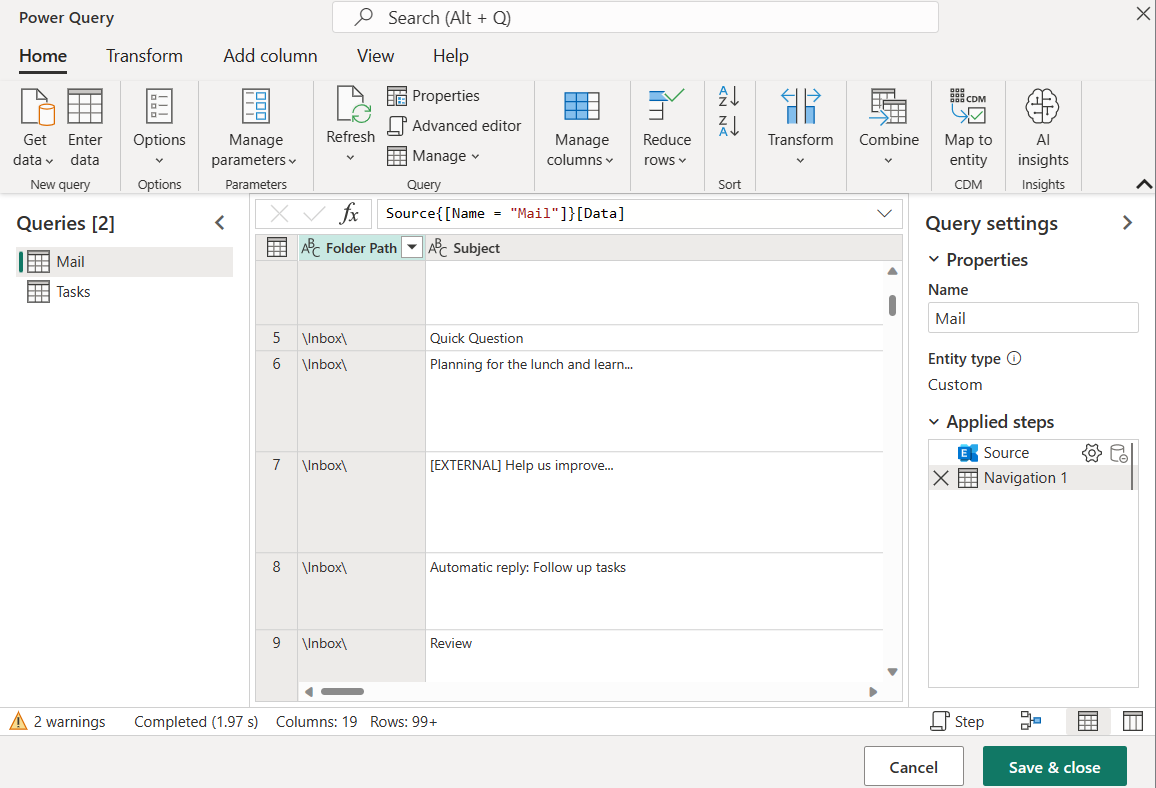
In Navigator, select the data to import and use in your application. Then select either Load to load the table, or Transform Data to open the Power Query Editor where you can filter and refine the set of data you want to use, and then load that refined set of data.
Connect to Microsoft Exchange Online from Power Query Online
Power Query Online includes Power BI (Dataflows) and Customer Insights (Dataflows) as experiences.
To make the connection, take the following steps:
Select the Microsoft Exchange Online option in the get data experience. Different apps have different ways of getting to the Power Query Online get data experience. For more information about how to get to the Power Query Online get data experience from your app, go to Where to get data.
Enter the mailbox address for the account you would like to access, and any other connection details if necessary. Select Next.
Select the tables to import, then select Transform Data.
If you'd like, you can filter and refine your data set in this window before loading. When you're ready, select Save & close.
Feedback
Coming soon: Throughout 2024 we will be phasing out GitHub Issues as the feedback mechanism for content and replacing it with a new feedback system. For more information see: https://aka.ms/ContentUserFeedback.
Submit and view feedback for