Zendesk (Beta)
Summary
| Item | Description |
|---|---|
| Release State | Beta |
| Products | Power BI (Semantic models) |
| Authentication Types Supported | Zendesk account |
Prerequisites
Before you can sign in to Zendesk, you must have a Zendesk account (username/password).
Capabilities Supported
- Import
Connect to Zendesk data
To connect to Zendesk data:
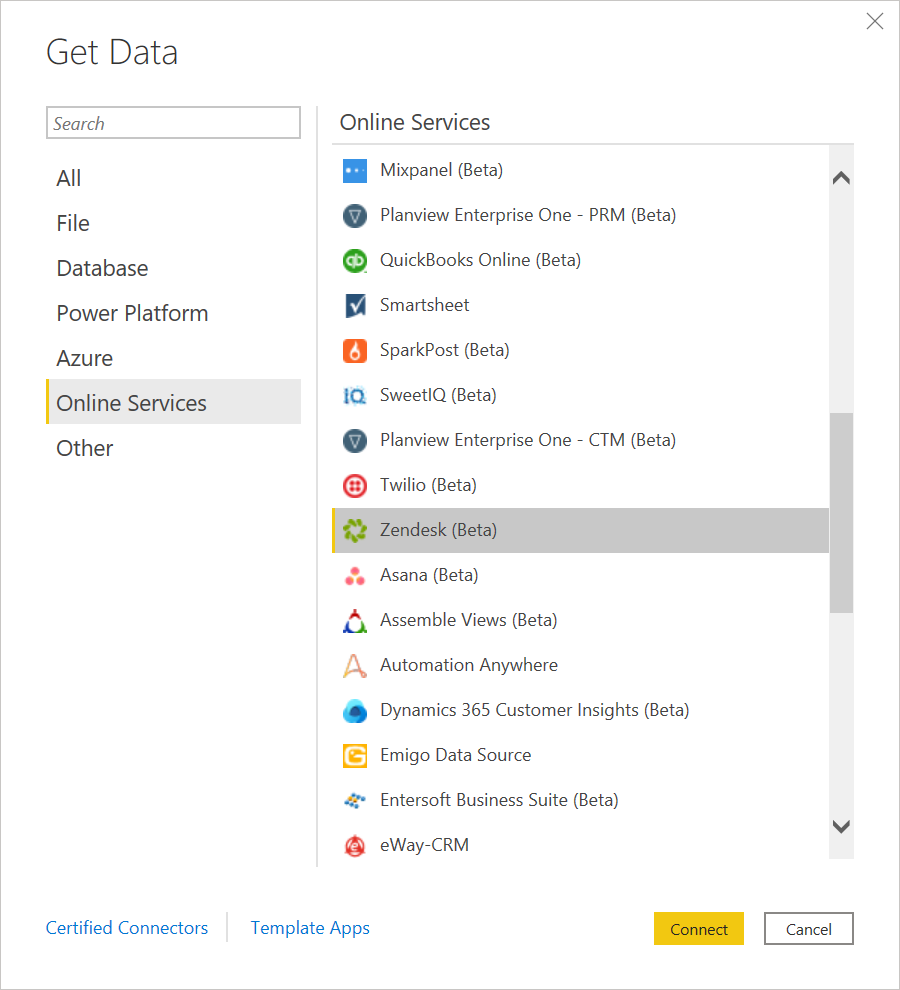
Select Get Data from the Home ribbon in Power BI Desktop. Select Online Services from the categories on the left, select Zendesk (Beta), and then select Connect.
If this is the first time you're getting data through the Zendesk connector, a preview connector notice will be displayed. Select Don't warn me again with this connector if you don't want this message to be displayed again, and then select Continue.
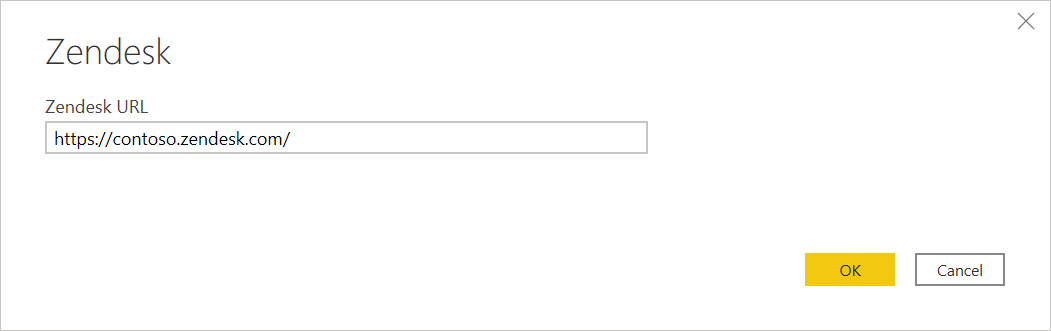
Enter the Zendesk URL location that you want to access, and the select OK.
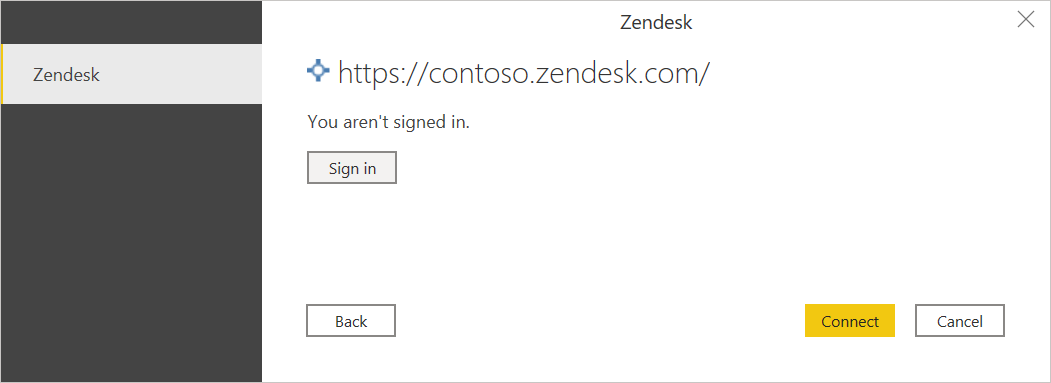
To sign in to your Zendesk account, select Sign in.
In the Zendesk window that appears, provide your credentials to sign in to your Zendesk account.
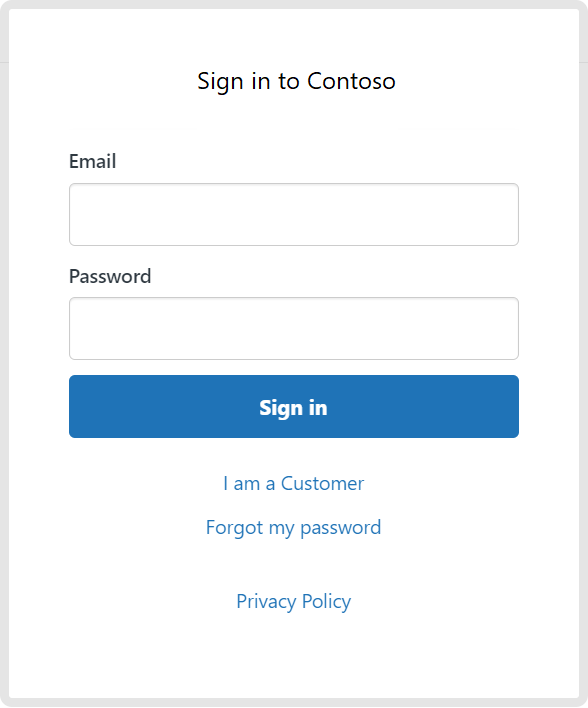
Select Sign in.
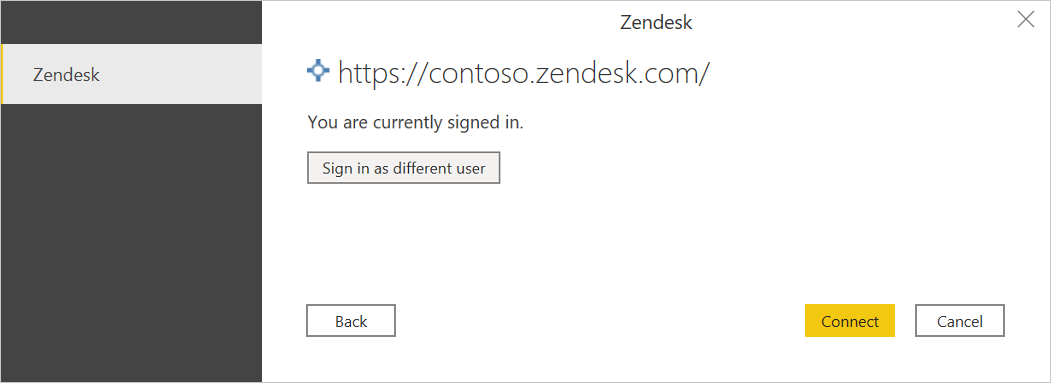
Once you've successfully signed in, select Connect.
In Navigator, select the information you want, then either select Load to load the data or Transform Data to continue transforming the data in Power Query Editor.
Limitations and issues
You should be aware of the following limitations and issues associated with accessing Zendesk data.
- Zendesk returns a 422 error status if the instance returns more than 1000 rows.
Feedback
Coming soon: Throughout 2024 we will be phasing out GitHub Issues as the feedback mechanism for content and replacing it with a new feedback system. For more information see: https://aka.ms/ContentUserFeedback.
Submit and view feedback for