Note
Access to this page requires authorization. You can try signing in or changing directories.
Access to this page requires authorization. You can try changing directories.
In this guide, you will learn how to launch a virtual device in the Android Emulator to debug and test your app.
The Android Emulator (installed as part of the Mobile development with .NET workload), can be run in a variety of configurations to simulate different Android devices. Each one of these configurations is created as a virtual device. In this guide, you will learn how to launch the emulator from Visual Studio and run your app in a virtual device. For information about configuring the Android Emulator and creating new virtual devices, see Android Emulator Setup.
Using a Pre-Configured Virtual Device
Visual Studio includes pre-configured virtual devices that appear in the device drop-down menu. For example, in the following Visual Studio 2017 screenshot, several pre-configured virtual devices are available:
VisualStudio_android-23_arm_phone
VisualStudio_android-23_arm_tablet
VisualStudio_android-23_x86_phone
VisualStudio_android-23_x86_tablet
Typically, you would select the VisualStudio_android-23_x86_phone virtual device to test and debug a phone app. If one of these pre-configured virtual devices meets your requirements (i.e., matches your app's target API level), skip to Launching the Emulator to begin running your app in the emulator. (If you are not yet familiar with Android API levels, see Understanding Android API Levels.)
If your Xamarin.Android project is using a Target Framework level that is incompatible with the available virtual devices, the drop-down menu lists the unusable virtual devices under Unsupported Devices. For example, the following project has a Target Framework set to Android 7.1 Nougat (API 25), which is incompatible with the Android 6.0 virtual devices that are listed in this example:
You can click Change Minimum Android Target to change the project's Minimum Android Version so that it matches the API level of the available virtual devices. Alternately, you can use the Android Device Manager to create new virtual devices that support your target API level. Before you can configure virtual devices for a new API level, you must first install the corresponding system images for that API level (see Setting up the Android SDK for Xamarin.Android).
Editing Virtual Devices
To modify virtual devices (or to create new ones), you must use the Android Device Manager.
Launching the Emulator
Near the top of Visual Studio, there is a drop-down menu that can be used to select Debug or Release mode. Choosing Debug causes the debugger to attach to the application process running inside the emulator after the app starts. Choosing Release mode disables the debugger (however, you can still run the app and use log statements for debug). After you have chosen a virtual device from the device drop-down menu, select either Debug or Release mode, then click the Play button to run the application:
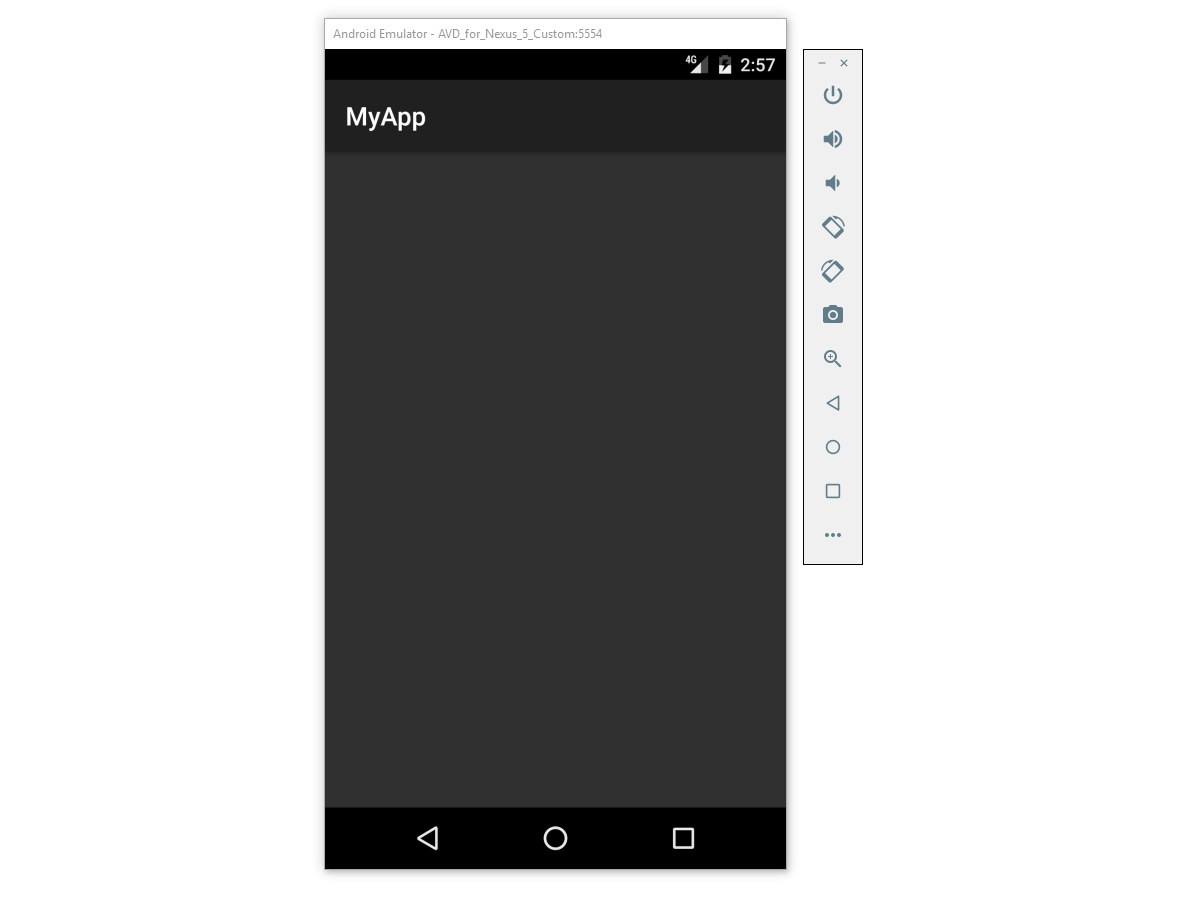
After the emulator starts, Xamarin.Android will deploy the app to the emulator. The emulator runs the app with the configured virtual device image. An example screenshot of the Android Emulator is displayed below. In this example, the emulator is running a blank app called MyApp:

The emulator may be left running: it is not necessary to shut it down and wait for it to restart each time the app is launched. The first time a Xamarin.Android app is run in the emulator, the Xamarin.Android shared runtime for the targeted API level is installed, followed by the application. The runtime installation may take a few moments, so please be patient. Installation of the runtime takes place only when the first Xamarin.Android app is deployed to the emulator – subsequent deployments are faster because only the app is copied to the emulator.
Quick Boot
Newer versions of the Android Emulator include a feature called Quick Boot that launches the emulator in only a few seconds. When you close the emulator, it takes a snapshot of the virtual device state so that it can be quickly restored from that state when it is restarted. To access this feature, you will need the following:
- Android Emulator version 27.0.2 or later
- Android SDK Tools version 26.1.1 or later
When the above-listed versions of the emulator and SDK tools are installed, the Quick Boot feature is enabled by default.
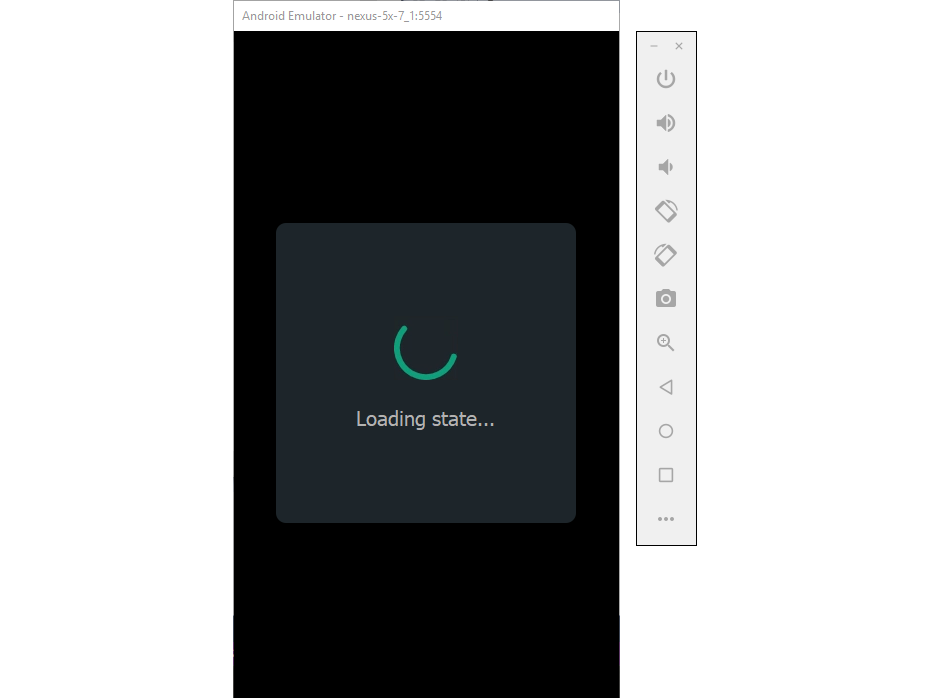
The first cold boot of the virtual device takes place without a speed improvement because a snapshot has not yet been created:

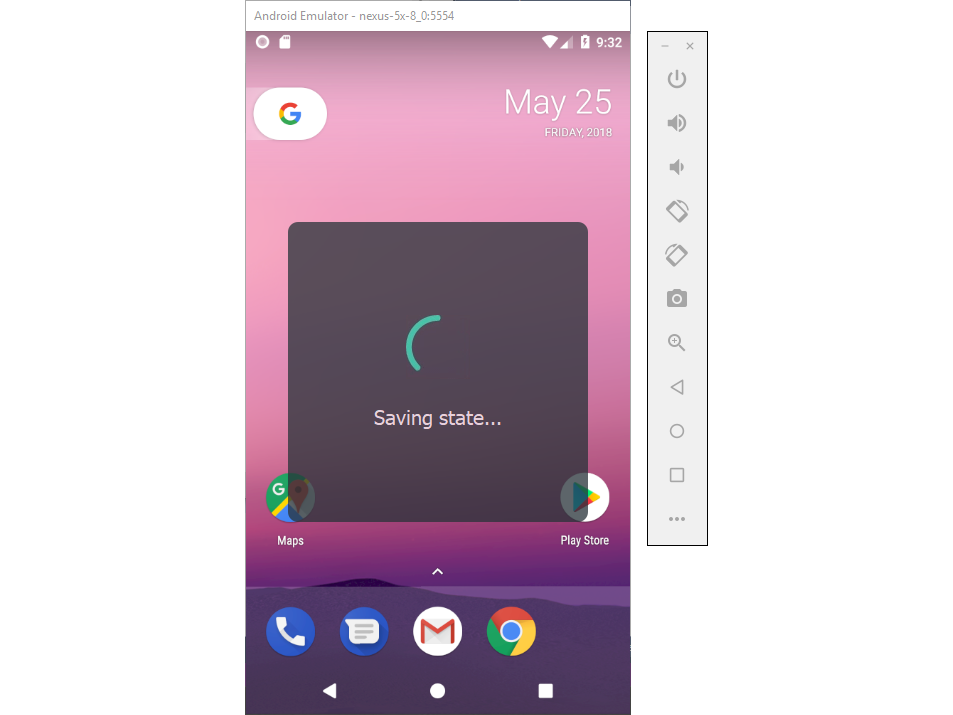
When you exit out of the emulator, Quick Boot saves the state of the emulator in a snapshot:

Subsequent virtual device starts are much faster because the emulator simply restores the state at which you closed the emulator.

Troubleshooting
For tips and workarounds for common emulator problems, see Android Emulator Troubleshooting.
Summary
This guide explained the process for configuring the Android Emulator to run and test Xamarin.Android apps. It described the steps for launching the emulator using pre-configured virtual devices, and it provided the steps for deploying an application to the emulator from Visual Studio.
For more information about using the Android Emulator, see the following Android Developer topics:


