Exercise - Create the invoice Processing Model
Follow these steps to modify existing forms and views associated with the Showing and Real Estate Property tables.
Sign in to AI Builder
Follow these steps to sign in to AI Builder:
Go to Power Automate and sign in with your organizational account.
In the left navigation pane, select AI Hub, then AI Models. If you don't see the option for AI Hub, select the More option and you should be able to find AI Hub in the popup.
Select AI Models, then select Extract customer information from documents.
Select Create custom model.
On the Select the type of document your model will process screen, select Fixed template documents, and choose Next.
On the Chosen information to extract screen, select the Add button.
On the Added screen, select Text field, then select Next.
Set the Name field to Account, select Done.
Repeat Steps 6 – 8 to add the following fields.
Field name Type StreetAddress Text Field State Text Field PostalCode Text Field InvoiceNum Text Field Select the drop-down arrow next to Add and choose Date Field.
Set the Name field InvoiceDate, and the Format to Year, Month, Day.
Select the Done button.
Select the Added drop-down again and choose Number Field.
Set the Name field to InvoiceNum, and the Format to Use.dot(.) as decimal separator.
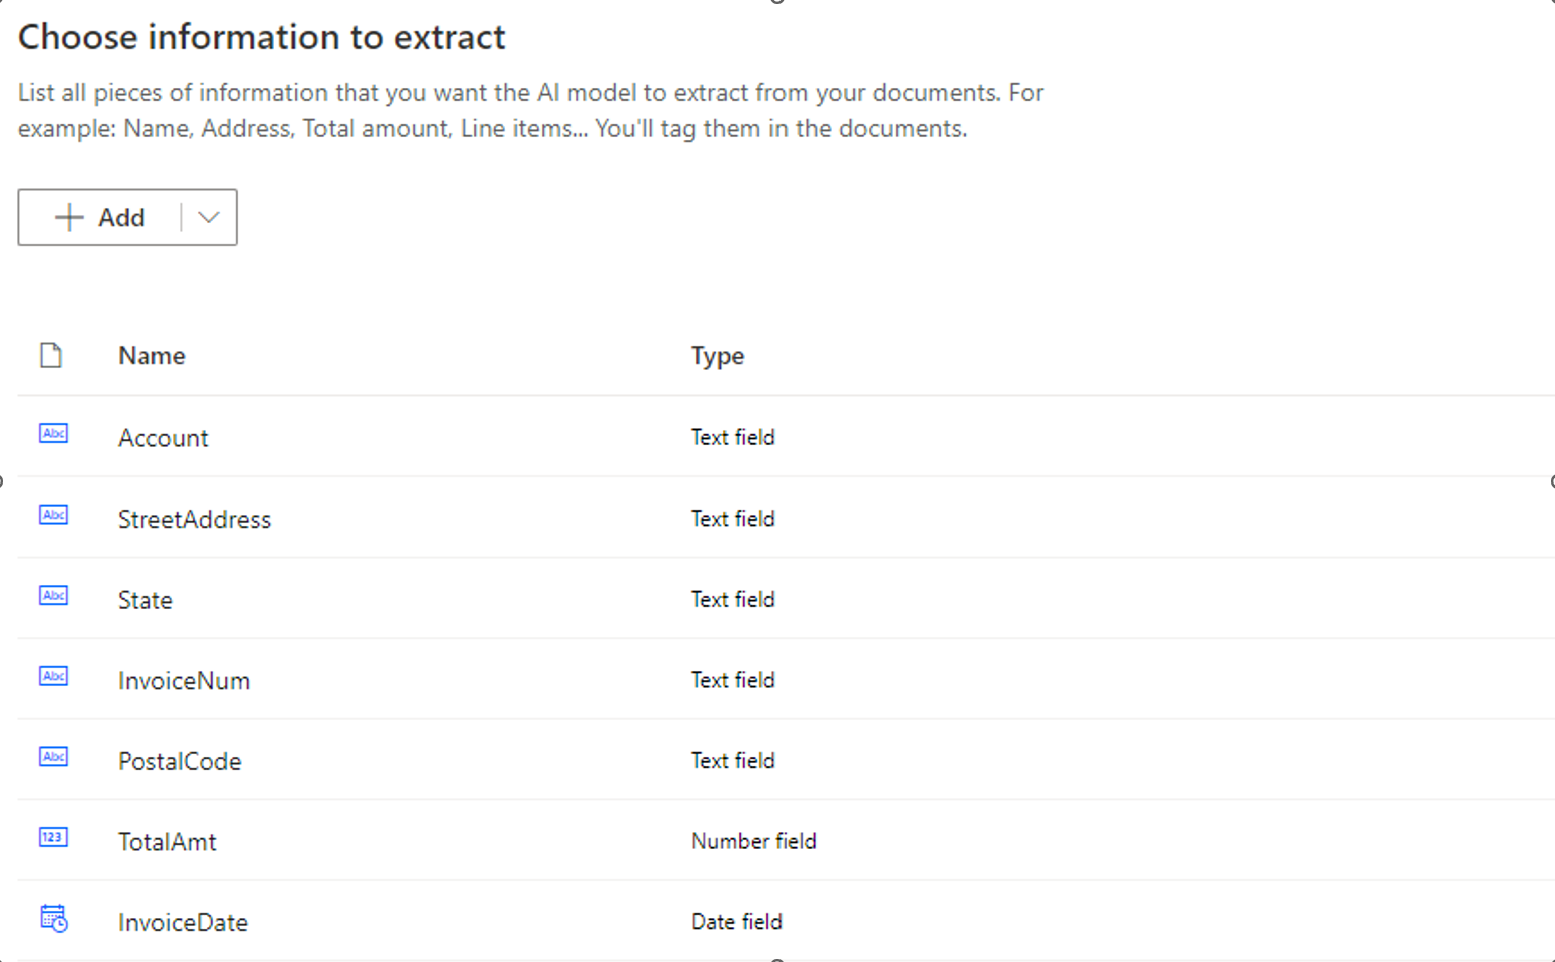
Your fields should resemble the image below:
Select the Add drop-down menu, and from the menu that appears, select Table.
Set the name of the table to LineItems,
Select Column 1, choose Edit Column.
Change the Name to Qty and the Type to Number.
Select Confirm.
Select the New column button.
Set the Name to Description, the Type to Text, and select Add.
Select the New column button again.
Set the Name to Unit Price, the Type to Number, and select Add.
Select the New column button again.
Set the Name to Line Total, the Type to Number, and select Add.
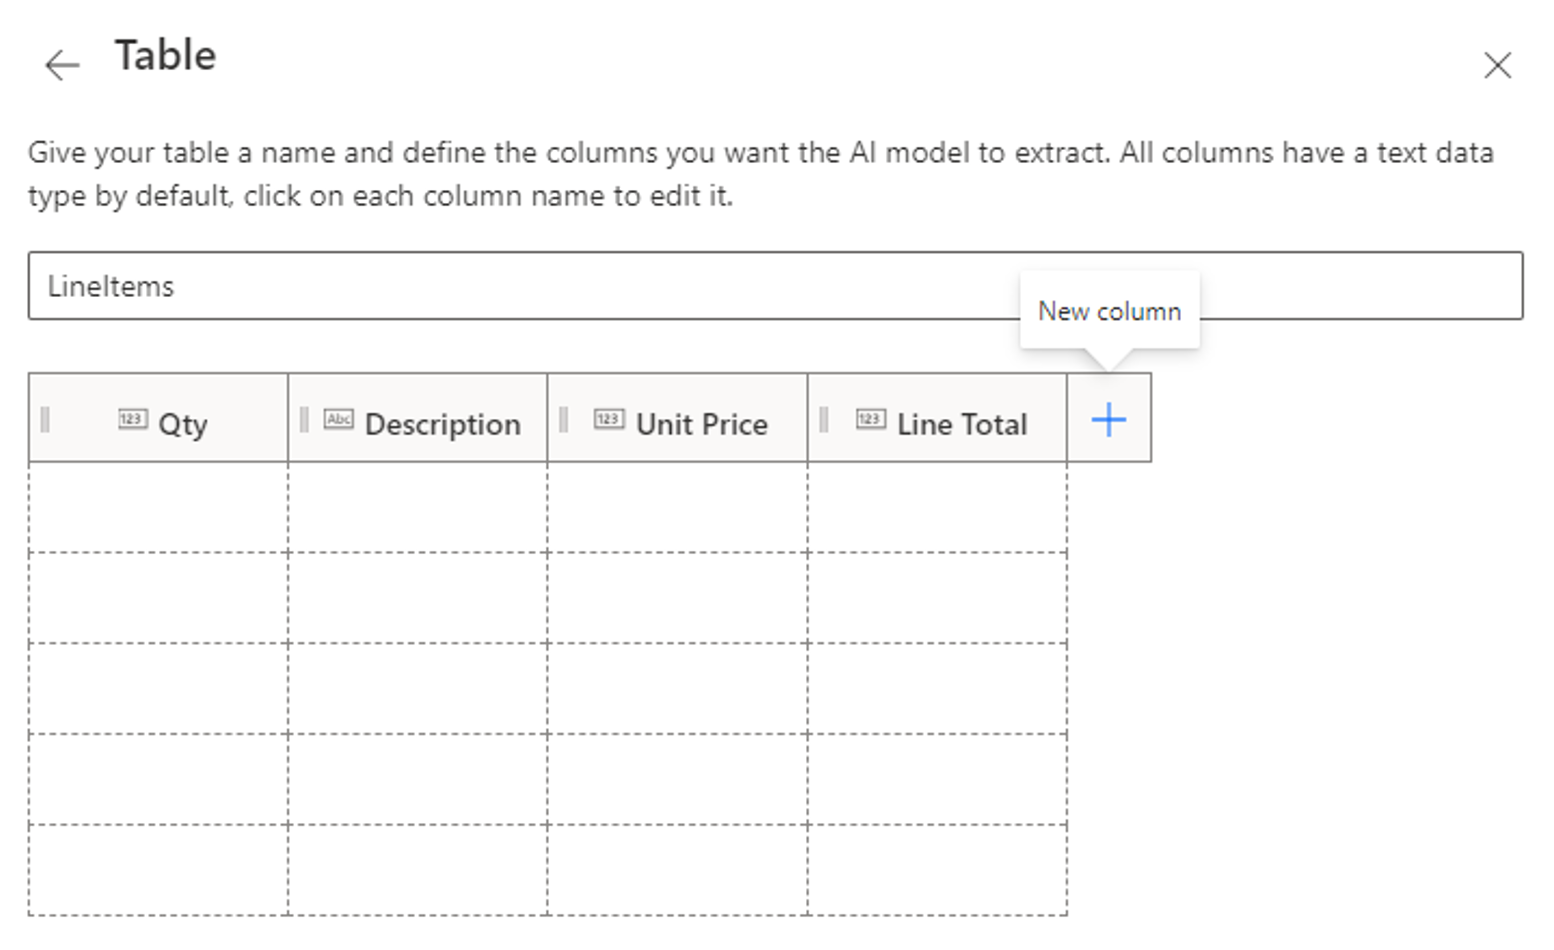
Your completed table should resemble the Image below:
Select the Done button.
Select the Next button.
Next, we'll define the documents that will be used to train the model.
On the Added collections of documents screen, select the New collection button.
Select the + on Collection 1.
Select Add Documents.
Select My Device.
Go to where you downloaded the files for this exercise.
Open the Train folder and select the all the documents in the folder, select Open.
Select the Upload 5 documents button.
Once all files are uploaded, select Done.
Select the Next button.
On the Tag documents screen, drag a rectangle around the text Adatum Corporation.
From the list of Tags that appear, select b.
Repeat steps 37 & 38 for the items below.
Text Tag 234 France Ave StreetAdress WA State 76328 PostaCode 1783 (or similar) InvoiceNum Oct 23, 2016 InvoiceDate 90.20 (Next to Total:) Total Amt Drag to select the entire table, from the menu that appears, select the LineItems tag.
If a wizard appears, to help walk you through selecting the table, select the X to close it.
Click under the text at the top of the table to make that a row.
Click under the Solar heater mat row to make it a row.
Click under the Water clarifier row to note that as a row as well.
Hold Ctrl and click to the right of QUANTITY to make it a row.
Repeat the process after DESCRIPTION, UNIT PRICE, and LINE TOTAL.
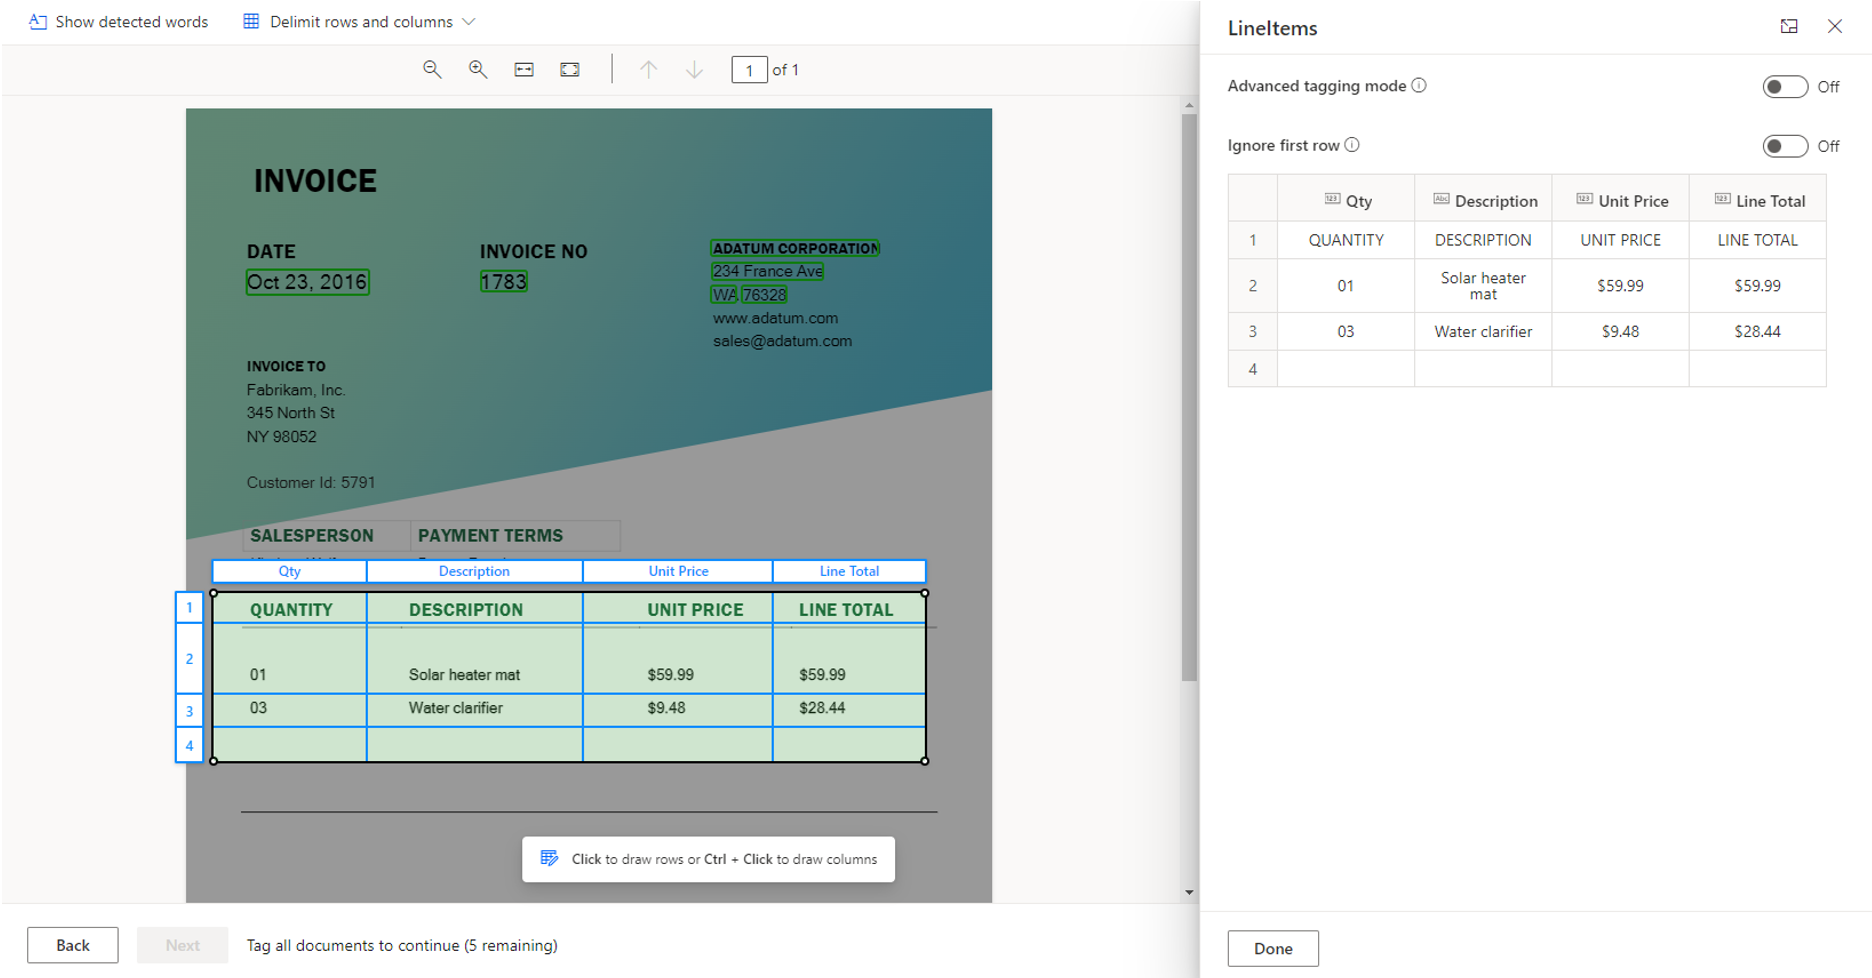
Your selected table will resemble the image below:

Select the A above the text QUANTITY and select the Qty tag.
Repeat the process for DESCRIPTION, UNIT PRICE, and LINE TOTAL.
Your completed tagged document will resemble the image below:
Select the Done Button.
Note
You'll know that you have tagged all fields once the document has a check mark on it.
Repeat steps 37 through 49 for each of the documents in the collection.
Once your screen looks like the image below, select the Next button.

Change the name of your model to Invoice Processor.
On the model summary screen, select the Train button.
Note
It can take a while for the model to train. While it's training, you can select the Go to models button.
Once the model has completed training, select the Publish button to make it available to consume.