Manage keywords
Keywords make it easier for you to find images quickly. Each time that you upload a new image, you're offered a chance to apply a keyword to it.
To help keep your keywords under control, Dynamics 365 requires you to establish a list of specific keywords that users can apply to their files. Therefore, users must select keywords from a list rather than enter free text. This requirement helps prevent users from applying competing phrases and helps prevent typos.
To view, edit, or create a new keyword, go to Outbound marketing > Marketing content > Keywords.
Important
If you edit an existing keyword, all existing files that use it will show the new value from now on. If you delete a keyword, it is simply removed from all files that use it. Use caution when editing or deleting keywords.
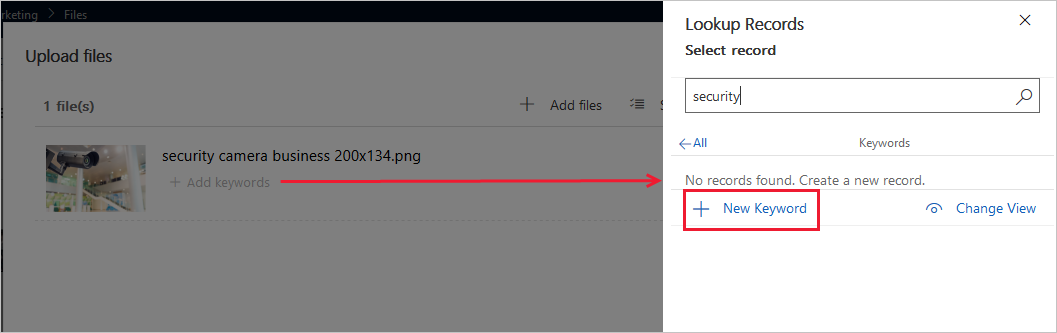
To create a new keyword when you are uploading a new image, select + Add keywords under the image name. Search to find out if the keyword already exists; if not, select + New Keyword, enter a Name for the new keyword, and then select Save & Close.
You can also add or remove keywords from existing images. Go to Outbound marketing > Marketing content > Files. Select the file name. In the Keywords section, select the expansion (...) next to the magnifying glass and then select Add Existing Keyword. Add keywords as needed.

For more information, see Establish keywords.