Exercise - Interact with SPFx client-side web parts in modern sites
- 10 minutes
In this exercise, you'll add and interact with SharePoint Framework-based client-side web parts in a SharePoint Online modern site collection.
Open a browser and navigate to the developer site you created in the first exercise. If prompted, sign in using your Work or School credentials.
Select the Pages link in the left-hand Quick Launch navigation menu.
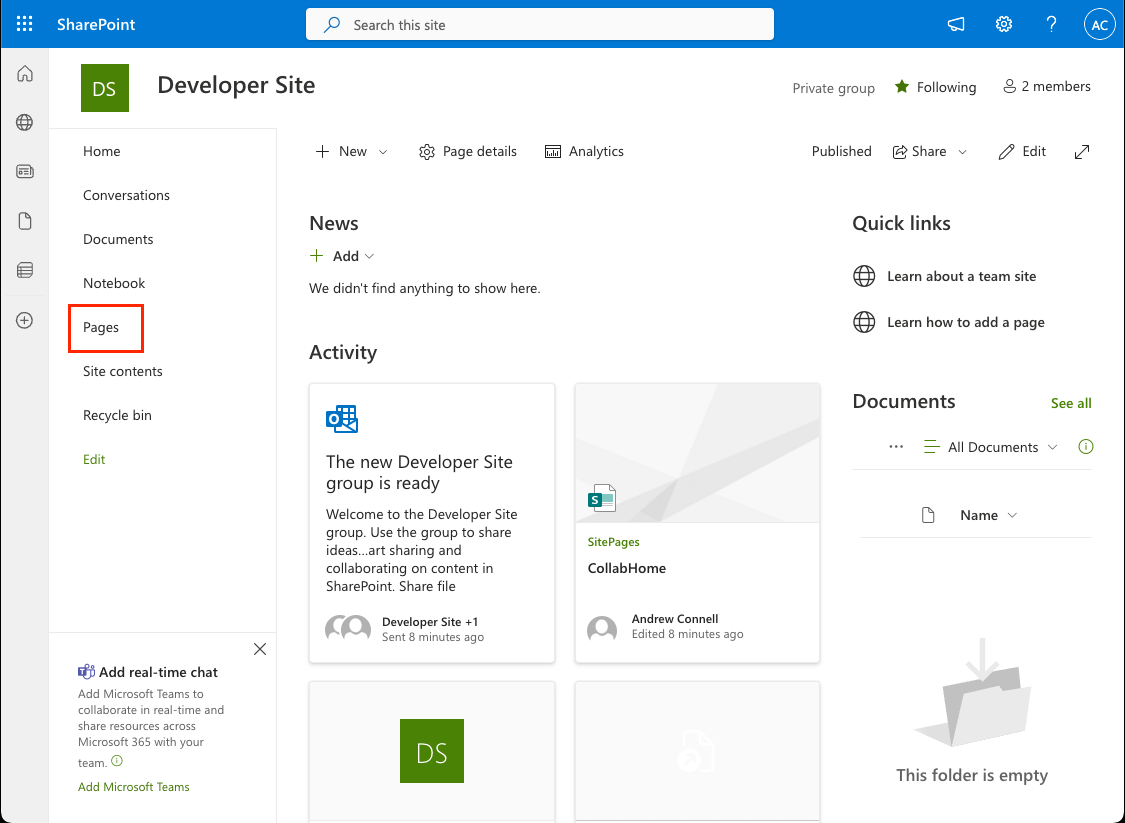
In the Pages library, select the New button from the toolbar and select Page to create a new page.
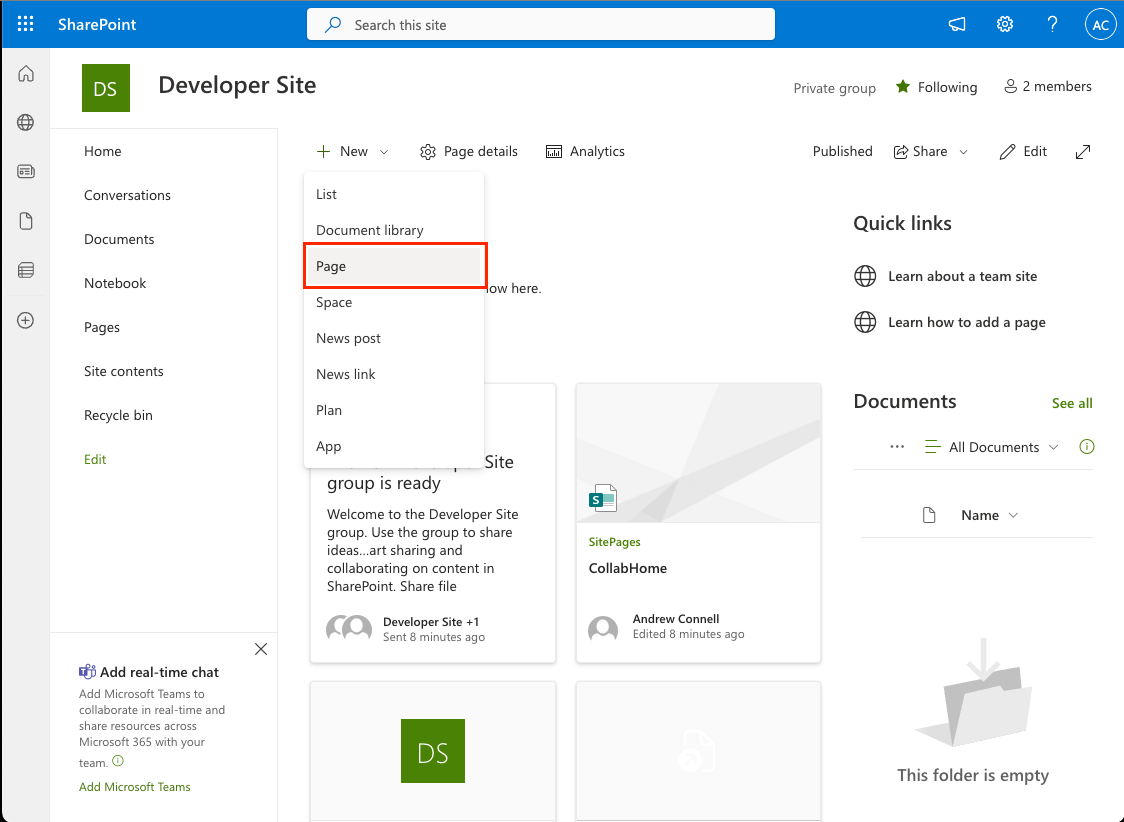
If prompted with a Welcome! panel, select I've done this before and then select Let's go.
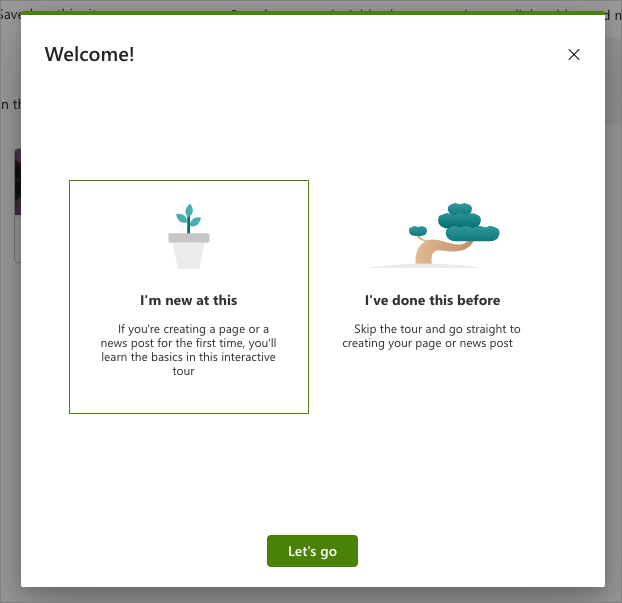
If prompted with a Let's get started! panel, select Let's go.
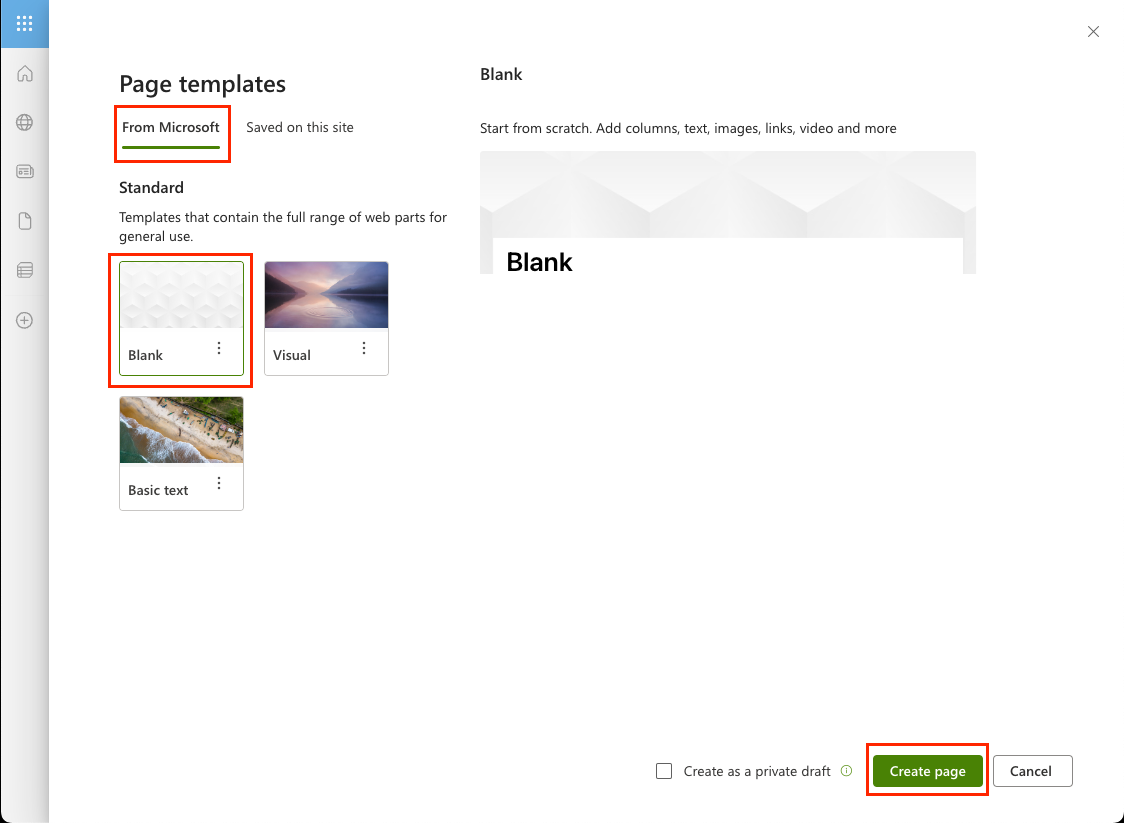
On the Page templates panel, select From Microsoft and then select the Blank template from the Standard group. Finally, select Create page.
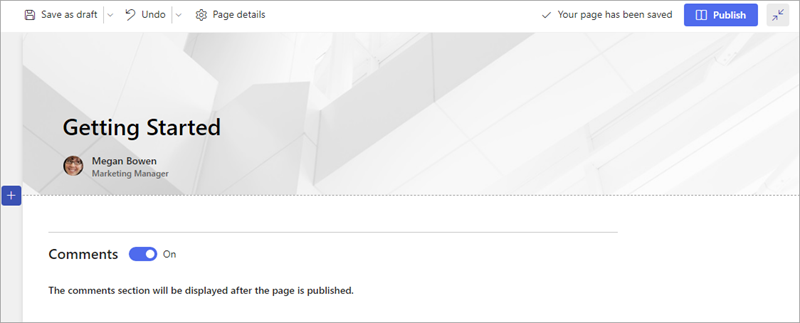
Set the name of the page to Getting Started.
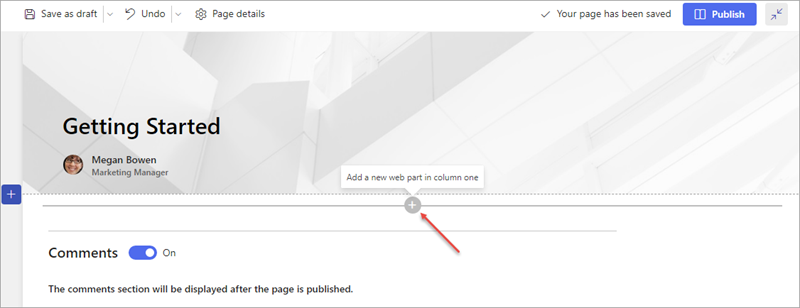
Select the web part icon button to open the list of available web parts.
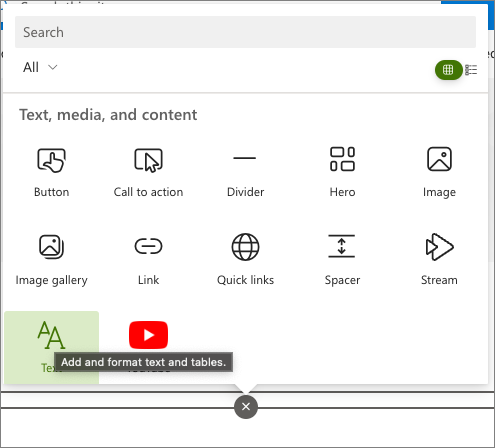
Select the web part Text.
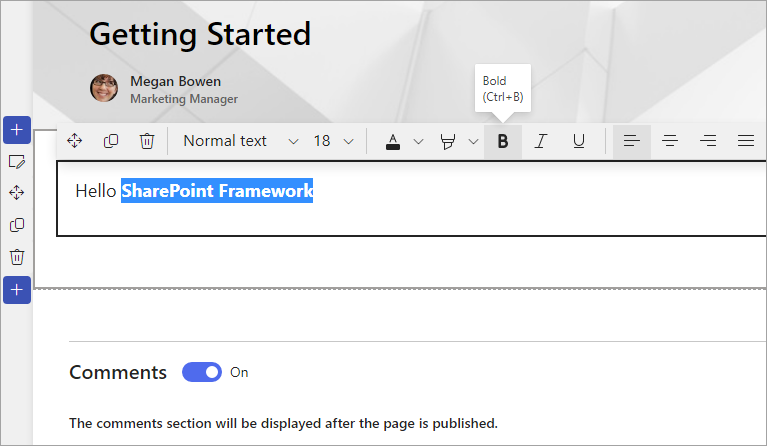
When the web part is added to the page, add some text and use the rich-text formatting tools provided in the toolbar.
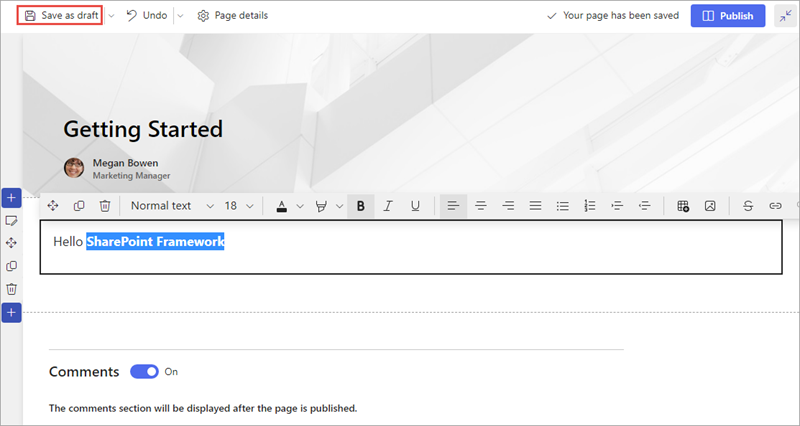
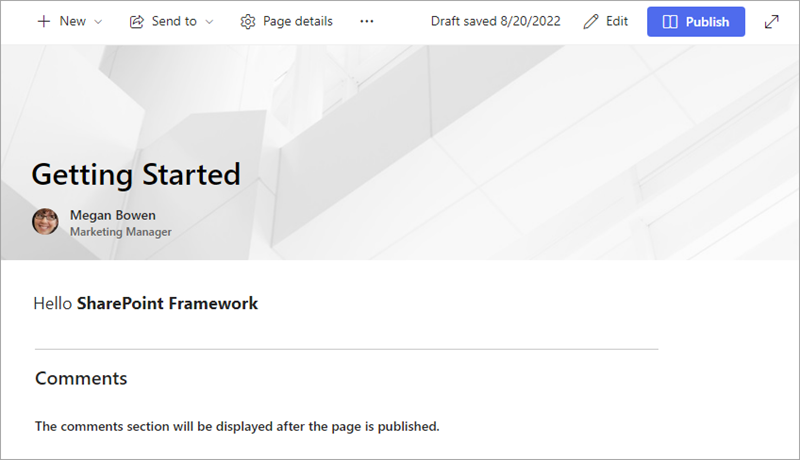
Select Save as draft to see the page as your users will see it.
Verify your developer environment is properly configured
Note
The following instructions assume you're using v1.23.0 of the SharePoint Framework Yeoman generator. For more information on the use of the SharePoint Framework Yeoman generator, see Yeoman generator for the SharePoint Framework
Use the tools installed in the second exercise to create a new SharePoint Framework component and test it using the SharePoint Online hosted workbench.
Open a command prompt and change to an empty folder where you want to store the files for the project.
Run the SharePoint Framework Yeoman generator by executing the following command:
yo @microsoft/sharepoint
Use the following to complete the prompt that is displayed:
- What is your solution name?: HelloWorld
- Which type of client-side component to create?: WebPart
- What is your Web part name?: HelloWorld
- Which template would you like to use?: No framework
After provisioning the folders required for the project, the generator will install all the dependency packages using npm.
When npm completes downloading all dependencies, install the developer certificate by executing the following command:
heft trust-dev-cert
Run the project by executing the following command:
heft start --nobrowser
The SharePoint Framework's Heft start task with the nobrowser switch will build the project and start a local web server.
Wait for the reload subtask to finish executing. At this point, the web part will be ready for testing.
➜ heft start --nobrowser

Starting incremental build...
 ---- build started ----
[build:set-browserslist-ignore-old-data-env-var] Setting environment variable BROWSERSLIST_IGNORE_OLD_DATA=1
[build:copy-javascript] All requested file copy operations are up to date. Nothing to do.
[build:sass] Generating sass typings...
[build:sass] Generated sass typings
[build:typescript] Using TypeScript version 5.8.3
[build:typescript] Starting compilation in watch mode...
[build:typescript] Found 0 errors. Watching for file changes.
[build:typescript] All requested file copy operations are up to date. Nothing to do.
[build:lint] Linting isn't currently supported in watch mode
[build:configure-webpack-serve] Skipping browser launch due to `--nobrowser` flag.
[build:webpack] Using Webpack version 5.95.0
[baseline-browser-mapping] The data in this module is over two months old.  To ensure accurate Baseline data, please update: `npm i baseline-browser-mapping@latest -D`
[build:webpack] Starting webpack-dev-server
<i> [webpack-dev-server] Project is running at:
<i> [webpack-dev-server] Loopback: https://localhost:4321/, https://[::1]:4321/
[build:webpack] Started Webpack Dev Server at https://[::1]:4321/
[build:webpack] Running incremental Webpack compilation
[build:configure-webpack-serve]
[build:configure-webpack-serve]  ════════════════════════════════════════════════════════════════
[build:configure-webpack-serve]  To load your scripts, use this query string:
[build:configure-webpack-serve]  ?debugManifestsFile=https%3A%2F%2Flocalhost%3A4321%2Ftemp%2Fbuild%2Fmanifests.js&debug=true&noredir=true
[build:configure-webpack-serve]  ════════════════════════════════════════════════════════════════
[build:configure-webpack-serve]
webpack 5.95.0 compiled successfully in 7263 ms
 ---- build finished (36.947s) ----
-------------------- Finished (36.949s) --------------------
Waiting for changes. Press CTRL + C to exit...
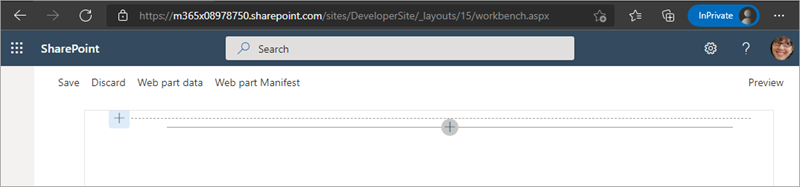
Open a browser and navigate to the developer site you created in the first exercise. Append the querystring listed in the preceding output to load your script on the page.
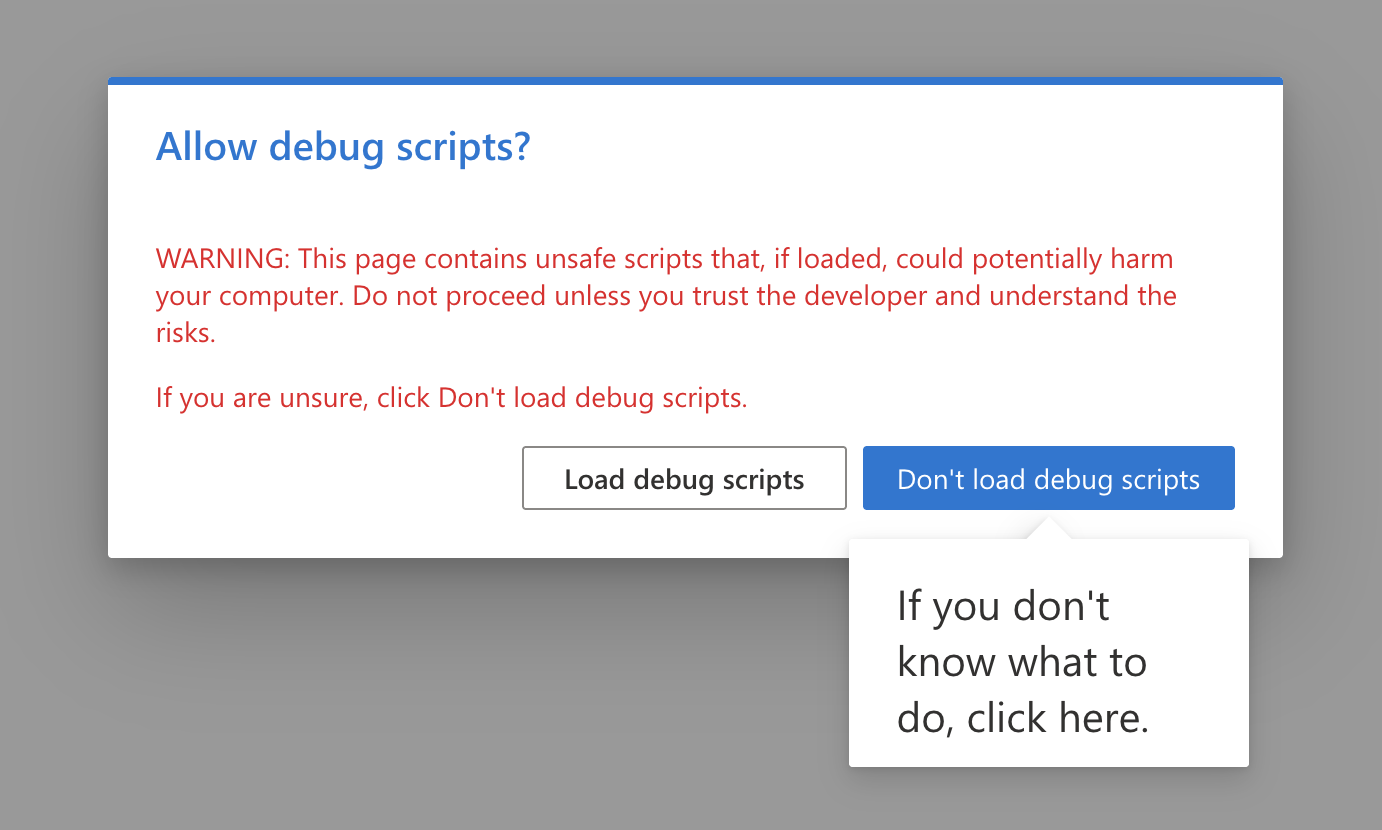
When prompted to allow debug scripts, select Load debug scripts:
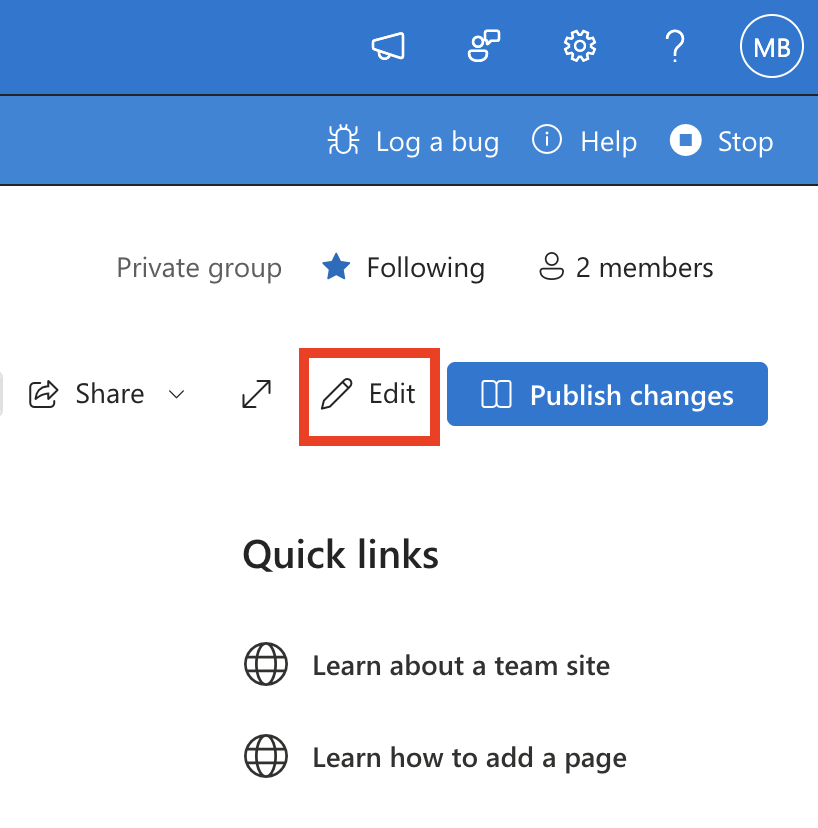
Then, put the page in edit mode:
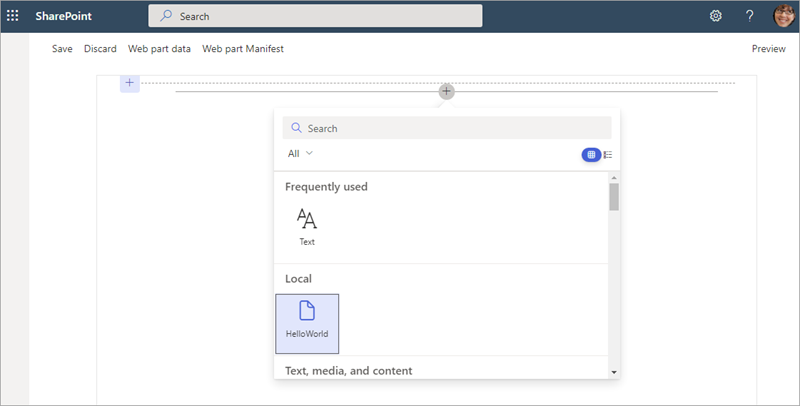
Select the web part icon button to open the list of available web parts and select the HelloWorld web part from the Advanced section.
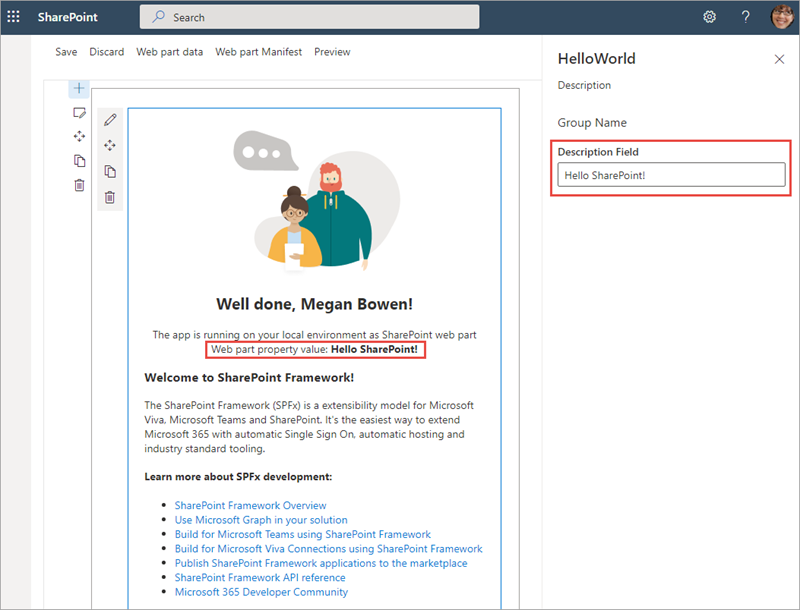
Edit the web part's properties by selecting the second icon in the toolbar in the top left of the web part.
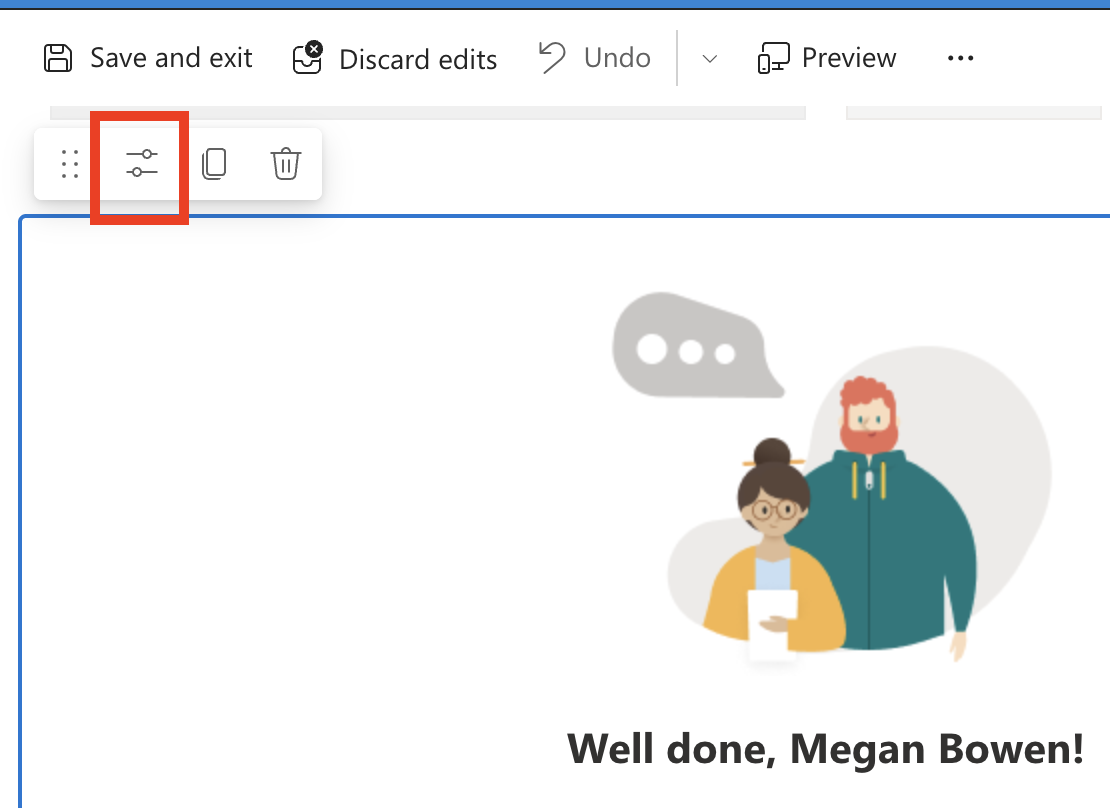
In the property pane that opens, change the value of the Description Field. Notice how the web part updates as you make changes to the text.
Close the browser and stop the local web server by pressing CTRL+C in the command prompt.
Summary
In this exercise, you added and interacted with SharePoint Framework-based client-side web parts in a SharePoint Online modern site collection.
Test your knowledge
Feedback
Was this page helpful?
No
Need help with this topic?
Want to try using Ask Learn to clarify or guide you through this topic?