Quickstart: Use Azure Data Studio to connect and explore Oracle databases
This quickstart shows how to use Azure Data Studio to connect to Oracle database and explore existing database objects.
Note
Currently extension provides a read-only view of the database objects. Running queries is not supported.
Prerequisites
To complete this quickstart, you need Azure Data Studio and access to Oracle database.
Connect to an Oracle database
Start Azure Data Studio.
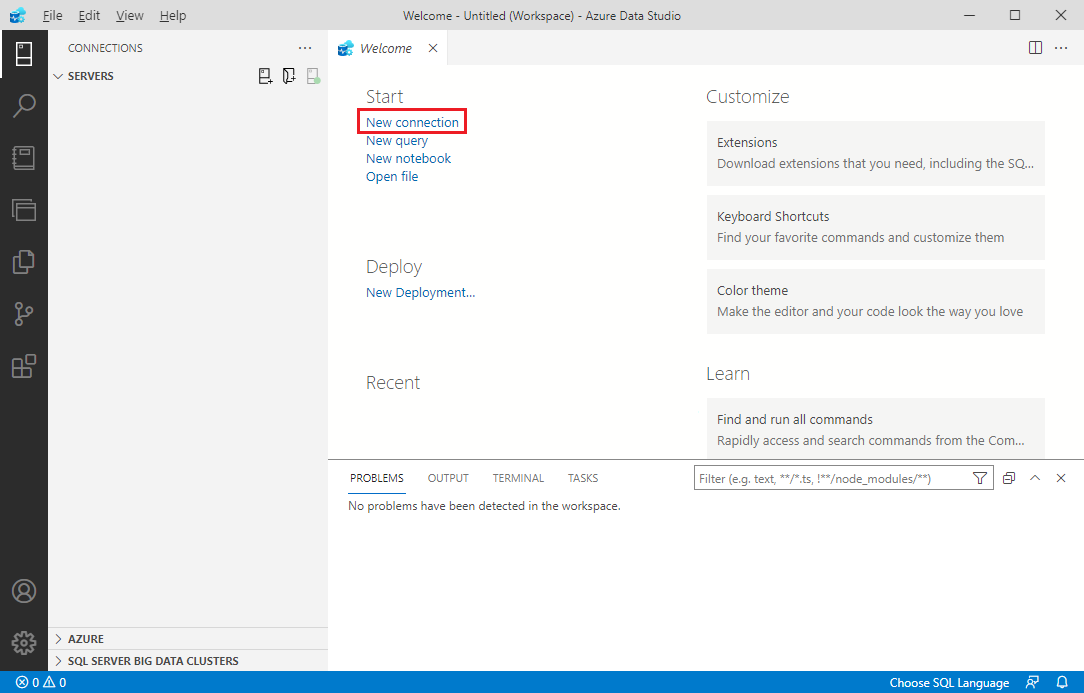
The first time you run Azure Data Studio the Welcome page should open. If you don't see the Welcome page, select Help > Welcome. Select New Connection to open the Connection pane:

In the connection dialog, select Oracle as Connection type and fill in the following fields:
Data source: Enter server name, for example,
localhost:1521. Data source can be defined in three different ways: Easy Connect/Easy Connect Plus, TNS Alias or Connect Descriptor. For more information on the format of each method, please refer to the Oracle documentation on Data Source attribute of the ODP.NET connection string.Note
In order to use TNS Alias as a data source, make sure that
ORACLE_HOMEenvironment variable is set and TNSNAMES.ORA file is located in the<ORACLE_HOME>/network/adminfolder.User Id: User name for the Oracle database
Password: Password for the Oracle database
Server Group: <Default>

Note
Make sure that the Oracle database user used to connect has permissions to enumerate and access objects you are planning to explore. At least
CONNECT,SELECT ANY DICTIONARYpermissions and theSELECT_CATALOG_ROLErole should be granted to the connecting user.Click Connect to establish the connection.
Explore database objects
After connection to the Oracle database is established, you will be able to navigate and explore existing database objects using Connections view:
