Use Docker YAML to build and push Docker images to Azure Container Registry
Azure DevOps Services
This tutorial shows you how to use a pipeline based on an Azure Pipelines Docker template to build a containerized application and push it to Azure Container Registry. The template sets up a continuous integration YAML pipeline where new code repository changes trigger the pipeline to build and publish updated Docker images to the registry.
The Docker container template pipeline uses Microsoft-hosted agents and creates a service principal-based service connection to Azure Container Registry. For a pipeline that does a similar process by using self-hosted agents and a service connection you create yourself, see Build and push Docker images to Azure Container Registry.
Prerequisites
An Azure account where you have permission to create and configure resources. If you don't have an Azure account, sign up for a free account.
An Azure DevOps organization and project where you have permission to create pipelines and deploy apps. To create an organization or project, see Create a new organization or Create a project in Azure DevOps.
A GitHub account.
Important
When you use GitHub in the following procedures, you might be prompted to create a GitHub service connection, sign in to GitHub, authenticate to GitHub organizations, install Azure Pipelines, or authorize Azure Pipelines. Follow the onscreen instructions to complete the process. For more information, see Access to GitHub repositories.
Get the sample app
In GitHub, fork or clone the Sample Docker and Kubernetes Node.JS app repository.
Create a container registry
From the Azure portal, sign in to Azure Cloud Shell by selecting the icon in the top menu bar. Make sure to use the Bash shell.

In the Cloud Shell, run the following commands to create a resource group and an Azure container registry by using the Azure CLI. The Container Registry name must be lowercase.
az group create --name myapp-rg --location eastus
az acr create --resource-group myapp-rg --name mycontainerregistry --sku Basic
To deploy a Docker image to the Azure container registry, you must enable the admin user account for the registry, which is disabled by default. To enable the admin user for your registry, use the
--admin-enabledparameter with theaz acr updatecommand. For more information and instructions, see Admin account.az acr update -n <acrName> --admin-enabled true
Alternatively, you can use the Azure portal UI to create your Azure container registry. For instructions, see Create a container registry. Enable the admin account in Properties after you create the registry.
Create the pipeline
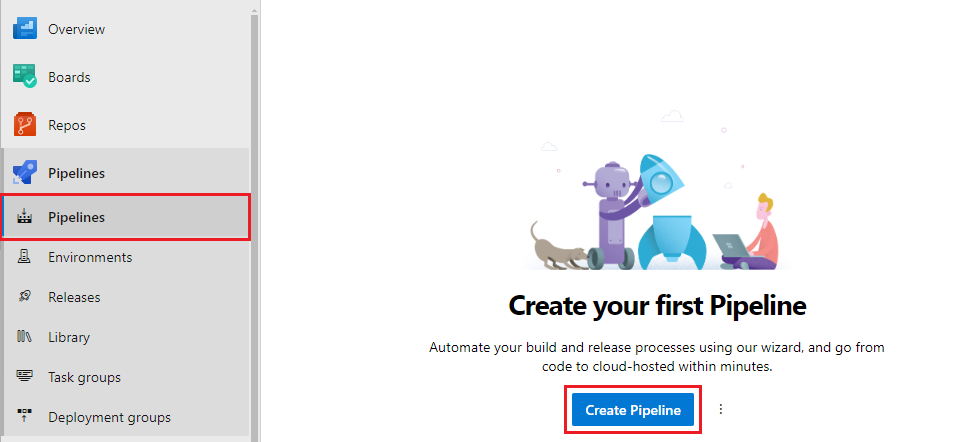
In your Azure DevOps project, select Pipelines > New pipeline, or Create pipeline if this pipeline is the first in the project.
Select GitHub as the location of your source code.
On the Select a repository screen, select your sample code repository.
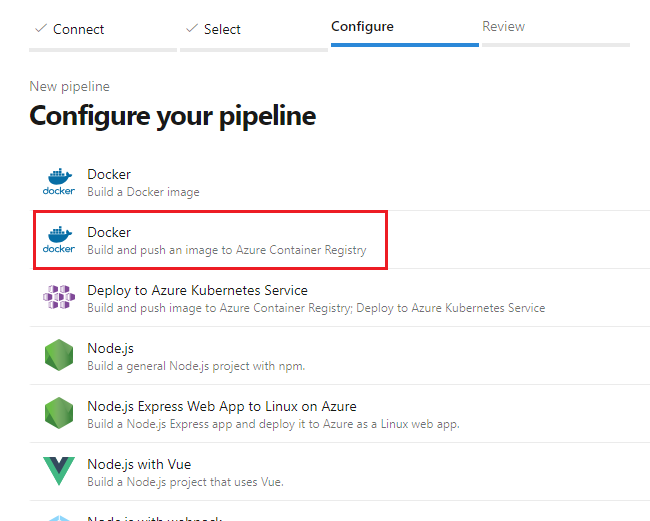
On the Configure your pipeline screen, select the Docker: Build and push an image to Azure Container Registry pipeline.
On the Docker screen, select your Azure subscription and then select Continue.
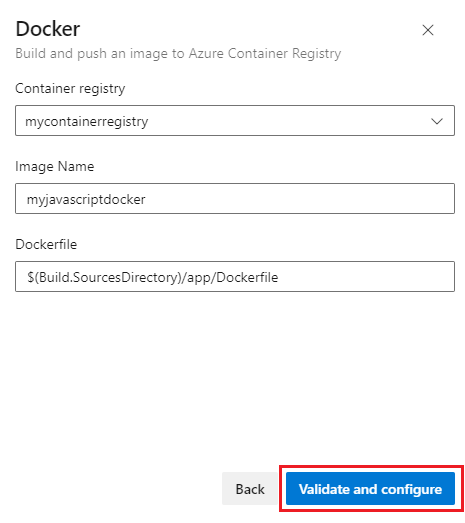
Select your Container registry from the dropdown menu, provide an Image Name, and then select Validate and configure.
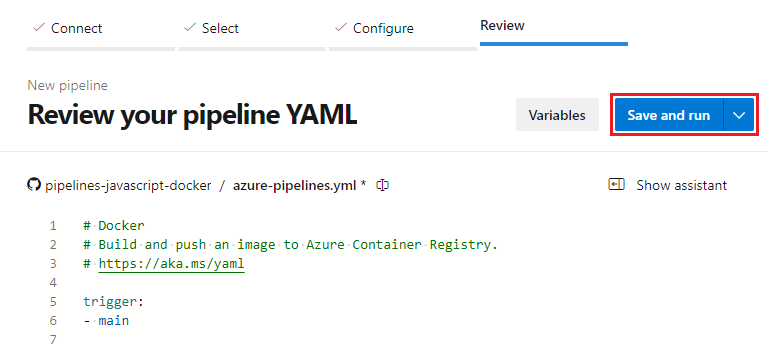
Azure Pipelines generates an azure-pipelines.yml file that defines your pipeline.
Review the code in azure-pipelines.yml, and then select Save and run.
Optionally edit the Commit message and provide a description. Then select Save and run again to commit the azure-pipelines.yml file to your repository and start a build.
The build run page shows build details and progress. To watch your pipeline in action, select Build under Jobs.

Pipeline details
The pipeline is generated from the Docker container template. The build stage uses the Docker v2 task to build and push your Docker image to the container registry.
The Docker task uses a Docker registry service connection with service principal authentication to enable your pipeline to push images to your container registry. The Docker container template generates this service connection when it creates the pipeline.
- stage: Build
  displayName: Build and push stage
  jobs:
  - job: Build
    displayName: Build job
    pool:
      vmImage: $(vmImageName)
    steps:
    - task: Docker@2
      displayName: Build and push an image to container registry
      inputs:
        command: buildAndPush
        repository: $(imageRepository)
        dockerfile: $(dockerfilePath)
        containerRegistry: $(dockerRegistryServiceConnection)
        tags: |
          $(tag)
Clean up resources
When you finish using the resources you created in this tutorial, you can delete them to avoid incurring further charges. Run the following Cloud Shell command to delete your resource group and all the resources within it.
az group delete --name myapp-rg