Note
Access to this page requires authorization. You can try signing in or changing directories.
Access to this page requires authorization. You can try changing directories.
A project is used to store discovery, assessment, and migration metadata collected from the environment you're assessing or migrating. In a project, you can track discovered assets, create assessments, and orchestrate migrations to Azure.
Verify permissions
Ensure you have the correct permissions to create a project using the following steps:
- In the Azure portal, open the relevant subscription, and select Access control (IAM).
- In Check access, find the relevant account, and select it and view permissions. You should have Azure Migrate Owner or a role with higher permissions. Learn more.
Note
- Starting November 2025, only users assigned the Azure Migrate Owner or a higher privileged role will be able to create Azure Migrate projects. Users without these role assignments will no longer have the required permissions to create new projects.
- For the required Azure Migrate built‑in roles and permission details to create a project and run discovery, assessments, and migrations, see Prepare Azure accounts for Azure Migrate.
Set up a new project in an Azure subscription.
In the Azure portal, search for Azure Migrate.
In Services, select Azure Migrate.
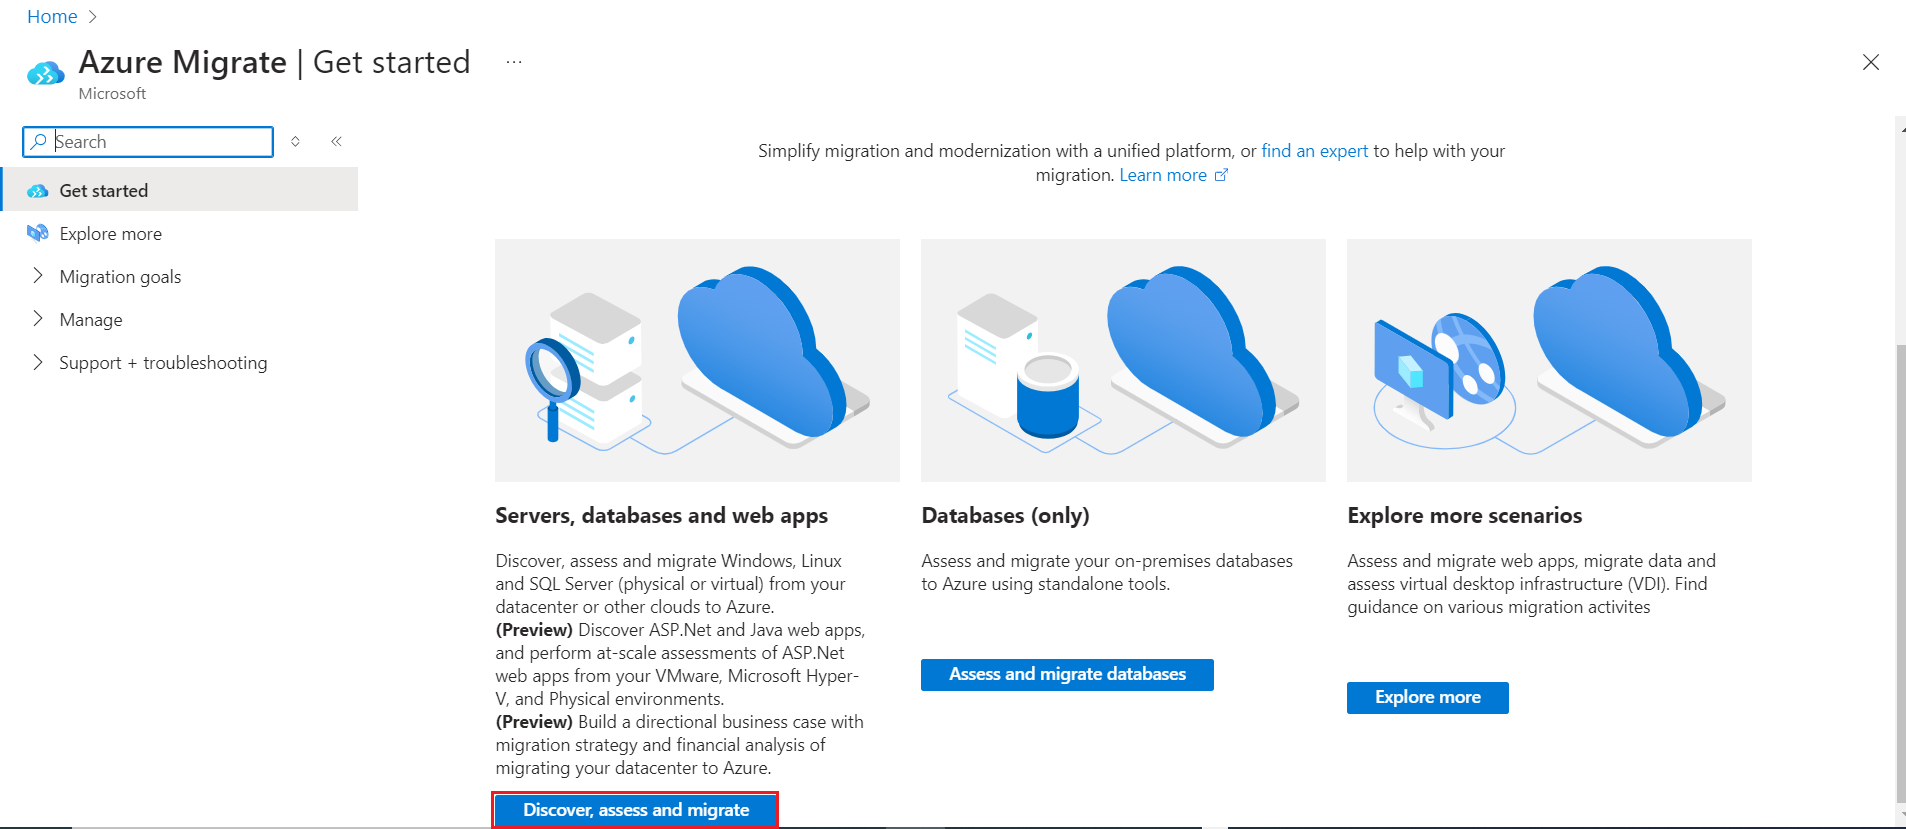
In Get started, select Discover, assess and migrate.
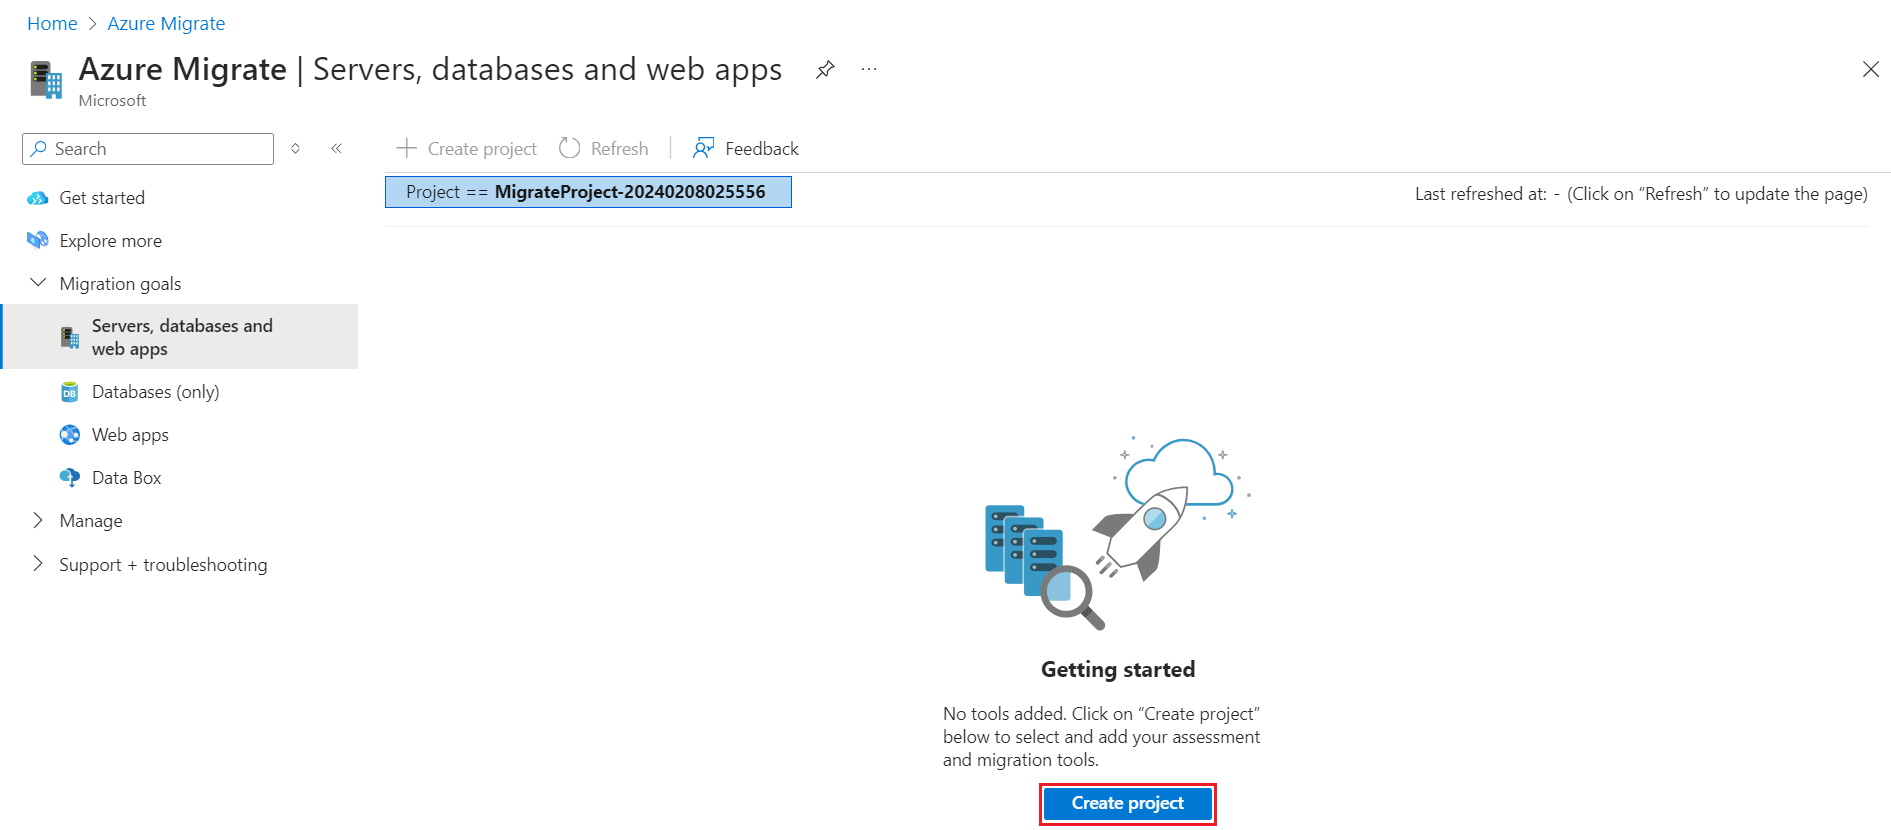
In Servers, databases and web apps, select Create project.
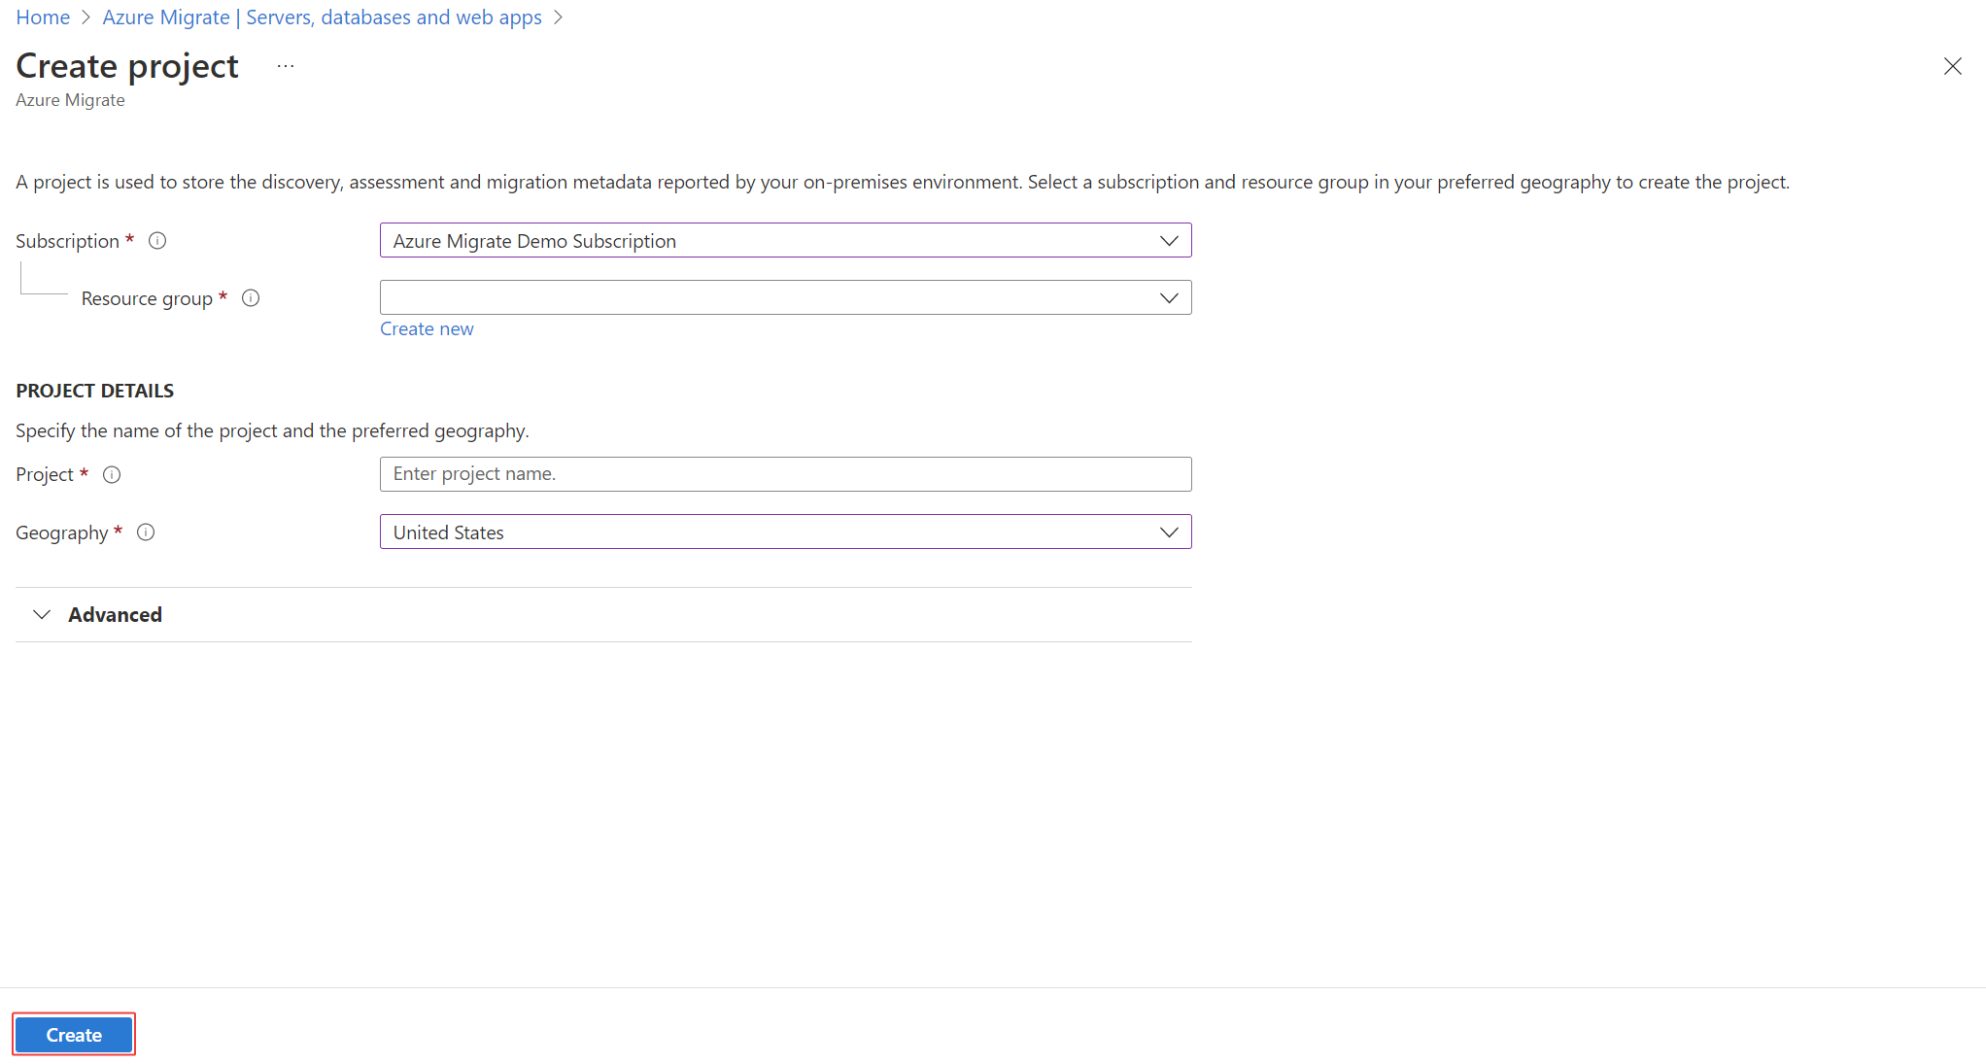
In Create project, select the Azure subscription and resource group. Create a resource group if you don't have one.
In Project Details, specify the project name and the geography in which you want to create the project.
- The geography is only used to store the metadata gathered from on-premises servers. You can assess or migrate servers for any target region regardless of the selected geography.
- Review supported geographies for public and government clouds.
Note
Use the Advanced configuration section to create an Azure Migrate project with private endpoint connectivity. Learn more.
Select Create.


Wait for a few minutes for the project to deploy.
Create a project in a specific region
In the portal, you can select the geography in which you want to create the project. If you want to create the project within a specific Azure region, use the following API command to create the project.
PUT /subscriptions/<subid>/resourceGroups/<rg>/providers/Microsoft.Migrate/MigrateProjects/<mymigrateprojectname>?api-version=2018-09-01-preview "{location: 'centralus', properties: {}}"
Create additional projects
If you already have a project and you want to create an additional project, do the following:
In the Azure public portal or Azure Government, search for Azure Migrate.
On the Azure Migrate dashboard, select All Projects on the upper left.
Select a Create Project.


Next steps
Add assessment or migration tools to projects.