Note
Access to this page requires authorization. You can try signing in or changing directories.
Access to this page requires authorization. You can try changing directories.
In this tutorial, you access Azure Blob Storage from Azure Databricks by using a storage account key stored in Azure Key Vault.
Important
Storage account key access is a legacy pattern. For new workloads, use Microsoft Entra ID authorization with Azure Databricks (through Unity Catalog credentials or an ABFS-mount that uses OAuth), and disable Shared Key authorization on the storage account. Entra ID authorization removes the need to store or rotate storage account keys and provides fine-grained auditing. The steps in this article remain valid for storage accounts that still use Shared Key access.
In this tutorial, you:
- Create a storage account and blob container with the Azure CLI.
- Create a key vault and set a secret.
- Create an Azure Databricks workspace and add a Key Vault secret scope.
- Access your blob container from the Azure Databricks workspace.
Prerequisites
If you don't have an Azure subscription, create a free account before you begin.
Before you start this tutorial, install the Azure CLI.
Create a storage account and blob container with Azure CLI
Create a general-purpose storage account to use blobs. If you don't have a resource group, create one before running the command. The following command creates the storage account and displays its metadata. Copy the id value.
az storage account create --name <storage-account-name> --resource-group <resource-group> --location <location> --sku Standard_ZRS --encryption-services blob
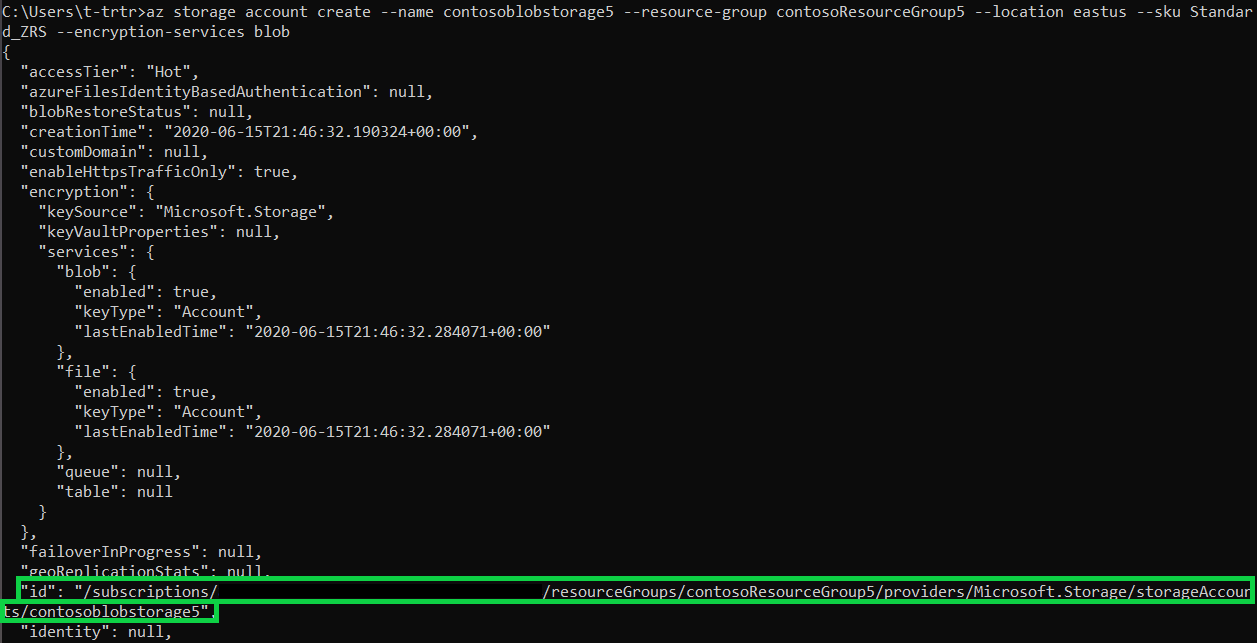
Before you create a container to upload the blob to, assign the Storage Blob Data Contributor role to yourself. For this example, the role is assigned on the storage account you created earlier.
az role assignment create --role "Storage Blob Data Contributor" --assignee <user-principal-name> --scope "/subscriptions/<subscription-id>/resourceGroups/<resource-group>/providers/Microsoft.Storage/storageAccounts/<storage-account-name>
Now that you've assigned the role, create a container for your blob:
az storage container create --account-name <storage-account-name> --name <container-name> --auth-mode login
After the container is created, upload a blob (file of your choice) to it. In this example, a .txt file with helloworld is uploaded.
az storage blob upload --account-name <storage-account-name> --container-name <container-name> --name helloworld --file helloworld.txt --auth-mode login
List the blobs in the container to verify:
az storage blob list --account-name <storage-account-name> --container-name <container-name> --output table --auth-mode login

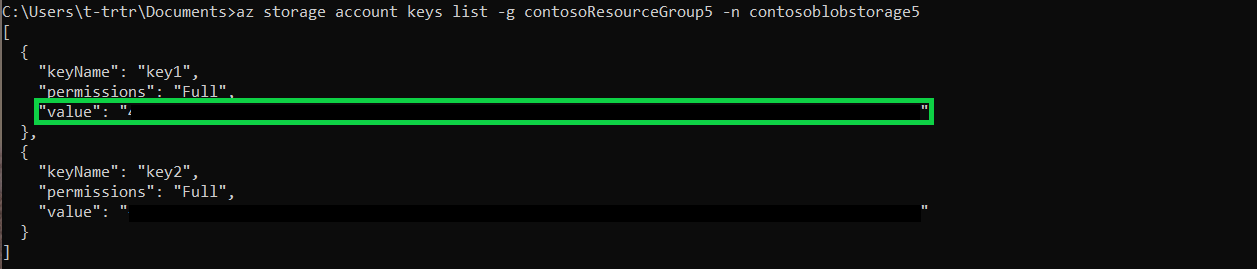
Get the key1 value of your storage account with the following command. Copy the value.
az storage account keys list -g <resource-group> -n <storage-account-name>
Create a key vault and set a secret
Create a key vault with the following command. The command also displays the key vault's metadata. Copy the id and vaultUri values.
az keyvault create --name <vault-name> --resource-group <resource-group> --location <location> --enable-rbac-authorization true --enable-purge-protection true
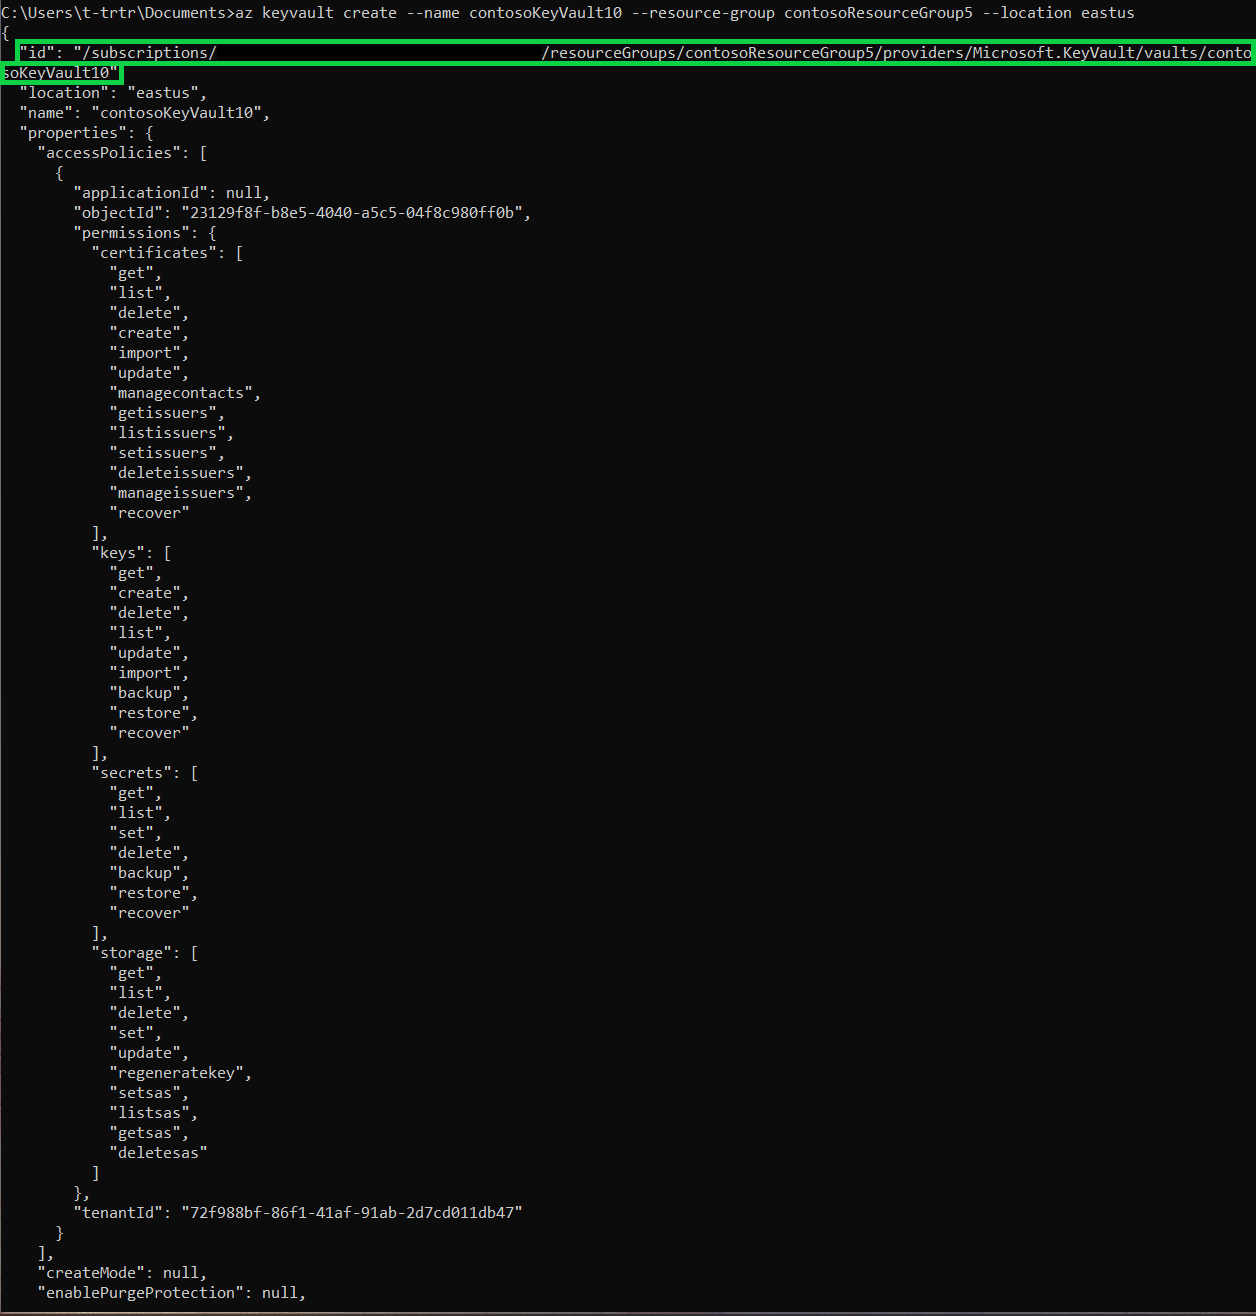
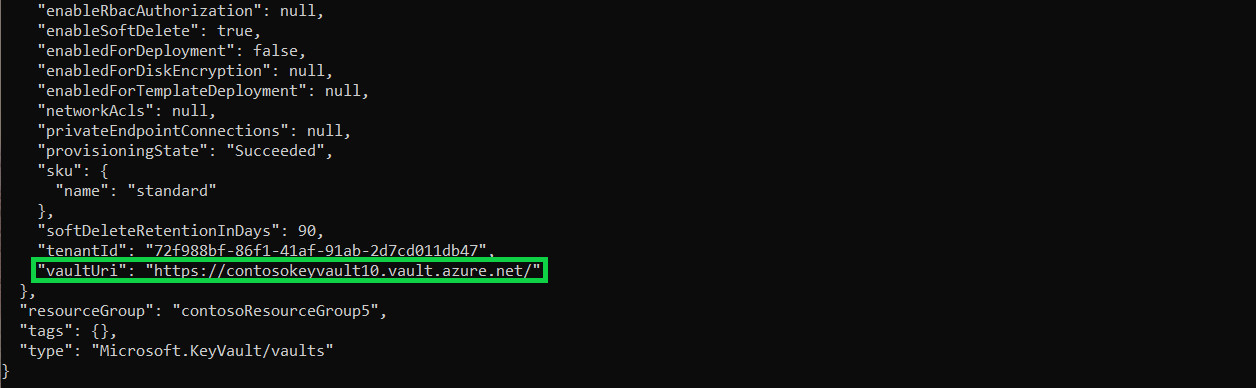
To create the secret, use the following command. Set the value of the secret to the key1 value from your storage account.
az keyvault secret set --vault-name <vault-name> --name storageKey --value "value of your key1"
Create an Azure Databricks workspace and add a Key Vault secret scope
This section requires the Azure portal. Use it to:
- Create your Azure Databricks resource.
- Launch your workspace.
- Create a Key Vault-backed secret scope.
Access your blob container from the Azure Databricks workspace
This section is completed in the Azure Databricks workspace. In the workspace:
- Create a New Cluster.
- Create a New Notebook.
- Fill in the corresponding fields in the Python script.
- Run the Python script.
dbutils.fs.mount(
source = "wasbs://<container-name>@<storage-account-name>.blob.core.windows.net",
mount_point = "/mnt/<mount-name>",
extra_configs = {"<conf-key>":dbutils.secrets.get(scope = "<scope-name>", key = "<key-name>")})

df = spark.read.text("/mnt/<mount-name>/<file-name>")

df.show()
Next steps
Make sure your Key Vault is recoverable: