Quickstart: Create and run a load test by using a Locust script and Azure Load Testing
Learn how to create and run a load test with a Locust test script and Azure Load Testing from the Azure portal. Azure Load Testing is a managed service that lets you run a load test at cloud scale. Locust is an open source load testing tool that enables you to describe all your test in Python code.
Prerequisites
An Azure account with an active subscription. Create an account for free.
A Locust test script. If you don't have a test script, get started from the Locust quickstart in the Locust documentation.
Use cases for creating a load test with an existing Locust test script:
- You want to reuse existing Locust scripts to test your application.
- You want to simulate user traffic to your application and ensure that your application meets your requirements.
- You don't want to set up complex infrastructure for load testing. And, as a developer, you might not be familiar with load testing tools and test script syntax.
In this quickstart, you create a load test for your application endpoint by using Azure Load Testing and the Locust testing framework. You create a load testing resource in the Azure portal, and then create a load test by uploading the Locust test script and configuring the load parameters.
Important
Support for Locust in Azure Load Testing is currently in limited preview. For legal terms that apply to Azure features that are in beta, in preview, or otherwise not yet released into general availability, see the Supplemental Terms of Use for Microsoft Azure Previews. Sign up here to onboard your Azure subscription for the preview.
Create an Azure Load Testing resource
You first need to create the top-level resource for Azure Load Testing. Azure portal provides a centralized place to view and manage test plans, test results, and related artifacts.
If you already have a load testing resource, skip this section and continue to Create a load test.
To create a load testing resource:
Sign in to the Azure portal by using the credentials for your Azure subscription.
From the Azure portal menu or the Home page, select Create a resource.
On the Marketplace page, search for and select Azure Load Testing.
On the Azure Load Testing pane, select Create.
On the Create a load testing resource page, enter the following information:
Field Description Subscription Select the Azure subscription that you want to use for this Azure Load Testing resource. Resource group Select an existing resource group. Or select Create new, and then enter a unique name for the new resource group. Name Enter a unique name to identify your Azure Load Testing resource.
The name can't contain special characters, such as \/""[]:|<>+=;,?*@&, or whitespace. The name can't begin with an underscore (_), and it can't end with a period (.) or a dash (-). The length must be 1 to 64 characters.Location Select a geographic location to host your Azure Load Testing resource.
This location also determines where the test engines are hosted and where the test framework requests originate from.Note
Optionally, you can configure more details on the Tags tab. Tags are name/value pairs that enable you to categorize resources and view consolidated billing by applying the same tag to multiple resources and resource groups.
After you're finished configuring the resource, select Review + Create.
Review the settings you provide, and then select Create. It takes a few minutes to create the account. Wait for the portal page to display Your deployment is complete before moving on.
To view the new resource, select Go to resource.
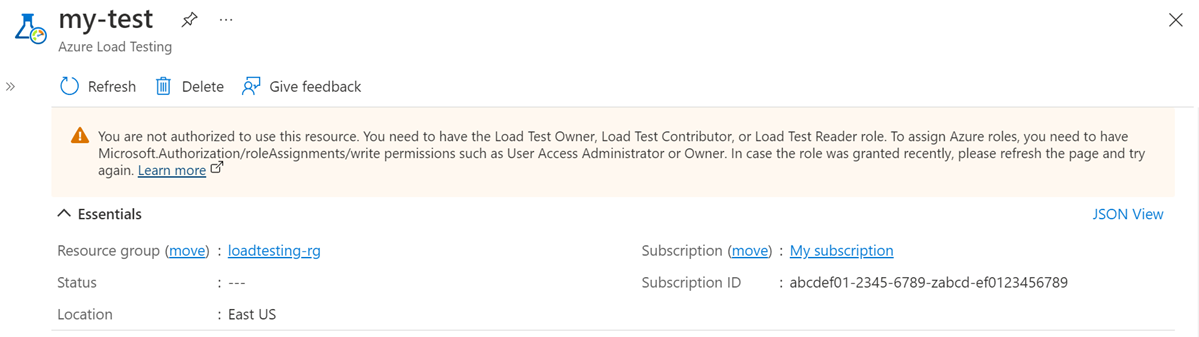
Optionally, manage access to your Azure Load Testing resource.
Azure Load Testing uses role-based access control (RBAC) to manage permissions for your resource. If you encounter this message, your account doesn't have the necessary permissions to manage tests.

Create a load test
Now that you have a load testing resource, you can create a load test by uploading the Locust test script. Azure Load Testing will manage the infrastructure to run your test script at scale and simulate traffic to your application endpoints.
To create a load test for a Locust-based test in the Azure portal:
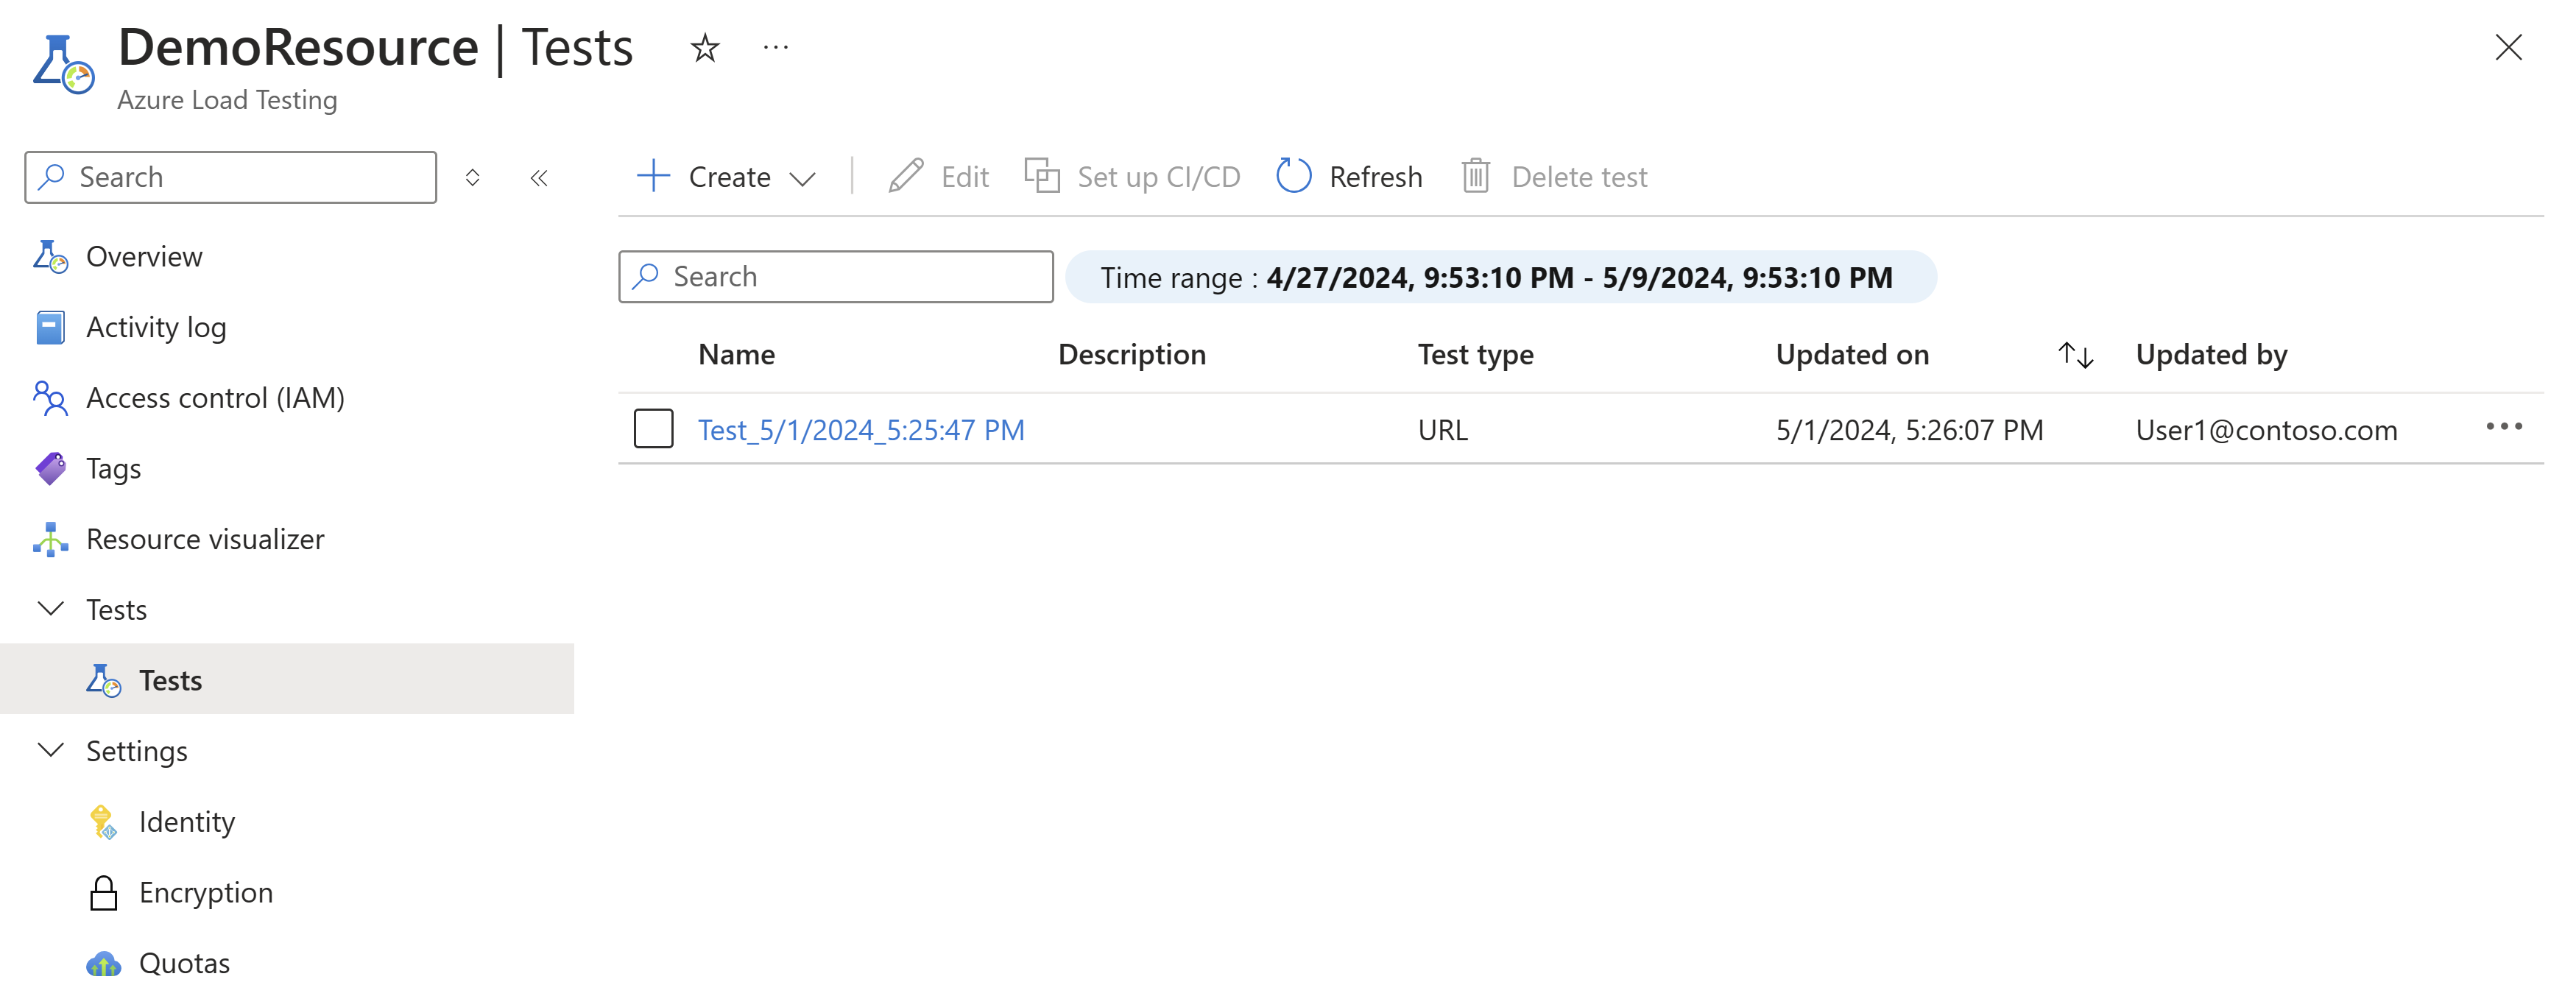
In the Azure portal, go to your Azure Load Testing resource.
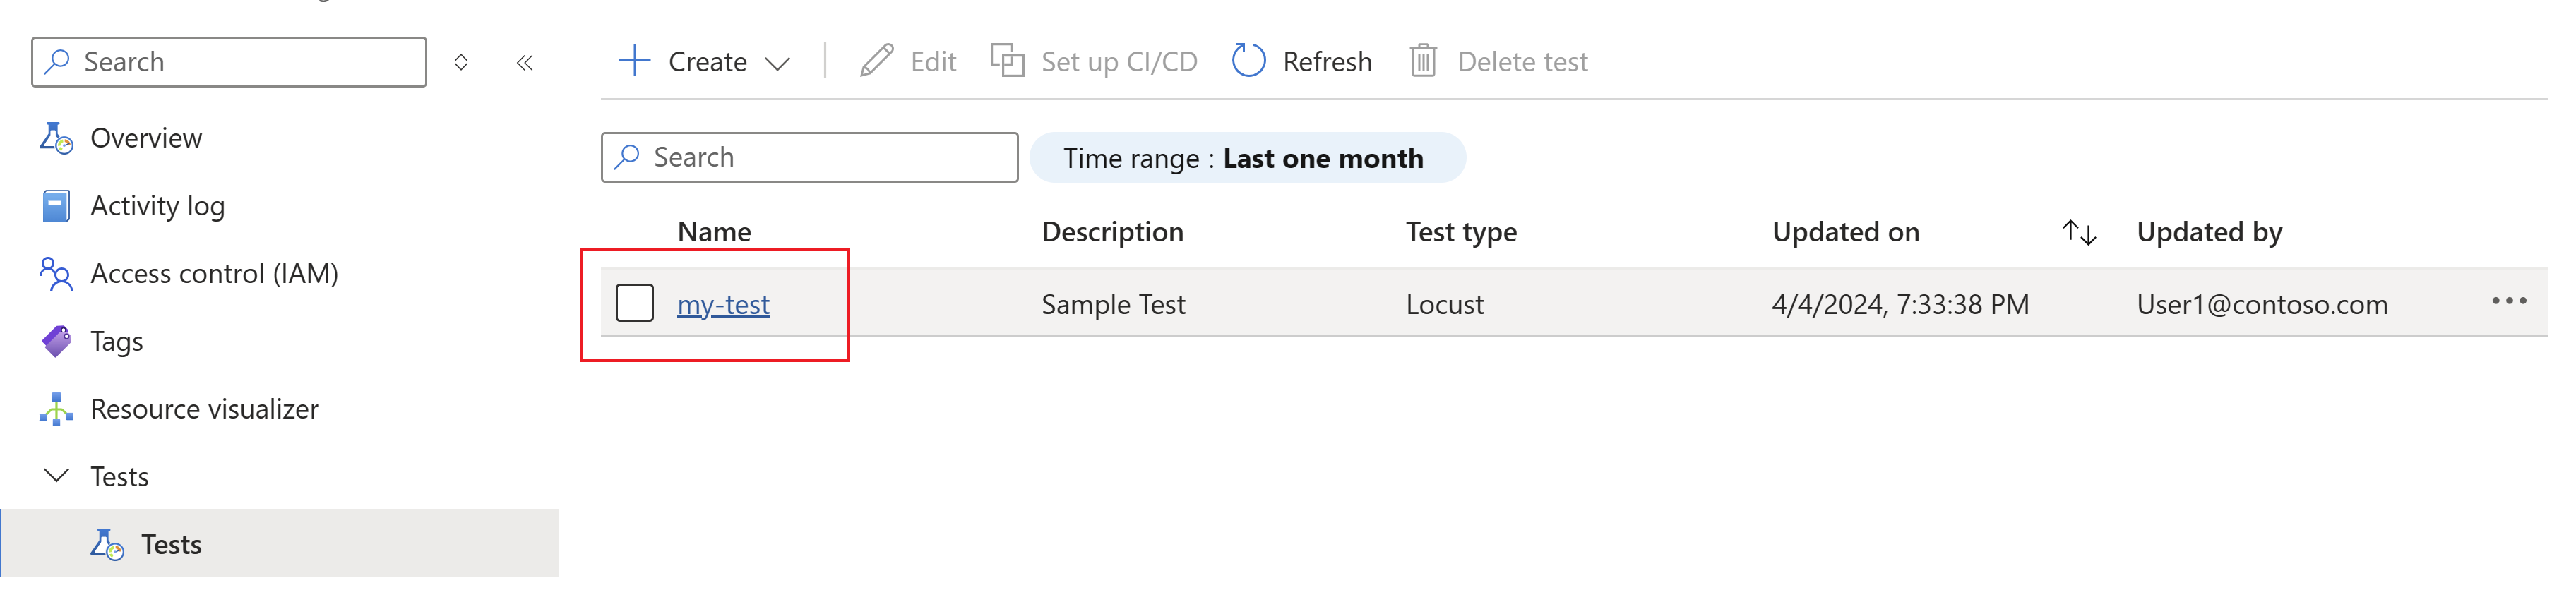
In the left navigation, select Tests to view all tests.
Select + Create, and then select Upload a script.
On the Basics tab, enter the load test details:
Field Description Test name Enter a unique test name. Test description (Optional) Enter a load test description. Run test after creation Select this setting to automatically start the load test after saving it. On the Test plan tab, select Locust as the Load testing framework.
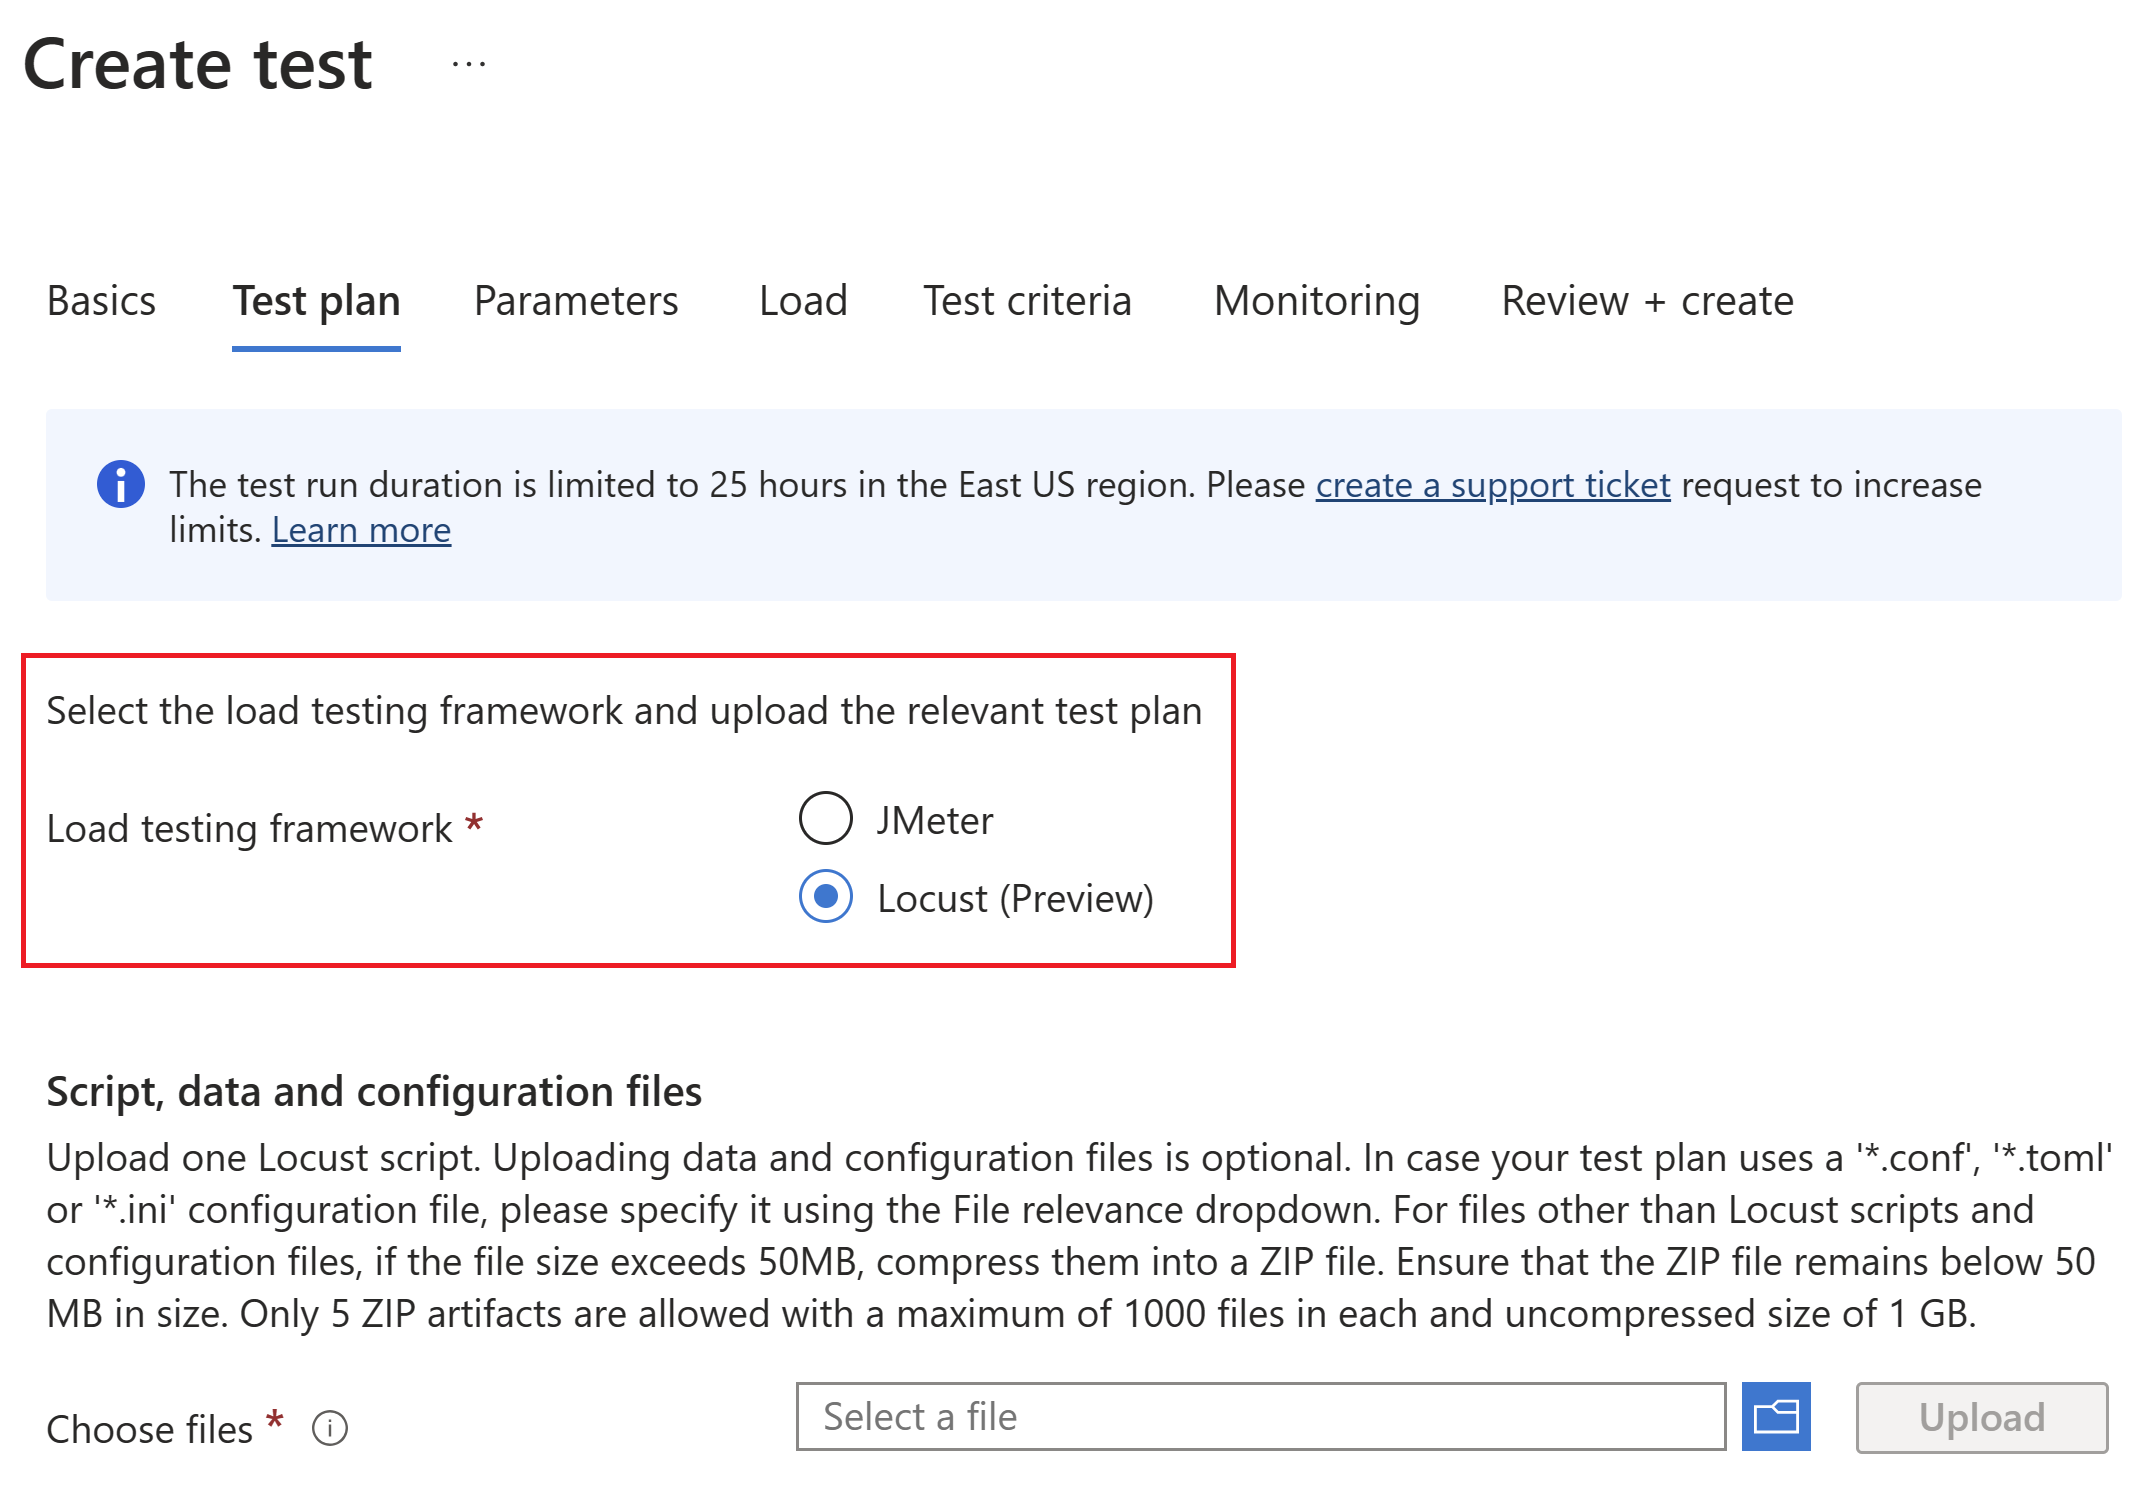
Next, select the Locust test script from your computer, and then select Upload to upload the file to Azure.
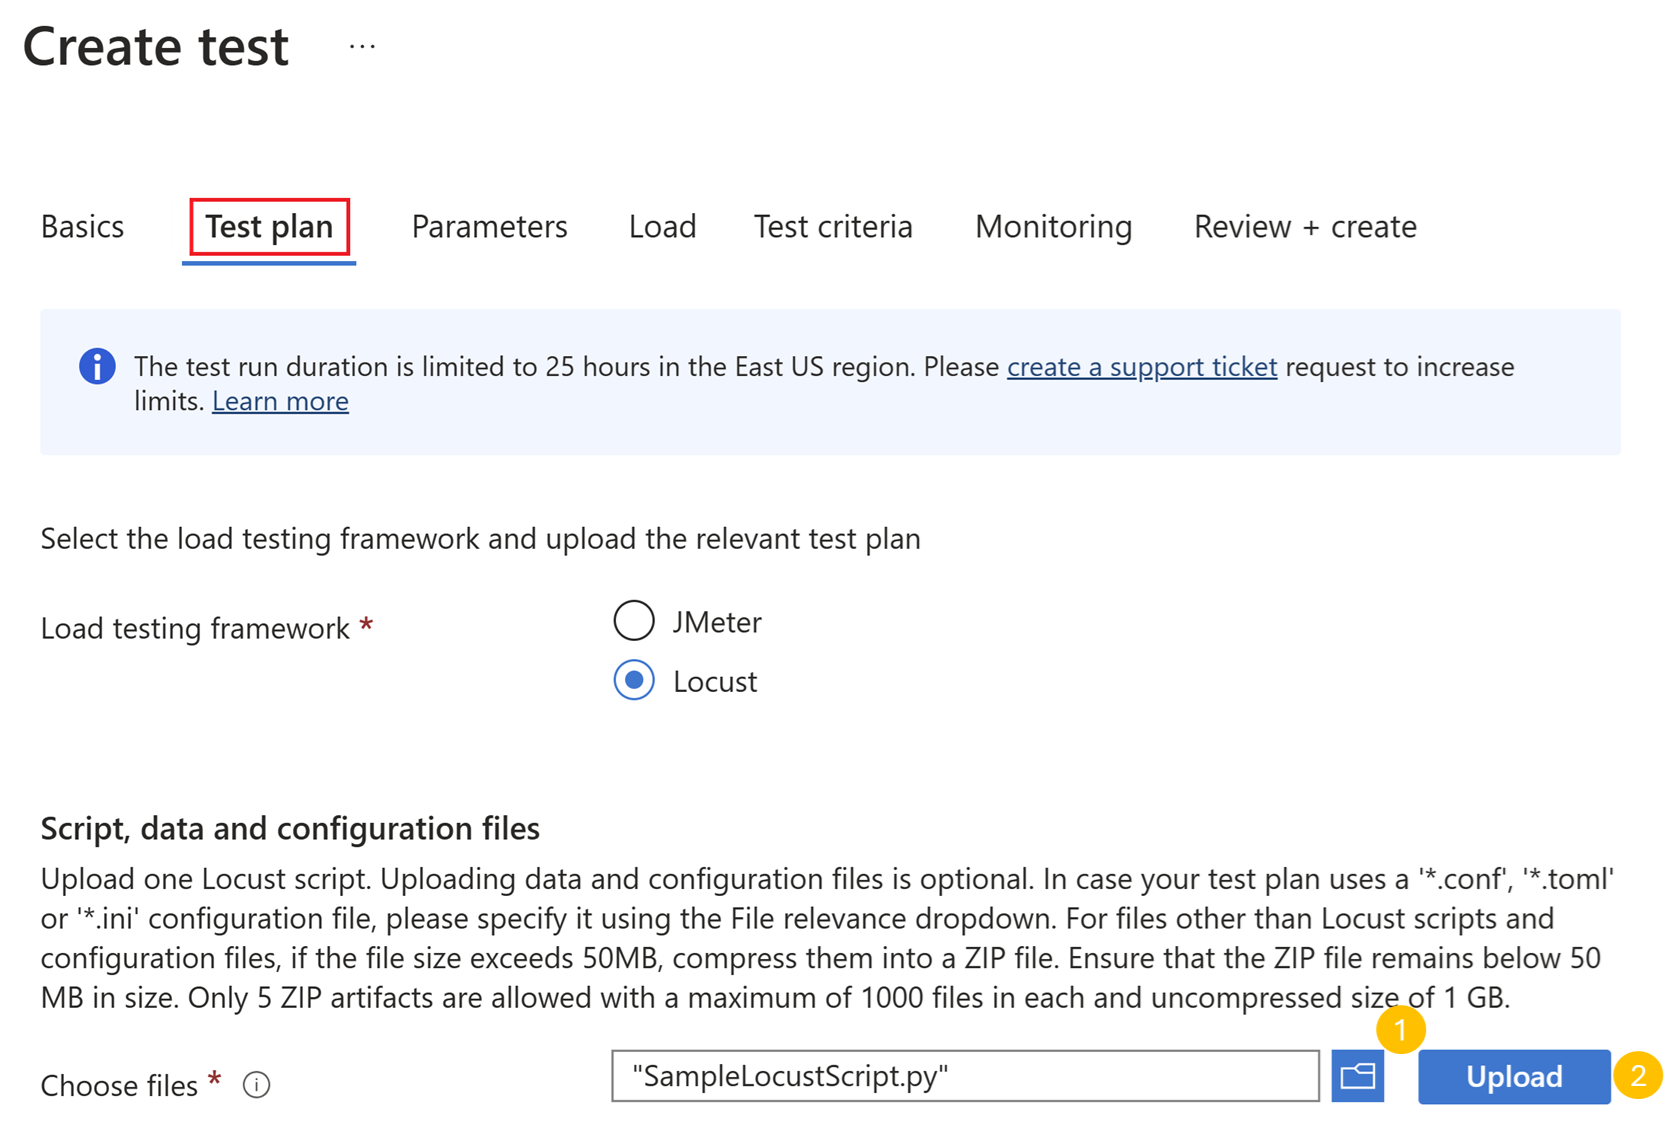
Upload any other files that you reference in the test script. For example, if your test script uses CSV data sets, you can upload the corresponding .csv file(s). To use a configuration file with your Locust script, upload the file and select Locust configuration as the File relevance
To install any dependencies from a 'requirements.txt' file, upload the 'requirements.txt' file along with the other artifacts. Add this code in your Locust script to install the dependencies
import subprocess
subprocess.check_output("python3 -m pip install -r requirements.txt", shell=True)
To use supporting Python files along with your Locust, create a wheel (.whl) file of the supporting Python files and upload the wheel file along with the other artifacts. Add this code in your Locust script to install the wheel file during Locust startup
import subprocess
subprocess.check_output("python3 -m pip install your_wheel.whl", shell=True)
Note
Include the code snippets to install dependencies and supporting files in the import section of your Locust script. Do not include these in the load test section.
On the Load tab, enter the details for the amount of load to generate:
Field Description Test engine instances Select the number of parallel test engine instances. Each test engine simulates the traffic of Number of users. Number of users Enter the number of virtual users to simulate per test engine instance. Duration (minutes) The total duration of the load test in minutes. Spawn rate of users (Optional) Rate to add users at (users per second). Host endpoint (Optional) The HTTP endpoint URL. For example, https://www.contoso.com/products.| Select Review + create. Review all settings, and then select Create to create the load test.


You can update the test configuration at any time, for example to upload a different Locust test file, or to modify the load parameters. Choose your test in the list of tests, and then select Edit.
Run the load test
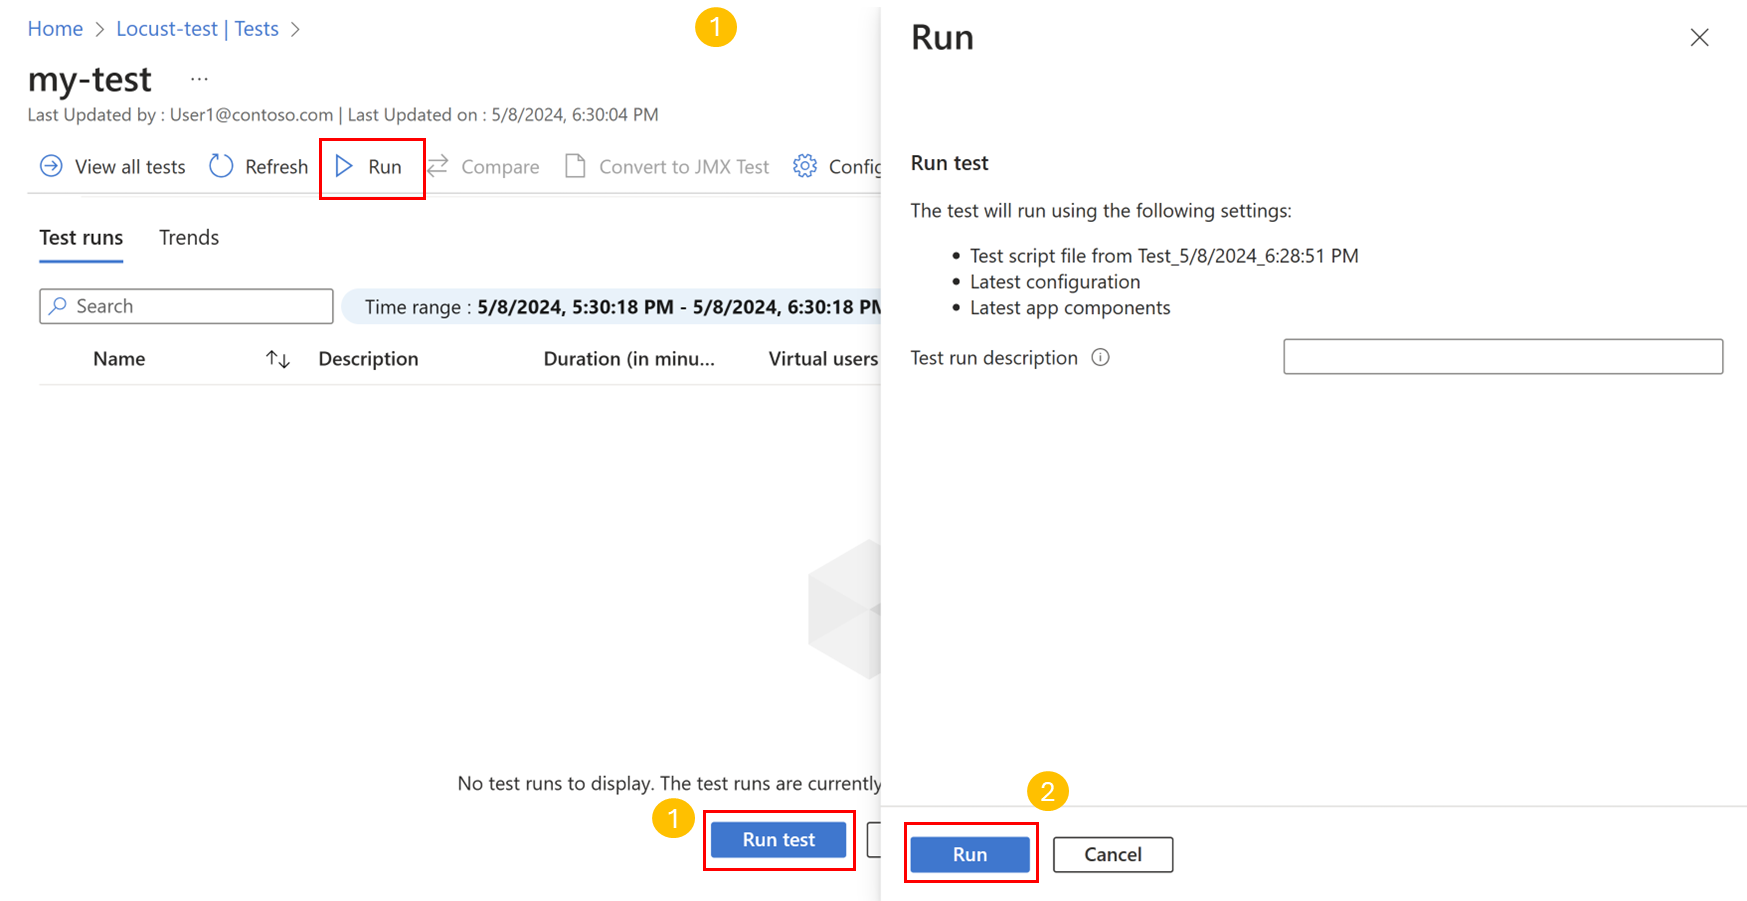
If you selected Run test after creation, your load test will start automatically. To manually start the load test you created earlier, perform the following steps:
Go to your load testing resource, select Tests from the left pane, and then select the test that you created earlier.
On the test details page, select Run or Run test. Then, select Run on the confirmation pane to start the load test. Optionally, provide a test run description.
Tip
You can stop a load test at any time from the Azure portal.
Notice the test run details, statistics, and client metrics in the Azure portal.
If you have multiple requests in your test script, the charts display all requests, and you can also filter for specific requests. In the Sampler statistics section, you can view the statistics per request in a tabular format.
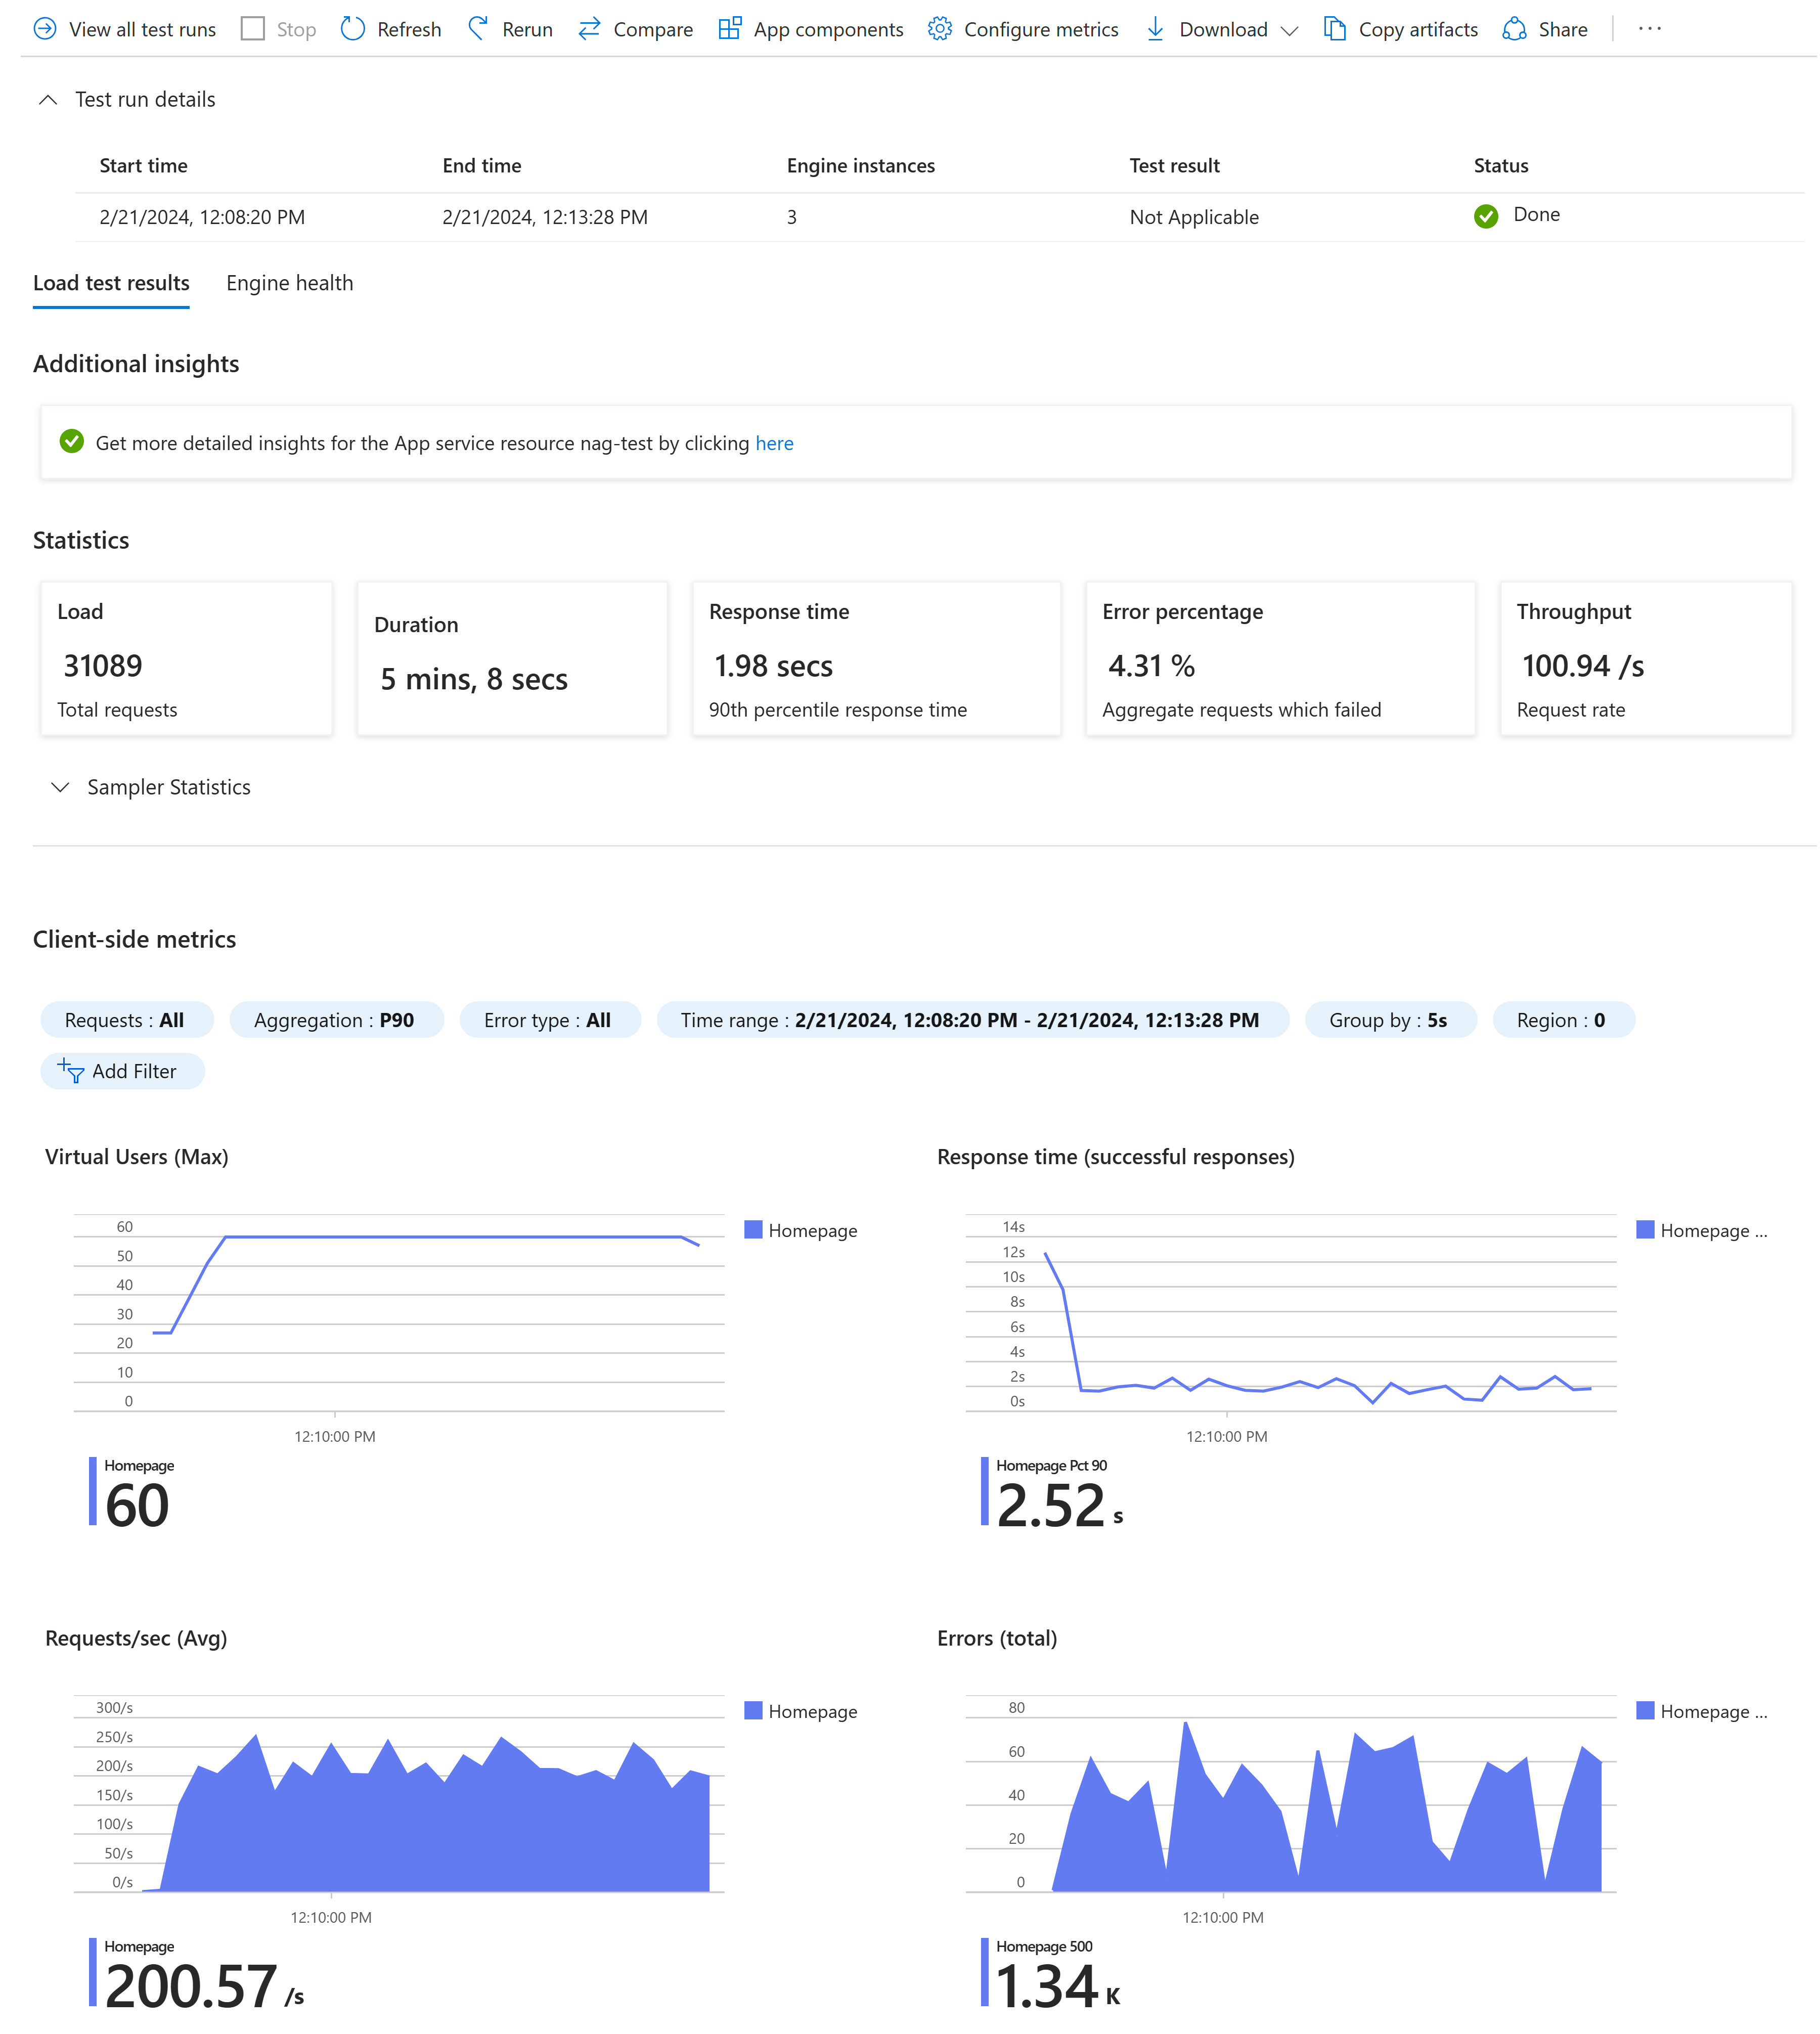
Use the run statistics and error information to identify performance and stability issues for your application under load.


Summary
In this quickstart, you created and ran a load test with Azure Load Testing by using a Locust test script. Azure Load Testing abstracts the complexity of setting up the infrastructure for simulating high-scale user load for your application.
You can further expand the load test to also monitor server-side metrics of the application under load, and to specify test fail metrics to get alerted when the application doesn't meet your requirements. To ensure that the application continues to perform well, you can also integrate load testing as part of your continuous integration and continuous deployment (CI/CD) workflow.
Related content
- Learn how to monitor server-side metrics for your application.
- Learn how to parameterize a load test with environment variables.