Model-driven app timer control overview (Classic)
Use a timer control with forms where rows need to meet a specific time-based milestone. A timer control shows people how much time is available to complete an action in the resolution of an active row or how much time has passed since the time to complete the action has passed.
Note
Currently, this control can only be added and configured using the classic experience.
At a minimum, timer controls must be configured to show success or failure in completing the action. In addition, they can be configured to display warnings when the conditions are approaching failure.
How to add a timer control
A timer control can be added to a form for any table, but they are most frequently used for the case table, especially when linked to columns that track service level agreements. Multiple timer controls can be added in the body of a form. These cannot be added to the header.
To add a timer control to a form:
Sign in to Power Apps.
On the left navigation pane, select Tables. If the item isn’t in the side panel pane, select …More and then select the item you want.
Select a table, such as the account table, and then select the Forms area.
Select the form that you want.
In the form designer, on the command menu, select Switch to classic.
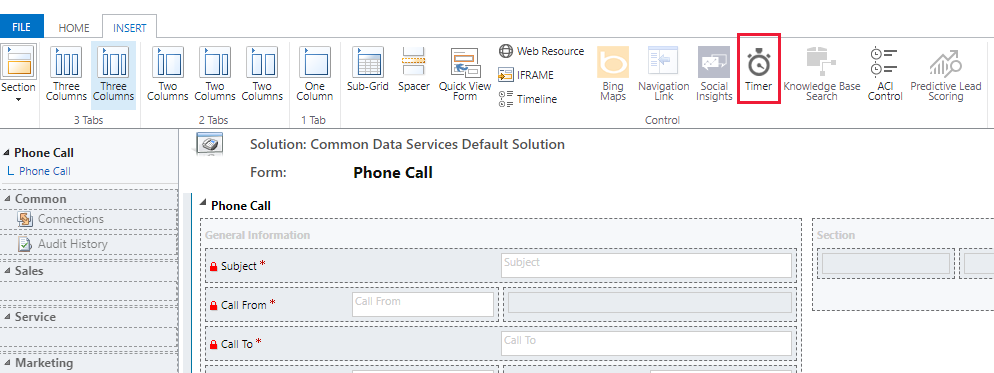
In the classic form designer, select the Insert tab, and then on the toolbar select Timer.
On the Timer Control properties page, enter or select the properties that you want, and then select OK.
Timer control Data Source properties use columns for the table.
The Failure Time Column uses a date-time column to set the time.
The three condition columns use one of the Choice, Two Options, Status, or Status Reason columns for the table.
Timer control properties
The following table describes the properties of a timer control.
| Group | Name | Description |
|---|---|---|
| Name | Name | Required. A unique name for the control. |
| Label | Required. The label to display for the timer control. | |
| Data Source | Failure Time Field | Required. Choose one of the date-time columns for the table to represent when a milestone should be successfully completed. |
| Success Condition | Required. Select a column for the table to evaluate the success of the milestone, then choose which option indicates success. | |
| Warning Condition | Select a column for the table to evaluate whether the success of the milestone is at risk so that a warning should be displayed, then choose which option indicates that a warning should be displayed. | |
| Cancel Condition | Select a column for the table to evaluate whether the achievement of the milestone should be cancelled, then choose which option indicates that the milestone is cancelled. |
Next steps
Feedback
Coming soon: Throughout 2024 we will be phasing out GitHub Issues as the feedback mechanism for content and replacing it with a new feedback system. For more information see: https://aka.ms/ContentUserFeedback.
Submit and view feedback for