Add multiple fields to a hierarchy slicer
APPLIES TO: ![]() Power BI Desktop
Power BI Desktop ![]() Power BI service
Power BI service
If you want to filter multiple related fields in a single slicer, you do so by building what's called a hierarchy slicer. You can create these slicers in either Power BI Desktop or in the Power BI service.
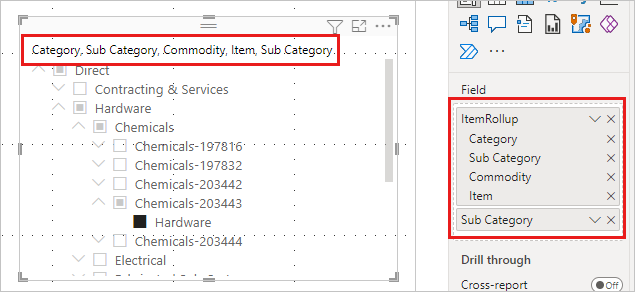
When you add multiple fields to the slicer, by default it displays an arrow, or chevron next to the items that can be expanded to show the items in the next level.
![]()
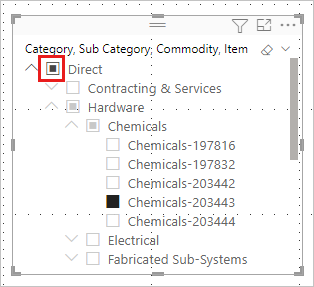
When you select one or more children for an item, you see a semi-selected square for the top-level item.
Format the slicer
The behavior of the slicer hasn't changed. You can also style your slicer how you want. For example, in the Format pane, on the Visual tab > Slicer settings > Options Style, you can swap between a Vertical list or a Dropdown.
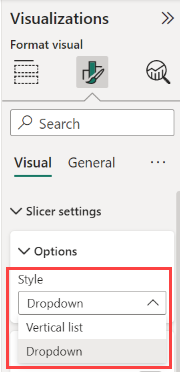 you can set it to single-select mode.
You can also make other formatting changes for hierarchy slicers:
- Change the title.
- Change the expand/collapse icon.
- Change the indentation.
Change the title
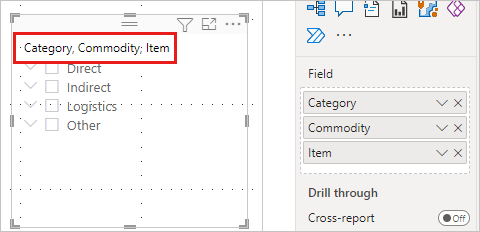
You can edit the title for any slicer, but it's especially useful for hierarchy slicers. By default, the name of a hierarchy slicer is a list of the field names in the hierarchy.
In this example, the title of the slicer lists the three fields in the hierarchy: Category, Commodity, and Item.
To change the slicer title:
Select the slicer, the Format pane, and then the Visual tab.
Expand Slicer header to see the current name of the slicer in the Title text box.
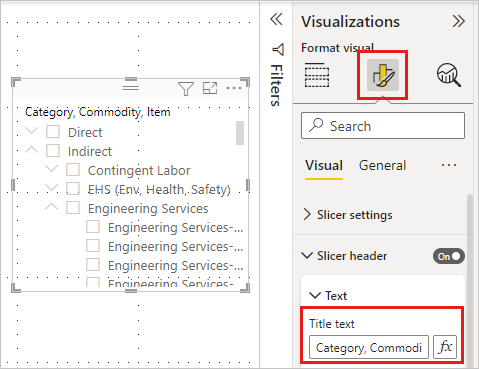
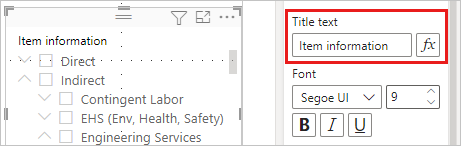
Select the Title text box and enter a new name.
Change the expand/collapse icon
Hierarchy slicers have some other formatting options. You can change the expand/collapse icon from the default arrow to plus and minus signs, or a caret:
Select the hierarchy slicer, then select Format.
From the Visual tab, expand Hierarchy, and then expand Expand/collapse.
For Expand/collapse icon, select Chevron, Plus/minus, or Caret.
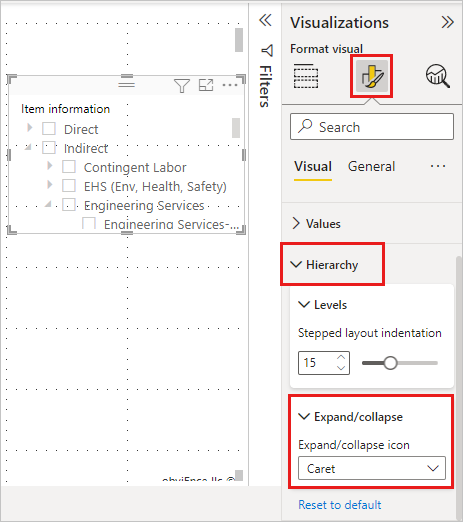
Change the indentation
If space is tight on your report, you may want to reduce the amount you indent the child items. By default, the indentation is 15 pixels. To change the indentation:
Select the slicer, then select Format.
From the Visual tab, expand Hierarchy, and then expand Levels. Drag Stepped layout indentation smaller or larger. You can also enter a number in the box.

Considerations and limitations
- When using live connection to SQL Server Analysis Services (SSAS) tabular models and the property hide members in the hierarchy is set to Hide blank members, Power BI doesn't hide blank members. This creates a ragged hierarchy.
- A ragged hierarchy is also created when there are blank values for a category at any hierarchy level. For example, if Employee A has three levels of management (manager > vice-president > CEO) but doesn't have a "director", the data table row for Employee A will have three values (names) and one blank. While you can use the Filters pane to deselect blank values for "director", doing so also prevents the other three values from being included in the slicer for Employee A. As a result, Employee A will be removed from the hierarchy slicer.
- For tabular models, this feature requires SQL Server Analysis Services 2017 or newer.
- For multi-dimensional models, this feature requires SQL Server Analysis Services 2019 CU5 or newer with SuperDAXMD enabled. Read more about SuperDAXMD.
Related content
- Slicers in Power BI
- More questions? Try asking the Power BI Community