Surface Data Eraser (IT Toolkit)
This article explains how to create a secure data wipe USB key with the Surface Data Eraser and generate a certificate of sanitization. You can use the data wipe USB key on your target device and other supported devices with matched architecture.
Supported on current devices
- All current Surface devices, including Surface Pro 7 and later, Surface Laptop 3 and later, Surface Go 2 and later, Surface Laptop Studio and later, Surface Laptop SE, Surface Laptop Go and later.
Not supported on legacy devices
- This version of Surface Data Eraser isn't supported on legacy devices such as Surface Laptop 2 and earlier, Surface Pro 6 and earlier, Surface Book 2 and earlier, Surface Go, and Surface Studio (1st gen).
- To securely erase data on legacy devices, see Microsoft Surface Data Eraser (legacy).
Create the Data Eraser USB
Open Surface IT Toolkit, select Data Eraser USB-Builder > Create USB.

On the Select device page, choose your target device from the list of Managed devices or from the dropdown list under All Devices and select Next.

Insert a USB drive in your device. Back up any existing data before proceeding.
On the Final review page, confirm your selected device and choose a validation method for the data wipe. You have the option to perform a full SSD verification after the data wipe. Select None or Full depending on your requirement.
Under USB Key Selection, choose the USB drive you intend to use. Select Create.

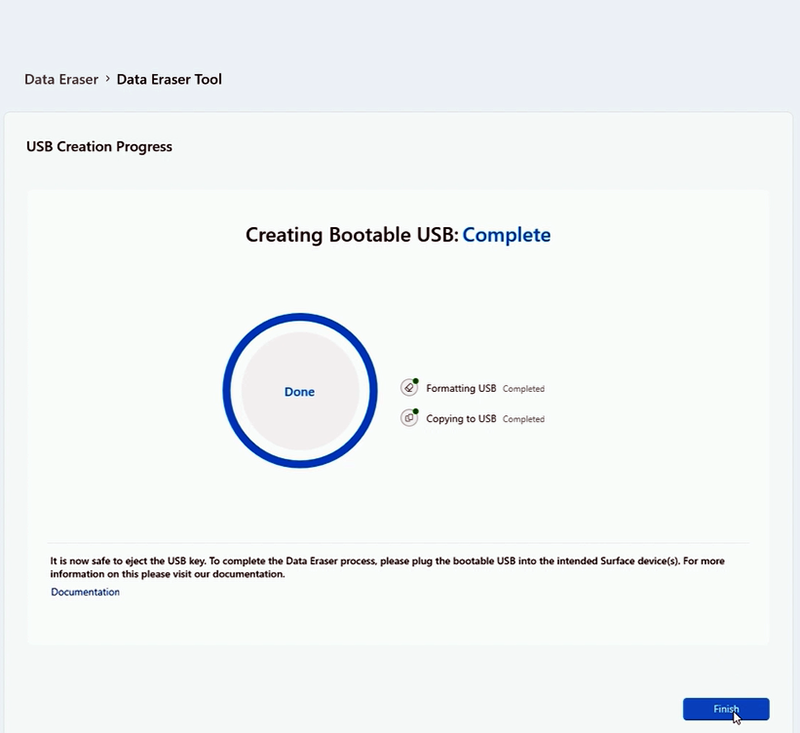
When the USB Creation process concludes, a confirmation message appears indicating Creating Bootable USB: Complete. Select Finish.

When the tool indicates it's safe to eject the USB key, remove it from your device and plug it into the intended Surface device.
Warning
The Data Eraser process deletes all data on the device, including the operating system, installed apps, files, and settings.
- To continue, type CONFIRM If you're unsure or don't wish to proceed, type EXIT.
- Keep your device plugged into AC Power during the data wipe process.
Generate Data Sanitization Certificate
On the Data Eraser tool interface, select Generate Certificate. This creates a certificate of sanitization using the log files written to the Data Eraser USB after each successful data wipe.

On the Import Log File(s) page, upload the log files previously saved to the USB key. Unverified Log files or from a data wipe with Validation set to ‘None’ cannot be used to create certificates.
On the Sanitization Certificate page, enter the requested details.

Under Additional Details, input the Media Source. Use the Asset tag if available. Or you can use the Serial Number or System UUID, as listed in the Surface UEFI menu on the wiped device. Optionally, you can add custom fields by clicking + Add custom field if more information is necessary.
When all the relevant details are entered, select Next to proceed to the certificate creation process.
Review the certificate details and select Generate.

When complete, select Show Files to access the Sanitization Certificate. Select Finish.

Open the newly created certificate and add signatures as appropriate, as shown in the following redacted example.
