Note
Access to this page requires authorization. You can try signing in or changing directories.
Access to this page requires authorization. You can try changing directories.
This document will provide assistance in getting started with configuring Atemop Miria to migrate data to Azure Storage.
Reference Architecture
The following diagram provides a reference architecture for on-premises to Azure deployments.
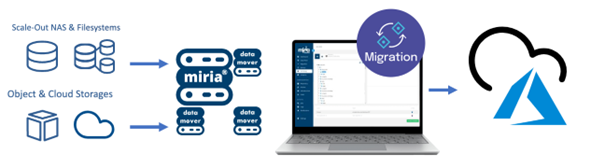
Your existing Atempo Miria deployment can easily integrate with Azure by adding and configuring a connection to Azure, either a standard connection or an ExpressRoute.
Before you Begin
A little upfront planning helps configure your Miria software to use Azure as a data migration target.
Get Started with Azure
Microsoft offers a framework to get you started with Azure. The Cloud Adoption Framework (CAF) is a detailed approach to enterprise digital transformation and a comprehensive guide to planning a production-grade cloud adoption. The CAF includes a step-by-step Azure setup guide to help you get up and running quickly and securely. You will find sample architectures, specific best practices for deploying applications, and free training resources to put you on the path to Azure expertise.
Considerations For Migrations
Several aspects are important when considering migrations of file data to Azure. Before proceeding learn more
- Storage Migration Overview
- Latest supported features by Miria in the Migration tools comparison matrix
Remember, you need enough network capacity to support migrations without impacting production applications. This section outlines the tools and techniques that are available to assess your network needs.
Determine Unutilized Internet Bandwidth
It's important to know how much unutilized bandwidth (or headroom) you have available on a day-to-day basis. To help you assess whether you can meet your goals for
- Initial time for migrations
- Time required to do incremental resync before final switch-over to the target file service
Use the following methods to identify the bandwidth headroom that is free to consume
If you're an existing Azure ExpressRoute customer, view your circuit usage in the Azure portal
Contact your ISP and request reports to show your existing daily and monthly utilization
There are several tools that can measure utilization by monitoring your network traffic at the router/switch level
- SolarWinds Bandwidth Analyzer Pack
- Paessler PRTG
- Cisco Network Assistant
- WhatsUp Gold
Implementation Guidance
Before you begin
This documentation assumes that:
- you have the read and write permissions in the Azure Storage Container that you are using, or an appropriate RBAC role.
- you already have a Miria Server and Miria Data Mover installed and running on a VM or on a server in your environment. If this is not the case, please refer to the following links for more information regarding:
The following section guides you in successive steps:
- Creating and configuring your Azure BLOB Storage
- Creating a Miria Target Storage - Azure BLOB
- Creating a Miria Source Storage with SMB/CIFS share
- Creating and launching your data migration task
- Checking on progress, logs, and reports at the project and task level
- Creating other tasks in your migration project
Azure Storage configuration
This section provides a brief guide for how to add Azure BLOB to an on-premises-to-Azure Miria deployment
- Open the Azure portal, and search for storage accounts
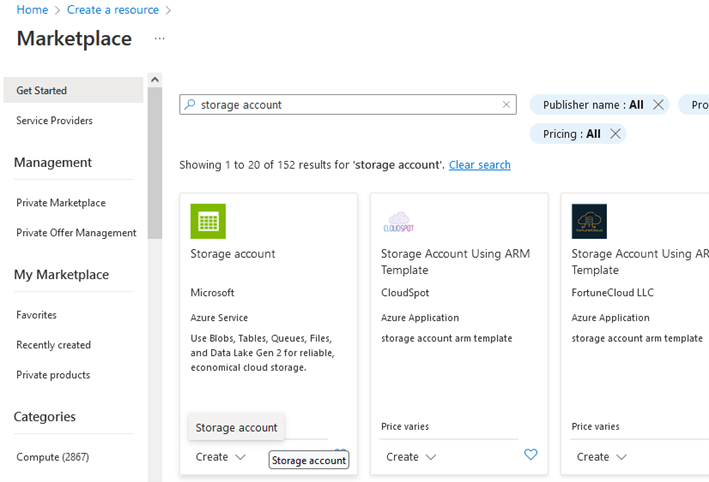
- Select Create to add an account:
- Select an existing resource group or Create new
- Provide a unique name for your storage account
- Select the region
- Select Standard or Premium performance, depending on your needs
- Select the Redundancy that meets your data protection requirements

- Next, we recommend the default settings from the Advanced screen

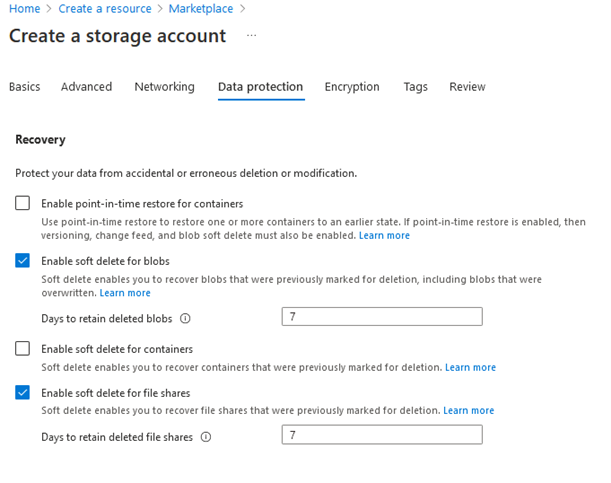
- Keep the default networking options for now and move on to Data protection. You can select to enable soft delete, which allows you to recover accidentally deleted data within the defined retention period. Soft delete offers protection against accidental or malicious deletion
Add tags for organization if you use tagging and Create your account
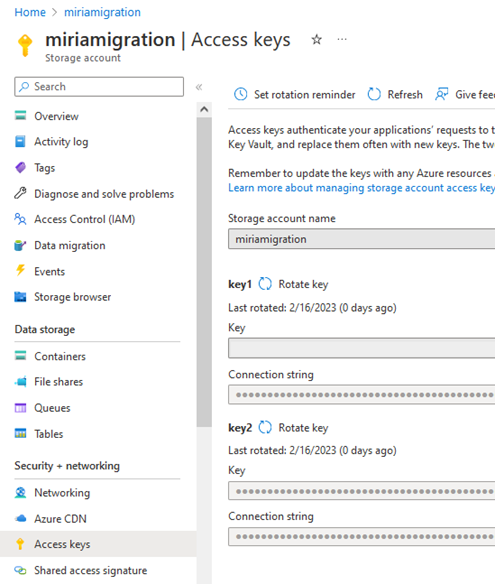
Another step is mandatory before you can add the account to your Miria environment. Navigate to the Access keys item under Security + Networking and copy the Storage account name and one of the two access keys.
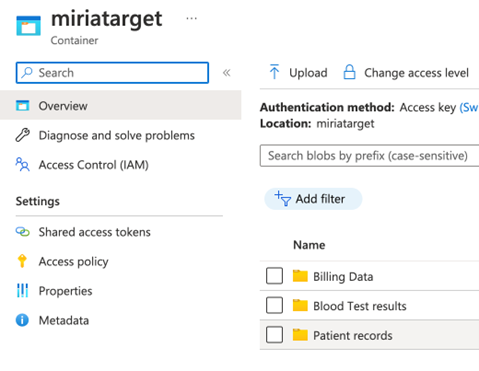
- Under Data Storage, create a Container with a unique name
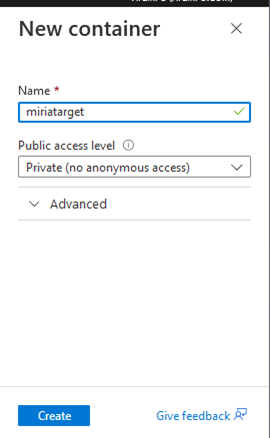
- Optional - Configure security best practices
Creating a Miria Target Storage: Azure BLOB
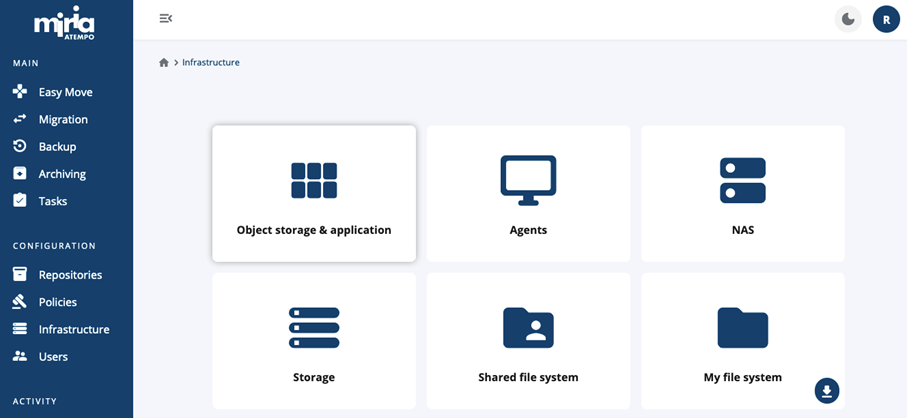
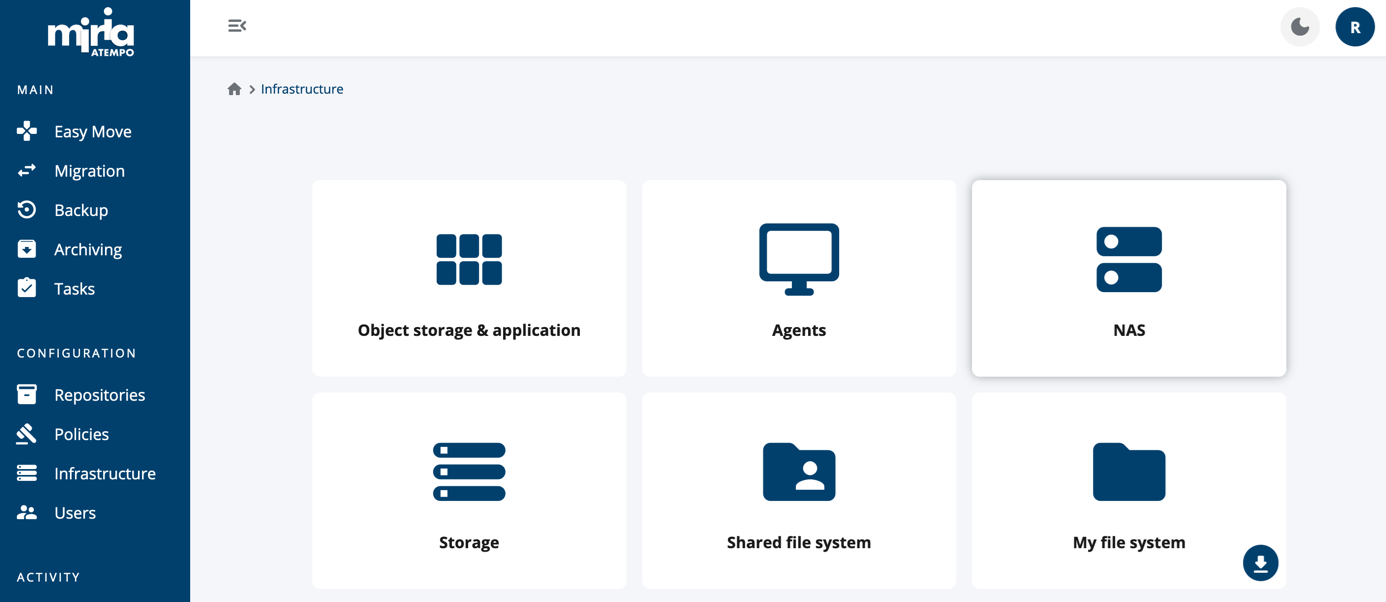
- In Miria Web UI, you need to declare the Azure storage and the newly created container. To do so, navigate to Infrastructure in the left pane, then select Object storage & application
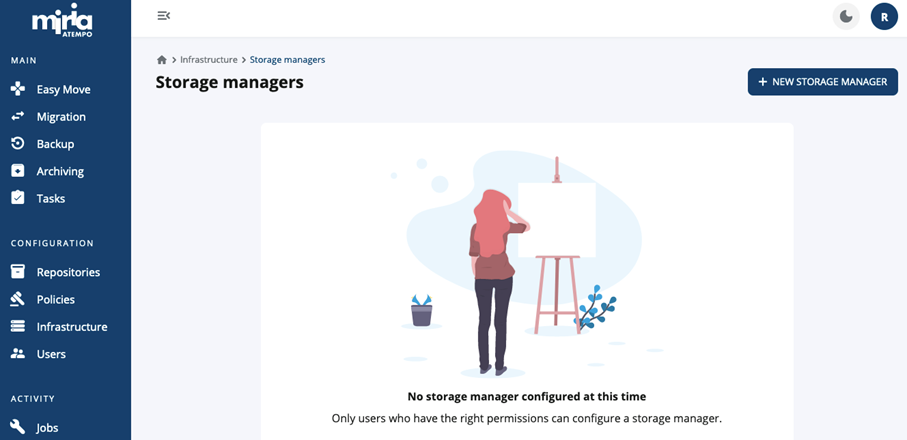
- Select the New Storage Manager button on top right
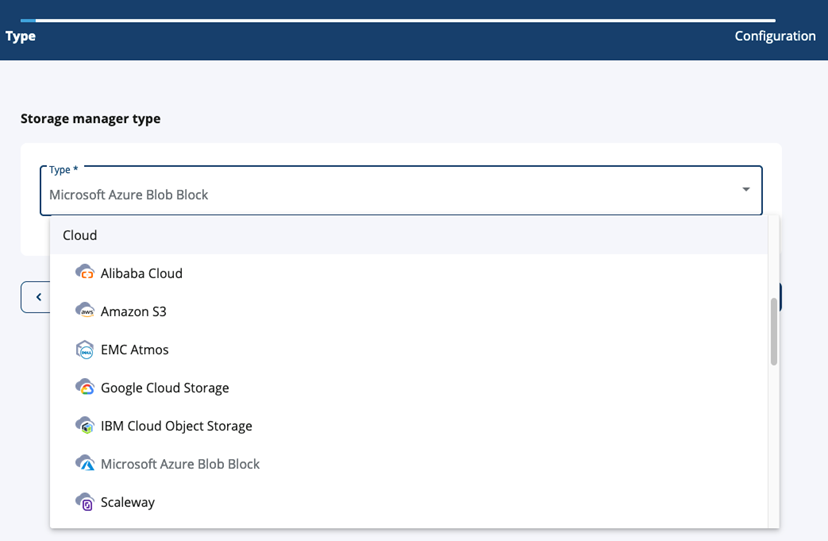
- In the "Type" drop-down list, select Microsoft Azure Block Blob among Cloud entries and select Next
- Select a Storage Manager name (here SM_Azure) and replace placeholder with your Account name in the Network address field:
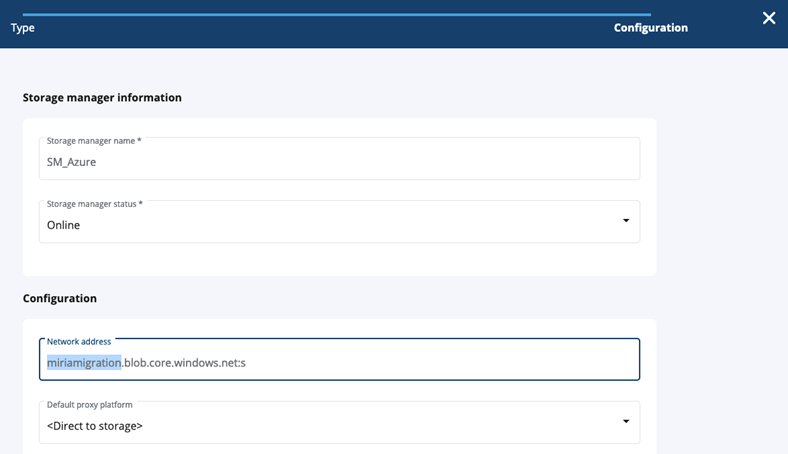
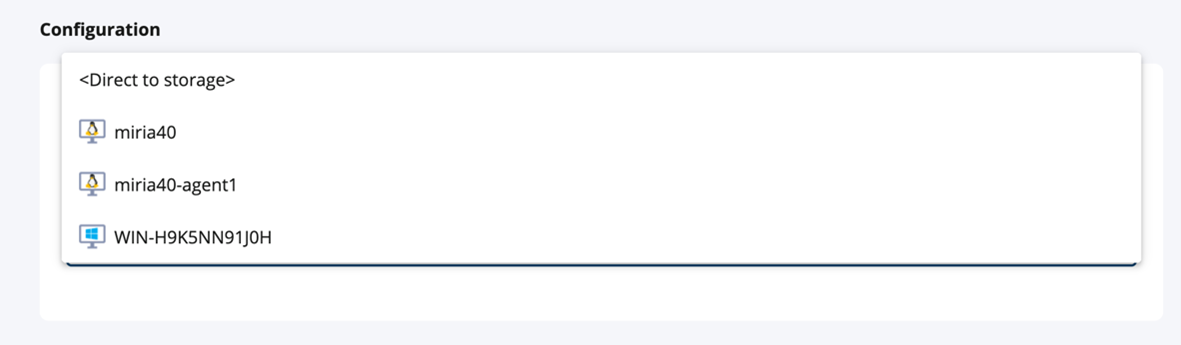
- In the Default proxy platform drop-down list, select the desired Data Mover or Data Mover Pool (here WIN-H9K5NN91J0H) used to reach out to your Azure storage
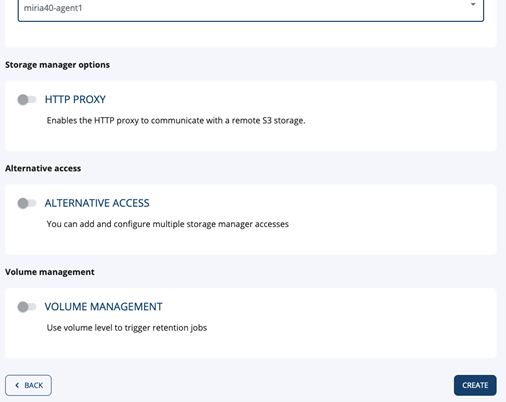
- Select Create at the bottom
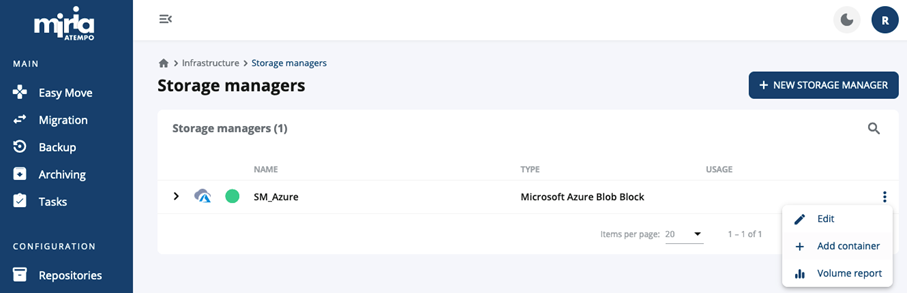
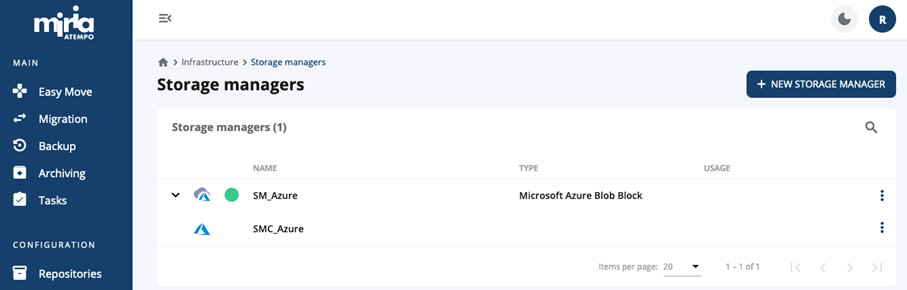
Once the Storage Manager is successfully created, we need to create the Miria container associated to this bucket. To do so, select the Back button to display the list of Storage Managers.
- Select the three dots located at the end of the line associated to the Storage Manager we created and select Add Container
- Select a Storage Manager Container name (here SMC_Azure) and activate the toggle Available as Source to support future workflows. Name the source platform (here SMC_Azure)
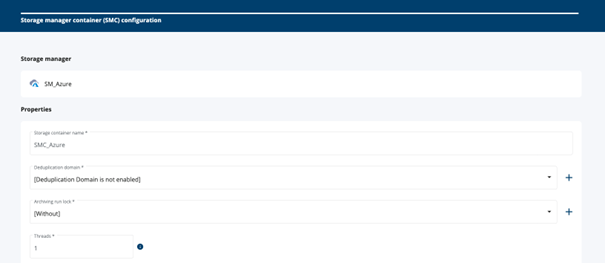
- Scroll down to Available as Source toggle and select "Enabled" to support future workflows using this SMC as a source. Name the source platform (here Azure).

- Scroll down to the Configuration section at the bottom and type Azure account name, its Access Key and Container Name
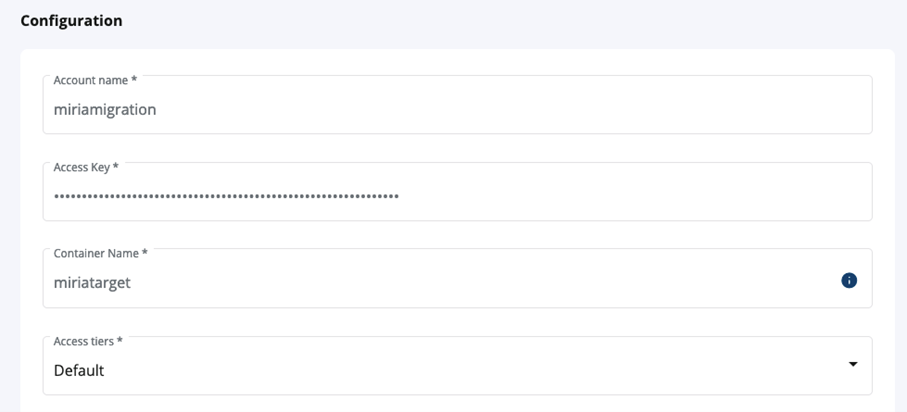
Access tier “Default” matches the one chosen during the Azure storage account creation (Step 3 above).
Then select Create at the bottom. Your SMC is successfully created, select Back to get back to the home screen
Congratulations! Your Azure storage container and bucket are now fully declared and ready to use.
Creating a Miria Source Storage for a Windows file server
In this example, we're moving data from an SMB/CIFS share of a Windows file server (our source storage) to Azure (our target storage). To create the source storage in Miria:
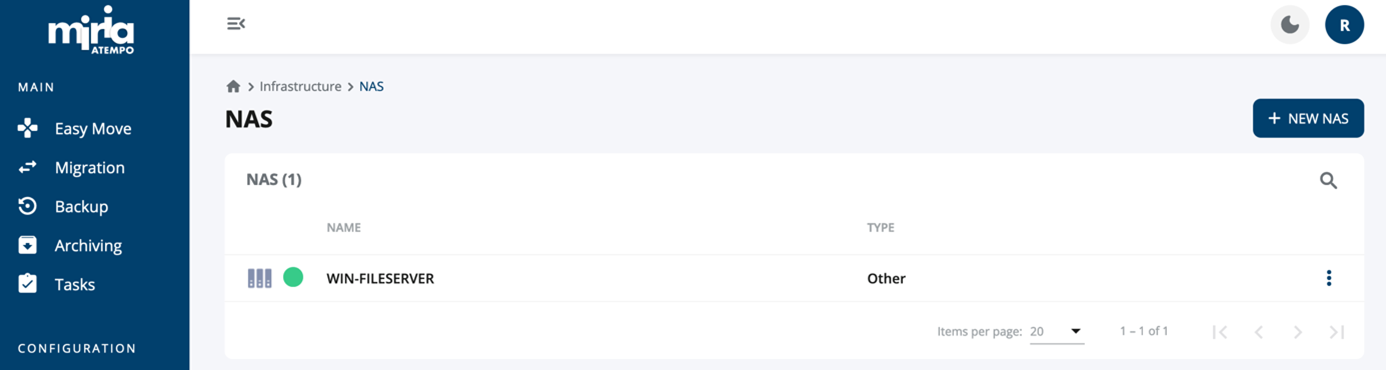
- Navigate to the Infrastructure item on the left pane, then select NAS
- Select the New NAS button in the top right
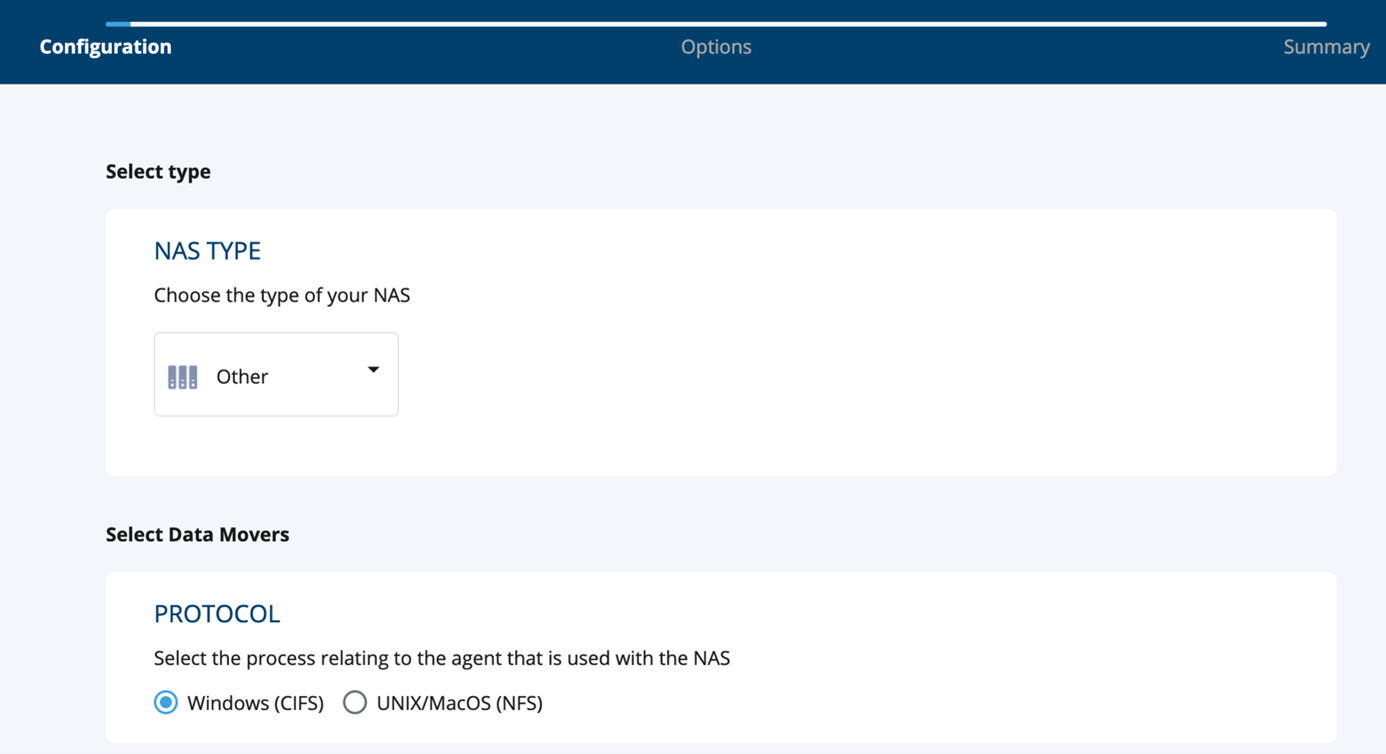
In the NAS Type drop-down list, select Other
In the "Protocol" radio button, select Windows (CIFS)
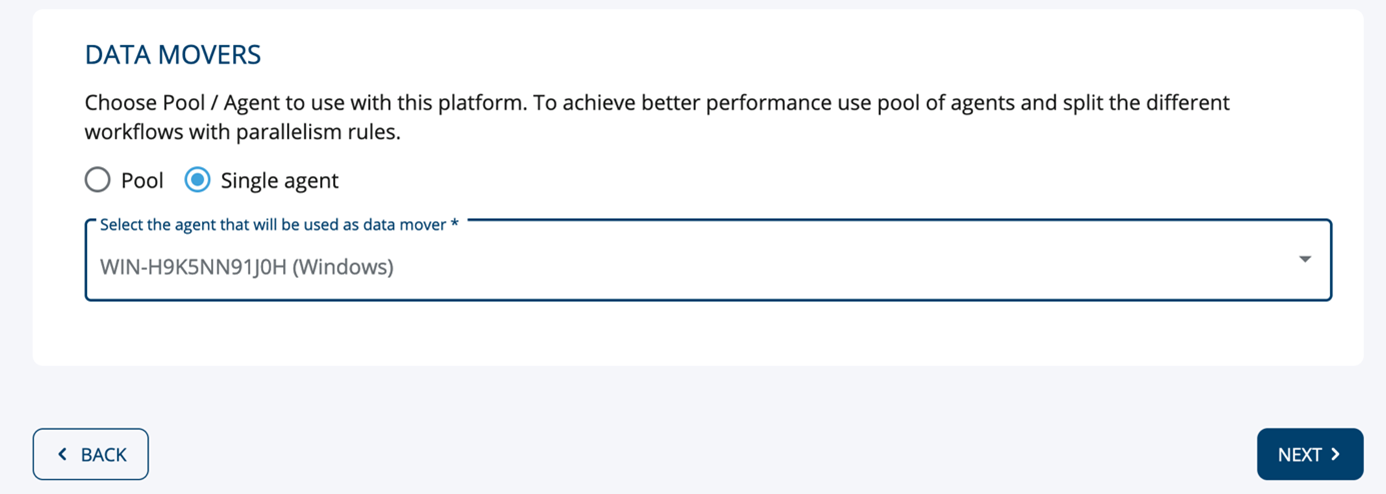
Under Data Movers, select Single agent or Pool (depending on your setup) and add a Windows Data Mover
Select Next at the bottom right
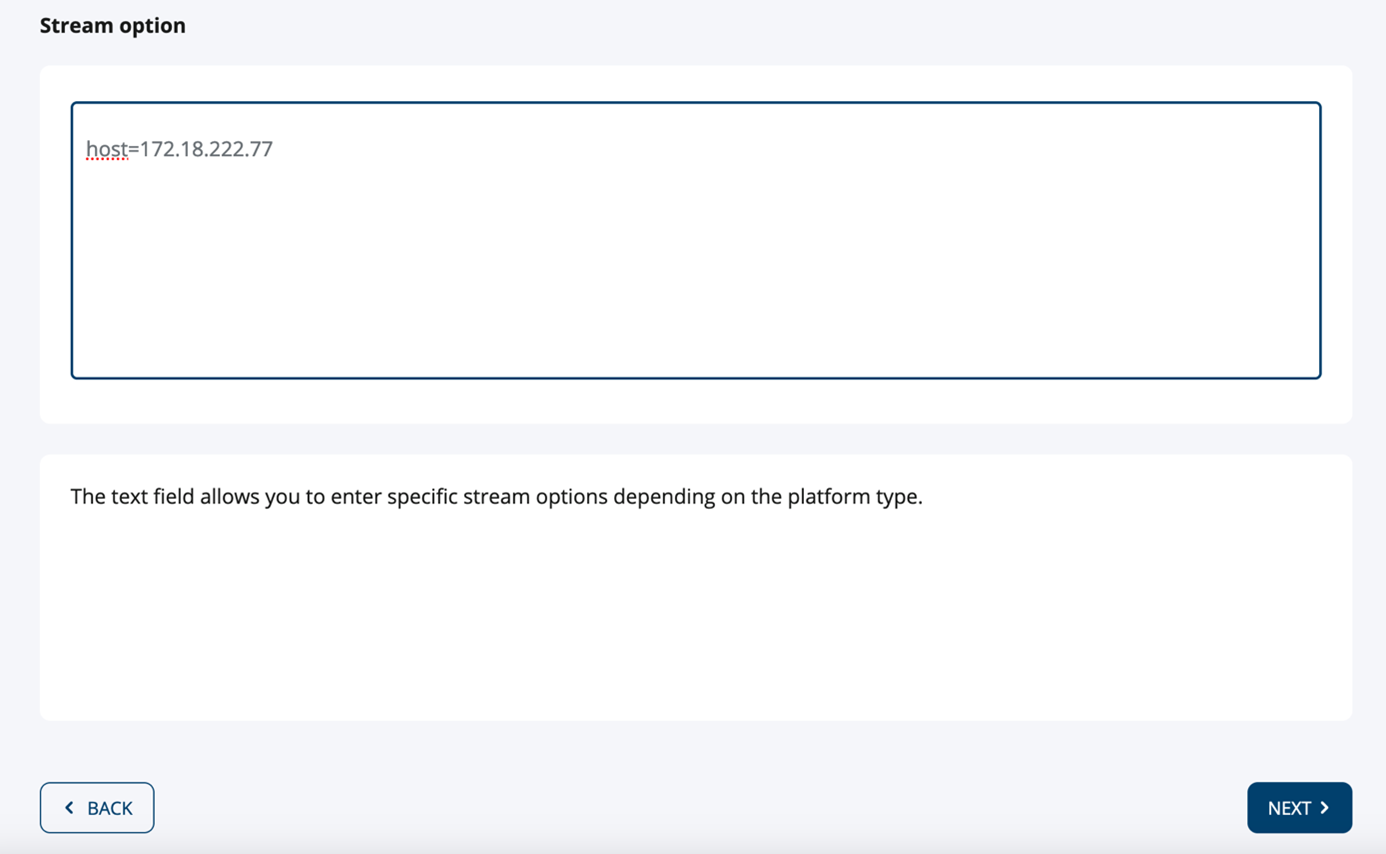
In the Stream option text box, add “host=” followed by FQDN (or IP address) of your NAS
Select Next
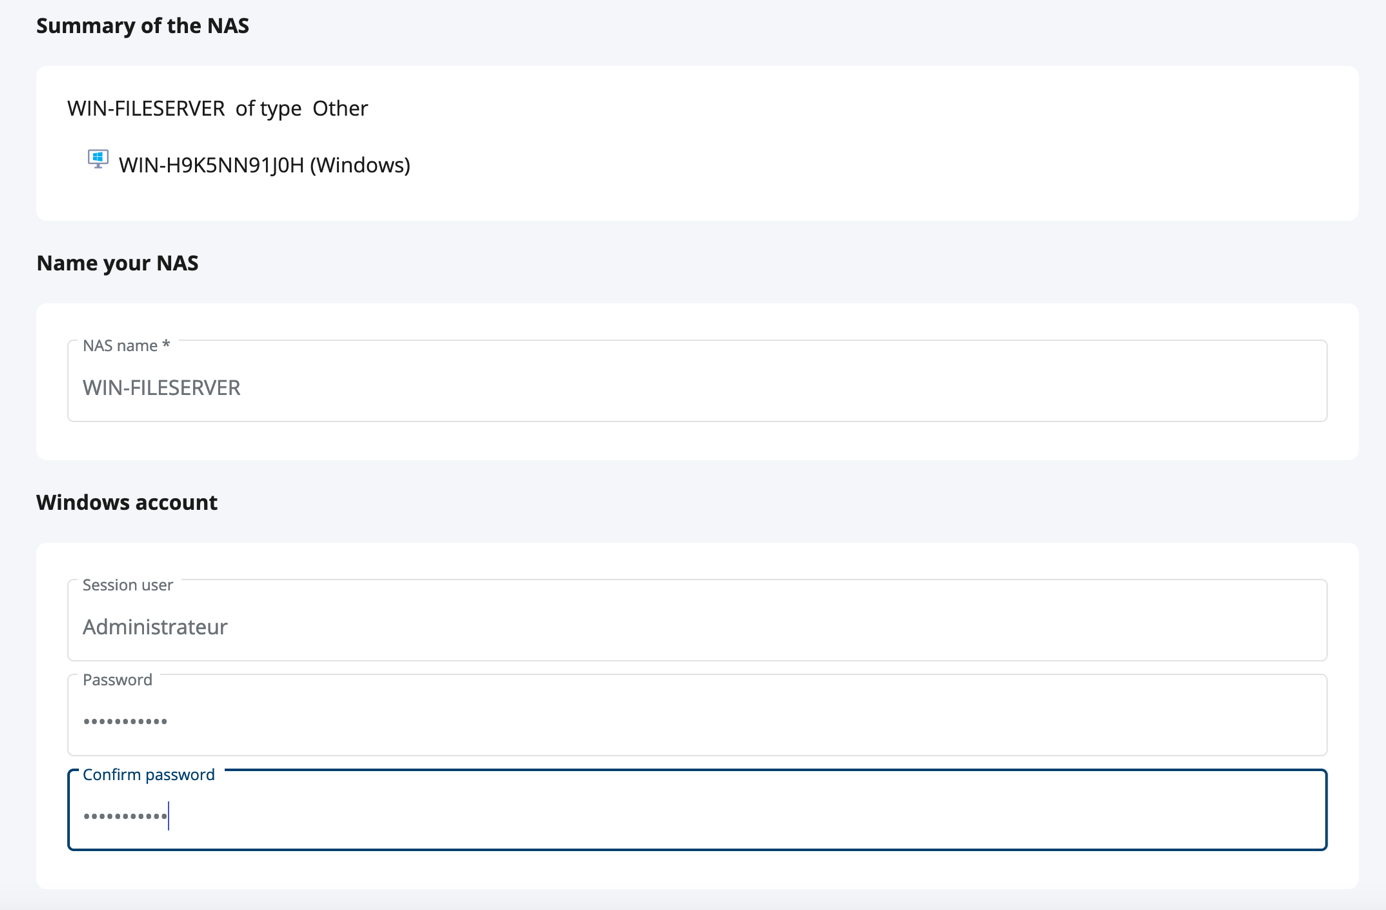
Select a NAS name
Add the credentials you want to use for Data migration accessing this share
Select Create
Congratulations! Your Windows file server is now ready to be used as a source
Start your migration
Creating and starting your data migration task
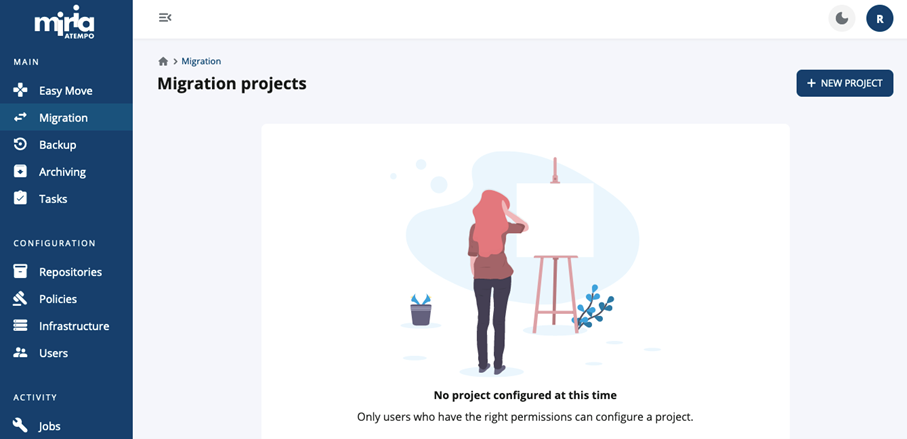
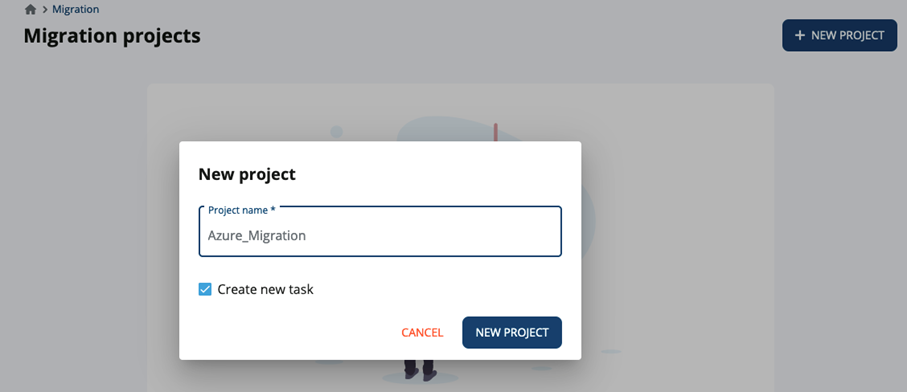
- Now you can create your Migration project by selecting Migration in the left pane and New Project:
- Select the "New Project" button
- Select your source and target from the drop-down lists and select Next

- Select the folder containing data to migrate on the left side of the panel and select "Add". This folder appears in the selection list located in the below section of the window

Once your folder selection is complete, select Next
- At this step, you may select among different advanced options if needed. Review them and select Next

- Select a name for your task then select Create
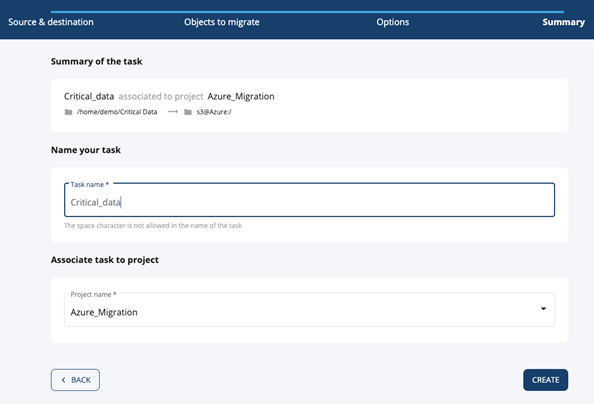
- You may now start your migration by clicking Start
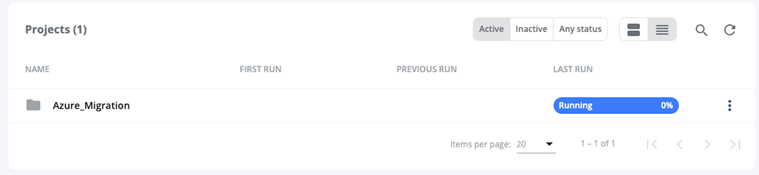
The task runs
and after a period is completed
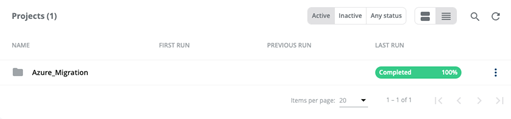
You may monitor on the Azure side that your container is populated with your data
Checking on migration progress, logs, and reports
In the above step, we have created two objects at once
- A migration project,
- And a task in this migration project
You might want to create a migration task per subset of data to migrate, for instance by usage, user group, department, project, etc. to have more control of the migration of each data sets
The Web interface offer multiple options to check on progress
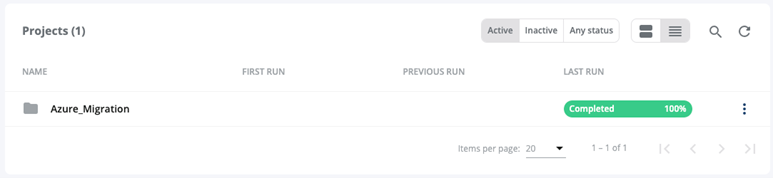
- At the project level - to get a global view of the progress of all tasks created in the project,
- At the individual task level - to check on the progress for a specific task such as the data subset
To access the logs or more details on the tasks in this project, select on the three dots located at the end to display this menu
- By selecting Show Logs, you see the logs for all tasks in the project
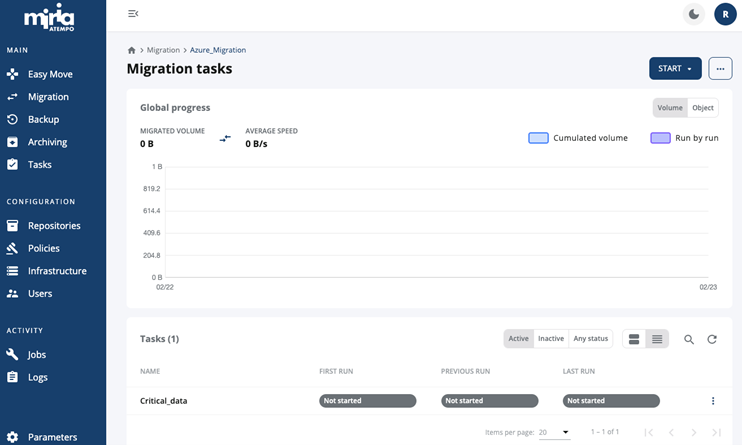
- By selecting See Tasks, you see a graphical overview of the volume associated to all tasks as shown in this screenshot
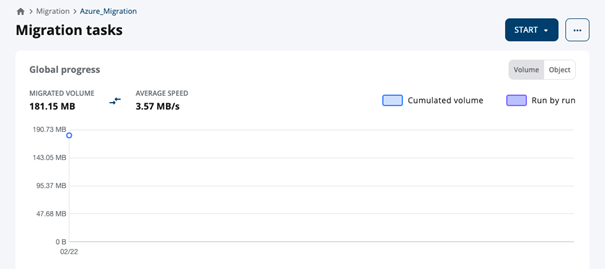
The above screenshot provides an overview of all iterations of the migration tasks in your project. We currently have only one iteration for our task. We can easily launch a new iteration of the same task to collect all the latest and changed files since the last run. Select the task in the bottom part of the panel and select Start Task. Each iteration of the task is shown on the above interface.
The bottom part of the screen is listing the tasks created in this project.
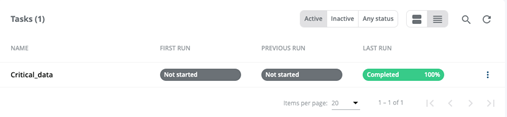
To drill down on an individual task, just apply a similar process, select the three-dot menu at the end of the task line to display the task-related submenu
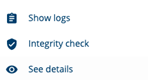
- Selecting Show logs shows the logs for this task only.
- Selecting Integrity check provides access to the associated report for this task.
- Selecting See Details provides a graphical volume report with details at the task level as shown in the following screenshot
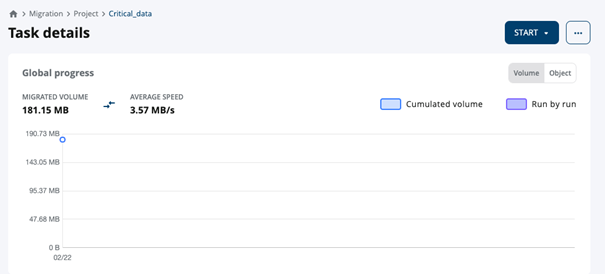
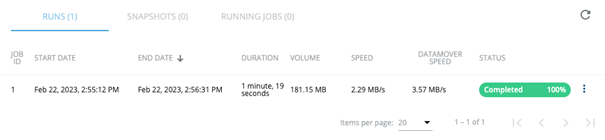
The lower part of the screen provides more details on the job run.
To download the report associated to this task, select the three-dot menu at the end of the line and select Download Report
Creating other tasks in your migration project
More tasks can be added to a Migration project going back to the project level, by clicking the word project in the “bread crumb”

To add a task, use the top menu with the three horizontal dots, select New Task and follow a similar process to create your task within the project
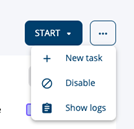
After the administrator adds multiple tasks to the project, the Start menu on the top provides a way to start new iterations for all the tasks in this project at once.
Support
When you need help with your migration to Azure solution, you should open a case with both Atempo and Azure
To Open a Case with Atempo
On the Atempo Support Site, sign into your account using the credentials received with your Miria package and open a case
To Open a Case with Azure
Search for Support in the Azure portal search bar. Select Help + support -> New Support Request
Next steps
Learn more about the process and recommendations for migrating data to Azure Storage