Open the model-driven app form editor
Model-driven app forms allow a user to update the data within columns, or fields, associated with a given table record.
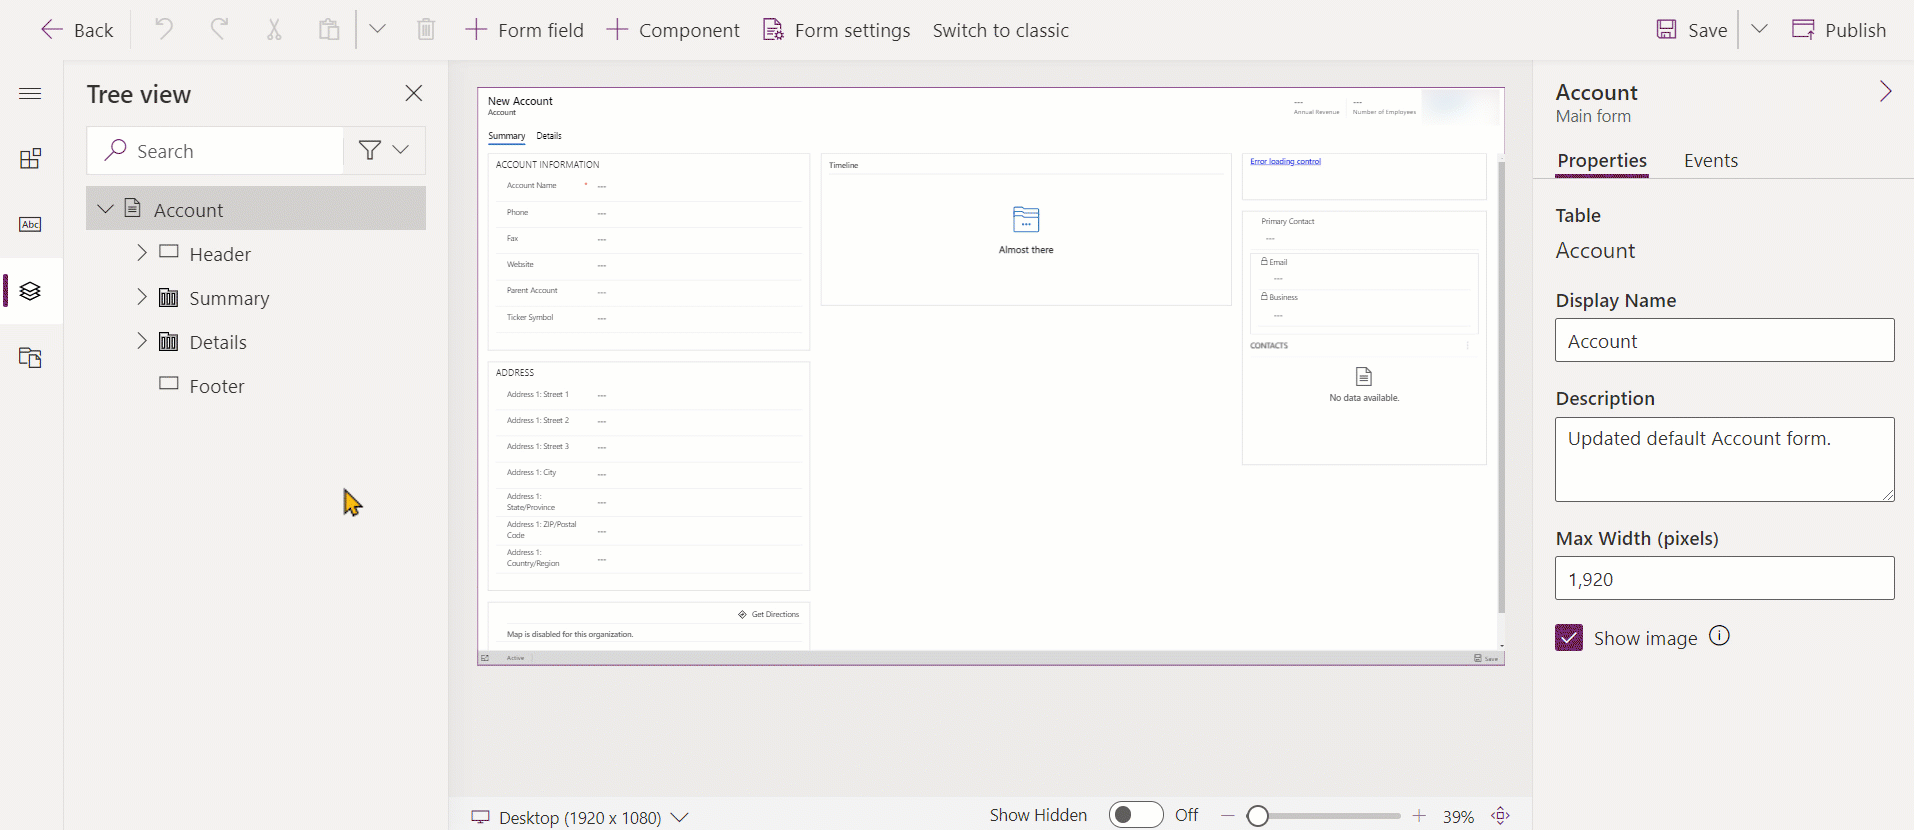
The form editor is where you design forms by dropping components such as sections, tabs, columns, and controls onto the form editor canvas. In this article, you learn how several different ways to access the form editor.
If you create any new solution components in the process of editing the form, for example web resources, the names of the components will use the solution publisher customization prefix for the default solution and these components will only be included in the default solution. If you want any new solution components to be included in a specific unmanaged solution, you should open the form editor through that unmanaged solution.
Access the form editor from the Power Apps site
Sign in to Power Apps.
Select Tables on the left navigation, and then select the table you want, such as the account table. If the item isn’t in the side panel pane, select …More and then select the item you want.
Select the Forms area and then open the form you want, such as the Account main form.
Access the form editor from solution explorer
Open solution explorer.
Under Components, expand Tables, and then the table you want, and select Forms.
In the list of forms, select the form you want to edit.
Access the form editor through the command bar within a model-driven app
Open a row.
If there are multiple main forms for the table, verify that the form is the one you want to edit. If it isn't, use the form selector to choose the form you want to edit.
Select the More Commands button
 .
.Select Form Editor.
Access the form editor from within app
You can access the form editor through the command bar or the ribbon, depending on the table. Both of these methods will open the form in the context of the default solution.
Access the form editor for an unmanaged solution
Open Solutions. If the item isn’t in the side panel pane, select …More and then select the item you want.
Select the unmanaged solution you want to work with.
Open the table with the form you want to edit. If the table isn't there, you'll need to add it. More information: Add a table to an unmanaged solution
Select the Forms area, and then open the form you want to edit.
Add a table to an unmanaged solution
Select the Tables node and, in the toolbar above the list, select Add Existing.
In the Select Solution Components dialog box, with the Component Type selector set to Table, select the table you want to add and select OK.
If the Missing Required Components dialog box appears, you can select No, do not include required components if you don't intend to export this unmanaged solution to another environment. If you choose not to include missing required components at this time, you can add them later. You'll receive notification again if you export this solution in the future.
In the solution explorer, expand the table with the form you want to edit and select Forms.
In the list of forms, double-click the form you want to edit.