Note
Access to this page requires authorization. You can try signing in or changing directories.
Access to this page requires authorization. You can try changing directories.
Test cases help you verify that your desktop flows work correctly. Instead of manually running a flow and checking results every time you make changes, create a test case that automatically runs your flow or its subflows and checks if the output matches what you expect.
Prerequisites
- Power Automate for desktop version 2.54 or later
- A Power Automate Premium license
Create a test case
A test case validates a single desktop flow. Take the following steps to create a new test case:
- Open Power Automate for desktop.
- In the left navigation, select Tests.
- Select + New > Test case.
- Enter a name for your test case.
- Select the desktop flow you want to test.
- Select Create.
The test case opens in the designer, where you see the Actions pane and can add actions to run your flow or its subflows and validate the results.
Add actions to your test case
Every test case uses two actions: one to run your flow or its subflows , and one to check the results.
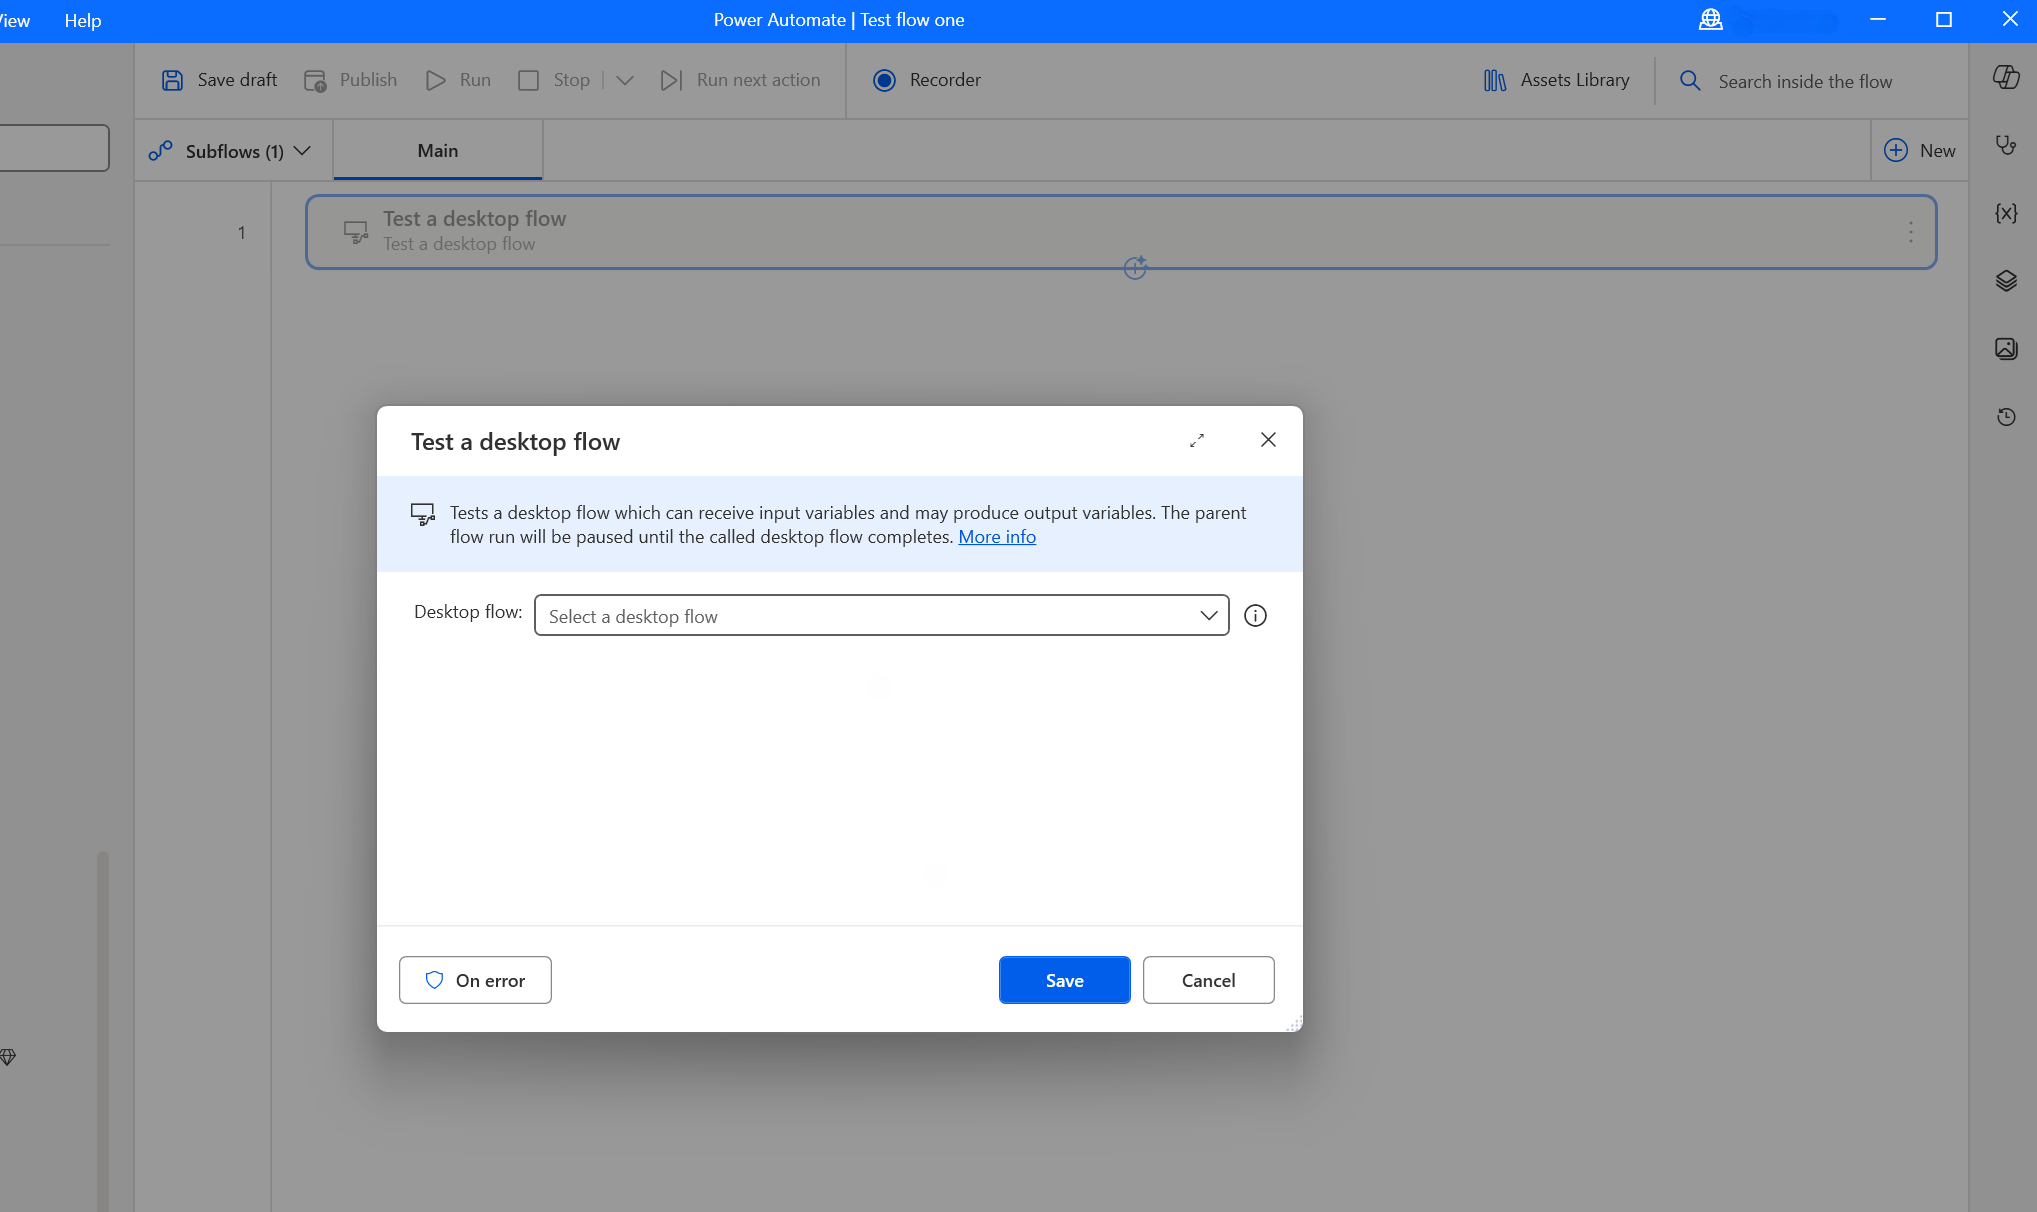
Test a desktop flow
The Test a desktop flow action runs the desktop flow you selected when creating the test case.
To test a desktop flow:
- In the Actions pane, expand Testing, and then select and drag the Test a desktop flow action into your test case on the designer pane.
- If your flow requires input values, enter them in the action's parameters.
- When the flow runs, you can validate any output variables it produces.
Test a subflow of a desktop flow
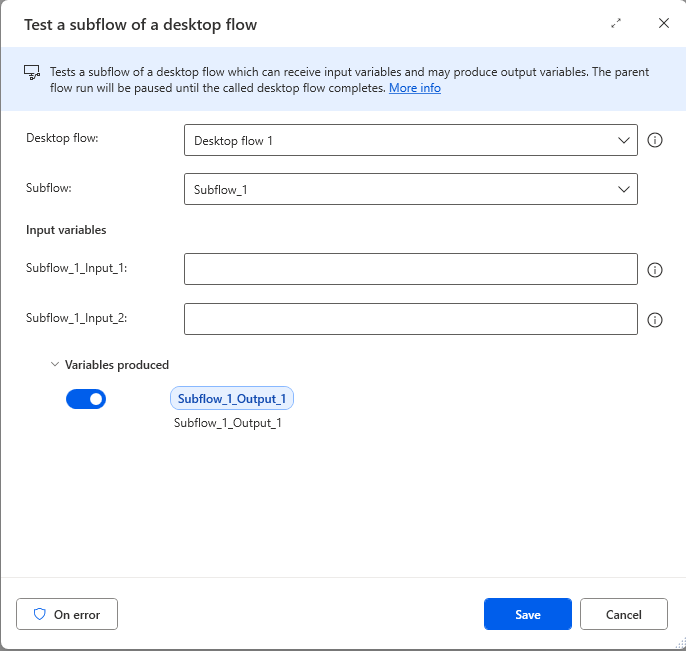
The Test a subflow of a desktop flow action runs a specific subflow within a desktop flow.
To test a subflow:
- In the Actions pane, expand Testing, and then select and drag the Test a subflow of a desktop flow action into your test case on the designer pane.
- Select the desktop flow that contains the subflow.
- Select the subflow you want to test (only local subflows are supported).
- If the subflow requires input values, enter them in the action's parameters.
- When the subflow runs, you can validate any output variables it produces.
Note
Only local subflows are supported. Global subflows aren't supported.
Assert
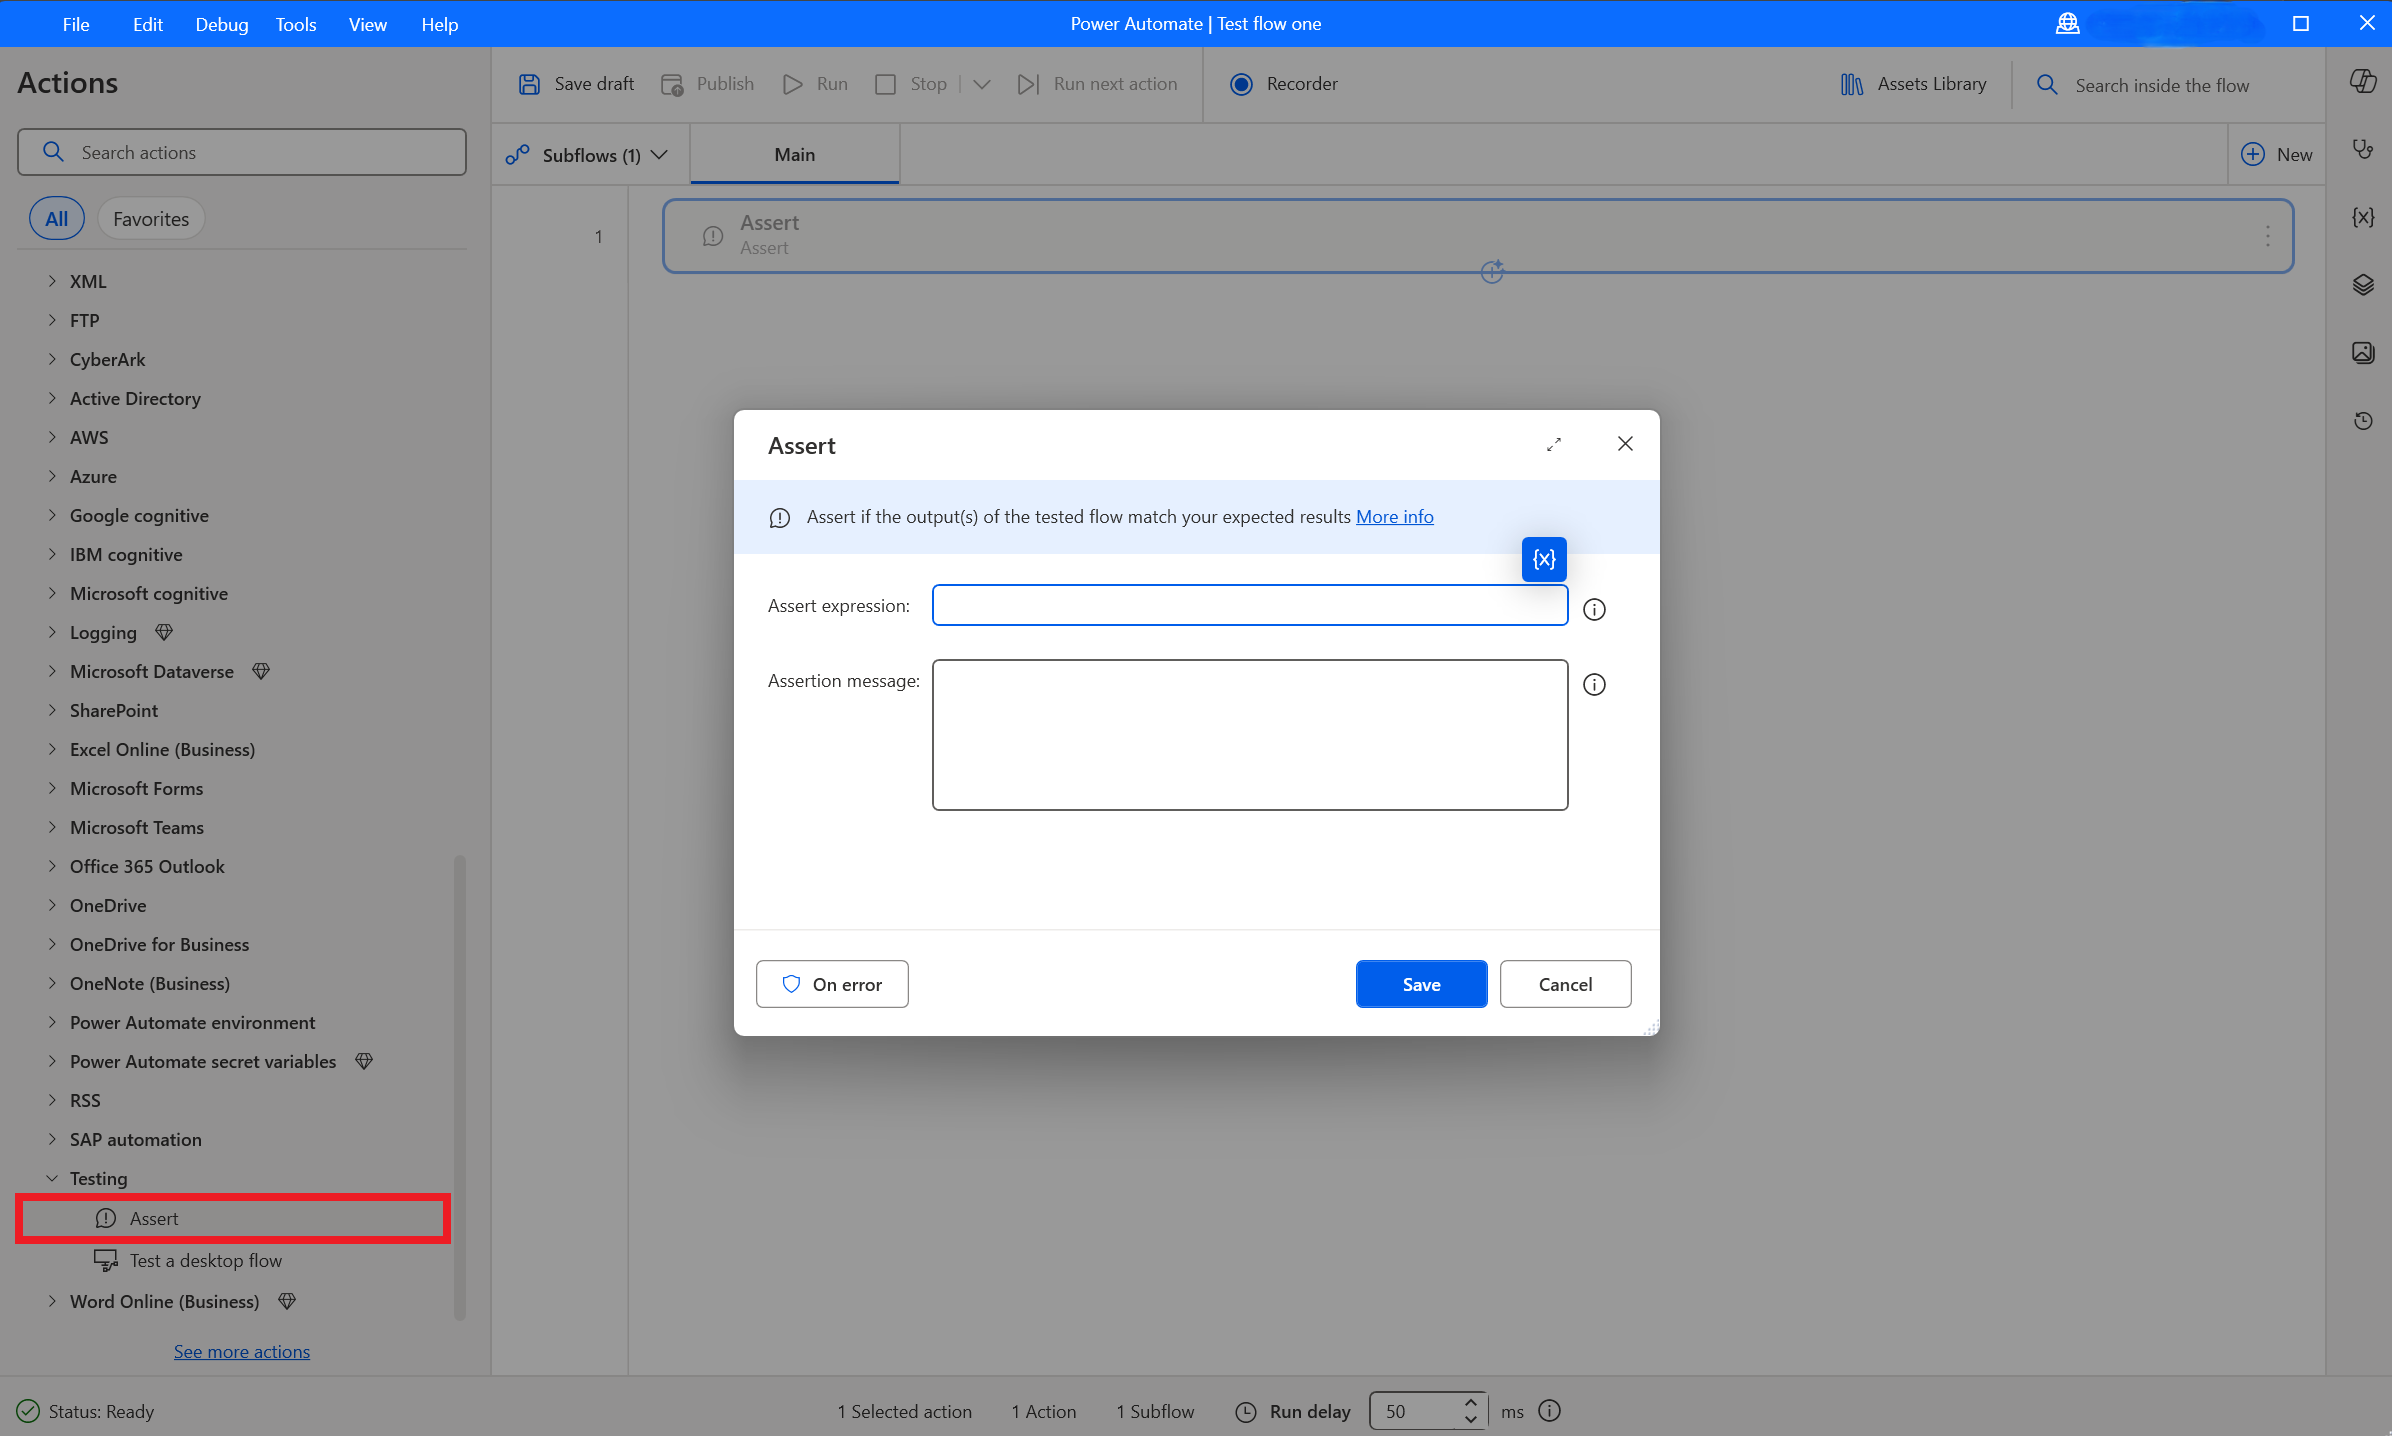
The Assert action checks if a value matches what you expect. If the check fails, the test fails.
To add an assertion:
- In the Actions pane, expand Testing, and then drag the Assert action into your test case on the designer pane.
- In Assert expression, enter a condition to validate. For example:
%Sum = 25%checks if Sum equals 25.%Total > 0%checks if Total is greater than zero.%Status contains 'Success'%checks if Status contains the word "Success."
- In Assert message, enter a message that explains what went wrong if the test fails, such as Expected Sum to equal 25.
Tip
Add multiple Assert actions to validate different outputs from your flow.
For the full list of parameters, see Testing actions reference.
Run a test case
You can run a test case either from the Tests console or from the designer.
Run a test case from the Tests console
To run a test case from the Tests console, follow these steps:
- Select Tests in the left navigation.
- Select the test case you want to run.
- Select Run in the toolbar.
Run a test case from the designer
To run a test case from the designer, follow these steps:
- Open your test case.
- Select Run in the toolbar.
View test results
After running a test, the Status column in the Tests console shows the result:
| Status | Description |
|---|---|
| Passed | All assertions succeeded. Your flow works as expected. |
| Failed | One or more assertions failed. Review the assertion message to understand what went wrong. |
When a test fails, you might need to:
- Fix an issue in your desktop flow.
- Update the expected values in your Assert actions if requirements changed.