Note
Access to this page requires authorization. You can try signing in or changing directories.
Access to this page requires authorization. You can try changing directories.
Controlling outbound network access is an important part of an overall network security plan. For example, you might want to limit access to websites. Or, you might want to limit the outbound IP addresses and ports that can be accessed.
You can control outbound network access from an Azure subnet by using Azure Firewall. By using Azure Firewall, you can configure:
- Application rules that define fully qualified domain names (FQDNs) that can be accessed from a subnet.
- Network rules that define source address, protocol, destination port, and destination address.
Network traffic is subjected to the configured firewall rules when you route your network traffic to the firewall as the subnet default gateway.
In this article, you create a simplified single virtual network with three subnets for easy deployment. For production deployments, use a hub and spoke model, where the firewall is in its own virtual network. The workload servers are in peered virtual networks in the same region with one or more subnets.
- AzureFirewallSubnet - the firewall is in this subnet.
- Workload-SN - the workload server is in this subnet. This subnet's network traffic goes through the firewall.
- AzureBastionSubnet - the subnet used for Azure Bastion, which is used to connect to the workload server.
For more information about Azure Bastion, see What is Azure Bastion?
Important
Hourly pricing starts from the moment that Bastion is deployed, regardless of outbound data usage. For more information, see Pricing and SKUs. If you're deploying Bastion as part of a tutorial or test, we recommend that you delete this resource after you finish using it.

In this article, you learn how to:
- Set up a test network environment
- Deploy a firewall
- Create a default route
- Configure an application rule to allow access to
www.google.com - Configure a network rule to allow access to external DNS servers
- Test the firewall
If you prefer, you can complete this procedure by using the Azure portal.
If you don't have an Azure subscription, create a free account before you begin.
Prerequisites
This procedure requires that you run PowerShell locally. You must have the Azure PowerShell module installed. Run Get-Module -ListAvailable Az to find the version. If you need to upgrade, see Install Azure PowerShell module. After you verify the PowerShell version, run Connect-AzAccount to create a connection with Azure.
Set up the network
First, create a resource group to contain the resources needed to deploy the firewall. Then create a virtual network, subnets, and test servers.
Create a resource group
Use New-AzResourceGroup to create a resource group for the deployment:
New-AzResourceGroup -Name Test-FW-RG -Location "East US"
Create a virtual network and Azure Bastion host
This virtual network has three subnets. Use New-AzVirtualNetworkSubnetConfig to define them:
Note
The size of the AzureFirewallSubnet subnet is /26. For more information about the subnet size, see Azure Firewall FAQ.
$Bastionsub = New-AzVirtualNetworkSubnetConfig `
    -Name AzureBastionSubnet `
    -AddressPrefix 10.0.0.0/27
$FWsub = New-AzVirtualNetworkSubnetConfig `
    -Name AzureFirewallSubnet `
    -AddressPrefix 10.0.1.0/26
$Worksub = New-AzVirtualNetworkSubnetConfig `
    -Name Workload-SN `
    -AddressPrefix 10.0.2.0/24
Use New-AzVirtualNetwork to create the virtual network:
$testVnet = New-AzVirtualNetwork `
    -Name Test-FW-VN `
    -ResourceGroupName Test-FW-RG `
    -Location "East US" `
    -AddressPrefix 10.0.0.0/16 `
    -Subnet $Bastionsub, $FWsub, $Worksub
Create public IP address for Azure Bastion host
Use New-AzPublicIpAddress to create a static public IP address for the Bastion host:
$publicip = New-AzPublicIpAddress `
    -ResourceGroupName Test-FW-RG `
    -Location "East US" `
    -Name Bastion-pip `
    -AllocationMethod static `
    -Sku standard
Create Azure Bastion host
Use New-AzBastion to create the Bastion host:
New-AzBastion `
    -ResourceGroupName Test-FW-RG `
    -Name Bastion-01 `
    -PublicIpAddress $publicip `
    -VirtualNetwork $testVnet
Create a virtual machine
Use New-AzVM to create the workload virtual machine. When prompted, type a user name and password:
# Create the NIC
$wsn = Get-AzVirtualNetworkSubnetConfig `
    -Name Workload-SN `
    -VirtualNetwork $testVnet
$NIC01 = New-AzNetworkInterface `
    -Name Srv-Work `
    -ResourceGroupName Test-FW-RG `
    -Location "East US" `
    -Subnet $wsn

# Define the virtual machine
$SecurePassword = ConvertTo-SecureString "<choose a password>" -AsPlainText -Force
$Credential = New-Object System.Management.Automation.PSCredential ("<choose a user name>", $SecurePassword);
$VirtualMachine = New-AzVMConfig `
    -VMName Srv-Work `
    -VMSize "Standard_DS2"
$VirtualMachine = Set-AzVMOperatingSystem `
    -VM $VirtualMachine `
    -Windows `
    -ComputerName Srv-Work `
    -ProvisionVMAgent `
    -EnableAutoUpdate `
    -Credential $Credential
$VirtualMachine = Add-AzVMNetworkInterface `
    -VM $VirtualMachine `
    -Id $NIC01.Id
$VirtualMachine = Set-AzVMSourceImage `
    -VM $VirtualMachine `
    -PublisherName 'MicrosoftWindowsServer' `
    -Offer 'WindowsServer' `
    -Skus '2019-Datacenter' `
    -Version latest

# Create the virtual machine
New-AzVM `
    -ResourceGroupName Test-FW-RG `
    -Location "East US" `
    -VM $VirtualMachine `
    -Verbose
Note
Azure provides a default outbound access IP for VMs that either aren't assigned a public IP address or are in the backend pool of an internal basic Azure load balancer. The default outbound access IP mechanism provides an outbound IP address that isn't configurable.
The default outbound access IP is disabled when one of the following events happens:
- A public IP address is assigned to the VM.
- The VM is placed in the backend pool of a standard load balancer, with or without outbound rules.
- An Azure NAT Gateway resource is assigned to the subnet of the VM.
VMs that you create by using virtual machine scale sets in flexible orchestration mode don't have default outbound access.
For more information about outbound connections in Azure, see Default outbound access in Azure and Use Source Network Address Translation (SNAT) for outbound connections.
Deploy the firewall
Use New-AzPublicIpAddress and New-AzFirewall to deploy the firewall into the virtual network:
# Get a Public IP for the firewall
$FWpip = New-AzPublicIpAddress `
    -Name "fw-pip" `
    -ResourceGroupName Test-FW-RG `
    -Location "East US" `
    -AllocationMethod Static `
    -Sku Standard
# Create the firewall
$Azfw = New-AzFirewall `
    -Name Test-FW01 `
    -ResourceGroupName Test-FW-RG `
    -Location "East US" `
    -VirtualNetwork $testVnet `
    -PublicIpAddress $FWpip

# Save the firewall private IP address for future use

$AzfwPrivateIP = $Azfw.IpConfigurations.privateipaddress
$AzfwPrivateIP
Note the private IP address. You use it later when you create the default route.
Create a default route
Use New-AzRouteTable and Add-AzRouteConfig to create a route table with a default route that points to the firewall, then associate it with the workload subnet:
$routeTableDG = New-AzRouteTable `
  -Name Firewall-rt-table `
  -ResourceGroupName Test-FW-RG `
  -location "East US" `
  -DisableBgpRoutePropagation

# Create a route
Add-AzRouteConfig `
  -Name "DG-Route" `
  -RouteTable $routeTableDG `
  -AddressPrefix 0.0.0.0/0 `
  -NextHopType "VirtualAppliance" `
  -NextHopIpAddress $AzfwPrivateIP
Set-AzRouteTable

# Associate the route table to the subnet

Set-AzVirtualNetworkSubnetConfig `
  -VirtualNetwork $testVnet `
  -Name Workload-SN `
  -AddressPrefix 10.0.2.0/24 `
  -RouteTable $routeTableDG | Set-AzVirtualNetwork
Configure an application rule
Use New-AzFirewallApplicationRule and New-AzFirewallApplicationRuleCollection to create an application rule that grants outbound access to www.google.com:
$AppRule1 = New-AzFirewallApplicationRule `
    -Name Allow-Google `
    -SourceAddress 10.0.2.0/24 `
    -Protocol http, https `
    -TargetFqdn www.google.com
$AppRuleCollection = New-AzFirewallApplicationRuleCollection `
    -Name App-Coll01 `
    -Priority 200 `
    -ActionType Allow `
    -Rule $AppRule1
$Azfw.ApplicationRuleCollections.Add($AppRuleCollection)
Set-AzFirewall -AzureFirewall $Azfw
Azure Firewall includes a built-in rule collection for infrastructure FQDNs that are allowed by default. These FQDNs are specific to the platform and can't be used for other purposes. For more information, see Infrastructure FQDNs.
Configure a network rule
Use New-AzFirewallNetworkRule and New-AzFirewallNetworkRuleCollection to create a network rule that grants outbound access to two IP addresses at port 53 (DNS):
$NetRule1 = New-AzFirewallNetworkRule `
    -Name "Allow-DNS" `
    -Protocol UDP `
    -SourceAddress 10.0.2.0/24 `
    -DestinationAddress 209.244.0.3,209.244.0.4 `
    -DestinationPort 53
$NetRuleCollection = New-AzFirewallNetworkRuleCollection `
    -Name RCNet01 `
    -Priority 200 `
    -Rule $NetRule1 `
    -ActionType "Allow"
$Azfw.NetworkRuleCollections.Add($NetRuleCollection)
Set-AzFirewall -AzureFirewall $Azfw
Change the primary and secondary DNS address for the Srv-Work network interface
For testing purposes in this procedure, configure the server's primary and secondary DNS addresses. This configuration isn't a general Azure Firewall requirement.
$NIC01.DnsSettings.DnsServers.Add("209.244.0.3")
$NIC01.DnsSettings.DnsServers.Add("209.244.0.4")
$NIC01 | Set-AzNetworkInterface
Test the firewall
Now, test the firewall to confirm that it works as expected.
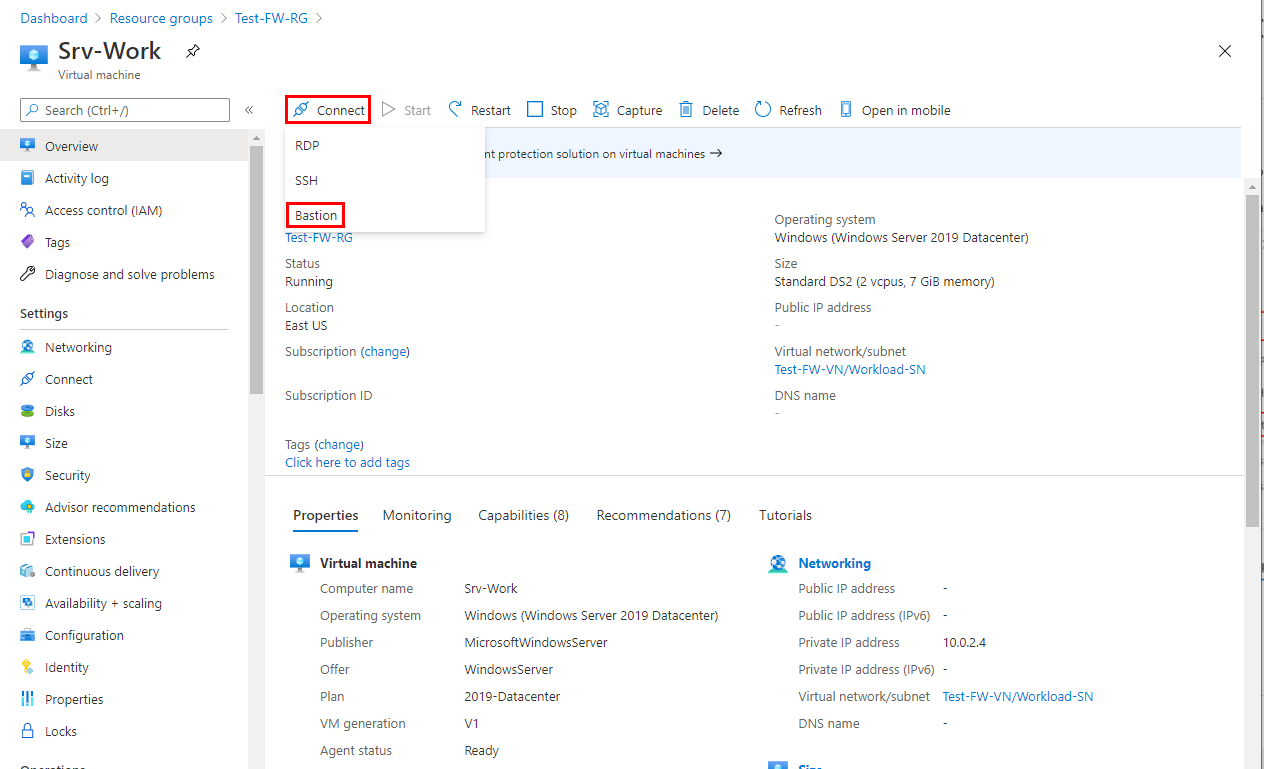
Connect to the Srv-Work virtual machine by using Bastion, and sign in.
On Srv-Work, open a PowerShell window and run the following commands:
nslookup www.google.com
nslookup www.microsoft.com
Both commands return answers, showing that your DNS queries get through the firewall.
Run the following commands:
Invoke-WebRequest -Uri https://www.google.com

Invoke-WebRequest -Uri https://www.microsoft.com
The
www.google.comrequests succeed, and thewww.microsoft.comrequests fail. This result demonstrates that your firewall rules are operating as expected.
Now you verified that the firewall rules are working:
- You can resolve DNS names by using the configured external DNS server.
- You can browse to the one allowed FQDN, but not to any others.
Clean up resources
You can keep your firewall resources for the next tutorial. If you no longer need them, delete the Test-FW-RG resource group to delete all firewall-related resources:
Remove-AzResourceGroup -Name Test-FW-RG