Note
Access to this page requires authorization. You can try signing in or changing directories.
Access to this page requires authorization. You can try changing directories.
This article describes how to configure policy settings on macOS using a Microsoft Edge policy manifest file on Jamf Pro 10.19.
You can also configure Microsoft Edge policy settings on macOS by using a property list (.plist) file. For more information, see Configure for macOS using a .plist
Prerequisites
The following software is required:
- Microsoft Edge Stable channel 81
- Policy Templates file, version 81.0.416.3
- Jamf Pro, Version 10.19
About the Jamf Pro Application & Custom Settings menu
Before Jamf Pro 10.18, managing Office 365 involved manually building a .plist file. This was a time-consuming workflow that required a strong technical background. Jamf Pro 10.18 eliminated those barriers by streamlining the configuration process. However, IT Admins could only use this new user interface for specific applications and preference domains specified by Jamf.
In Jamf Pro 10.19, a user can upload a JSON manifest as a "custom schema" to target any preference domain, and the graphical user interface will be generated from this manifest. The custom schema that's created follows the JSON Schema specification.
For more information, see Computer Configuration Profiles in the Jamf Pro Administrator's Guide.
Get the policy manifest for a specific version of Microsoft Edge
To get the policy manifest:
Go to the Microsoft Edge Enterprise landing page.
On the Channel/Version dropdown list, select any channel with version 81 or later.*.
On the Build dropdown list, select any 81 build or later.*.
Click GET POLICY FILES to download our policy templates bundle.
Note
Currently, the policy templates bundle is signed as a CAB file. You'll need to use a 3rd party tool, such as The Unarchiver to open the file on macOS.
After you unpack the CAB file, unpack the ZIP file and navigate to the "mac" top level directory. The manifest, which is named "policy_manifest.json", is in this directory.
This manifest will be published in every policy bundle starting with build 81.0.416.3. If you want to test policies in the Dev channel, you can take the manifest associated with each Dev release and test it in Jamf Pro.
Use the policy manifest in Jamf Pro
Use the following steps to upload the policy manifest to Jamf Pro and then create a policy profile for macOS.
Sign in to Jamf.
Select the Computer tab.
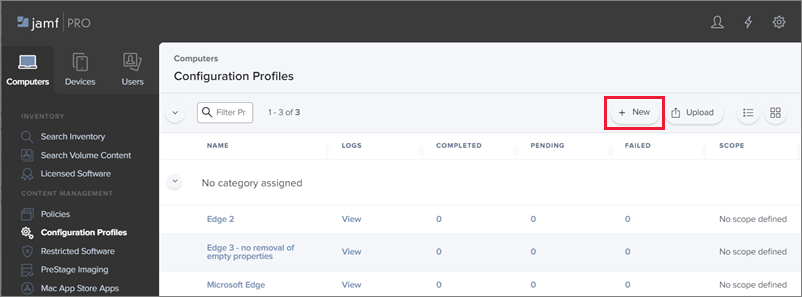
Under Content Management, select Configuration Profiles.
On the Configuration Profiles page, click + New.
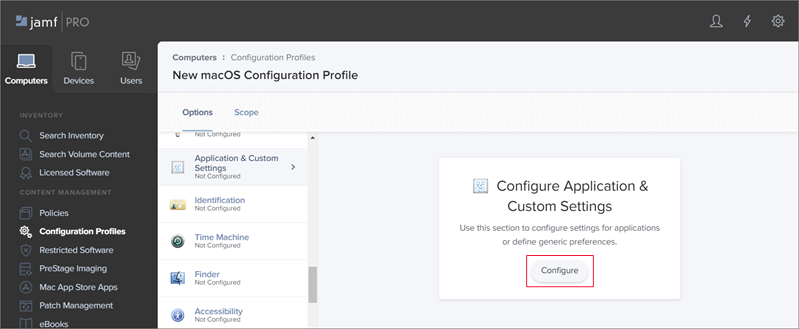
On New macOS Configuration Profile>Options, select Application & Custom Settings.
On the Application & Custom Settings popup window, click Configure.
In the Application & Custom Settings section, set the values shown in the following screen shot.
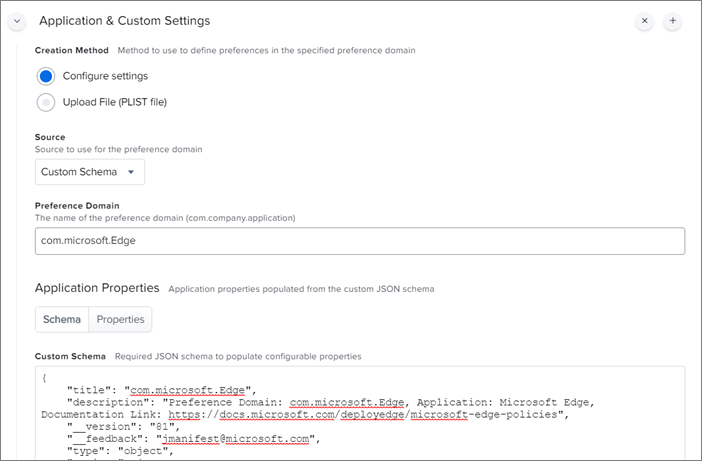
- For Creation Method, pick Configure settings.
- For Source, pick Custom Schema.
- For Preference Domain, provide the name of your domain. This example uses com.microsoft.Edge as the domain.
- For Custom Schema, paste the contents of the "policy_manifest.json" manifest file.
- Click Save.
After you save the profile, Jamf displays the General section shown in the next screen shot.
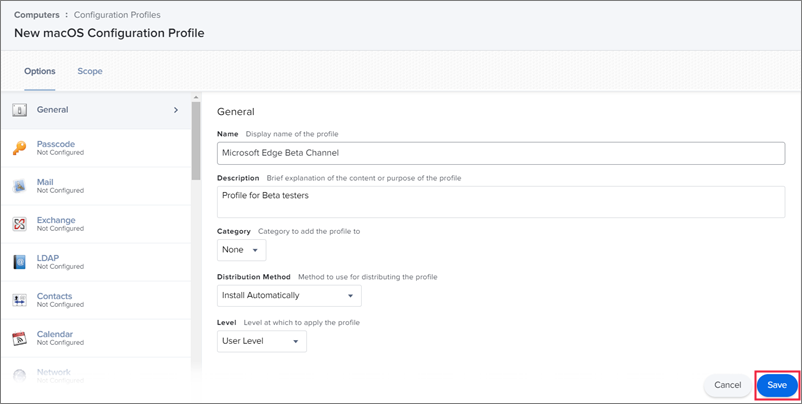
- Provide a display Name for the profile and a Description.
- Keep the default setting for Category, which is None.
- For Distribution Method, the options are Install Automatically or Make Available in Self Service.
- For Level, the options are User Level or Computer Level.
- Click Save.
After you save the General section, Jamf shows the "Microsoft Edge Beta Channel" configuration profile set up for our example. In the next screen shot, note that you can keep working the profile by clicking Edit or if you're finished, click Done.
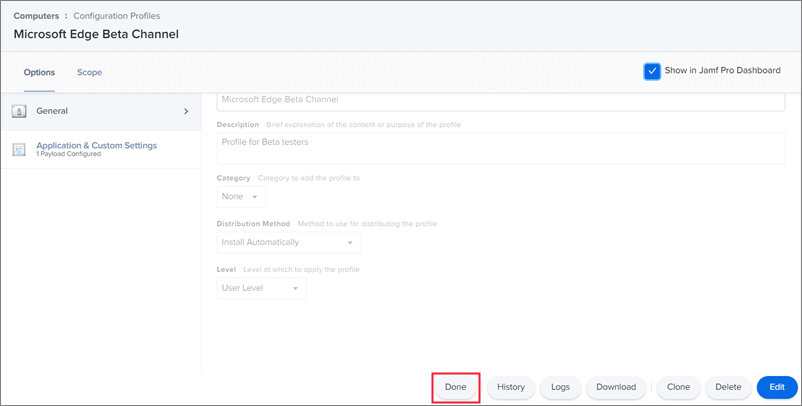
Note
You can edit this profile after it's been saved and in another Jamf session. For example, you might decide to change the Distribution Method to Make Available in Self Service.
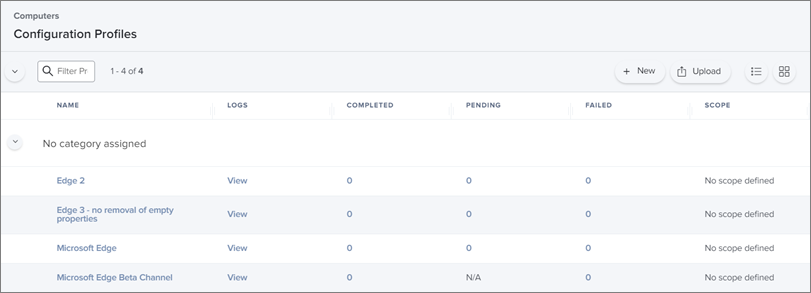
To do a follow up edit on the Microsoft Edge Stable Channel, or delete it, select the profile name, shown in the following Configuration Profiles screen shot.
After you create the new configuration profile you still have to configure the Scope for the profile.
To configure the scope
For Targets, provide the following minimum settings:
- TARGET COMPUTERS. The options are Specific Computers or All Computers.
- TARGET USERS. The options are Specific Users or All Users.
- Click Save.
For Limitations, keep the default setting: None. Click Cancel.
For Exclusions, keep the default setting: None. Click Cancel.